
 In my last tutorial about email servers, I setup mailcow to send and receive emails. Today, I will guide you through the steps to add additional domains and emails to mailcow installation.
mailcow is an open-source mail server suite that provides a user-friendly interface for managing email services. It includes a variety of features such as spam filtering, virus scanning, and easy domain management.
Let’s get going!
Prerequisites
Before you begin, ensure you have the following:
- A working mailcow installation: You should have mailcow installed and running on your server.
- Access to mailcow admin interface: Ensure you have administrative access to the mailcow web interface.
- DNS management access: You need the ability to manage DNS records for the domains you plan to add.
- Basic knowledge of DNS and email concepts: Familiarity with DNS records (MX, A, TXT) and email management will be helpful.
How to Add Additional Domains and Emails to mailcow Mail Server
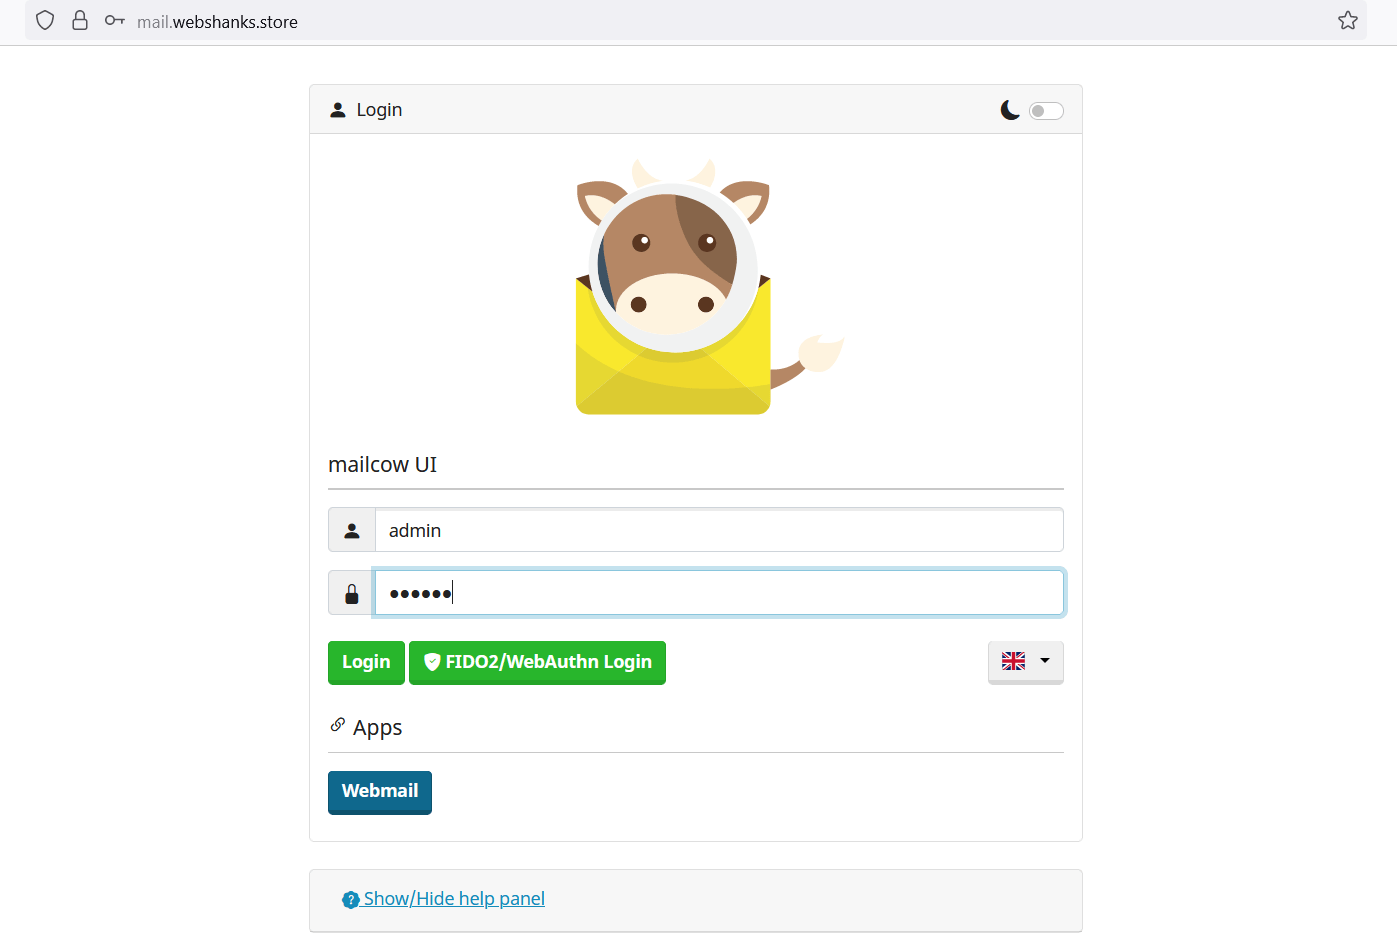
Step 1: Log in to the mailcow Admin Interface
Open your web browser and navigate to your mailcow admin interface (usually https://mail.yourdomain.com).
Log in with your admin credentials.
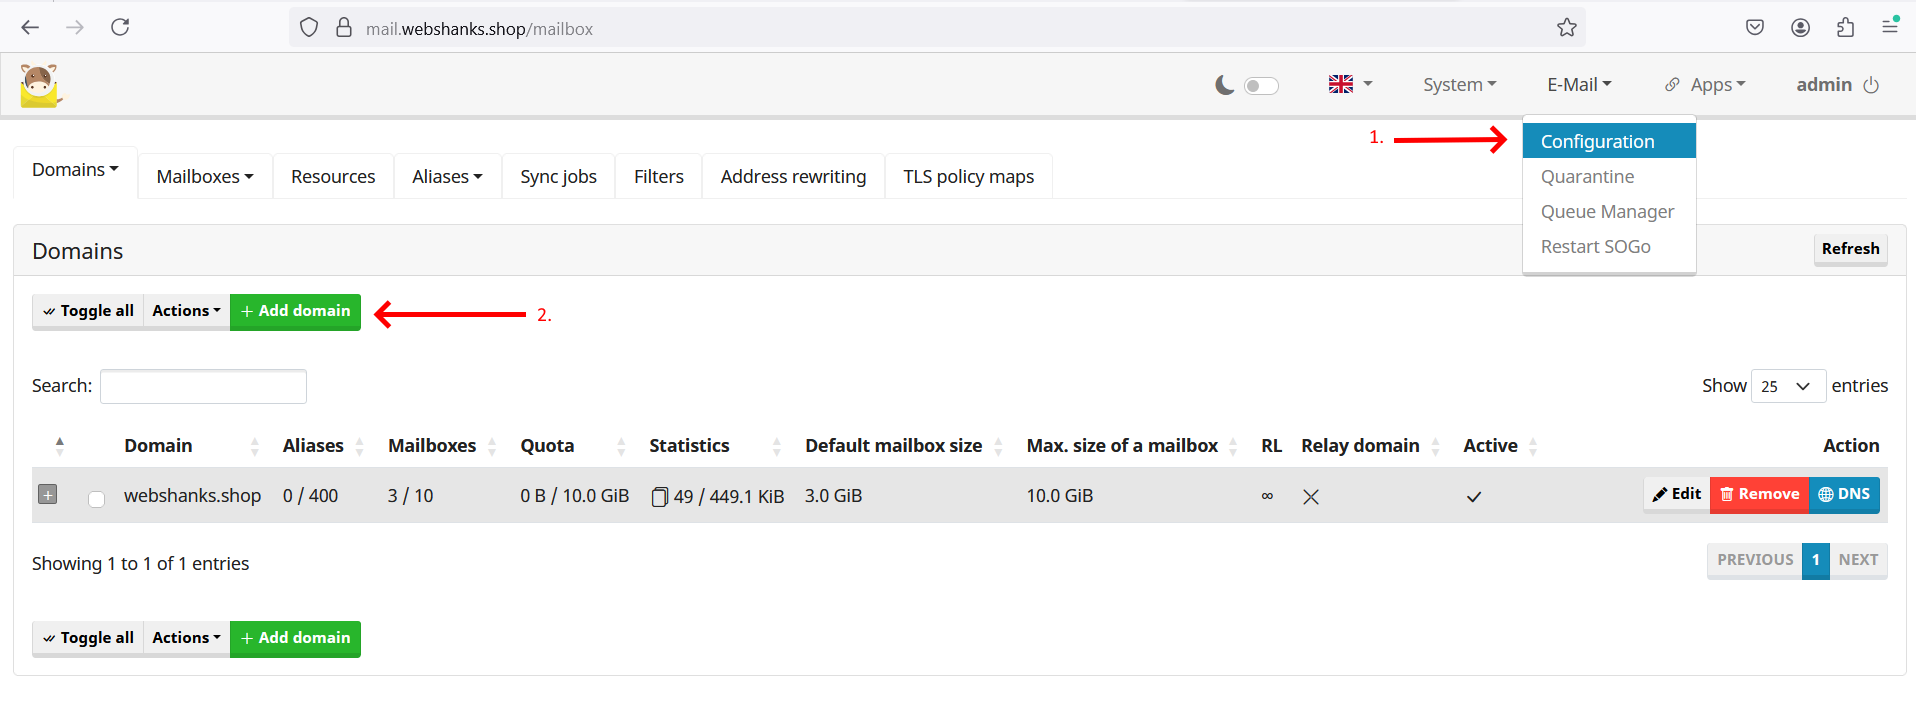
Step 2: Add a New Domain
In the mailcow admin interface, go to the Email > Configuration section.
Click on Add Domain to open the domain management page.
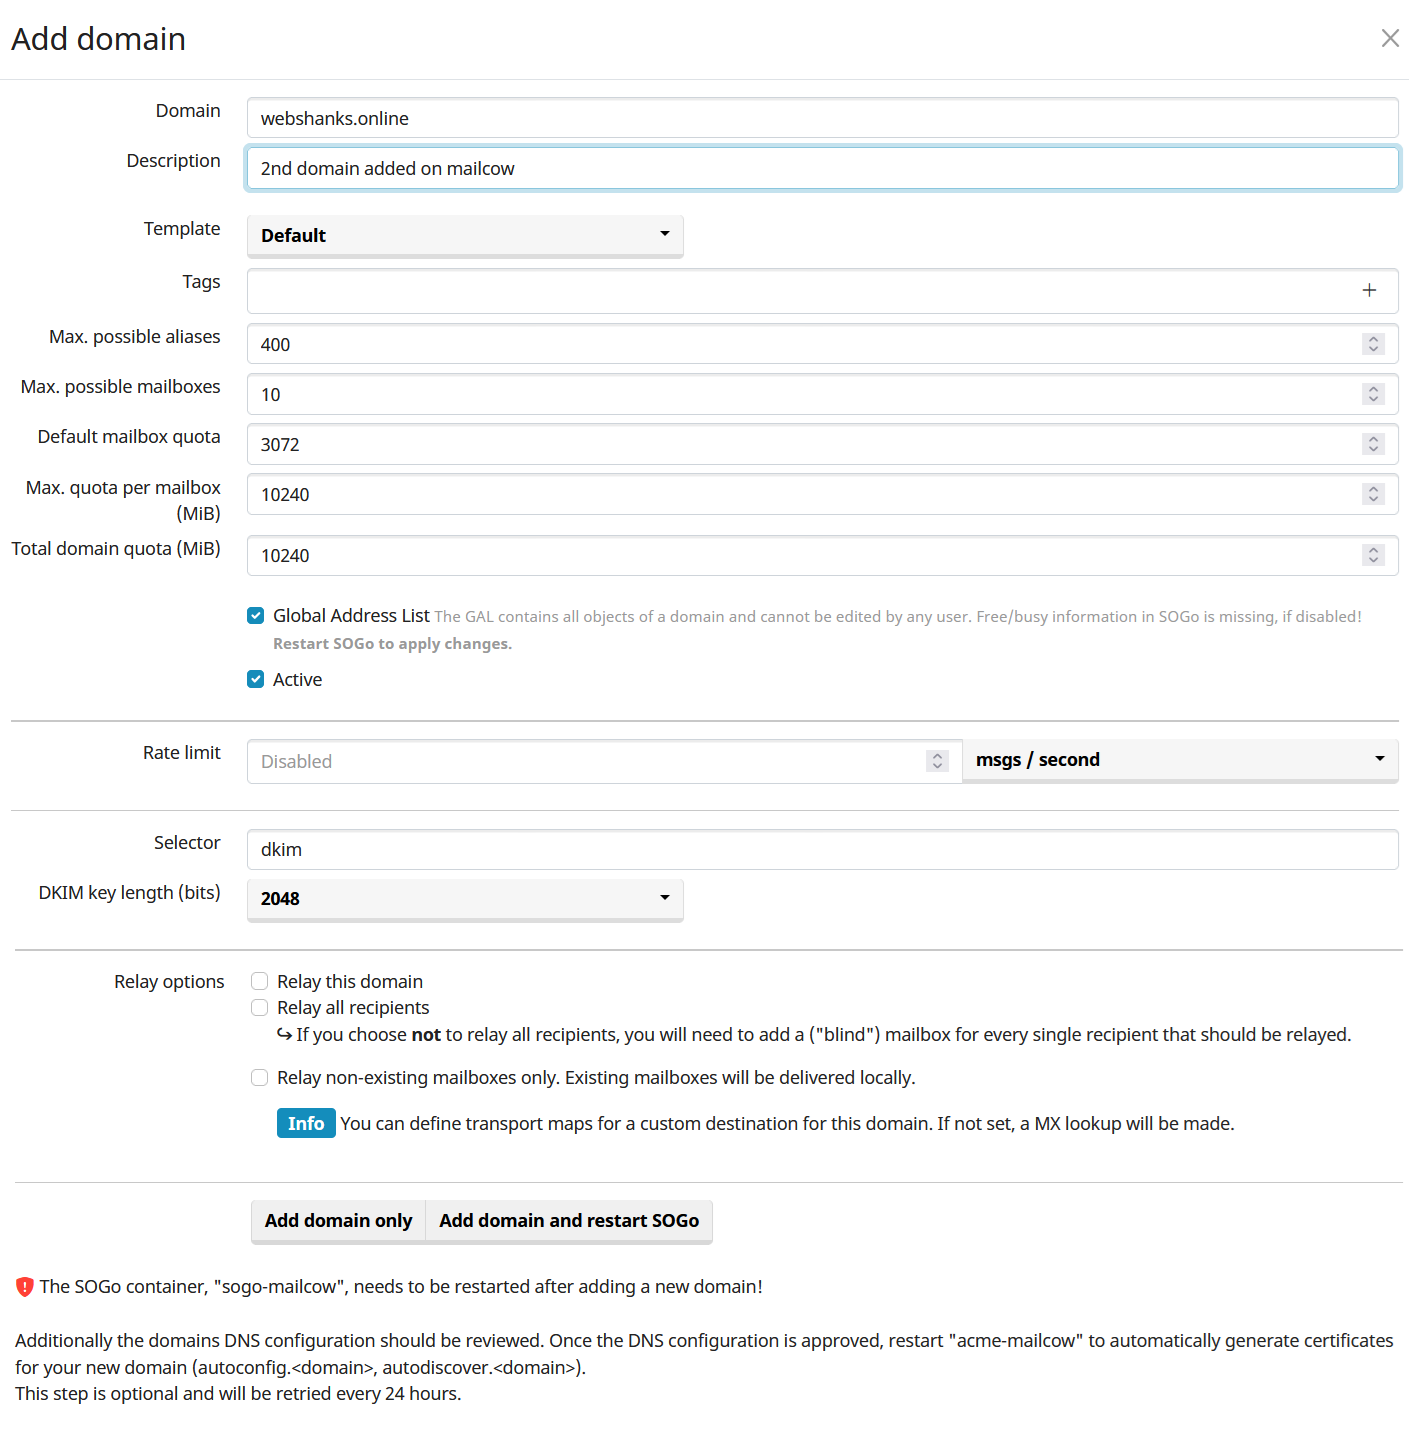
Fill in the required details:
Domain: Enter the domain name you wish to add (e.g., example.com).
Description: Optionally, add a description for the domain.
Active: Ensure this option is checked to activate the domain.
Click Add Domain and Start SOGo to add the domain.
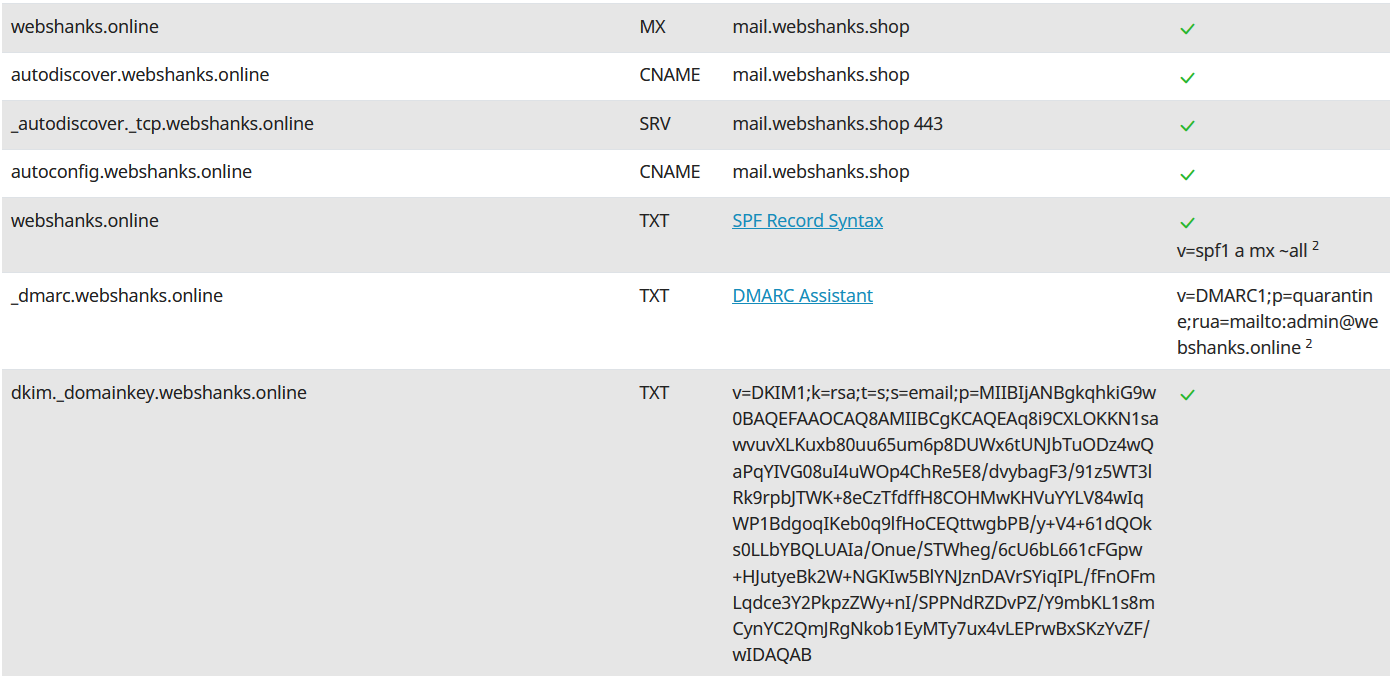
Step 3: Configure DNS Records
To ensure your email server can send and receive emails for the new domain, you need to configure the appropriate DNS records.
Click on the DNS button on the newly added domain.
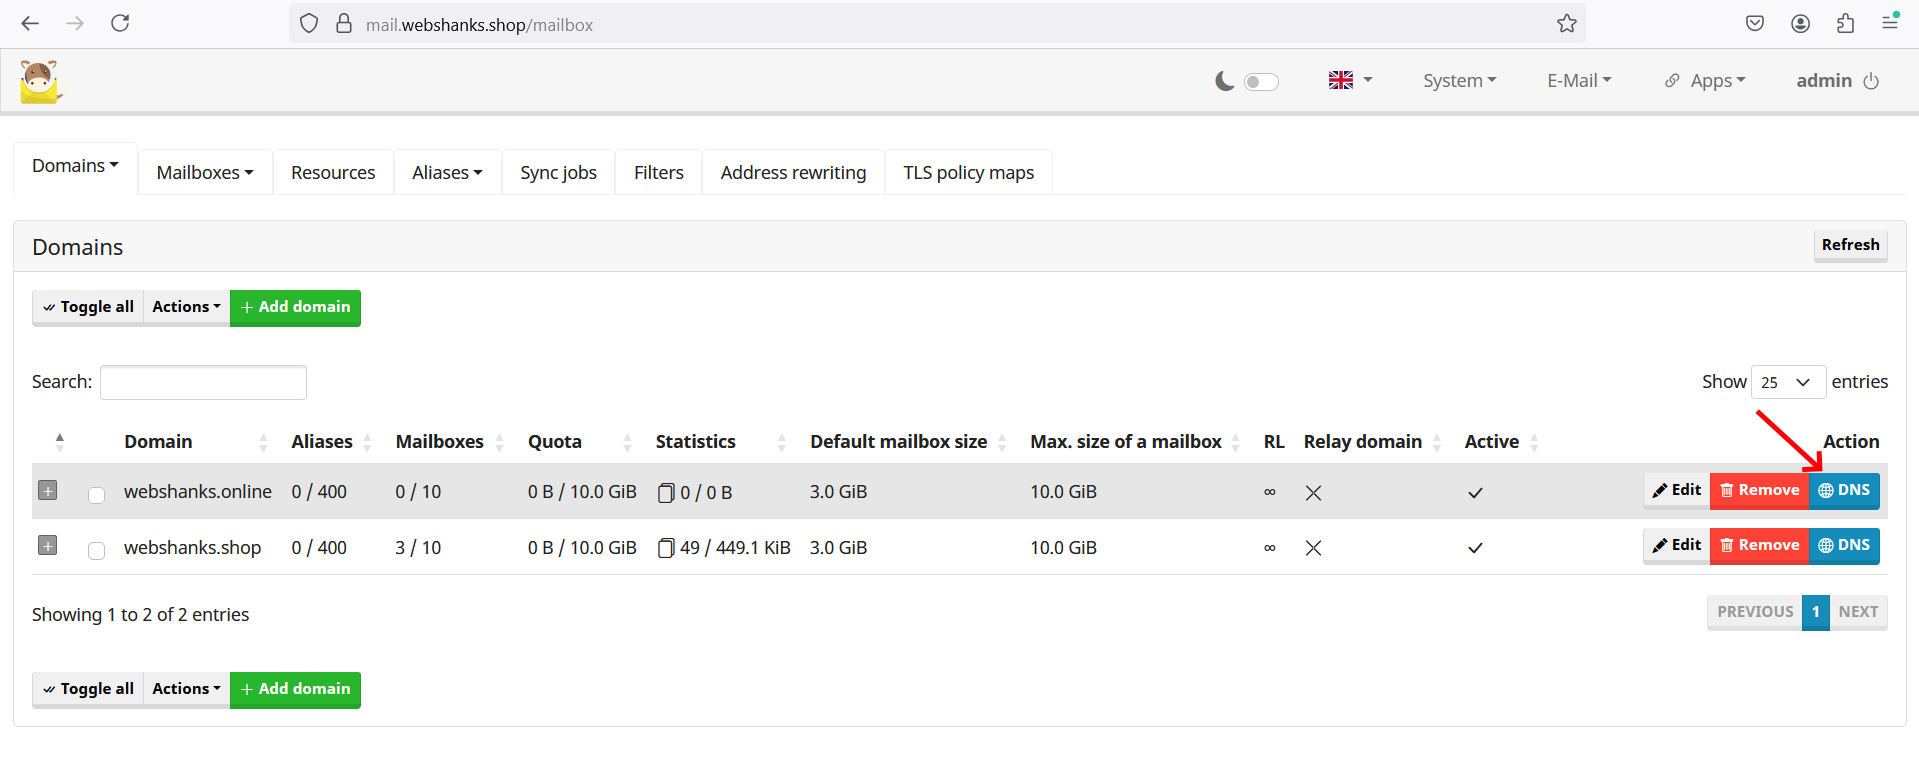
Add these records to your domain registrar.
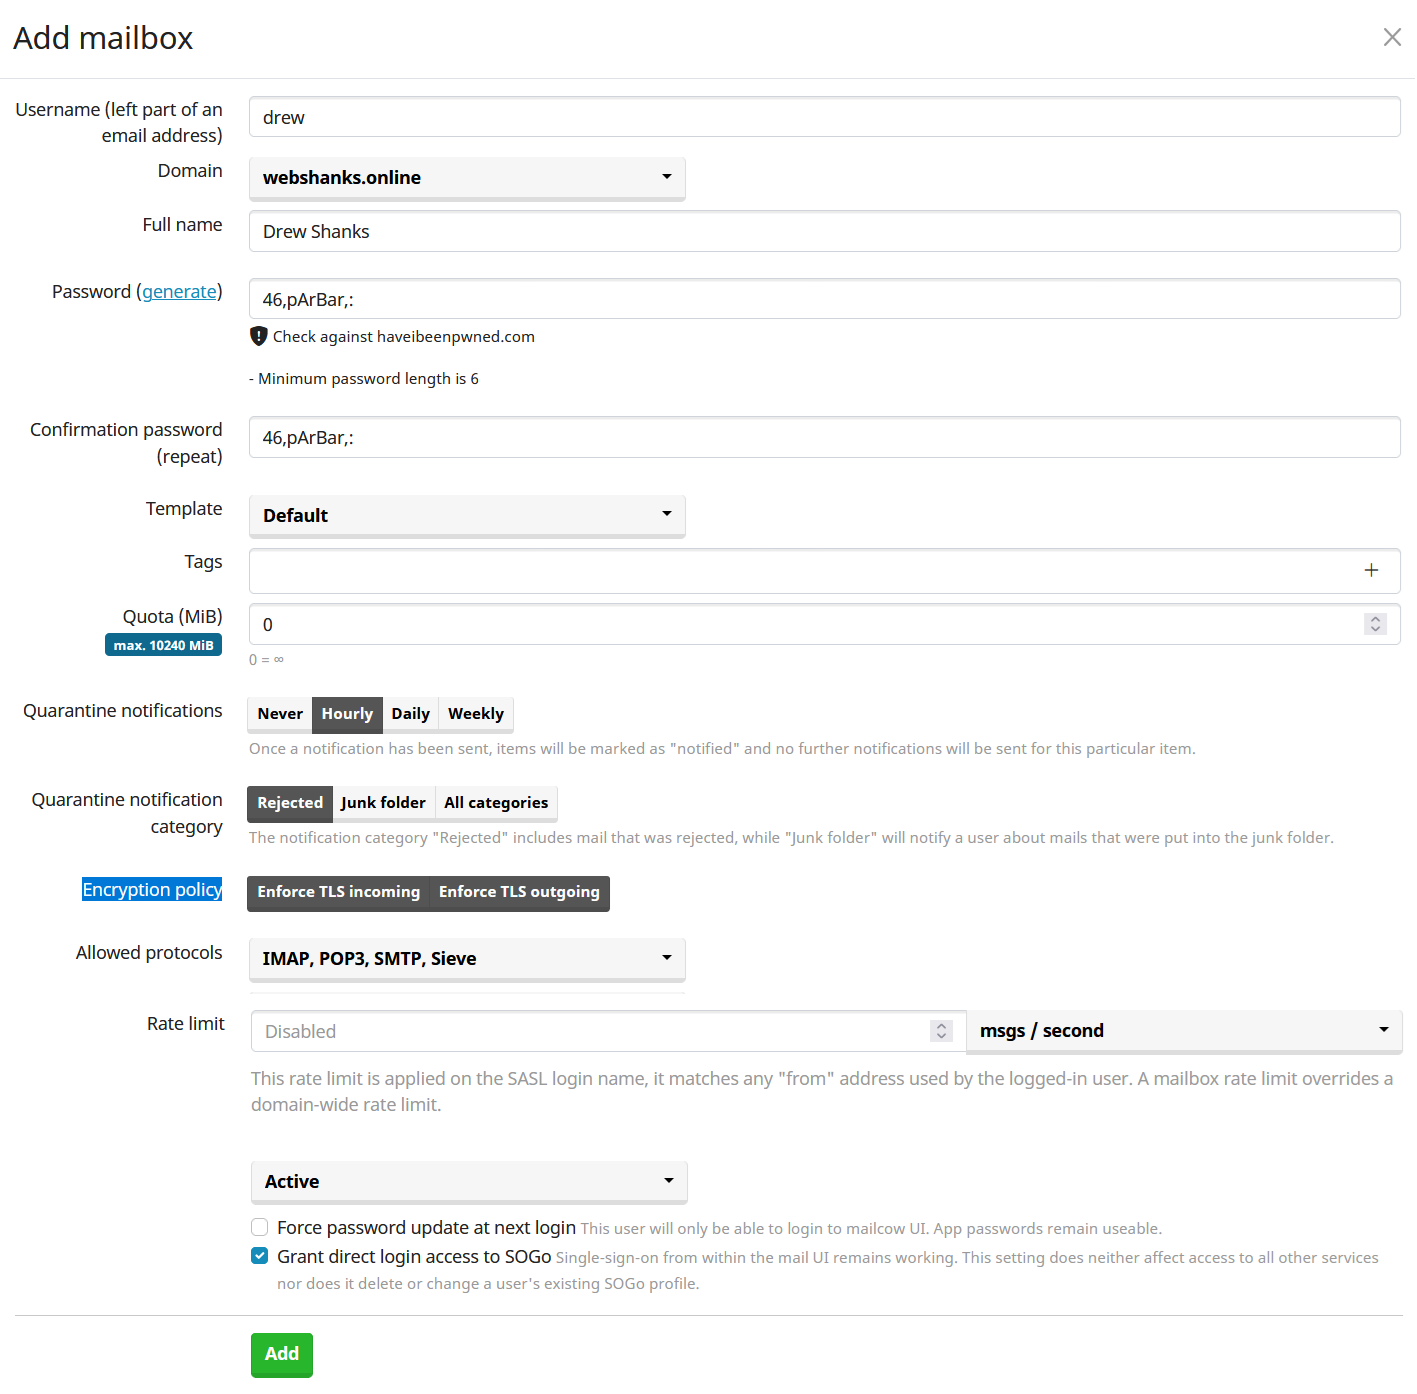
Step 4: Add Email Addresses
Click on Mailboxes to open the mailbox management page.
Click the Add Mailbox button.
Fill in the required details:
- Username: The part before @ in the email address (e.g., user for [email protected]).
- Domain: Select the domain you added in Step 2.
- Full Name: Add your full name.
- Password: Set a password for the email account.
- Quota: Set a mailbox size limit if desired.
- Active: Ensure this option is checked to activate the mailbox.
- Encryption policy: Enable all options.
Click Add to create the mailbox.
Step 5: Test Deliverability and Verify Email Functionality
We will send a test email to Gmail.
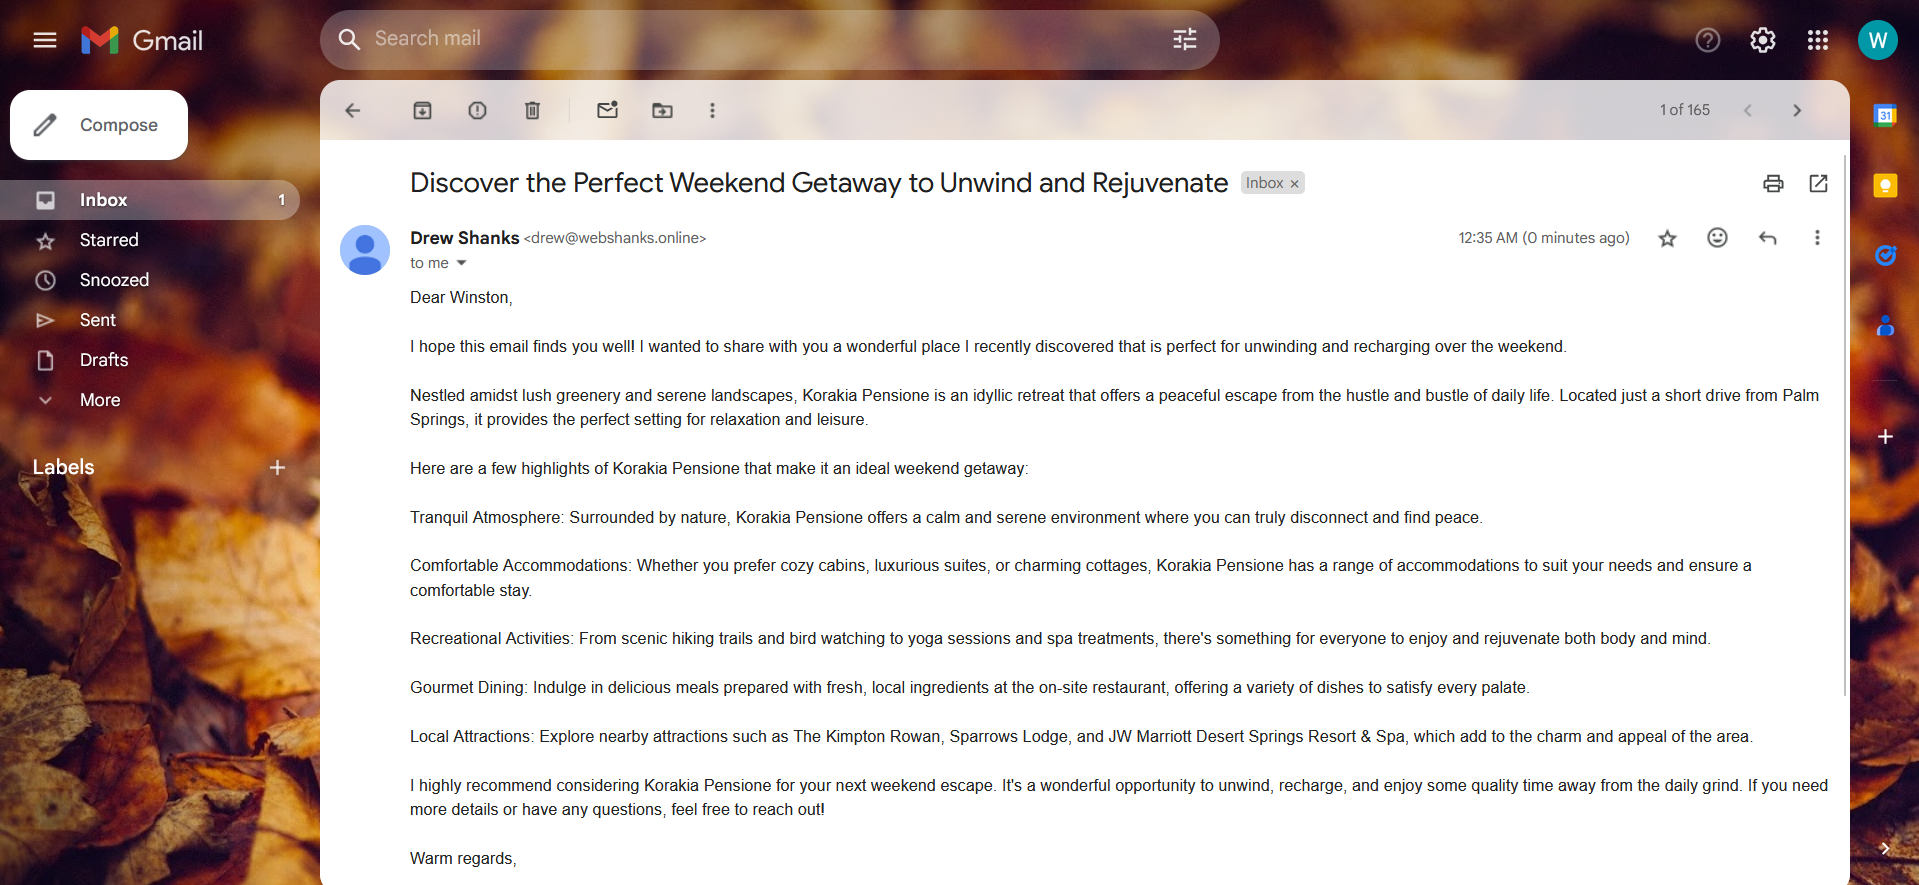
We received it directly on our Gmail inbox!
Let’s reply to this email if we can receive it on our mailcow.
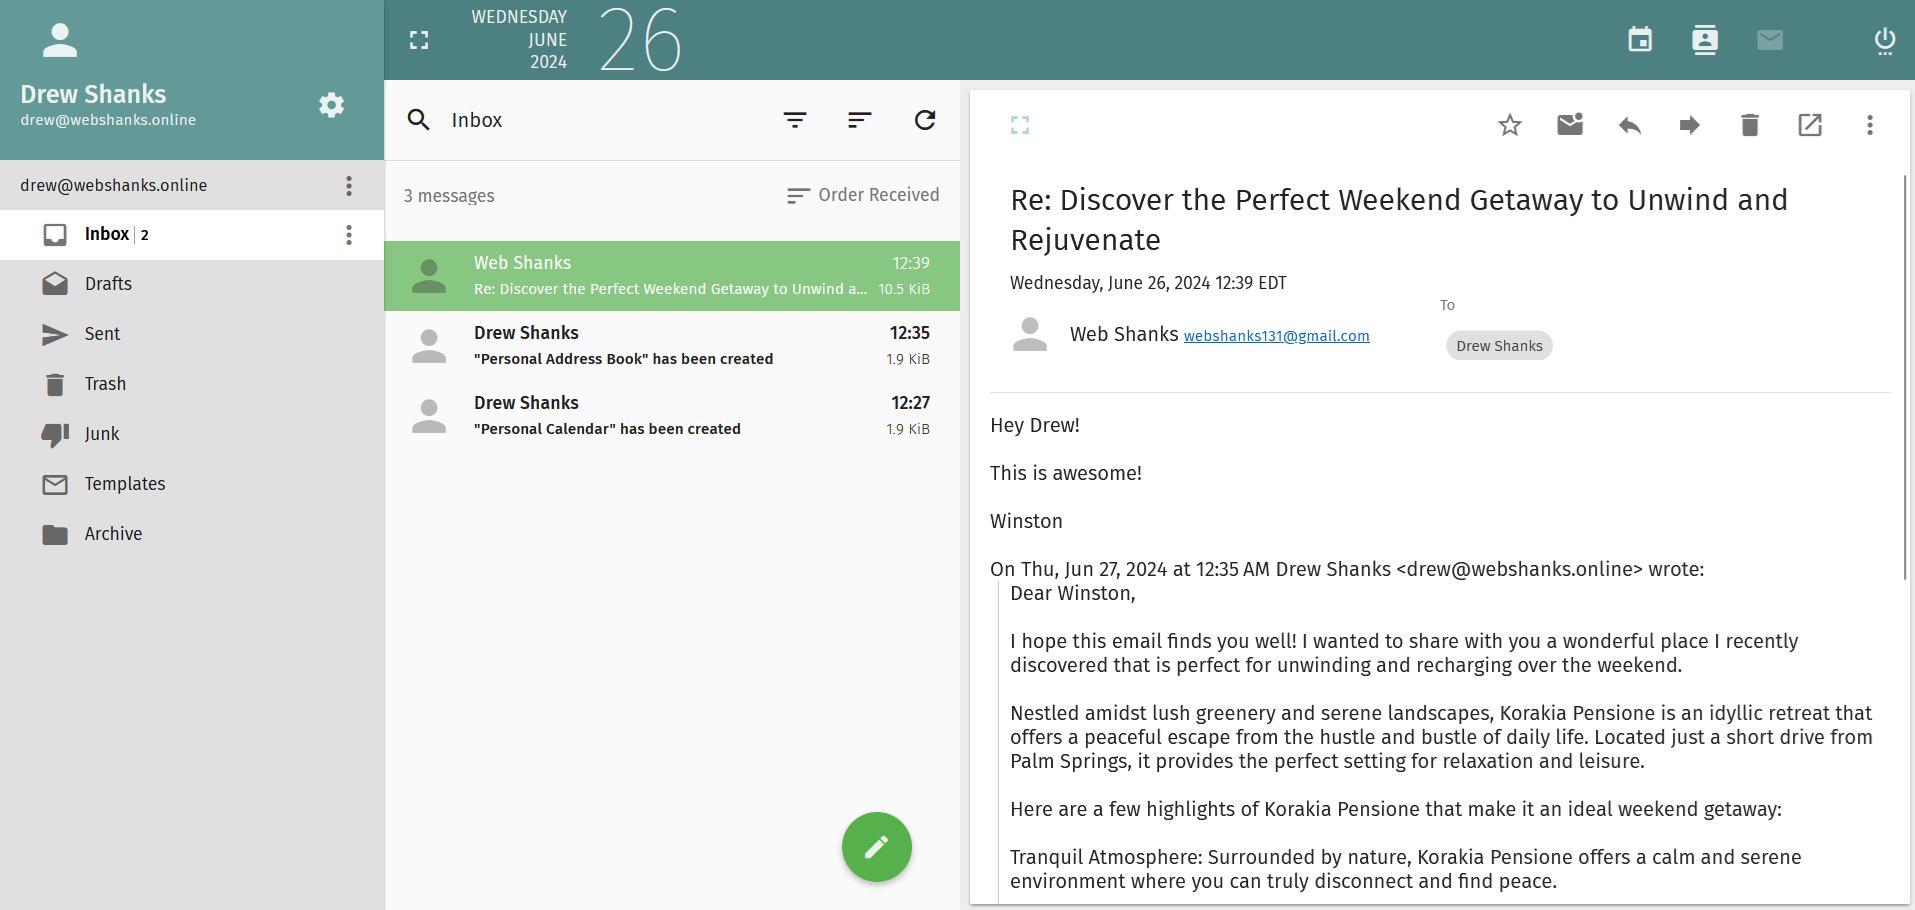
We received the reply from Gmail!
We can now send and receive email messages.
It’s time to verify our SMTP/IMAP relays.
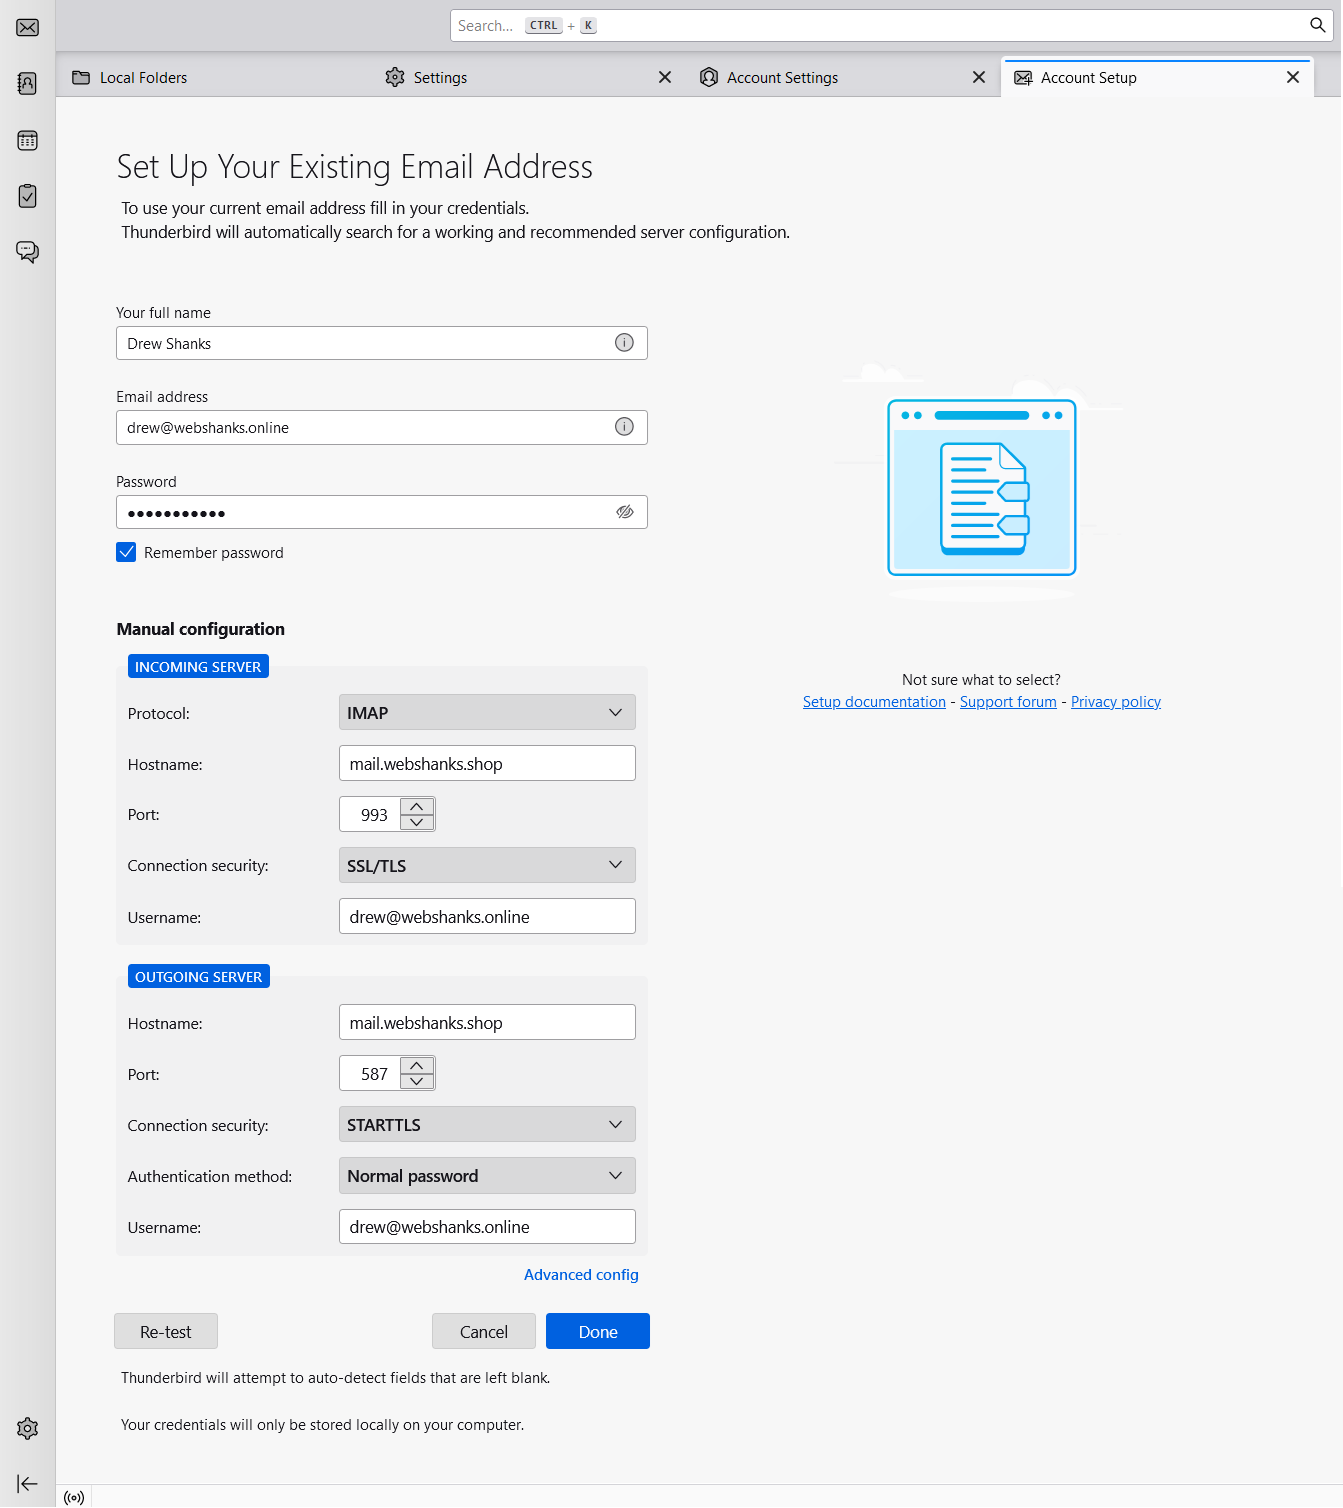
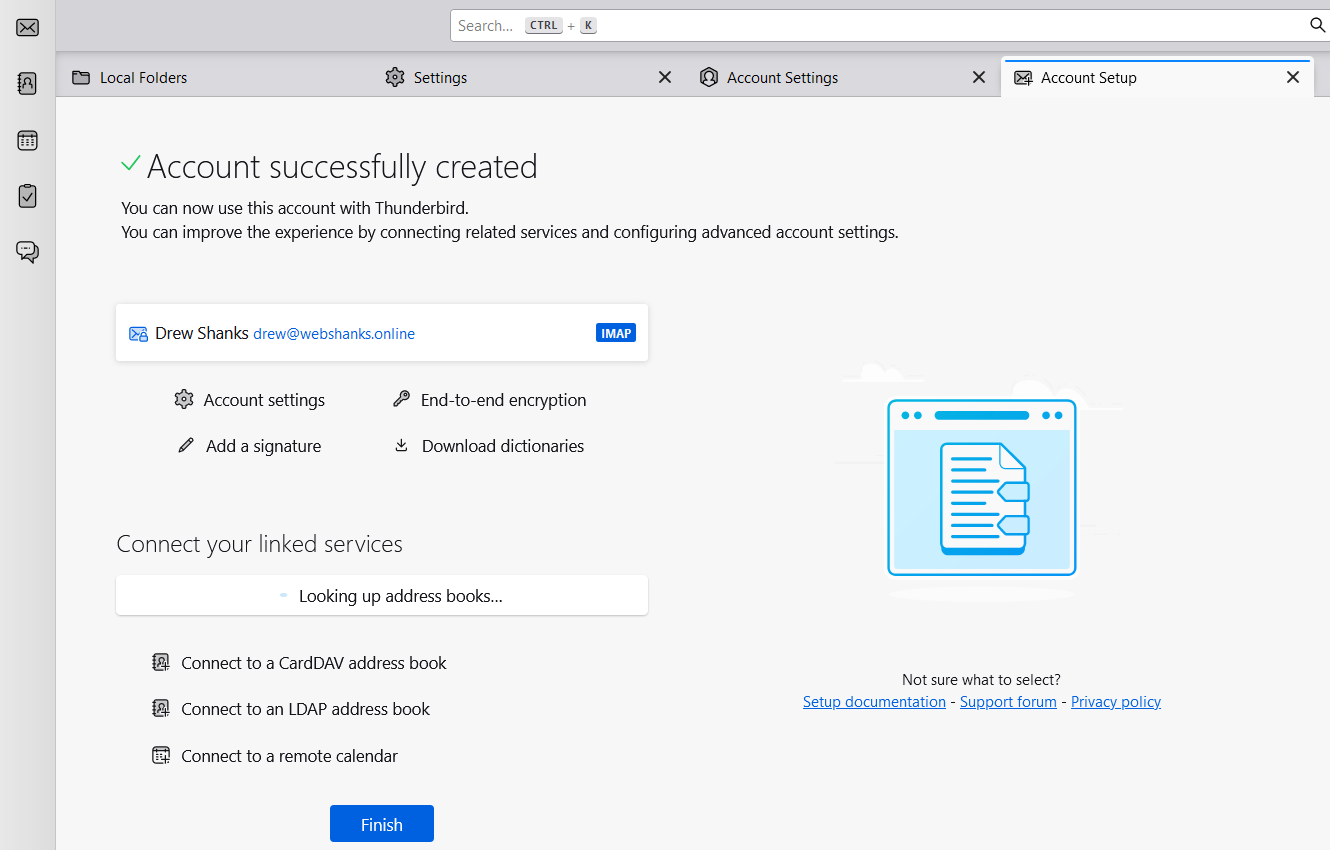
Let’s use an email client (e.g., Thunderbird, Outlook) or a webmail interface to log in with the new email address.
Send and receive test emails to ensure everything is working correctly.
Well, we’re all good!
To add more domains and email accounts, just rinse and repeat the steps I laid out here.
Troubleshooting
DNS Propagation: DNS changes can take some time to propagate. If your email isn’t working immediately, wait a few hours and check again.
Incorrect DNS Records: Double-check that all DNS records are correctly configured. Green check marks should be there when you click the DNS button of your domain.
mailcow Service Issues: Ensure all mailcow services are running. You can check this via the mailcow admin interface under System Information.
Log Files: mailcow logs can provide valuable information if you encounter issues. Logs are usually located in /var/log/mailcow/.
FAQs
How do I delete a domain from mailcow?
To delete a domain, go to Email > Configuration > Domains, find the domain you want to remove, and click the Remove button. Confirm the deletion when prompted.
Can I host multiple domains on a single mailcow instance?
Yes, mailcow supports hosting multiple domains. You can add as many domains as needed through the Domains section in the admin interface.
How do I increase the mailbox quota?
To increase the mailbox quota, go to Email > Configuration > Mailboxes, find the mailbox you want to modify, and click the edit icon. Adjust the quota as needed and save the changes.
What VPS does mailcow supports?
It can be anything as long as it has an open port 25 or 587.
What other email servers allow multiple domains and emails?
There are several email servers that support hosting multiple domains and managing multiple email addresses. Here are some popular options: iRedMail, Cloudron, CyberPanel, aaPanel, and Docker Mailserver.
Watch on YouTube
Conclusion
This is how you will add additional domains and emails to mailcow.
By following this guide, you can efficiently expand your mailcow server to accommodate multiple domains and manage email accounts with ease.
Regularly check your DNS settings and keep your mailcow installation updated to ensure optimal performance and security.
If you encounter any issues not covered in this guide, consult the mailcow documentation or comment them down.