
 Setting up a fully functional mail server can be a daunting task, but with the right tools and guidance, it becomes a manageable process.
In this comprehensive guide, we will walk you through the steps of setting up mailcow on a RackNerd VPS. From the initial VPS setup to configuring mailcow and testing email deliverability, we’ll cover it all.
Let’s start but first things first.
Prerequisites
Before we begin, ensure you have the following:
- RackNerd VPS Account: Sign up for a RackNerd VPS account and deploy a VPS with your preferred Linux distribution. RackNerd has open port 25 for outbound emails.
- Domain Name: Purchase a domain name from Namecheap or domain registrar of your choice.
- Cloudflare: A free account.
Create Your Own Mail Server Using mailcow and RackNerd
Step 1. RackNerd VPS Setup
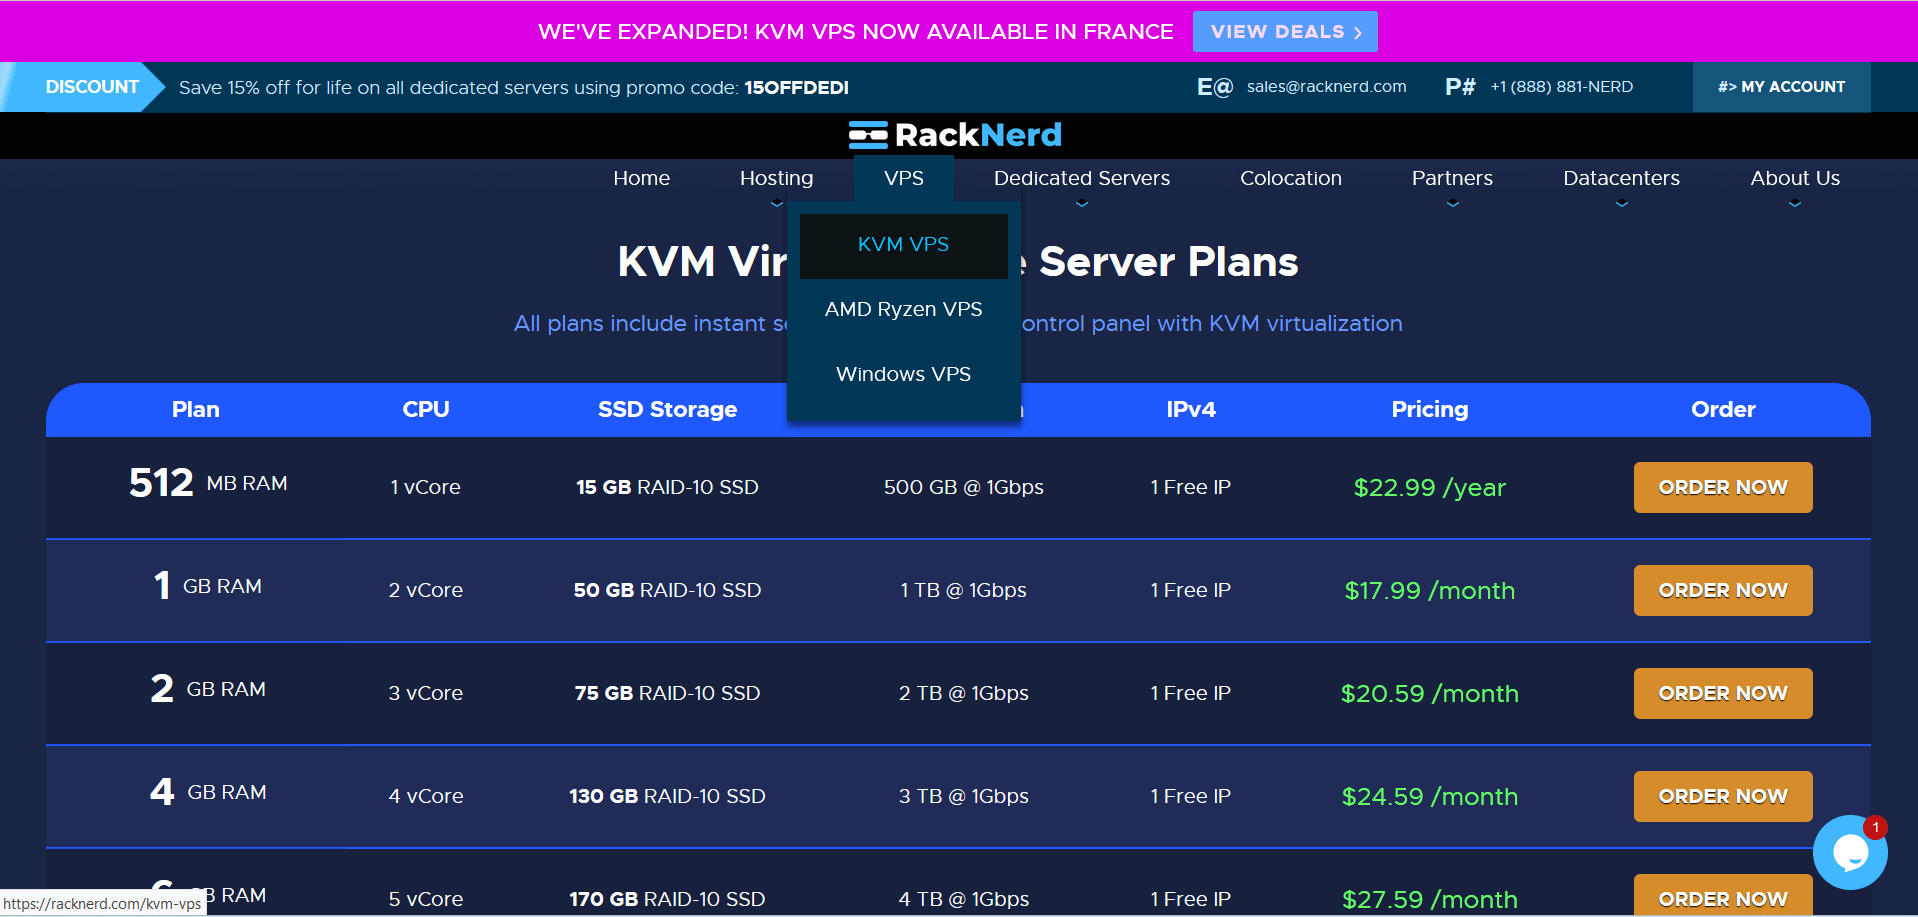
Visit the RackNerd website and select a suitable VPS plan. For this tutorial, I’ll be using a 4GB, 3Core VPS. Follow the on-screen instructions to complete the purchase and provisioning process. You can also watch how to setup Racknerd VPS step by step.
Choose only Los Angeles and France because they have IPv6. You need to contact support and ask for IPv6. They will send you instructions on how to enable IPv6.
After you setup your VPS, RackNerd will send you credentials for your account and control panel to your email address.
mailcow minimum system requirements:
- CPU 1 GHz
- RAM Minimum 6 GB + 1 GB swap (default config)
- Disk 20 GiB (without emails)
- System Type x86_64
If you have 4GB RAM VPS, do not install ClamAV and Solr.
Operating systems:
- Centos 7
- Debian 10, 11, 12
- Ubuntu 18.04, 20.04, 22.04
- Alma Linux 8
- Rocky Linux 9
We will be installing mailcow on Debian 12.
mailcow does not supprt OpenVZ, Virtuozzo, and LXC. So we need VPS like RackNerd.
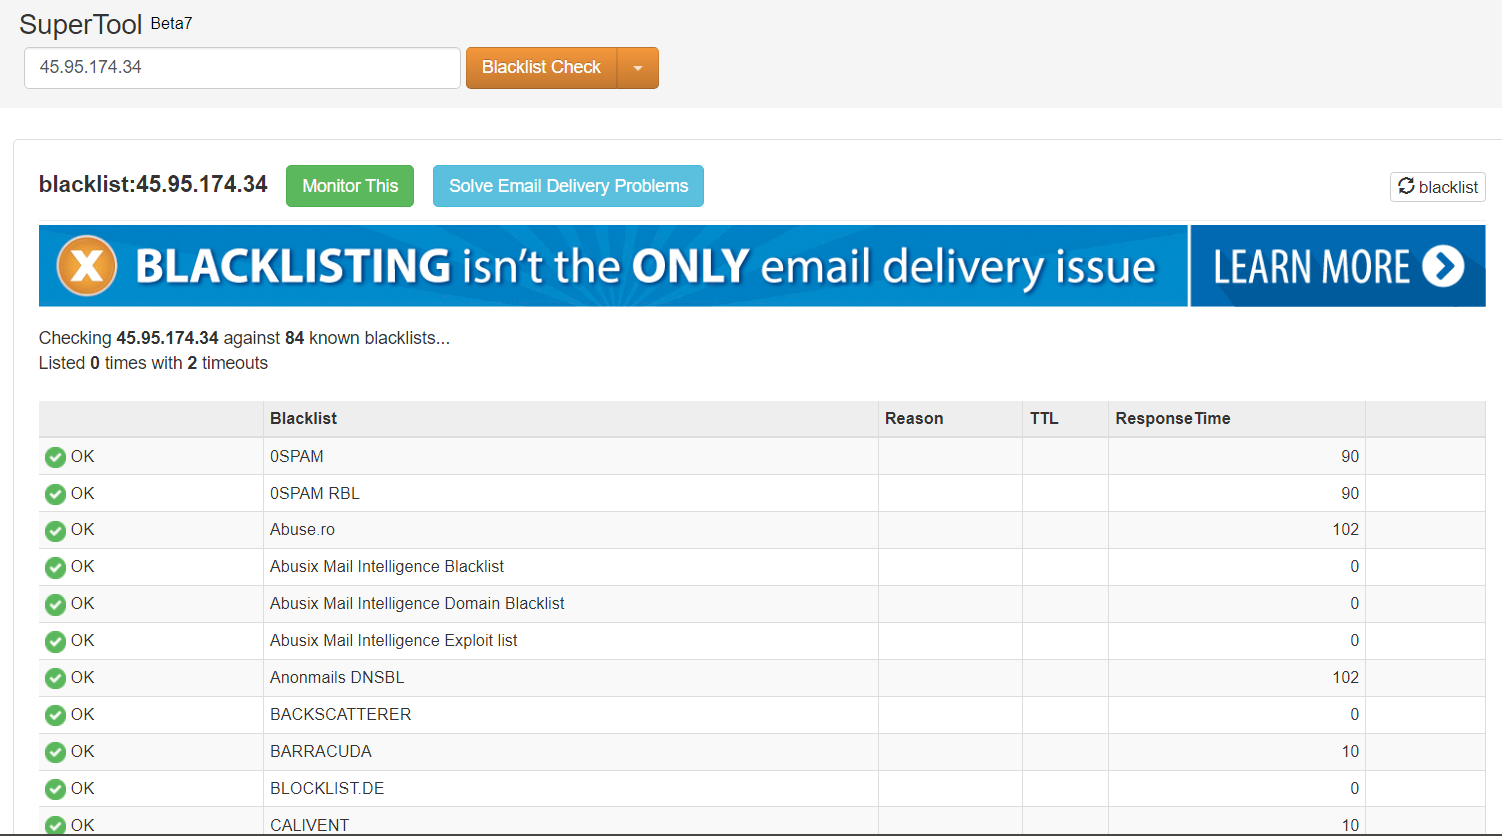
Once you receive your IP, check if it is blacklisted. I got 0 so we’re good to go.
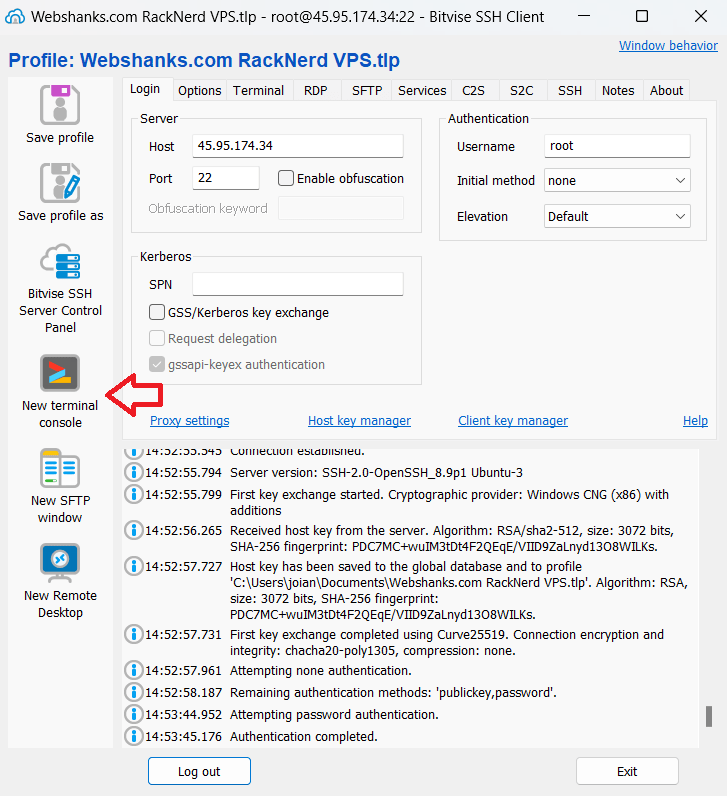
Step 2. Connect to VPS Using Bitvise
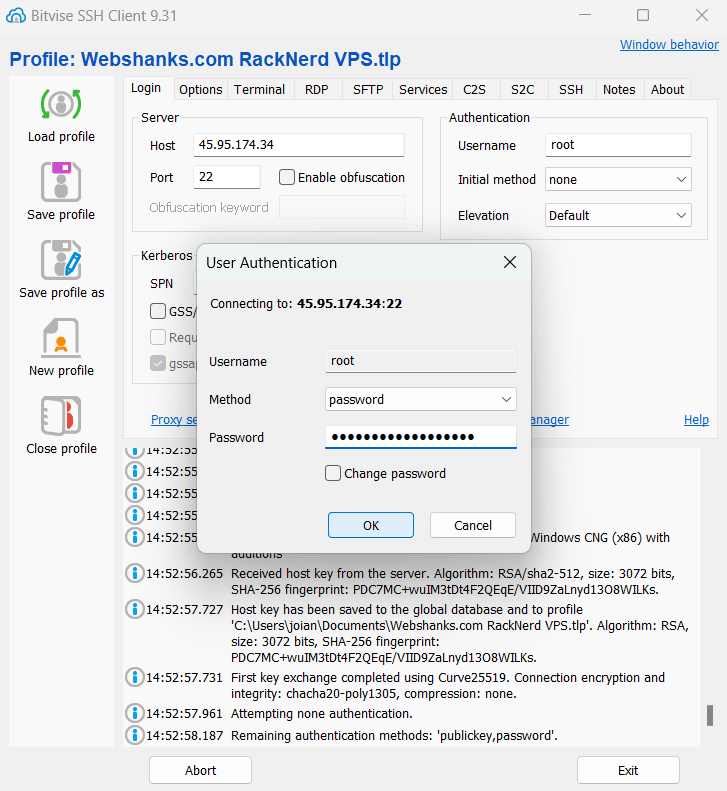
Download and install Bitvise SSH Client on your local machine. Use the provided IP address and your root password to connect to your RackNerd VPS.
Open the terminal console.
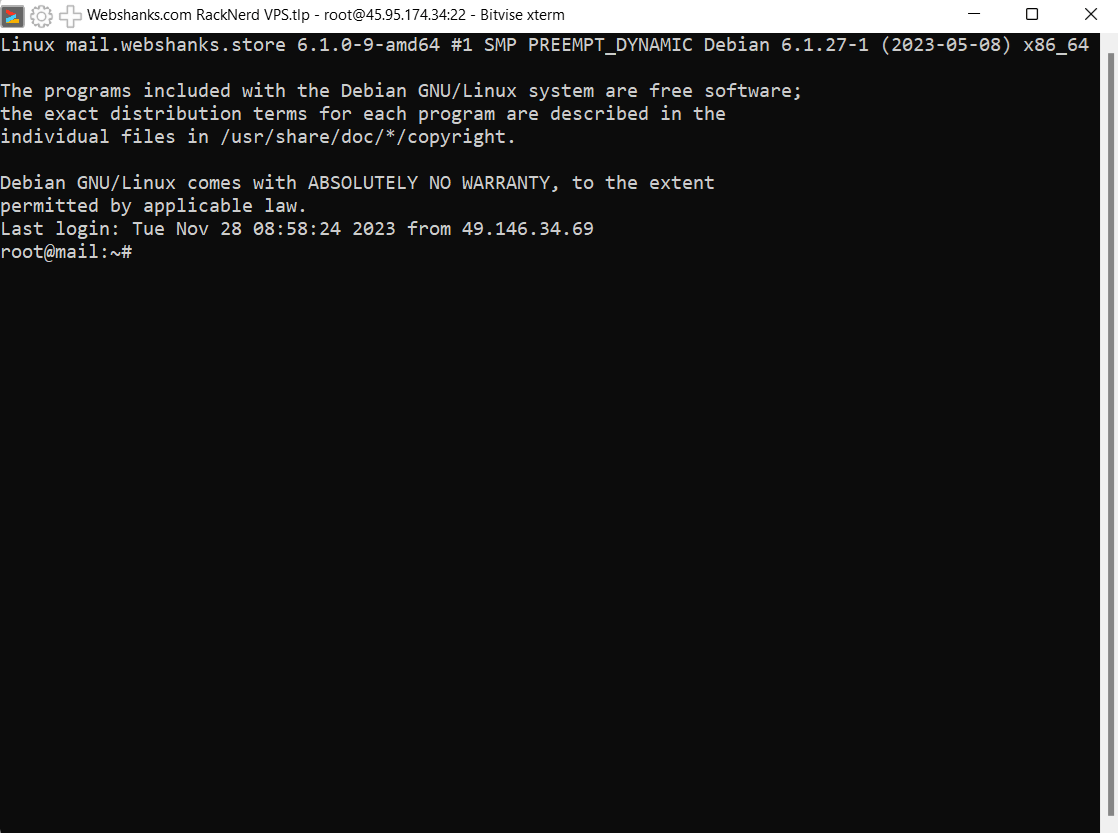
We will bind our IPv6 with our server as well as update any available packages.
Edit this file by using your favorite editor.
nano /etc/sysctl.conf
Then add the following lines at the end of the file. To save, click ctrl X and press Y and Enter.
net.ipv6.conf.all.autoconf = 0
net.ipv6.conf.all.accept_ra = 0
net.ipv6.conf.eth0.autoconf = 0
net.ipv6.conf.eth0.accept_ra = 0
Also, make the value of the following lines to 0.
net.ipv6.conf.all.disable_ipv6 = 0
net.ipv6.conf.default.disable_ipv6 =0
net.ipv6.conf.lo.disable_ipv6 = 0

Then we will update our packages.
apt-get update && apt-get upgrade
After upgrading, reboot your server.
reboot
Step 3. Domain Purchase (Namecheap)
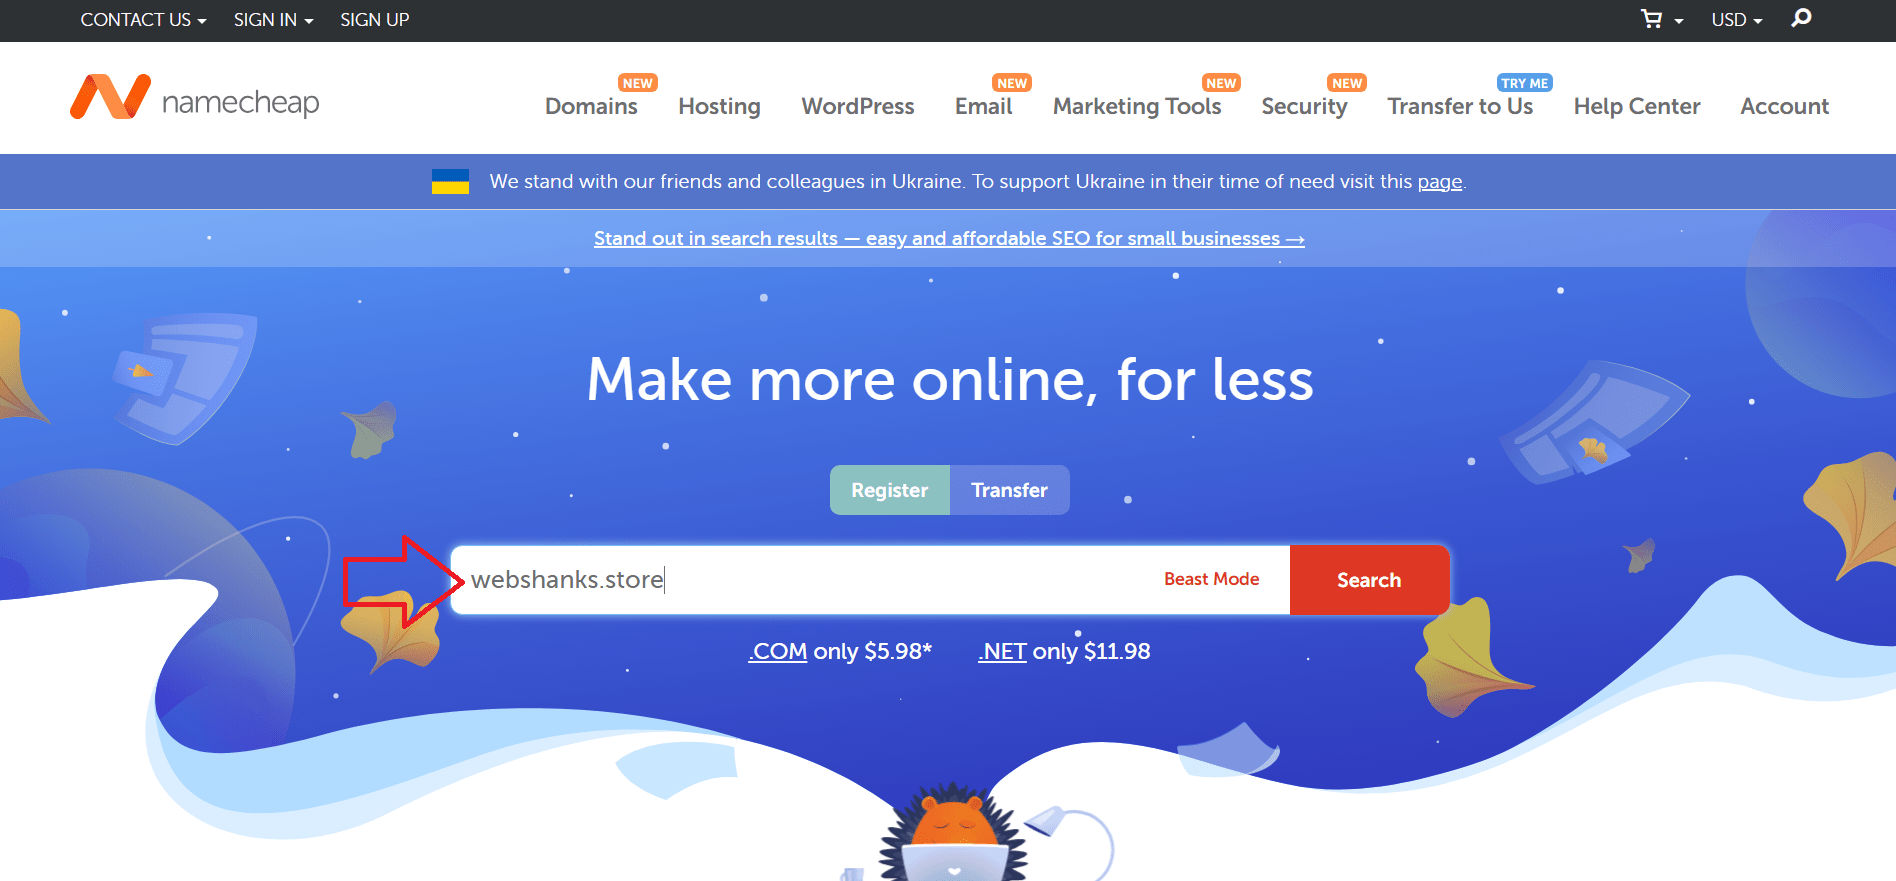
Select a unique and relevant domain name for your email server. Consider using a domain registrar like Namecheap for purchasing. Avoid top-level domains that are spammy. Check this list to see which tld’s should not be used.
Follow the domain registration process on your chosen registrar’s website.
If you have an existing domain, check if it is in the blocklist here.
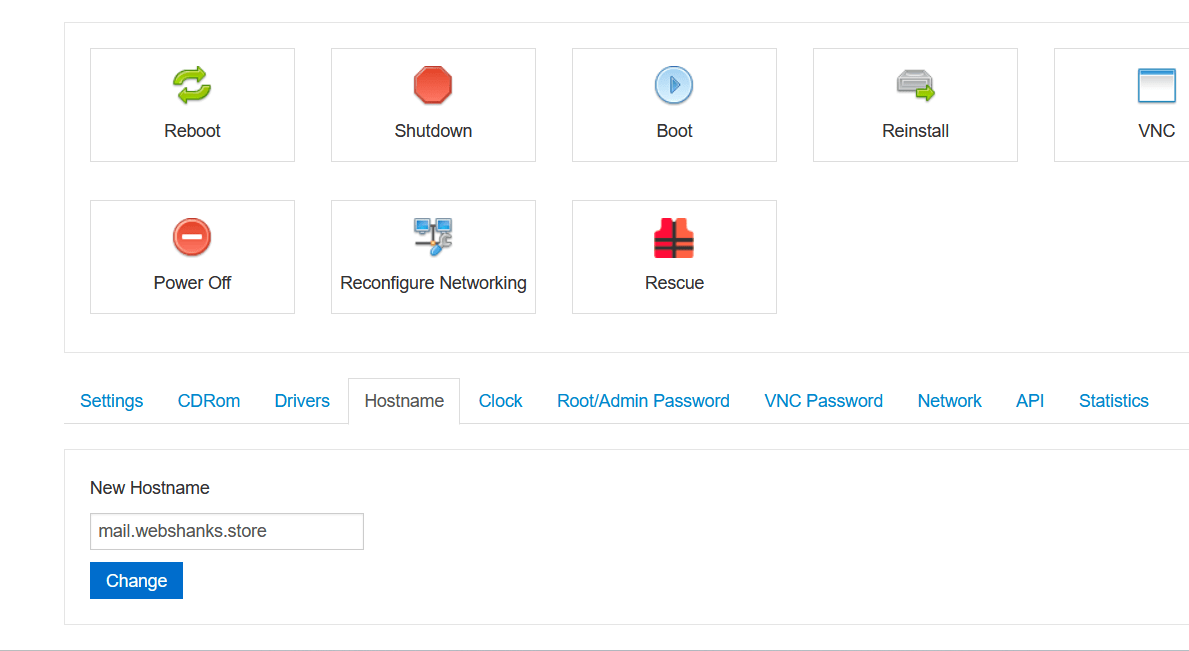
Step 4. Configure Hostname, Reverse DNS, and DNS for Your Domain
Go to your RackNerd VPS control panel. Select Hostname and add your hostname for example mail.webshanks.store.
Go back to your VPS and contact RackNerd support that you need to add a PTR record for your IPv4 and IPv6. They’ll handle everything for you.
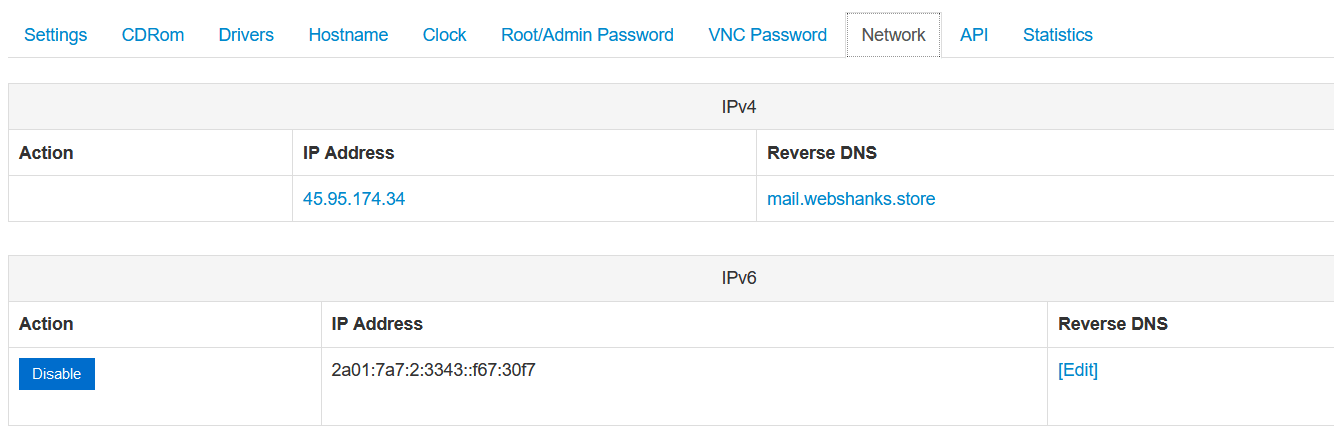
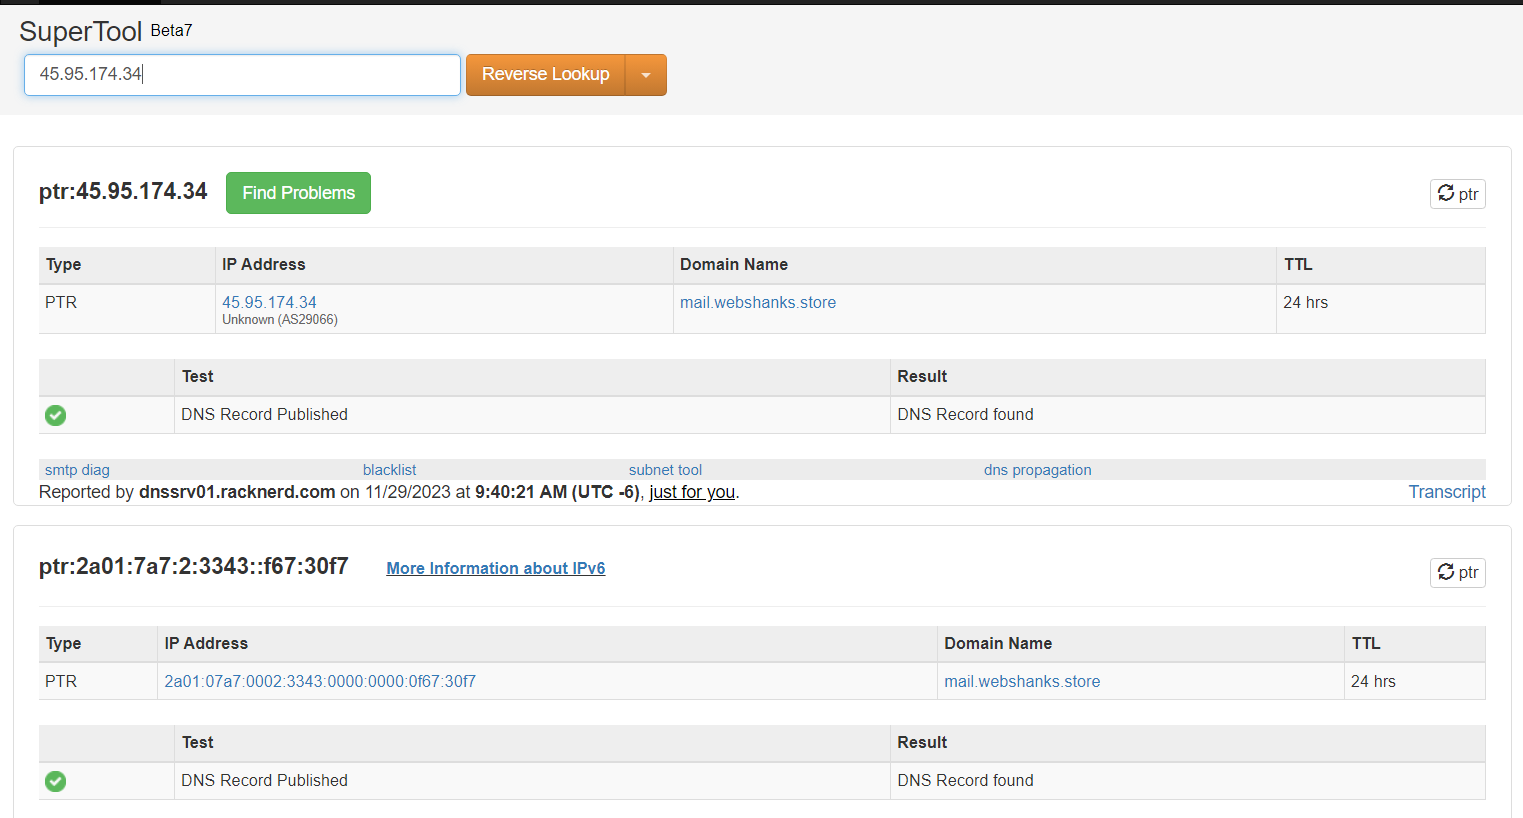
Check your PTR record if it has propagated using MXToolBox.
Wait for at least 24 hours to propagate. As you can see in the image below, my IPv4 and IPv6 are pointed to my hostname mail.webshanks.store.
Next, configure essential DNS records, including A, CNAME, MX, and TXT records. Point the MX record to your VPS’s IP address.
| Name | Type | Value |
| A | 45.95.174.34 | |
| autodiscover | CNAME | mail.webshanks.store |
| autoconfig | CNAME | mail.webshanks.store |
| @ | MX 10 | mail.webshanks.store |
These records are initial. We will continue adding additional DNS records once we install mailcow.
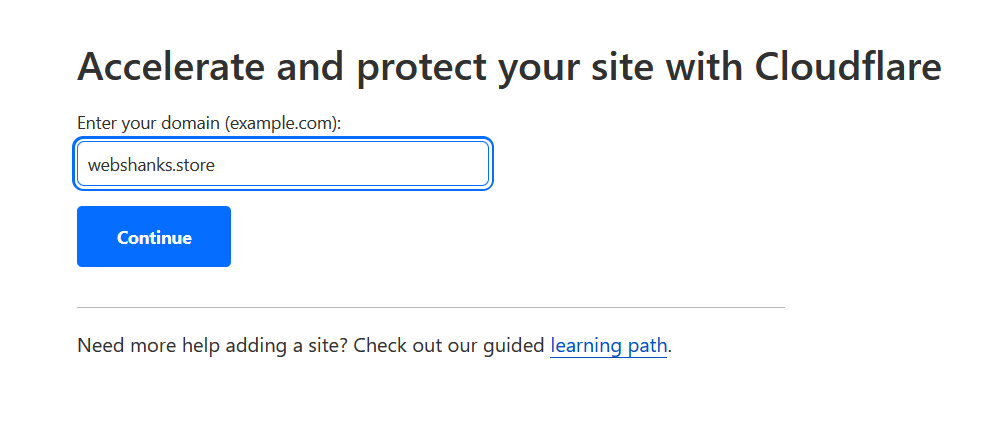
You need to sign up with Cloudflare. A free account will do.
Add your domain to Cloudflare.
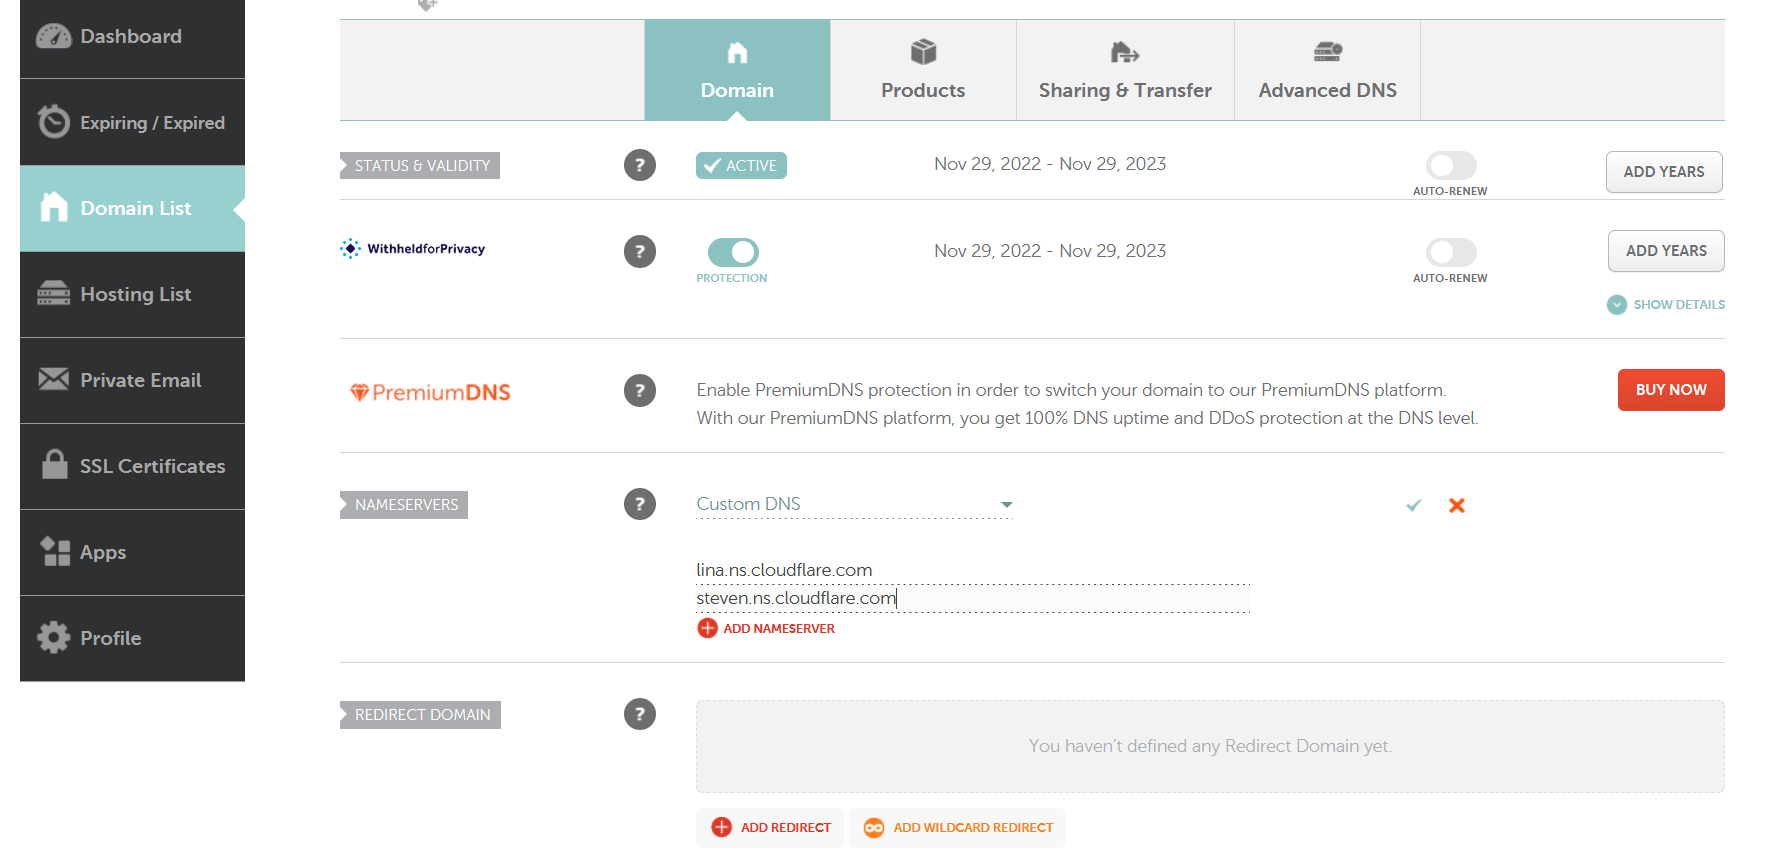
Next, add Cloudflare’s nameservers to Namecheap custom DNS.

Step 5. Install mailcow
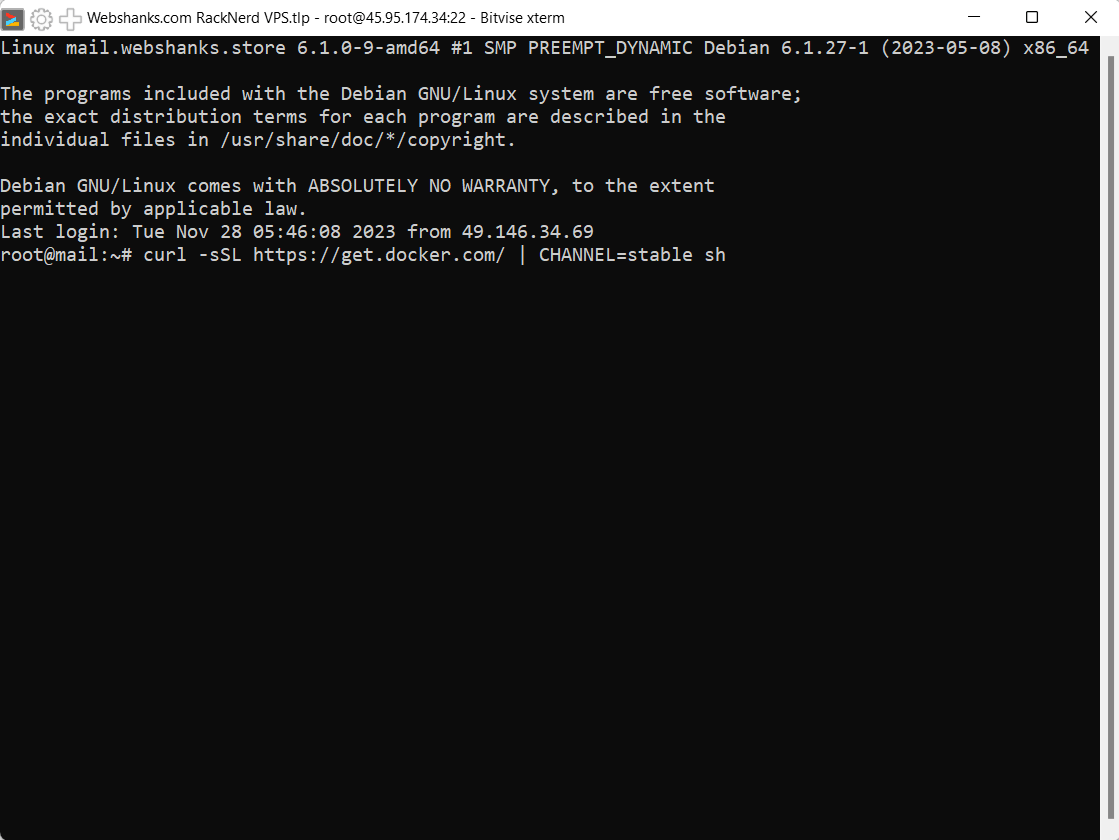
Install Docker and Docker-Compose.
curl -sSL https://get.docker.com/ | CHANNEL=stable sh
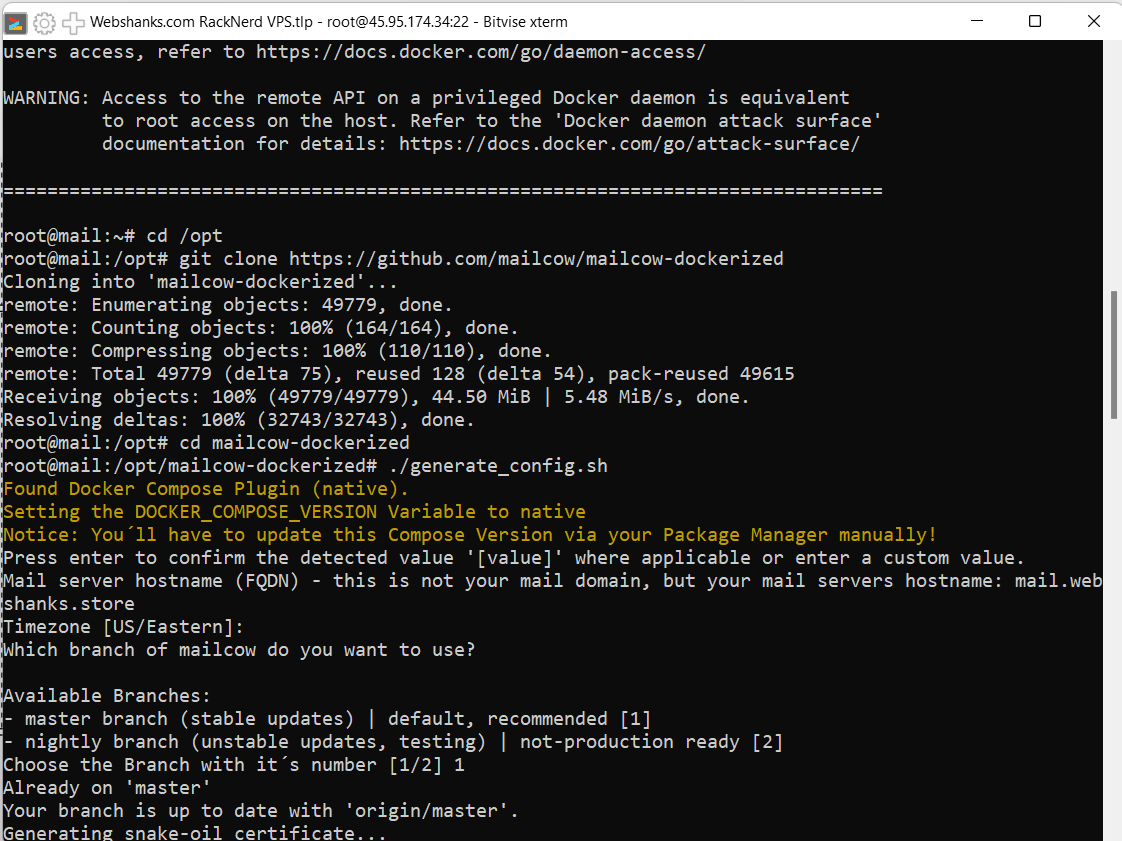
Install mailcow using the script.
$ su
# umask
0022 # <- Verify it is 0022
# cd /opt
# git clone https://github.com/mailcow/mailcow-dockerized
# cd mailcow-dockerized
Generate a configuration file. You will be asked to add an FQDN. Follow the bold words as example.
./generate_config.sh
Press enter to confirm the detected value ‘[value]’ where applicable or enter a custom value.
Mail server hostname (FQDN) – this is not your mail domain, but your mail server’s hostname: mail.webshanks.store
Timezone [US/Eastern]: (just hit enter)
Which branch of mailcow do you want to use?
Available Branches:
– master branch (stable updates) | default, recommended [1]
– nightly branch (unstable updates, testing) | not-production ready [2]
Choose the Branch with it´s number [1/2] 1
Copying snake-oil certificate…
Detecting if your IP is listed on Spamhaus Bad ASN List…
Check completed! Your IP is clean
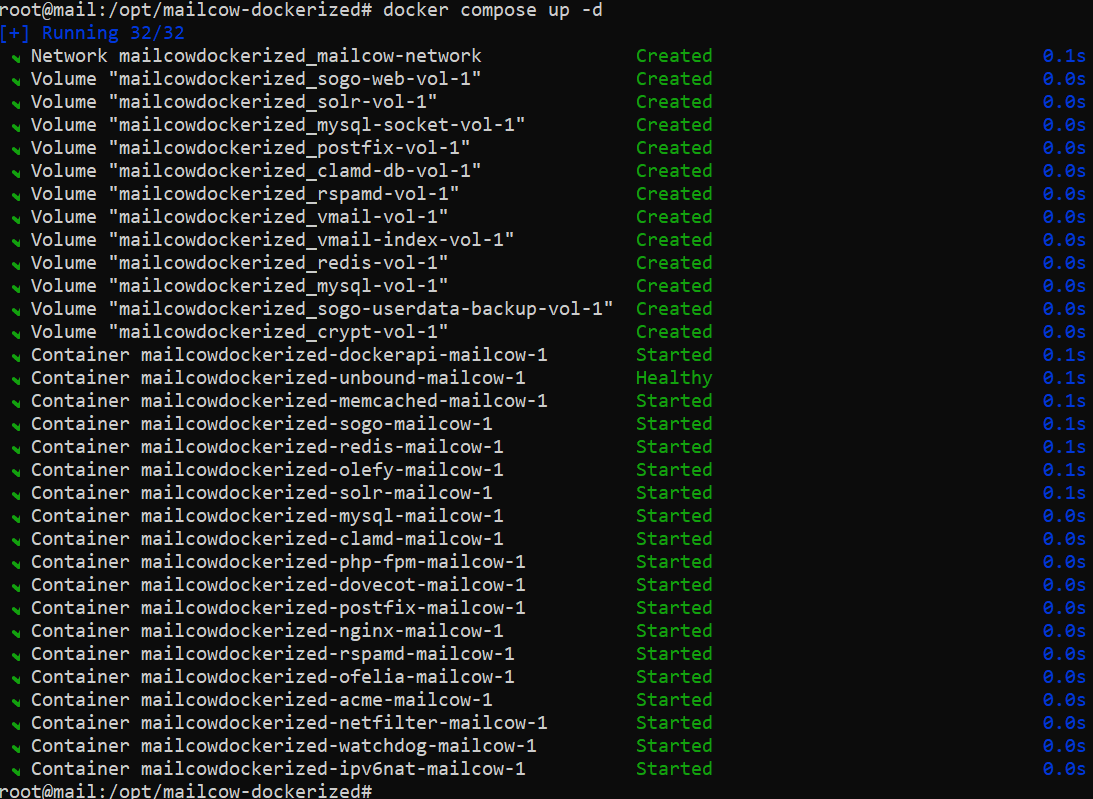
Start mailcow.
docker compose pull
docker compose up -d

Step 6. Access mailcow
Now everything’s all set, let’s access our mailcow. Go to https://yourhostname. In my example, it’ll be https://mail.webshanks.store
The default credentials are: admin/moohoo
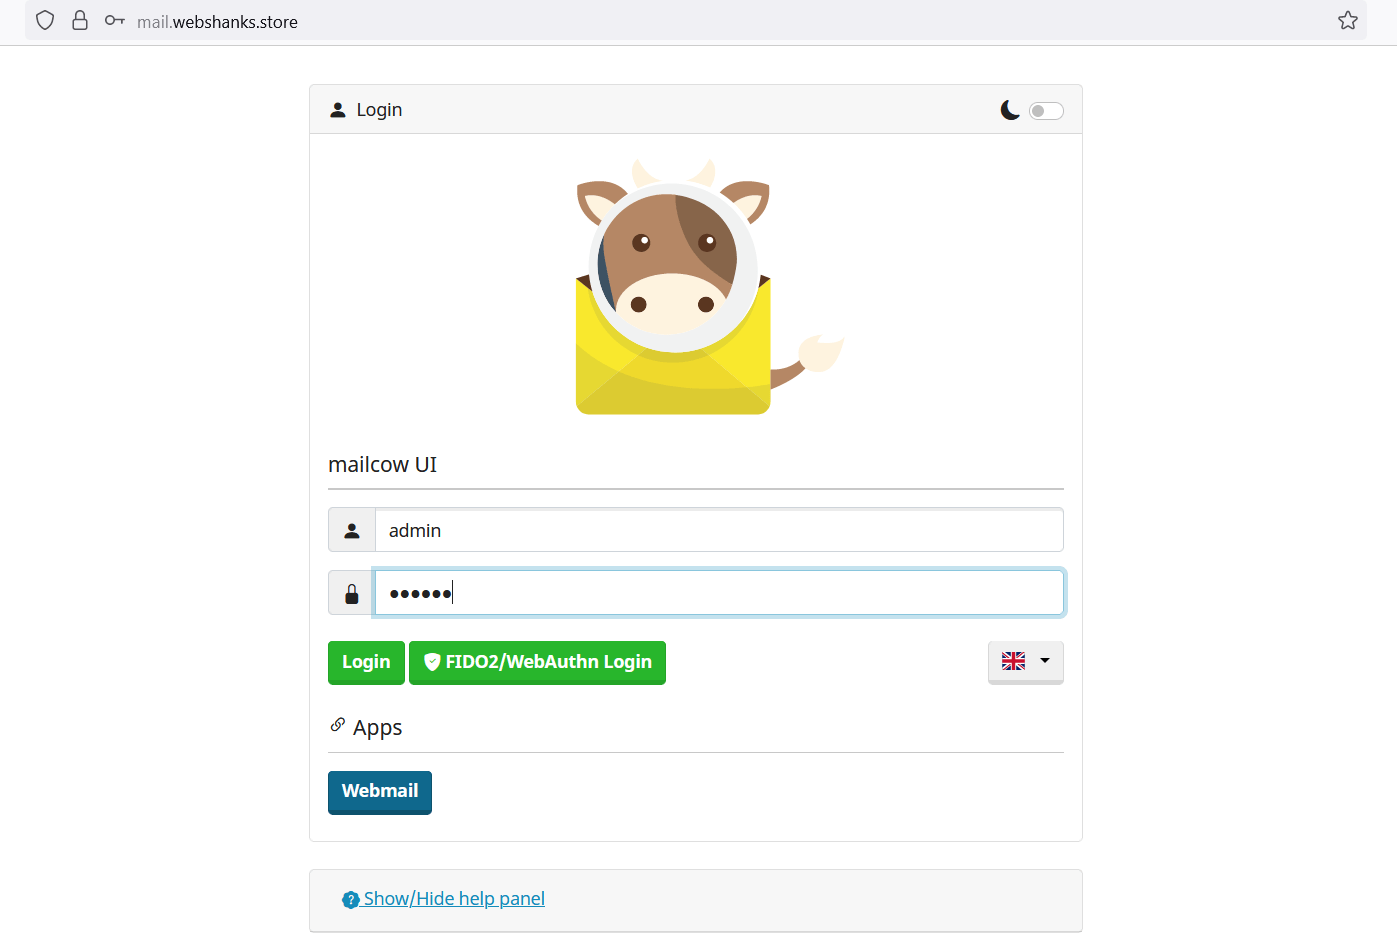
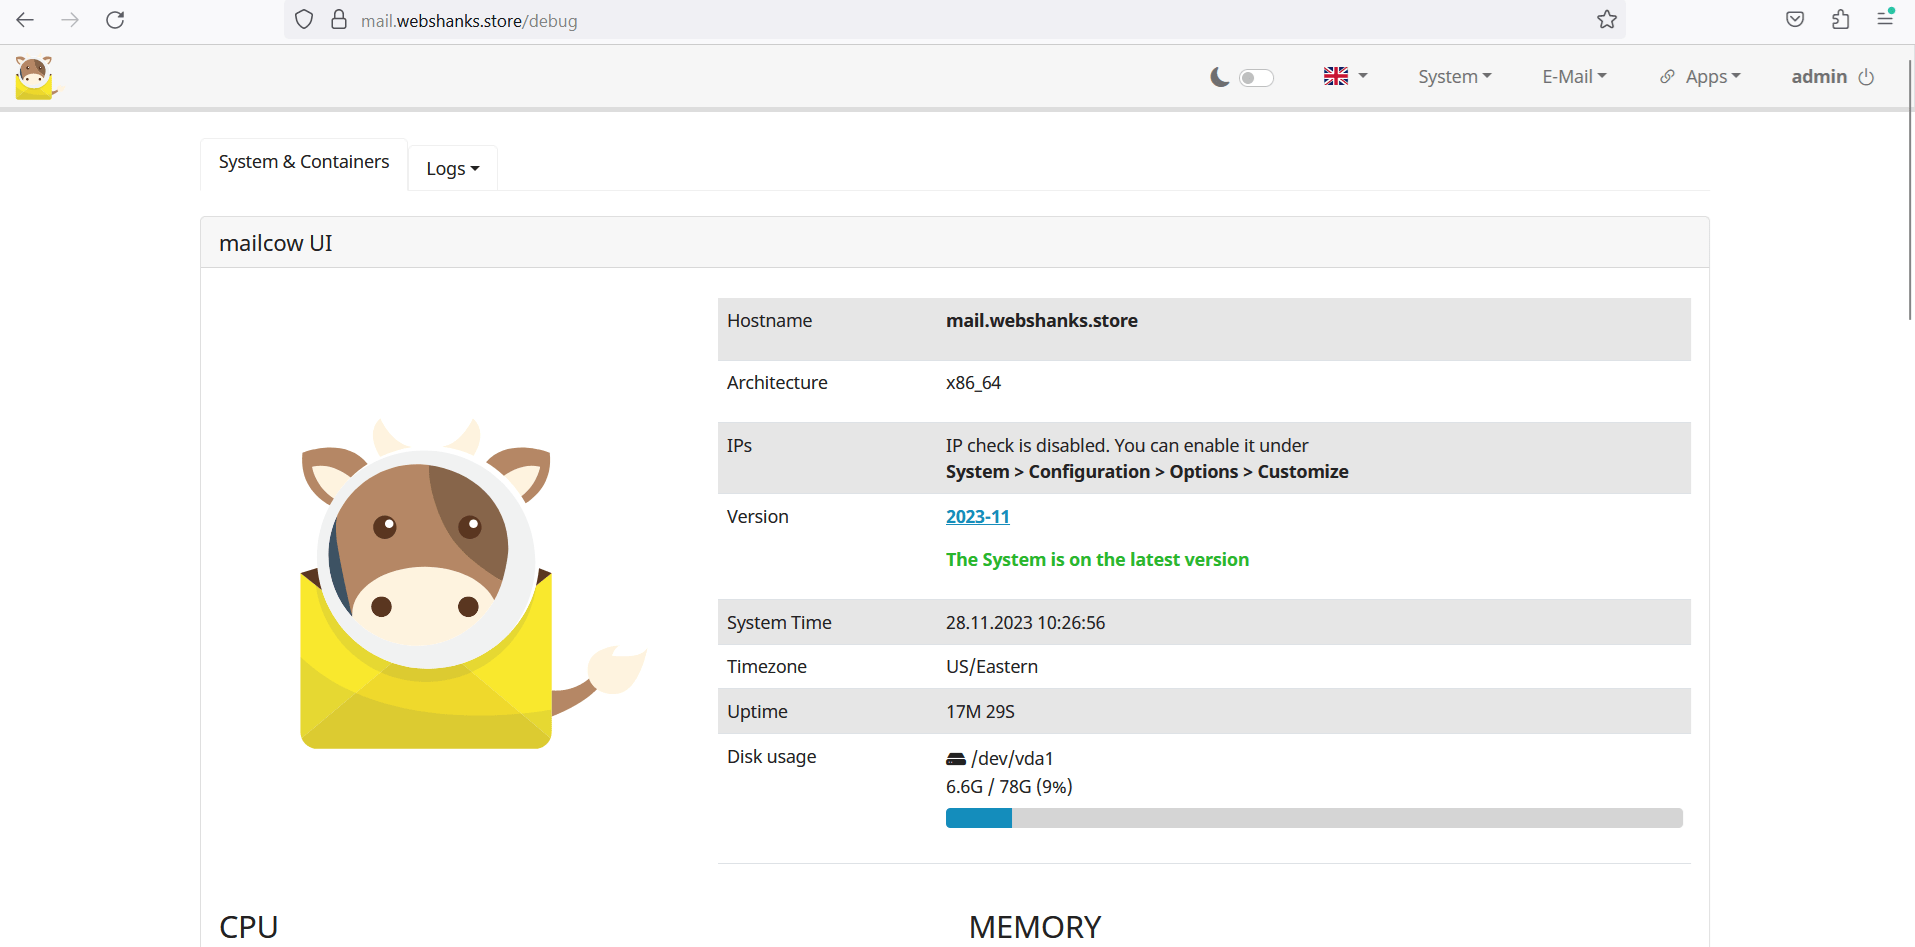
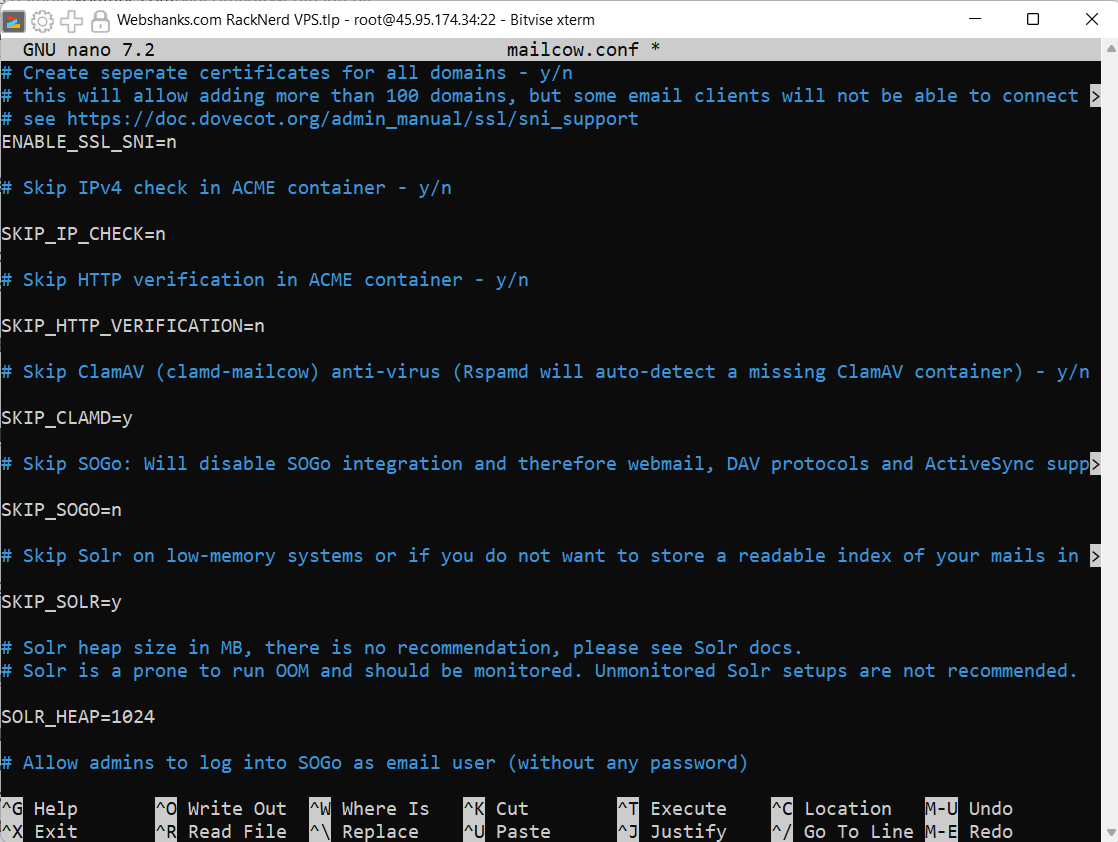
Then you will be redirected to this page. In case you are facing a blank page, try updating your timezone here mailcow.conf and sync it with your local time of your server.
Step 7. Configure Email
First things first, we will add a new administrator. We will remove the admin account for security reasons.
After creating a new admin user, logout and use the new admin user. Then delete the old admin user.
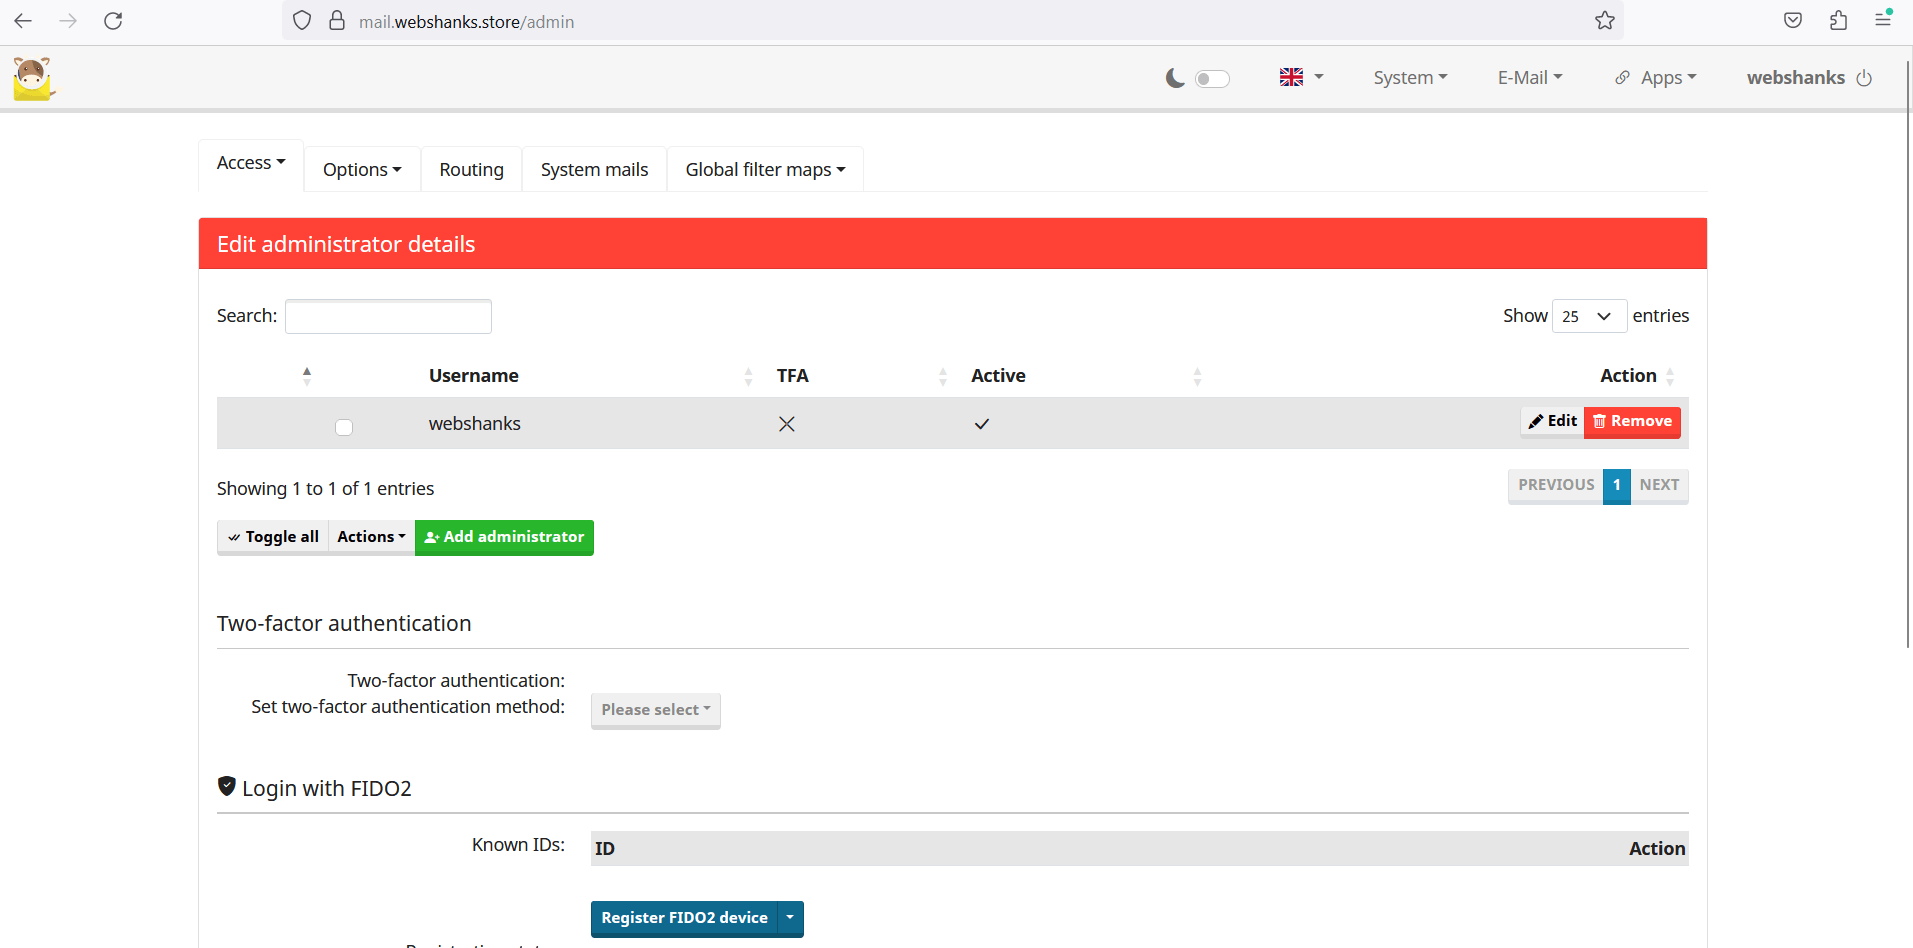
You can also enable TFA for a more secure login.
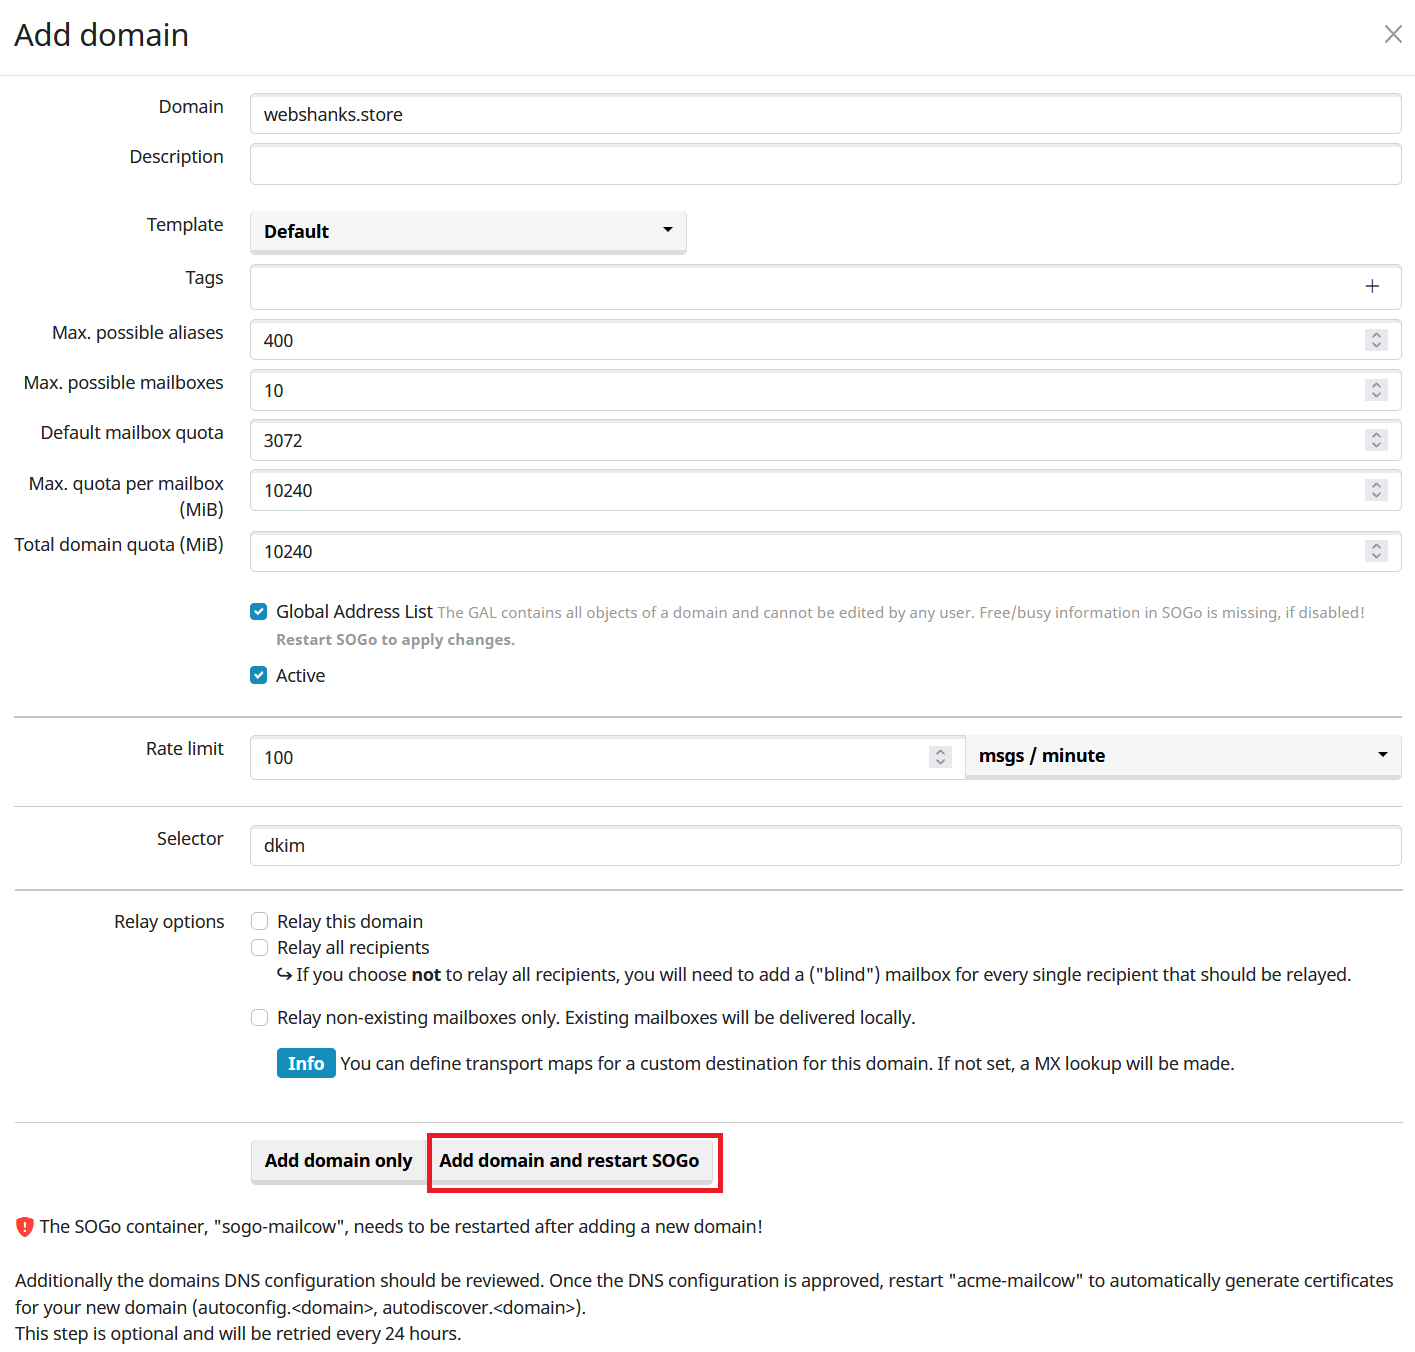
Next, we will add a domain. Go to Email > Configuration and click Add Domain.
After adding a domain, click DNS and it will display the DNS records you need to add to your domain registrar DNS.
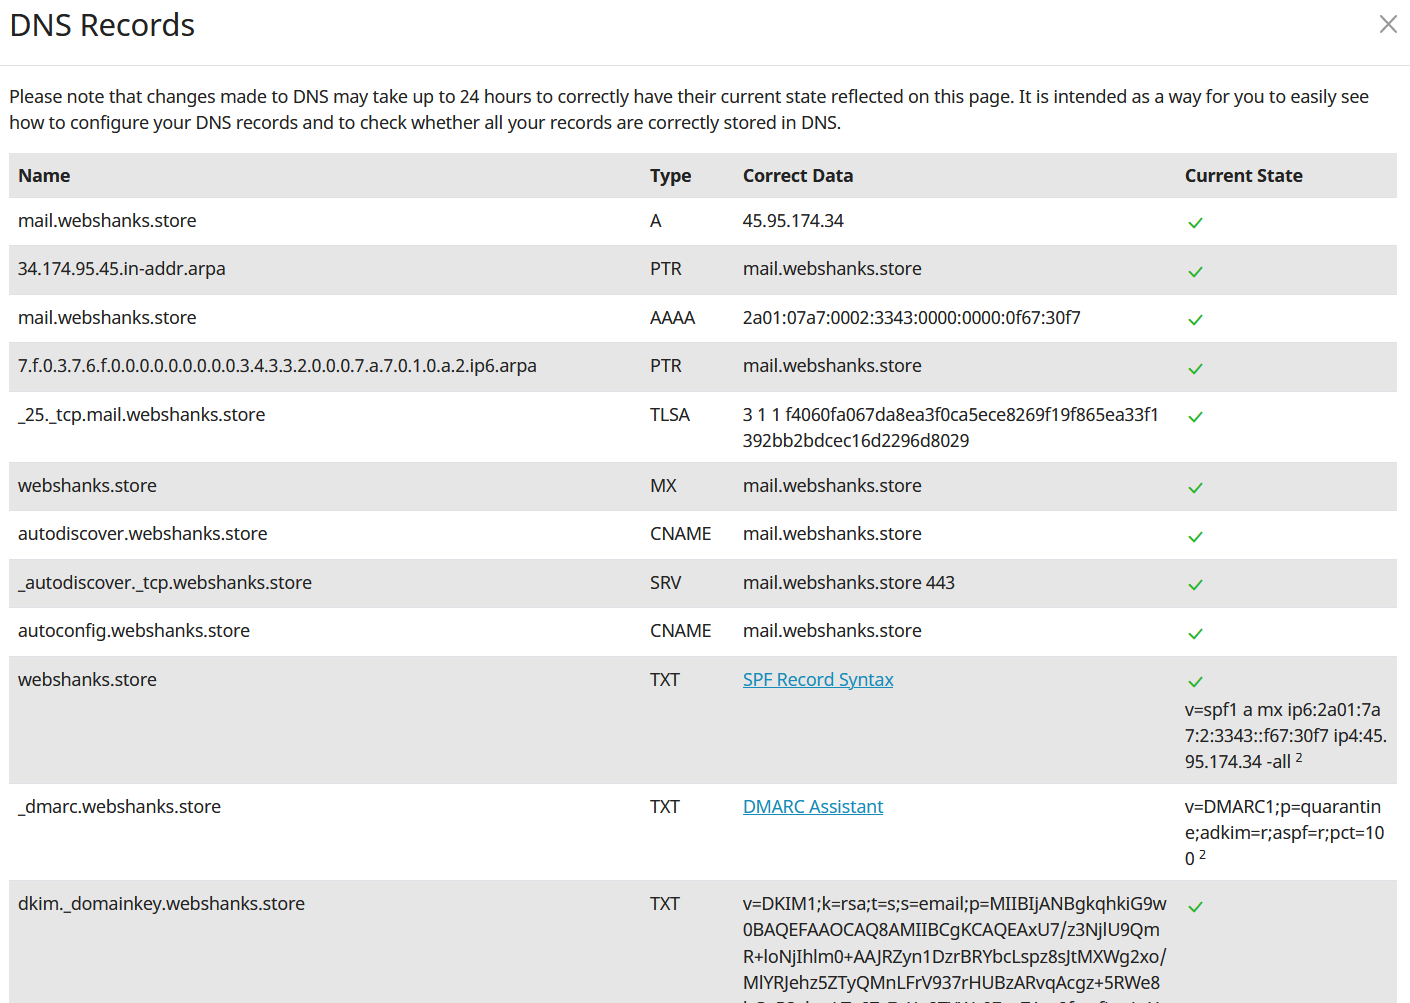
Now, go back to your domain registrar and add the DNS records.
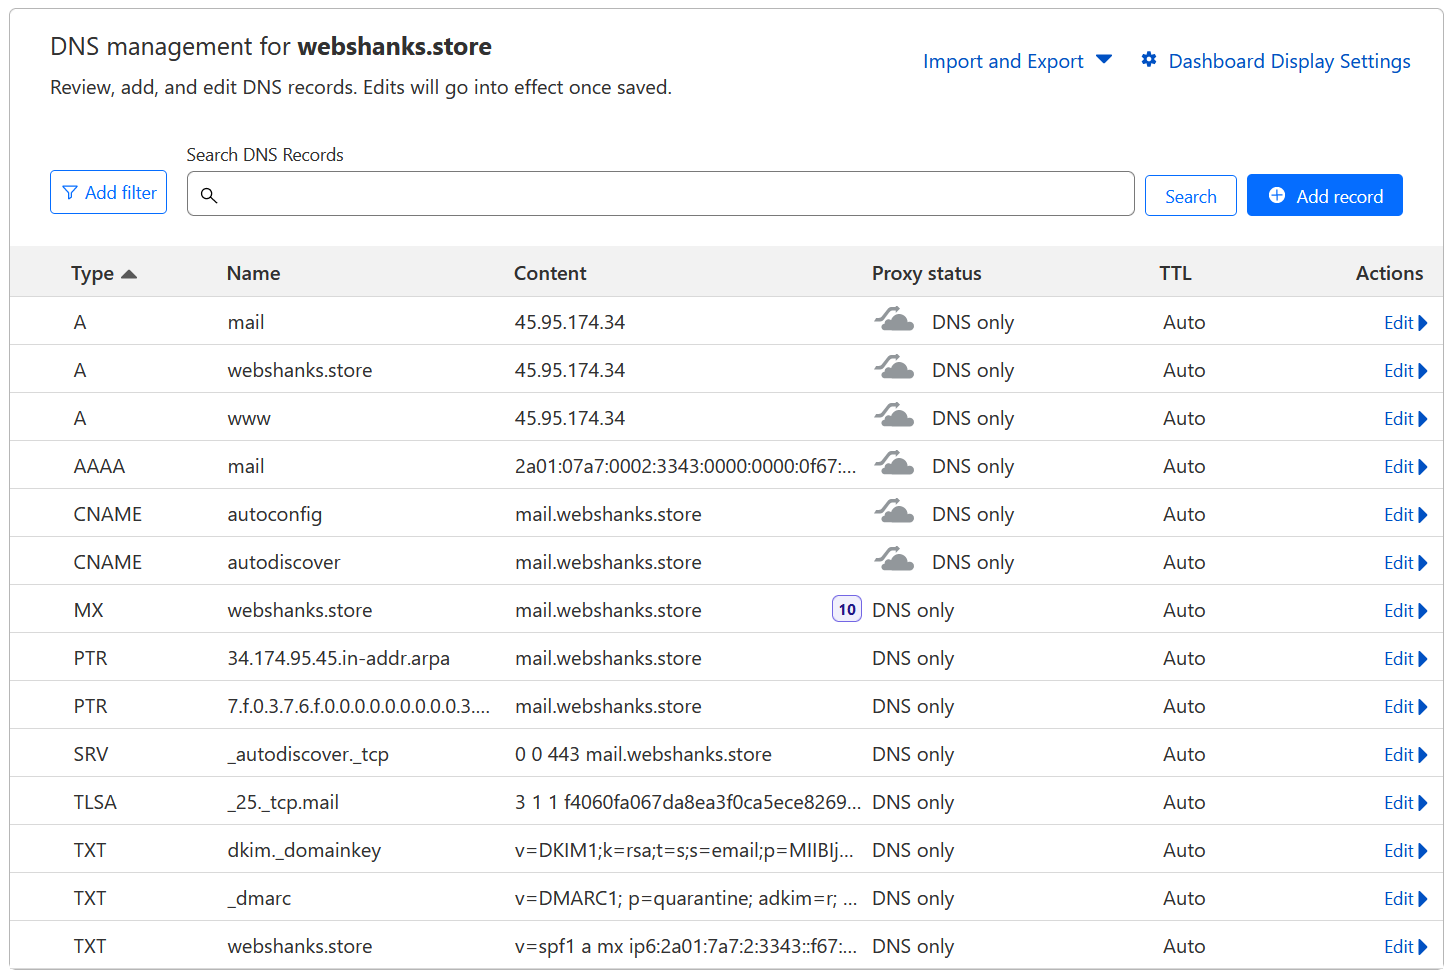
For SPF and DMARC, follow the link to create records or you can use my guides below.
For SPF, use the following I have crafted:
v=spf1 a mx ip6:2a01:7a7:2:3343::f67:30f7 ip4:45.95.174.34 -all
Be sure to change ip6 and ip4 with your server’s IPv6 and IPv4 respectively.
For DMARC, use the following:
v=DMARC1; p=quarantine; adkim=r; aspf=r; pct=100
Now we have completely added all the DNS records to Cloudflare!
Next, we will add a mailbox. Go to Mailboxes > Add mailbox.
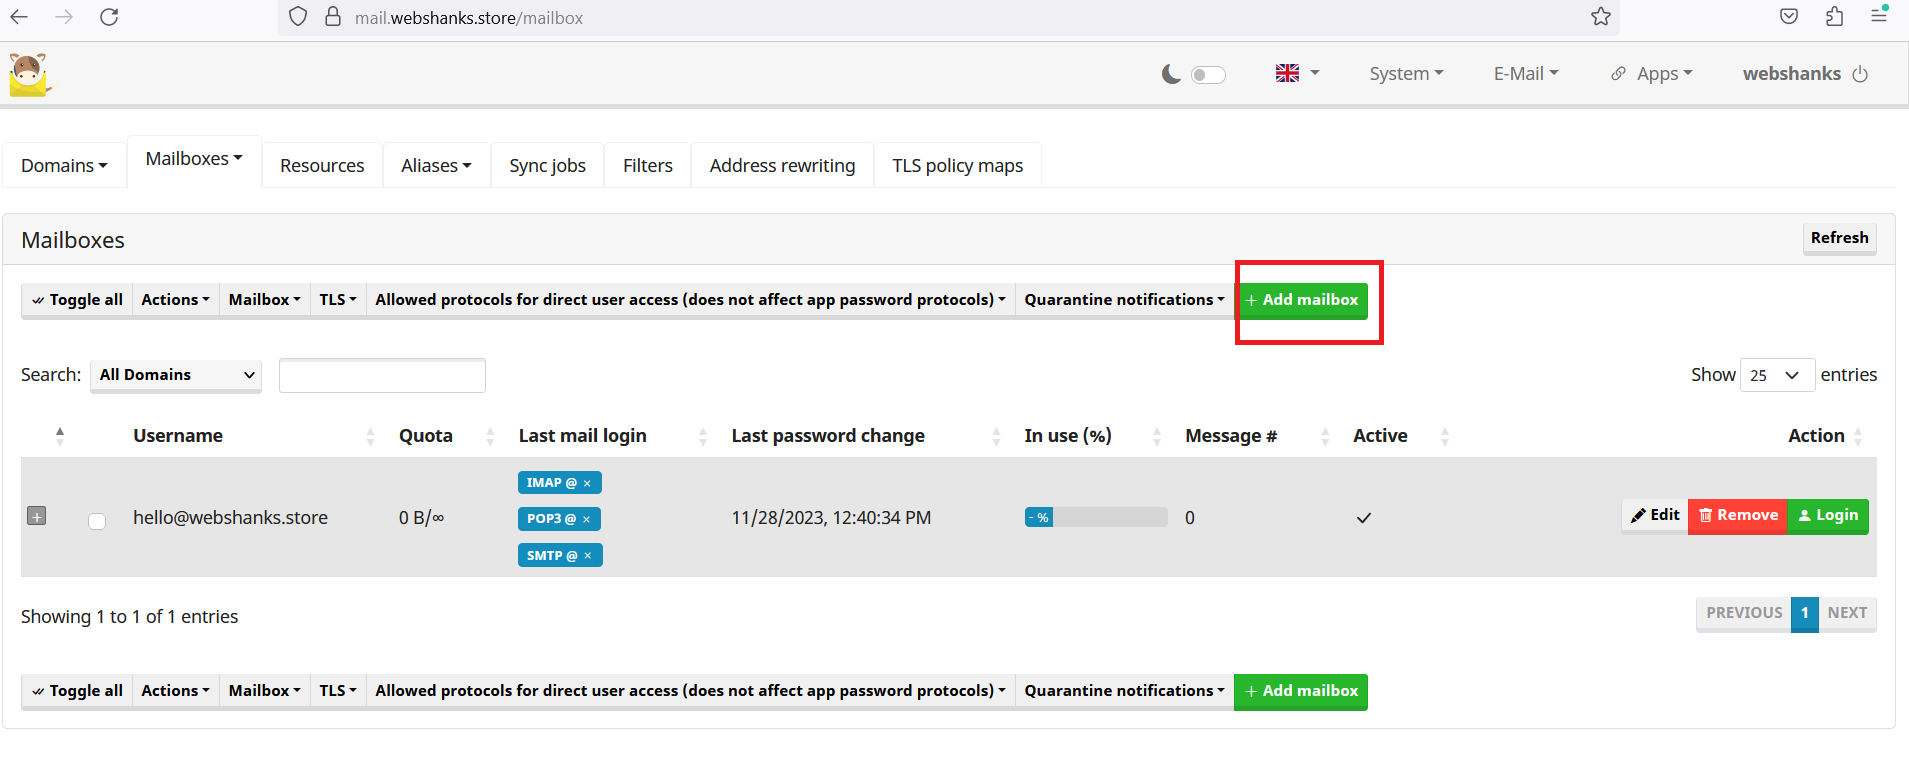
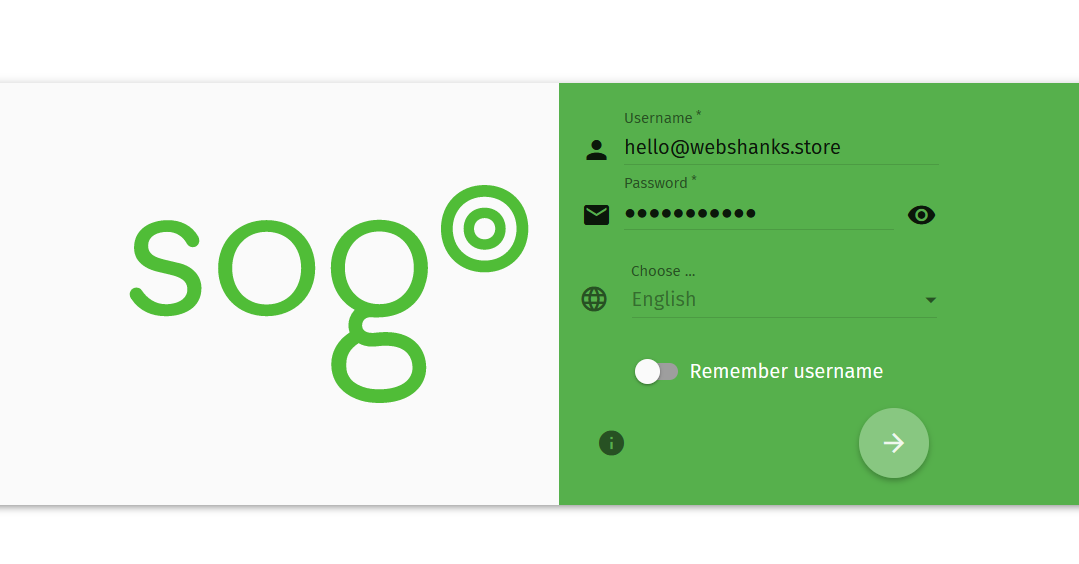
Then we will access our webmail. Go to Apps > Webmail.
Login using the mailbox credentials you’ve created.
Step 8. Test Email Deliverability
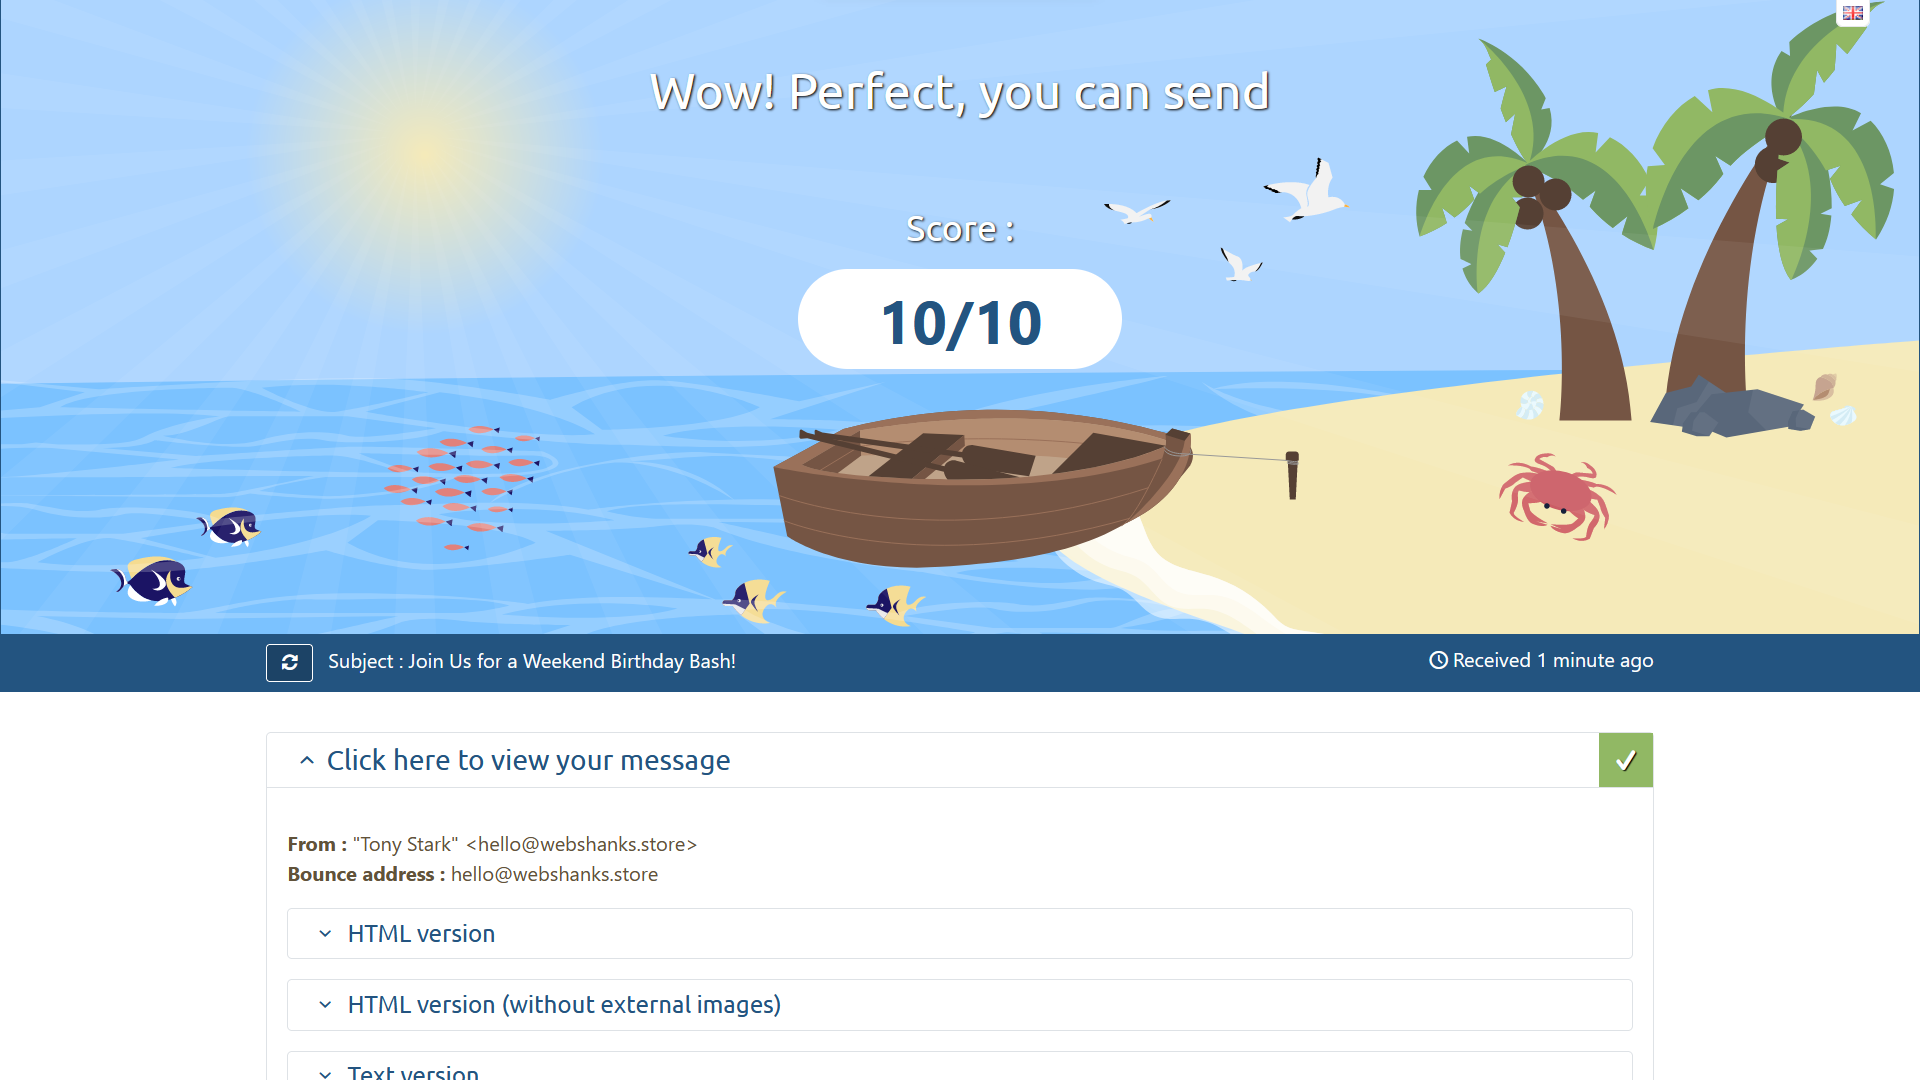
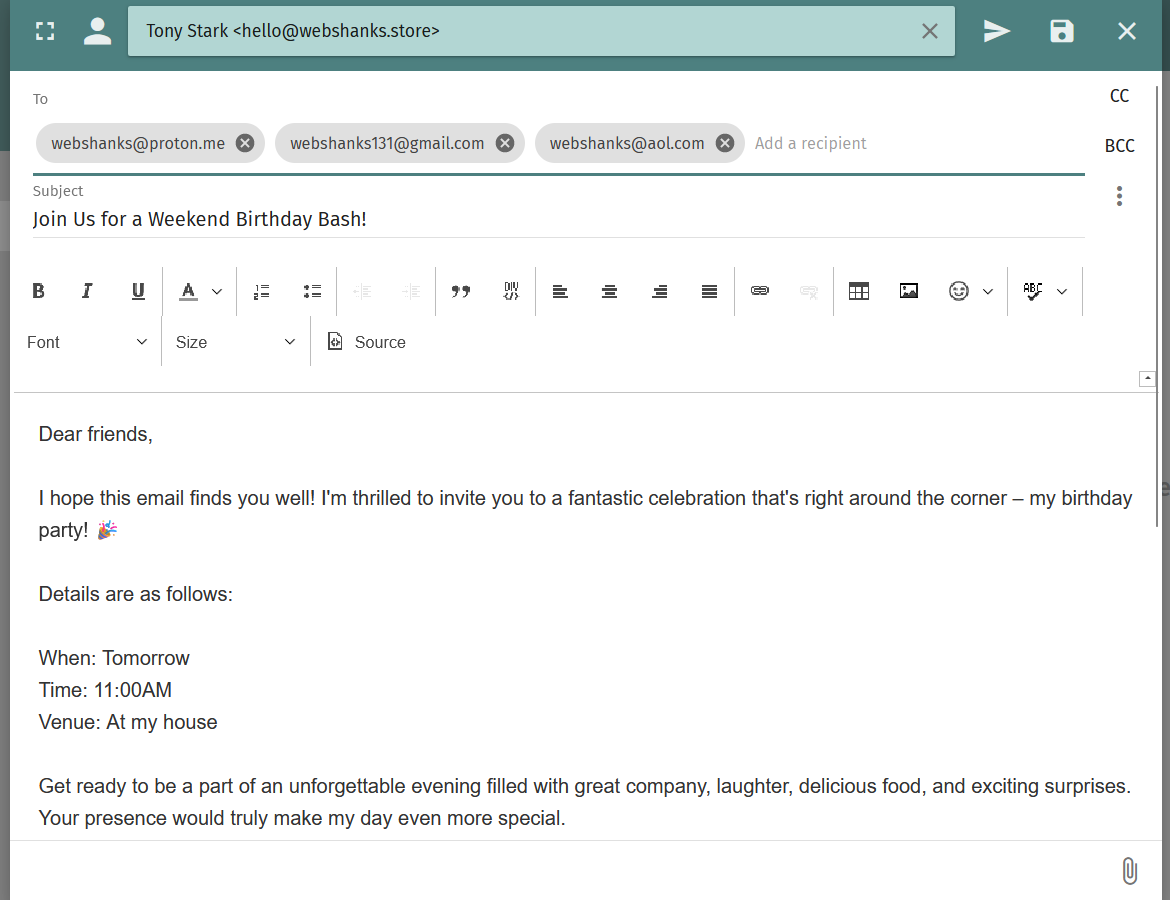
Finally, we will test our email. We will send a test mail to Mail-tester.
We will be using an email template.

And hurrah! We achieved a perfect 10/10 score!
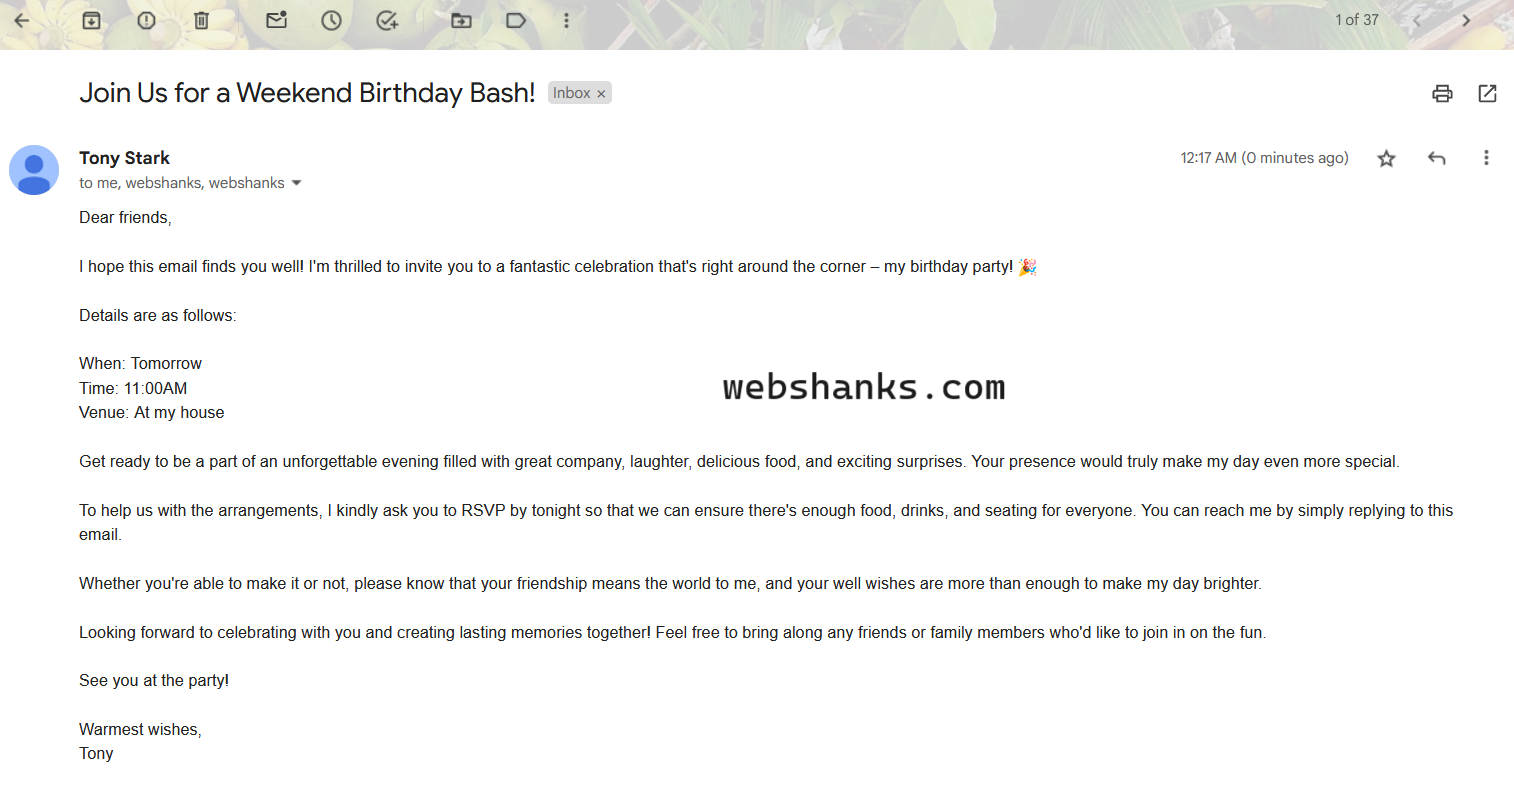
Now we will send test emails to Gmail, Proton Mail, and AOL Mail.
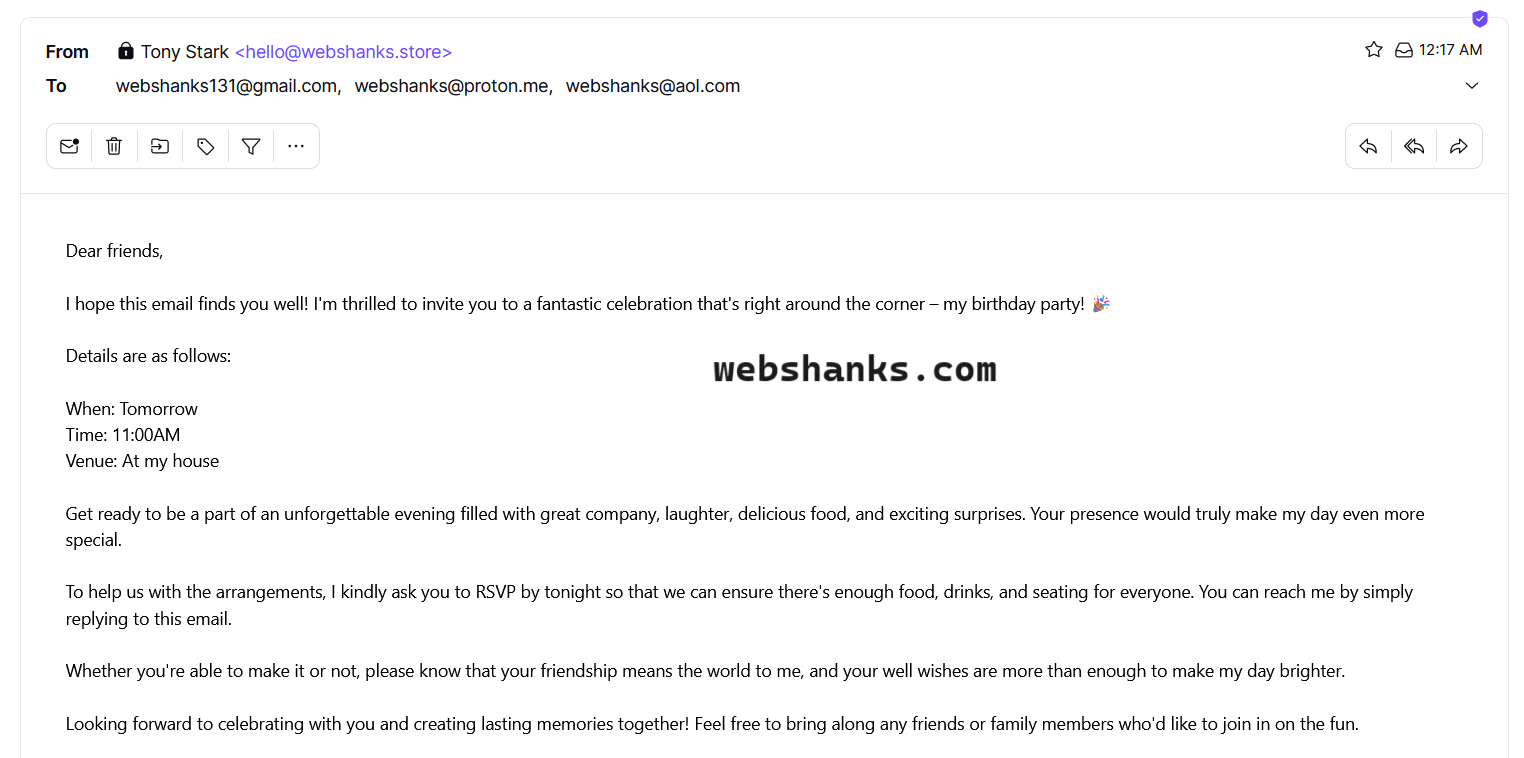
Proton Mail and Gmail went right through the inbox.
However, on AOL Mail, it went to Spam.
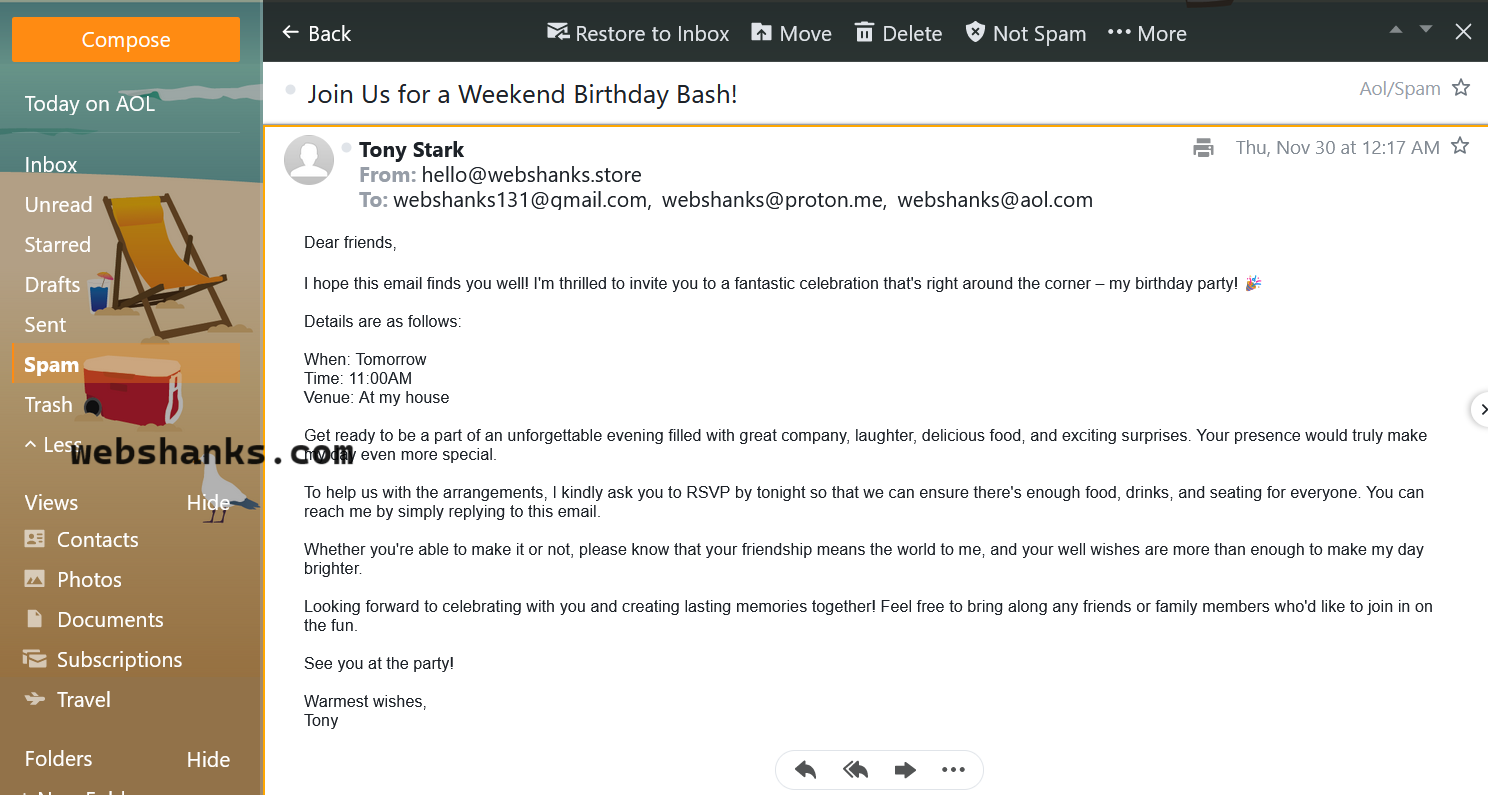
You can remedy this by warming your IP and domain.
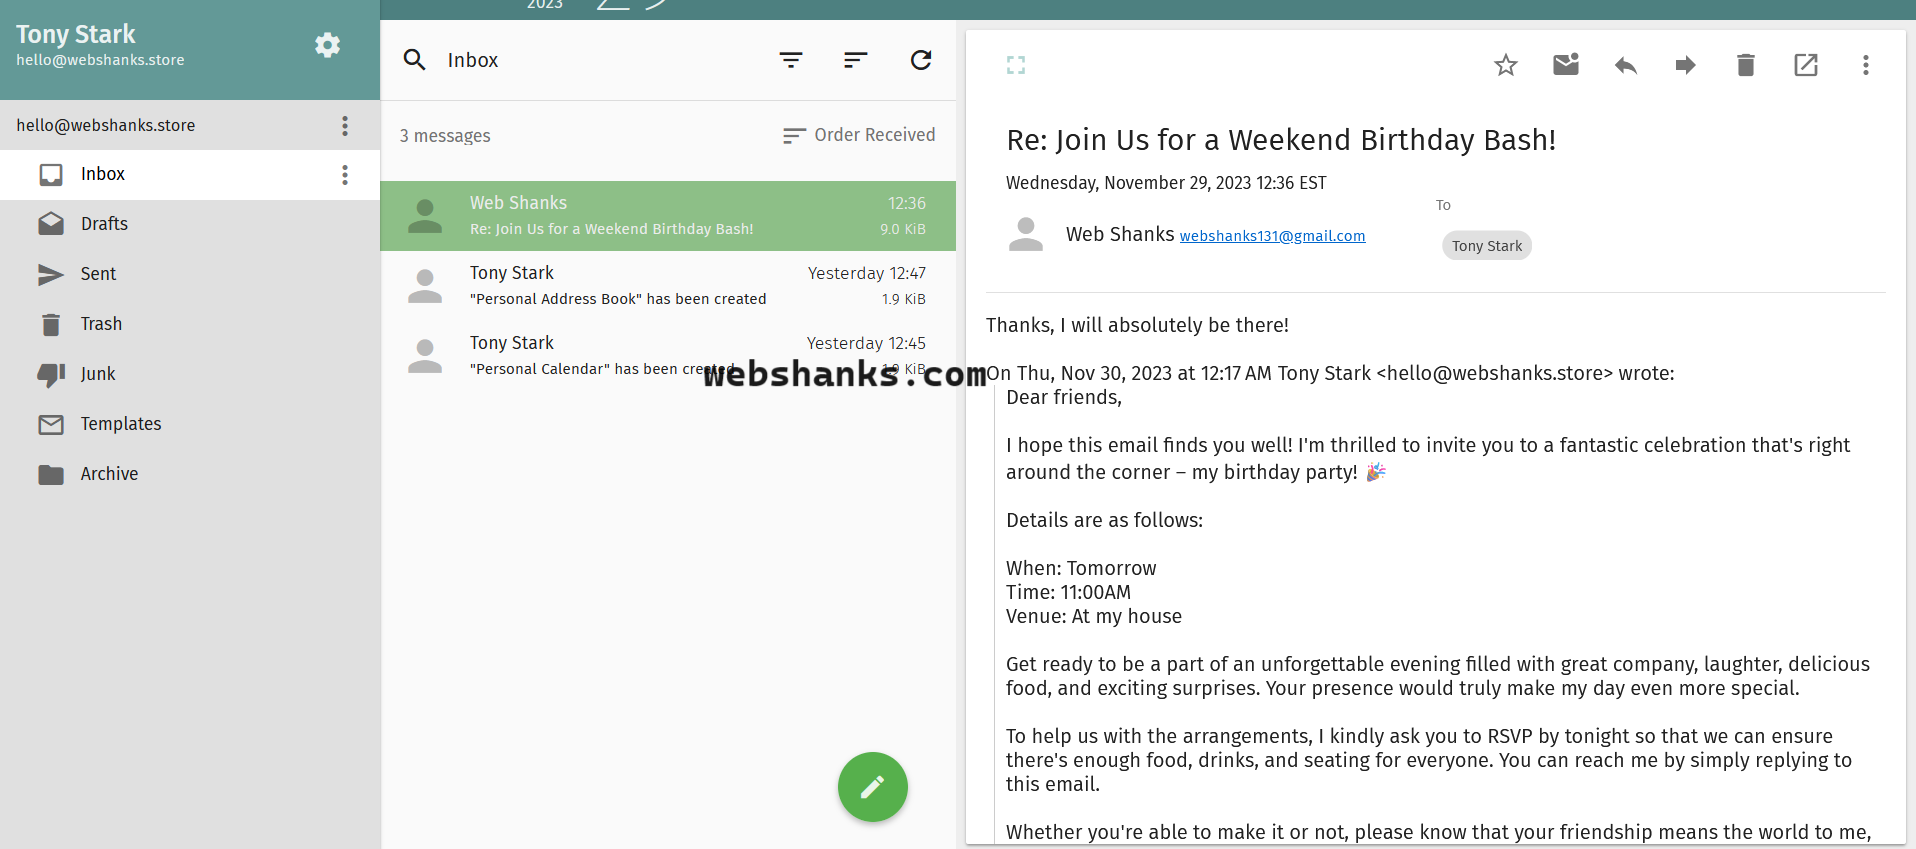
What about a reply? Let’s see if we can receive a reply from Gmail!
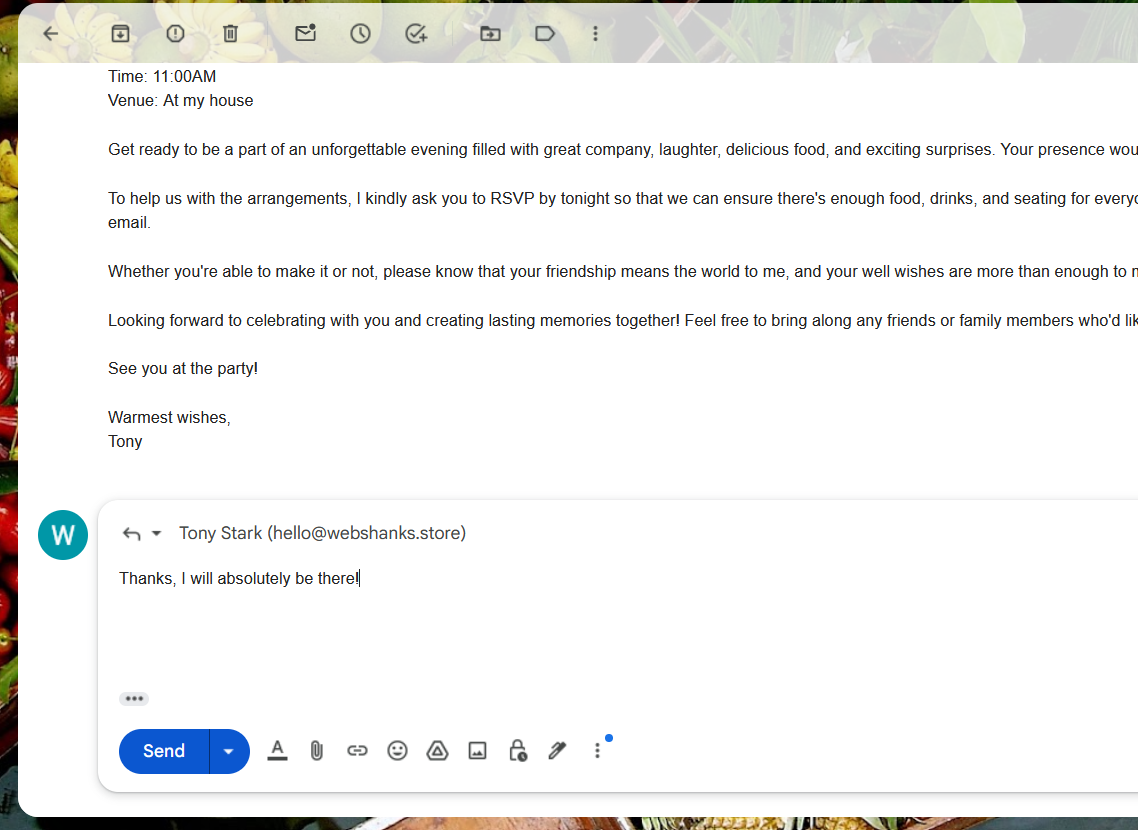
Success! We received a reply from Gmail.
Next, we will try configuring Thunderbird using our SMTP and IMAP relays.
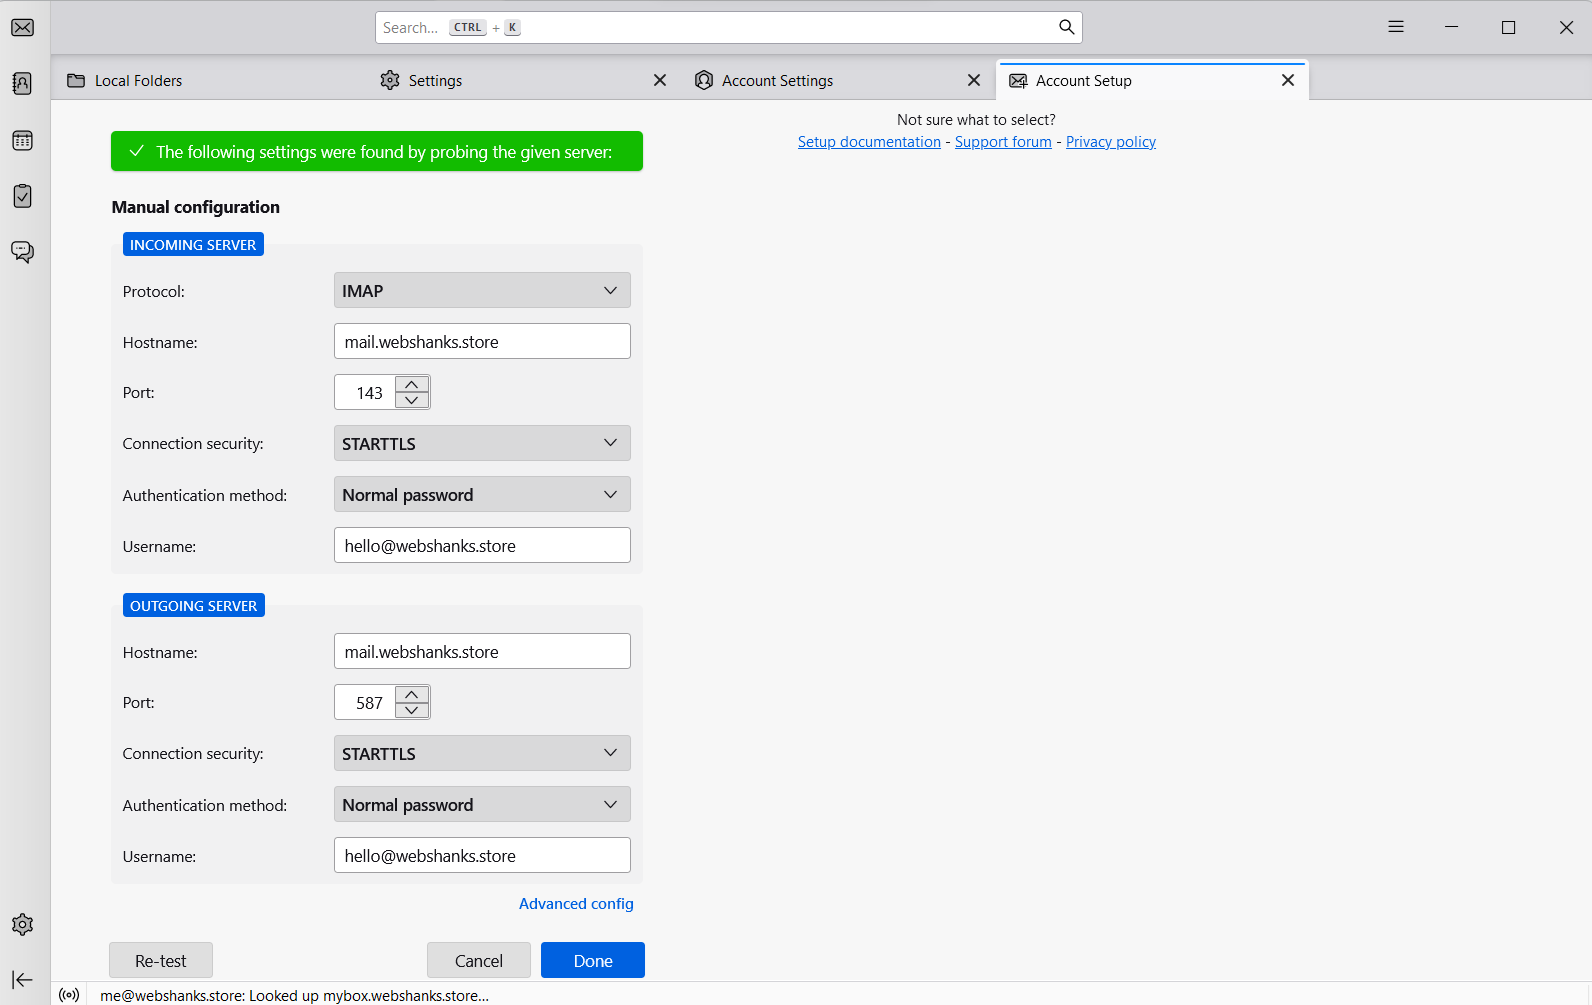
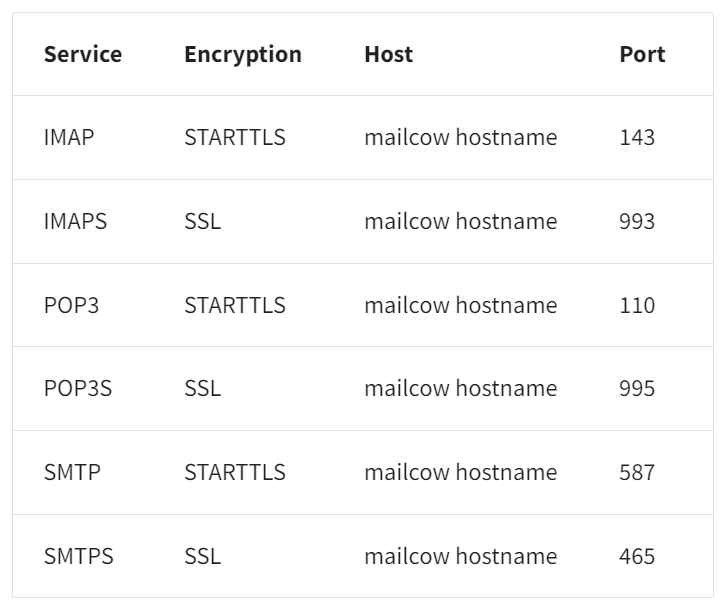
You can use the following relays to configure email clients.
Step 9. Additional Configuration: DNSSEC
Have you ever heard about DNSSEC? DNSSEC is a suite of extensions to DNS (Domain Name System) that adds an additional layer of security to the domain name infrastructure.
It’s easy to implement DNSSEC on Cloudflare.
First, Go to DNS > Settings and enable DNSSEC.
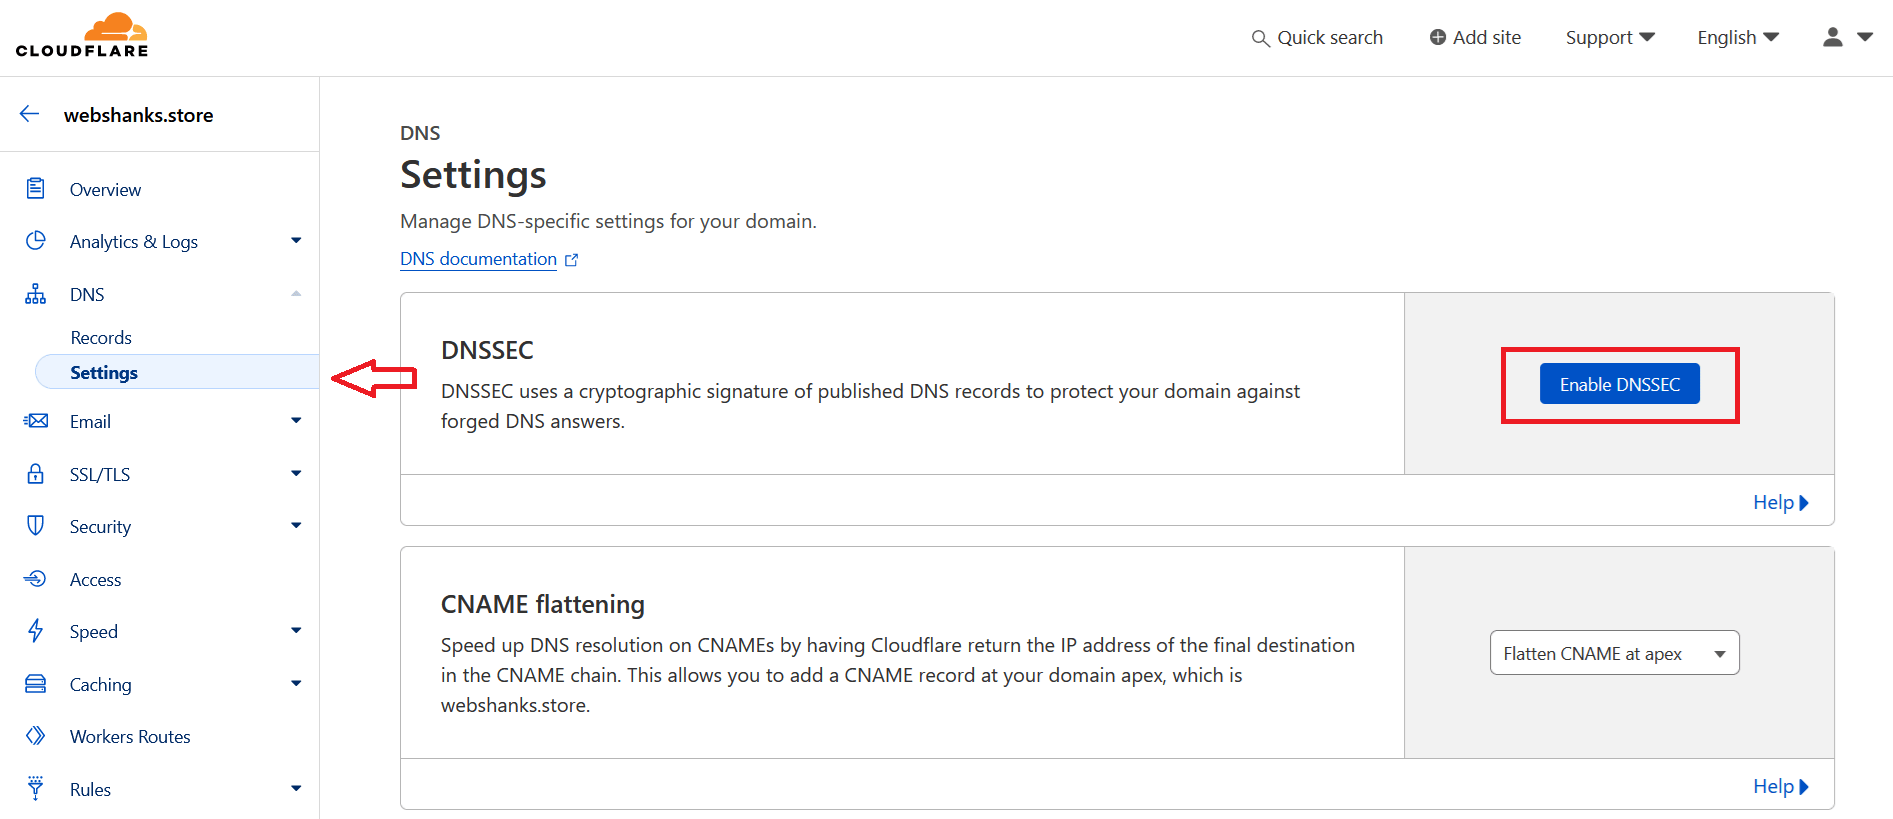
Then you will be given a DS record to be added to your domain registrar.
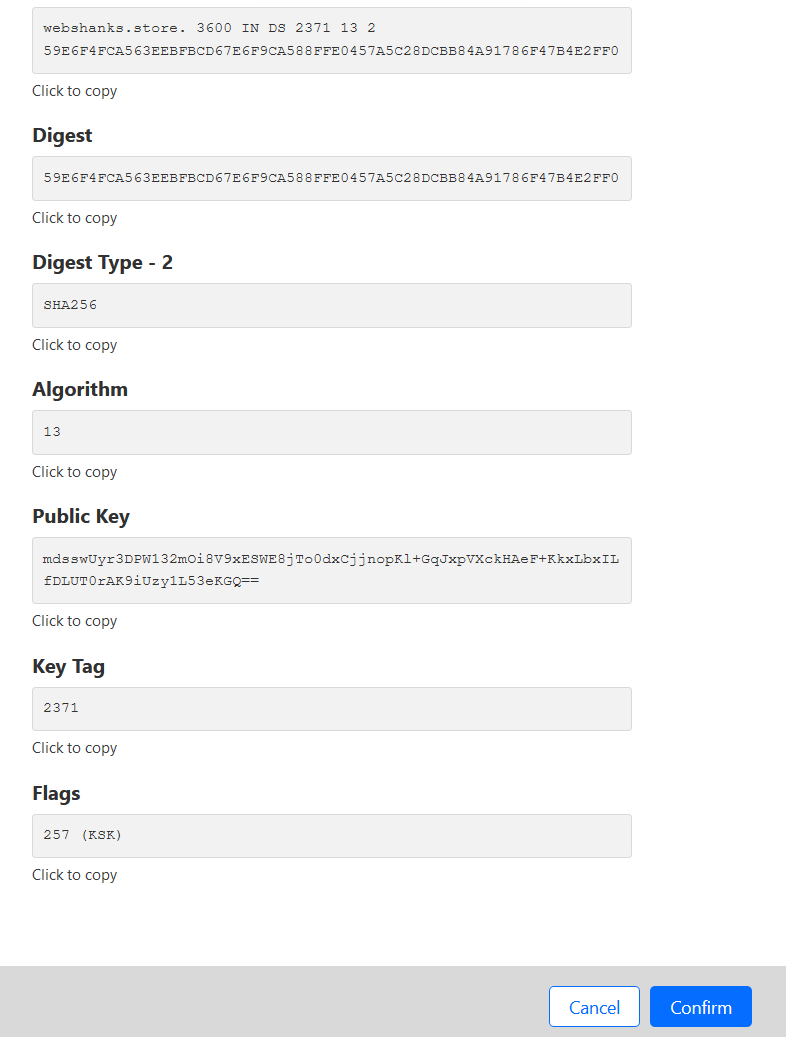
Go to Namecheap and manage your domain. Click Advanced DNS and enable Status.
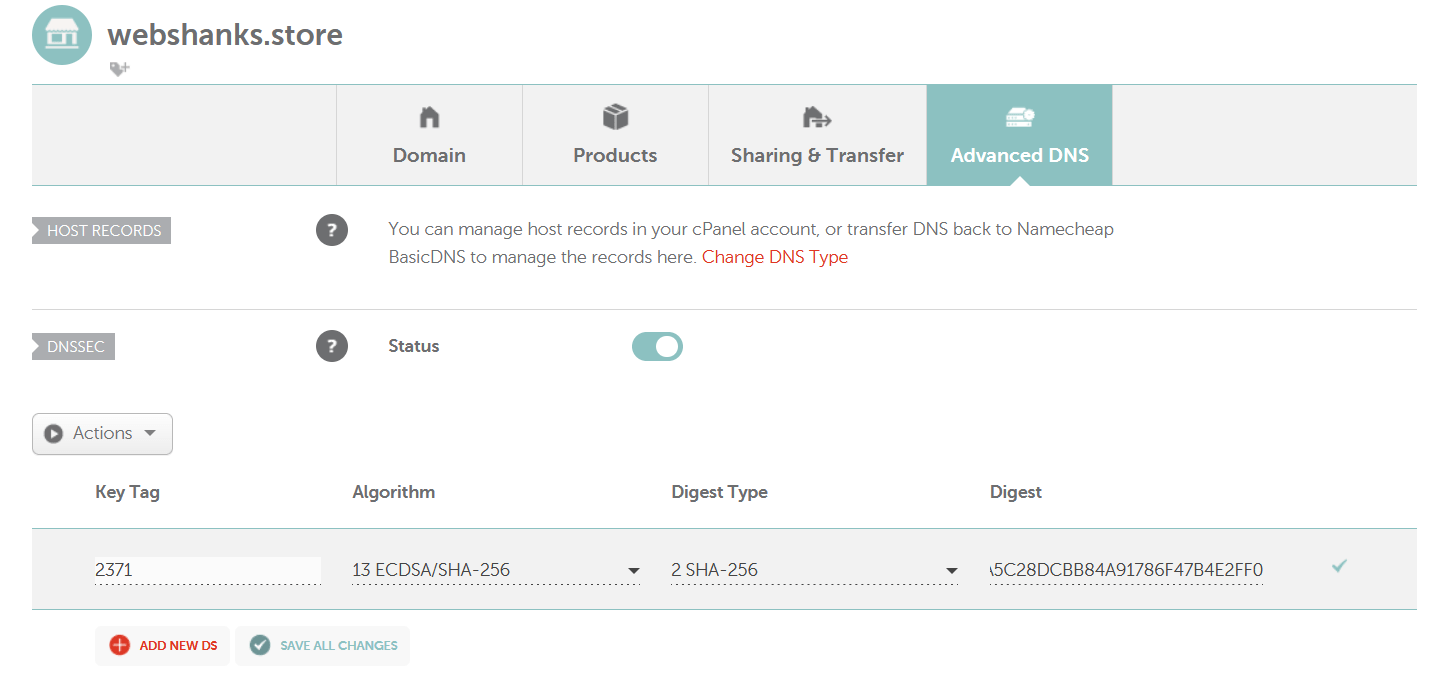
That’s it! Wait for at least 1 hour for the records to take into effect.
Step 10. Email Warmup
This is the final process. Don’t just send bulk emails in one gulp. Email providers’ sensors are sensitive. Your IP and domain might get blacklisted.
Instead, warmup your IP and domain.
How to warm them up?
You need a service called WarmupInbox.
Watch the video below on how to warmup your IP and domain.
Troubleshooting
Memory Issues
If you have 4GB RAM like mine, disable ClamAV and Solr. Set SKIP_CLAMD=y and SKIP_SOLR=y. Then reboot your server.
Firewall Issues
Ensure that your VPS firewall allows traffic on the necessary ports (80, 443, etc.).
Domain Configuration
Double-check DNS settings to ensure your domain points to the correct IP address.
Blank Page
Set your timezone with your location. Check your timezone by running timedatectl command on your CLI.
Debugging Email Delivery Problems
Check mail logs for detailed information on email delivery issues. Use online tools to analyze SPF and DKIM records Mxtoolbox or Mail-Tester.
Email Went to Spam in Gmail
Ensure that you properly mapped your DNS. Also, your IPv6 is enabled and AAAA and SPF records have the same format.
Frequently Asked Questions
How do I update mailcow?
Navigate to the mailcow directory and run: ./update.sh
Can I use a different VPS provider?
Yes, the guide is adaptable to other VPS providers with minor adjustments. But I can vouch for RackNerd.
How can I secure my mailcow installation?
Make use of a firewall, keep software updated, and regularly monitor logs for suspicious activity. Use a secure password and enable 2FA.
Conclusion
Congratulations! You’ve successfully set up and configured mailcow on your RackNerd VPS. Remember to monitor your mail server regularly, perform routine maintenance, and stay informed about updates and security best practices.
If you encounter any issues, refer to the troubleshooting section or seek help from the mailcow community.
You can also comment on your questions down below.
Just got my racknerd vps and upon checking based on your recommendation, the ip address got the UCEPROTECTL3. For this, if i contact support, do you know will they change to a new ip address for me?
Hi Peter,
Let them know that your IP is on UCEPROTECTL3 and request to transfer your VPS to another node to get a new IP. They’ll do it for free.
Hello Webshanks,
Sorry but why it is necessary to use Cloudflare DNS as domain registrar ?
Merci
There’s a record like PTR that Cloudflare has while Namecheap for example doesn’t have. You can use other registrars as long as it has all the records required for mailcow.
Yes, I discovered this fact, Cloudflare DNS have more option, my registrar is Hostinger, same thing than Namecheap !
Thank your for this Tutorial, just insane !
You are welcome!