 Warming up your IP address and domain is a crucial step in email marketing to establish a positive sending reputation with internet service providers (ISPs) and ensure your emails land in recipients’ inboxes rather than their spam folders.
Here’s a general process for warming up your IP address and domain, followed by a sample 30-day manual IP warming table:
For automatic warmup, we will use Warmup Inbox.
IP and Domain Warmup Process:
- Start Slowly: Begin by sending a low volume of emails, gradually increasing the volume over time. This helps ISPs recognize your IP as a legitimate sender.
- Maintain Consistency: Send emails consistently during the warming period to show a pattern of responsible behavior.
- Monitor Engagement: Pay attention to open rates, click-through rates, and other engagement metrics. ISPs look at these to determine if recipients find your emails valuable.
- Manage Bounces: Keep an eye on bounced emails and remove invalid email addresses from your list to maintain good deliverability.
- Segment Your List: Divide your email list into smaller segments and warm up each segment separately. This prevents overwhelming your IP with a sudden surge of emails.
- Use Quality Content: Send relevant and engaging content that encourages recipients to interact with your emails.
- Gradually Increase Volume: Increase your email volume every few days, but don’t exceed the recommended threshold for your ESP (email service provider).
- Monitor Deliverability: Keep a close watch on your deliverability rates and inbox placement. Adjust your warming strategy if you notice any issues.
Sample 30-Day Manual IP and Domain Warm Up Table
Here’s a sample IP warming table for a 30-day period. Adjust the volume and timing based on your specific situation and ESP recommendations:
| Day | Volume | Phase | Notes |
|---|---|---|---|
| 1 | 100 | Initial Warm-up | Start with engaged recipients. |
| 2 | 130 | Initial Warm-up | Gradually increase volume. |
| 3 | 170 | Initial Warm-up | Continue incremental increase. |
| 4 | 220 | Initial Warm-up | Aim for a steady upward trajectory. |
| 5 | 290 | Initial Warm-up | Reach a total of 500 emails/day. |
| 6 | 380 | Initial Warm-up | Maintain volume for consistency. |
| 7 | 500 | Initial Warm-up | Stable volume to conclude the first week. |
| 8 | 500 | Moderate Warm-up | Keep volume steady for continuity. |
| 9 | 500 | Moderate Warm-up | Maintain sending rhythm. |
| 10 | 650 | Moderate Warm-up | Gradually increase volume. |
| 11 | 850 | Moderate Warm-up | Continue upward progression. |
| 12 | 1,100 | Moderate Warm-up | Total volume of 1,000 emails/day. |
| 13 | 1,400 | Moderate Warm-up | Consistent and gradual increase. |
| 14 | 1,800 | Moderate Warm-up | Stable volume for the second week. |
| 15 | 2,000 | Intensive Warm-up | Begin more intensive phase. |
| 16 | 2,000 | Intensive Warm-up | Maintain the 2,000 emails/day volume. |
| 17 | 2,200 | Intensive Warm-up | Gradually increase the volume. |
| 18 | 2,500 | Intensive Warm-up | Continue steady upward trend. |
| 19 | 2,800 | Intensive Warm-up | Aim for consistent growth. |
| 20 | 3,100 | Intensive Warm-up | Total volume of 2,000 emails/day. |
| 21 | 3,500 | Intensive Warm-up | Stable sending rhythm. |
| 22 | 3,500 | Final Warm-up | Maintain volume for stability. |
| 23 | 3,800 | Final Warm-up | Gradually increase the volume. |
| 24 | 4,200 | Final Warm-up | Continue upward trajectory. |
| 25 | 4,600 | Final Warm-up | Consistent volume for the last week. |
| 26 | 5,000 | Final Warm-up | Reach regular sending volume. |
| 27 | 5,000 | Final Warm-up | Continue steady volume. |
| 28 | 5,500 | Final Warm-up | Gradually increase the volume. |
| 29 | 6,000 | Final Warm-up | Prepare for full-scale sending. |
| 30 | 8,000 | Final Warm-up | Reach intended daily volume. |
Remember that this is just a sample table. The actual warming schedule can vary depending on factors like your specific ESP’s guidelines, the quality of your email list, and your industry’s norms.
Regularly monitor your engagement metrics, deliverability rates, and ISP feedback to fine-tune your warming strategy and maintain a healthy sender reputation.
Automatic IP and Domain Warming Up
You need a service like warmupinbox.com to automatically warm your IP up without lifting a finger.
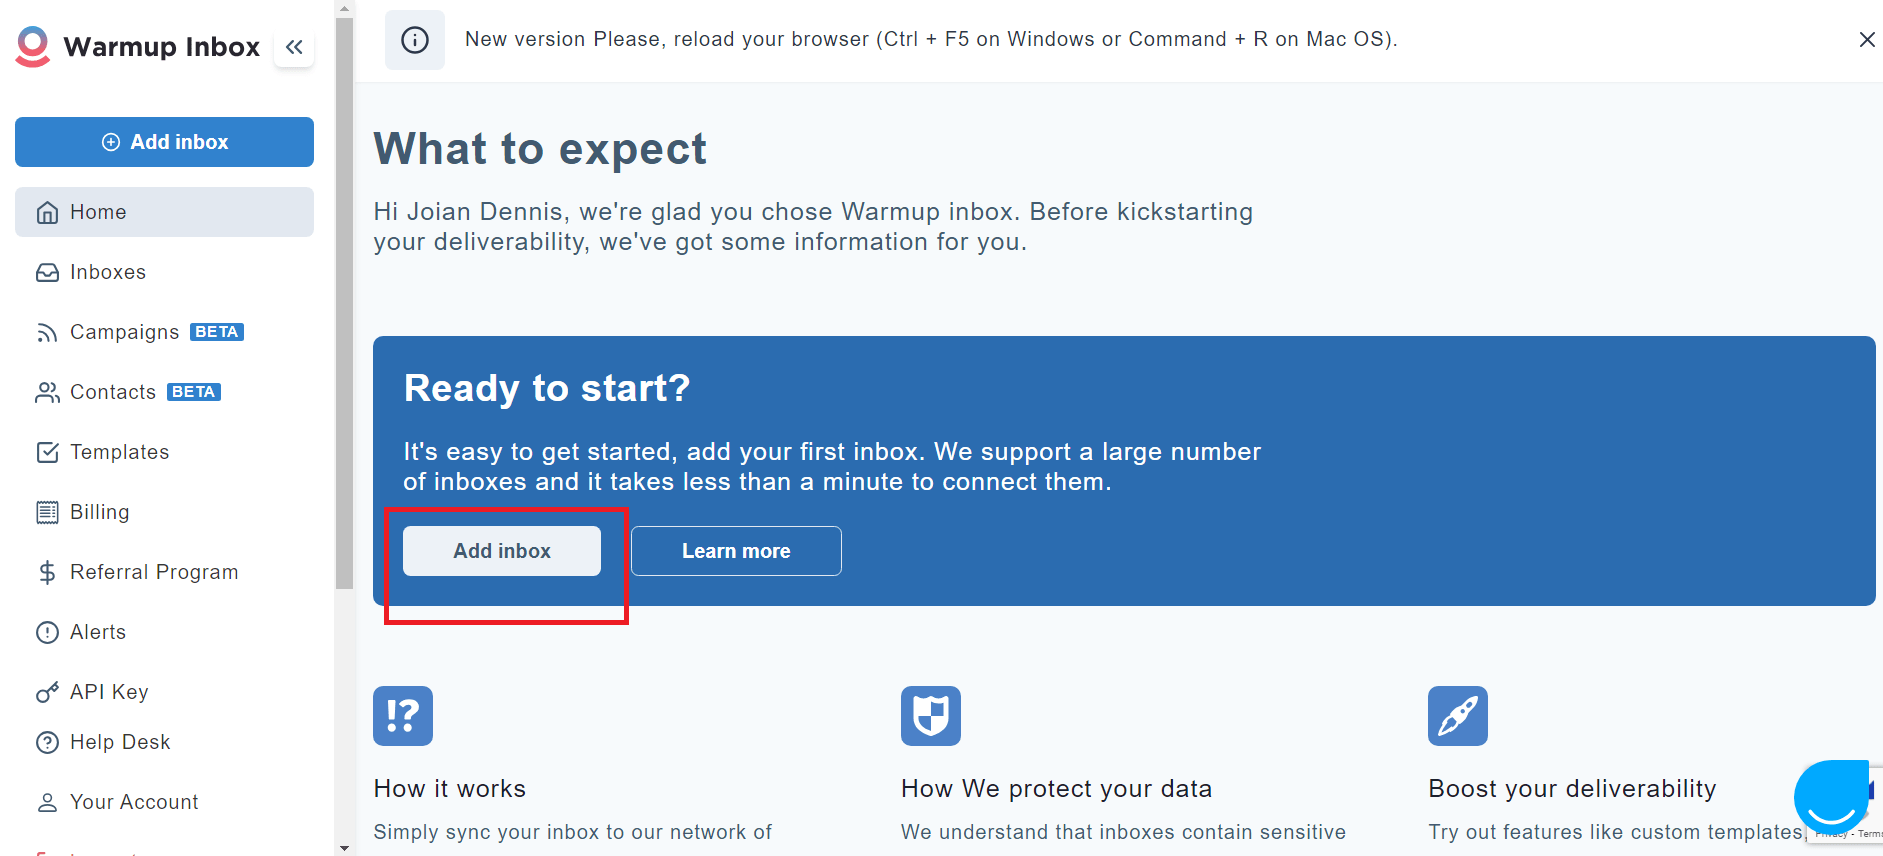
Step 1. Signup with Warmup Inbox.
The good thing about Warmup Inbox is they don’t require to add your credit card for a free 7-day trial.
Once you signed up, click Add inbox.
Enter your email.
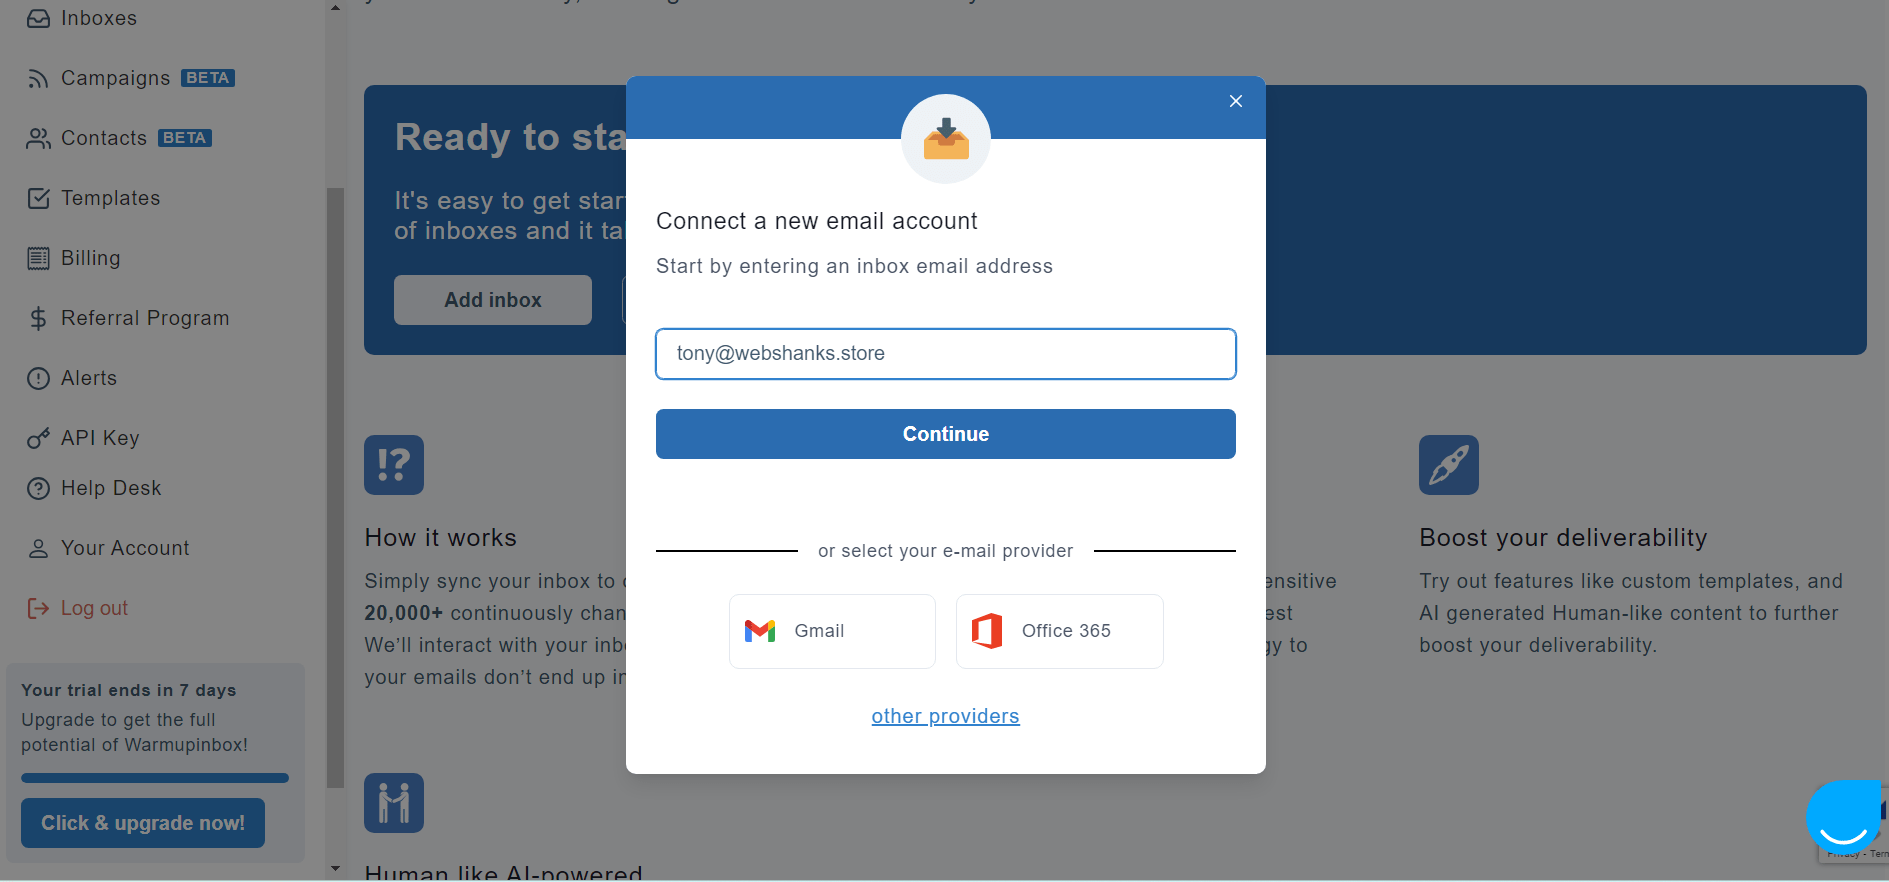
Step 2. Setup Your SMTP and IMAP
If you encounter
We are sorry…
We cannot detect your email provider correctly. Please choose one of the below.
Choose SMTP and IMAP if you have a self-hosted mail server.

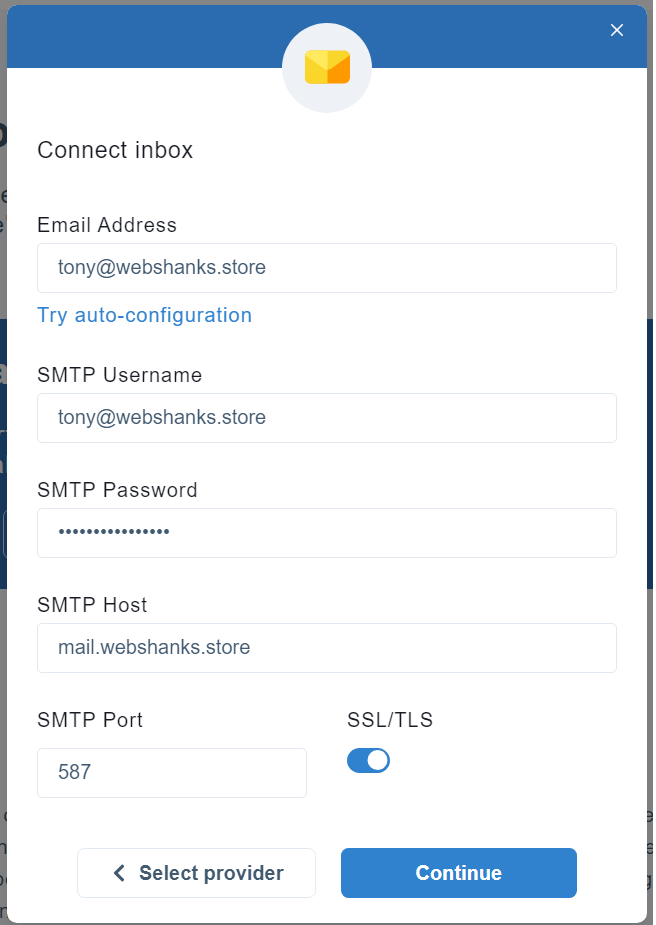
Use the following for SMTP settings:
- SMTP Username: Your email address created in your mail server
- SMTP Password: Your email password
- SMTP Host: Your mail server host i.e. mail.webshanks.store (This is found in your MX records)
- SMTP Port: Use port 587 and enable SSL/TLS
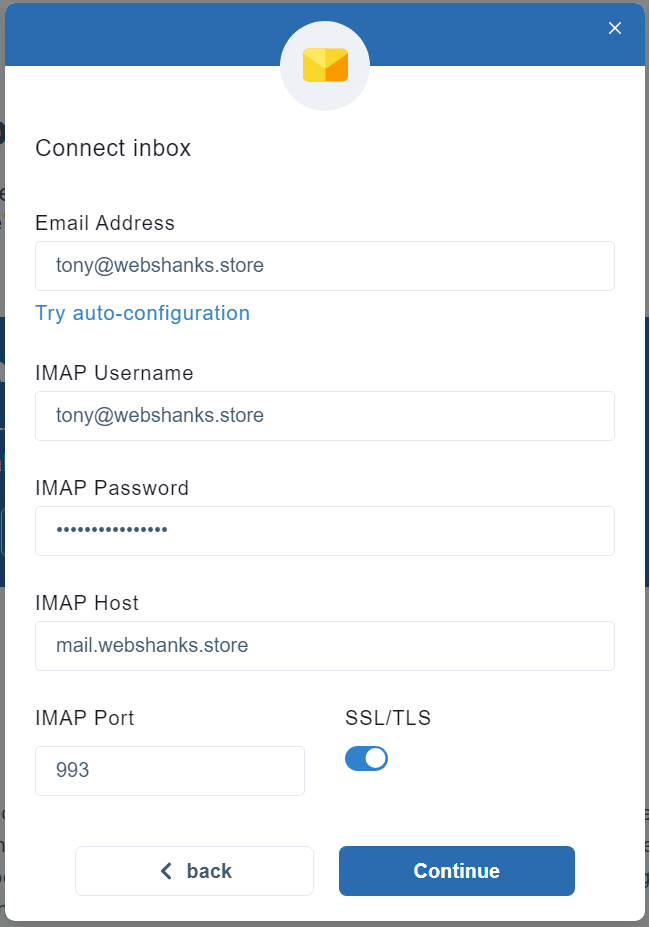
Use the following for IMAP settings:
- IMAP Username: Your email address created in your mail server
- IMAP Password: Your email password
- IMAP Host: Your mail server host i.e. mail.webshanks.store (This is found in your MX records)
- IMAP Port: Use port 993 and enable SSL/TLS
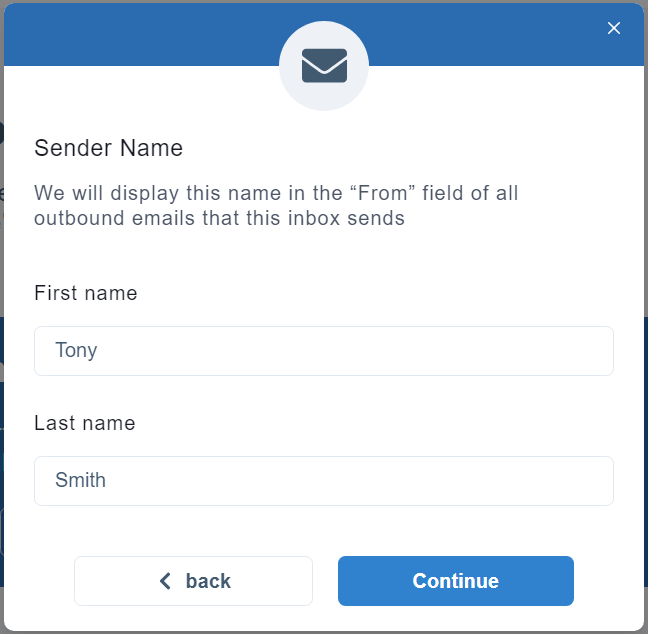
Next add your sender name.
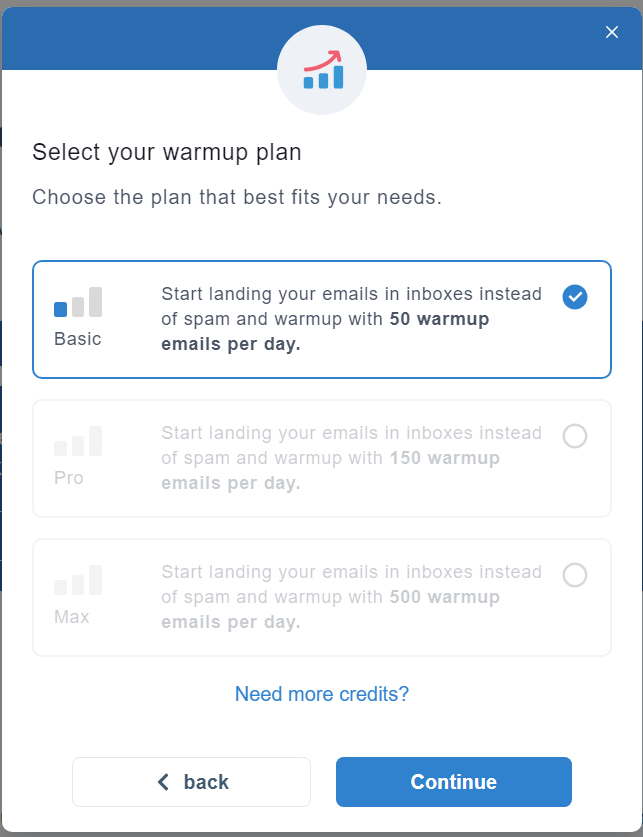
Then choose a warmup plan.
For free plan, you can send up to 50 emails per day for 7 days. This is good for at least one IP where your mail server is pointed to.
If you want to warm your IP up for 30 days, you can opt for a paid plan.
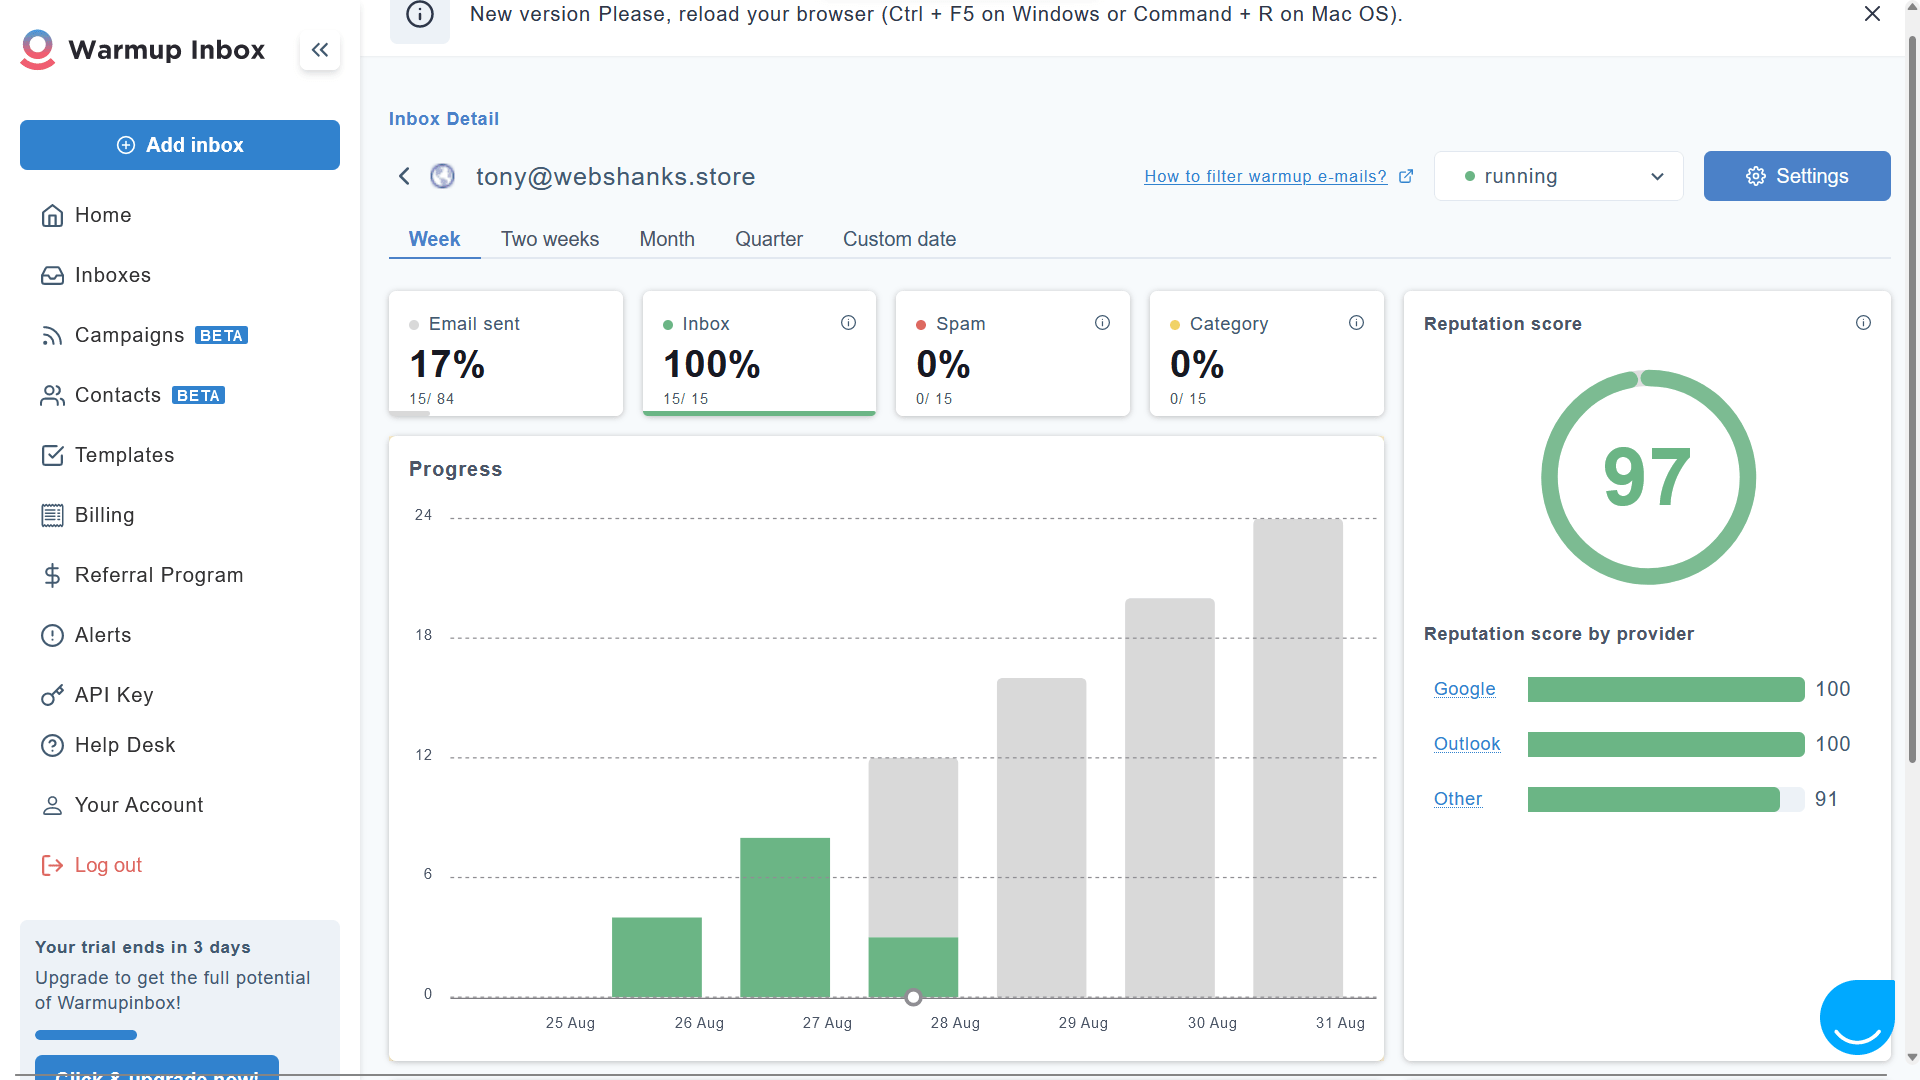
Step 3. Watch as Your Inbox Gets Good Reputation
What’s great about Warmupinbox.com is that your email will be synchronized with their network of over 20,000 inboxes. This means that your email messages will be interacted by human like-AI. Your emails will be opened, mark as Not Spam and many more.
After 2 days of warming up. Some emails went to promotion or social folders.
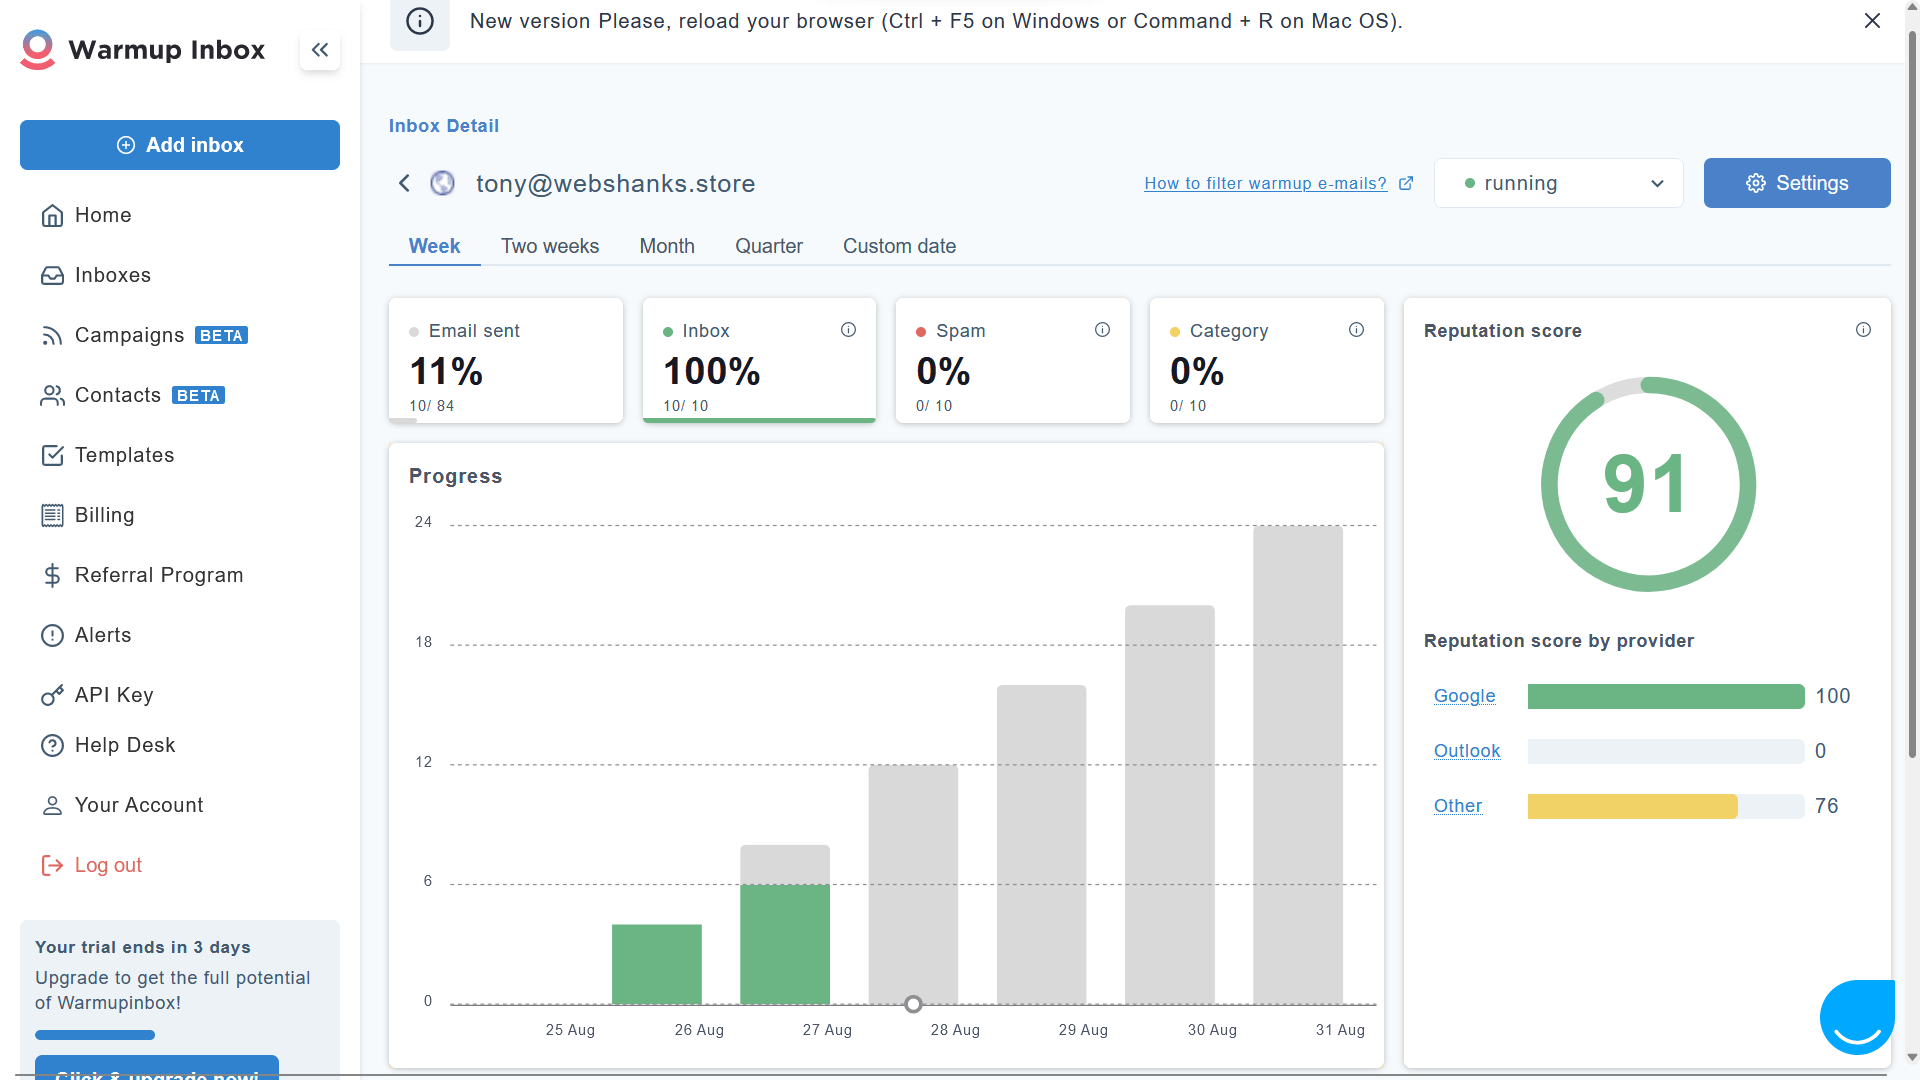
And after 3 days of warming up, my reputation went to 97 without lifting a finger.
Positive actions why your emails will be sent to inbox instead of spam
Positive actions that increase the likelihood of your emails being delivered to the inbox rather than the spam folder are based on building a strong sender reputation and providing valuable content that recipients engage with. Here are some key positive actions:
High Engagement Rates – When recipients consistently open, click, and interact with your emails, it signals to ISPs that your content is relevant and wanted.
Low Complaint Rates – Keeping your complaint rates low (meaning recipients mark your emails as spam rarely) indicates that your emails are not considered unwanted or unsolicited.
Subscriber Interaction – Encouraging recipients to add your email address to their address book or safe sender list can help prevent your emails from being flagged as spam.
Unsubscribe Management – Honoring unsubscribe requests promptly demonstrates a commitment to respecting recipients’ preferences and reduces the likelihood of spam complaints.
Content Quality – Delivering relevant and valuable content that recipients are interested in increases the chances of engagement and positive interactions.
Avoiding Spam Triggers – Using proper formatting, avoiding excessive use of capital letters, and refraining from using spammy language can help prevent triggering spam filters.
Tools where you can test your email deliverability
Sender Score
Sender Score, provided by Return Path, is a free tool that evaluates your sender reputation and provides insights into your email deliverability.
Mail Tester
Mail Tester allows you to test your email content and provides a spam score along with suggestions to improve deliverability.
MXToolbox
MXToolbox offers a range of email deliverability tools, including DNS and blacklist checks, to help you identify potential issues affecting your email deliverability.
Google Postmaster Tools
If you send emails to Gmail users, Google Postmaster Tools provides insights into your sender reputation and email deliverability to Gmail users.
It’s Your Turn to Warmup Your IP and Domain
Successfully warming up your IP and domain for email marketing is a critical step to establish a positive sender reputation and ensure your emails reach recipients’ inboxes.
By following a well-structured warming strategy, you can mitigate the risk of being flagged as spam and maximize the effectiveness of your email campaigns.
Automatic IP warming can help you save time over manual. But if you’re not in a hurry and have lots of time to spare, choose manual.