 In today’s digital age, having a reliable and efficient hosting solution for your websites, applications, or online projects is crucial. A Virtual Private Server (VPS) can provide you with the flexibility and control you need to meet your hosting requirements.
In this comprehensive guide, we will walk you through the process of purchasing a RackNerd VPS and setting it up step by step.
Setup Racknerd VPS Step-by-Step
Step 1: Selecting Your VPS Plan
Open your web browser and go to RackNerd’s official website. (Check out their current deals!)
Navigate to VPS Hosting: Browse through the menu and find the VPS section. Click on it to explore the available VPS plans.
KVM VPS have standard SSD while AMD Ryzen VPS have as the name suggests AMD Ryzen processors and NVMe SSD storage.
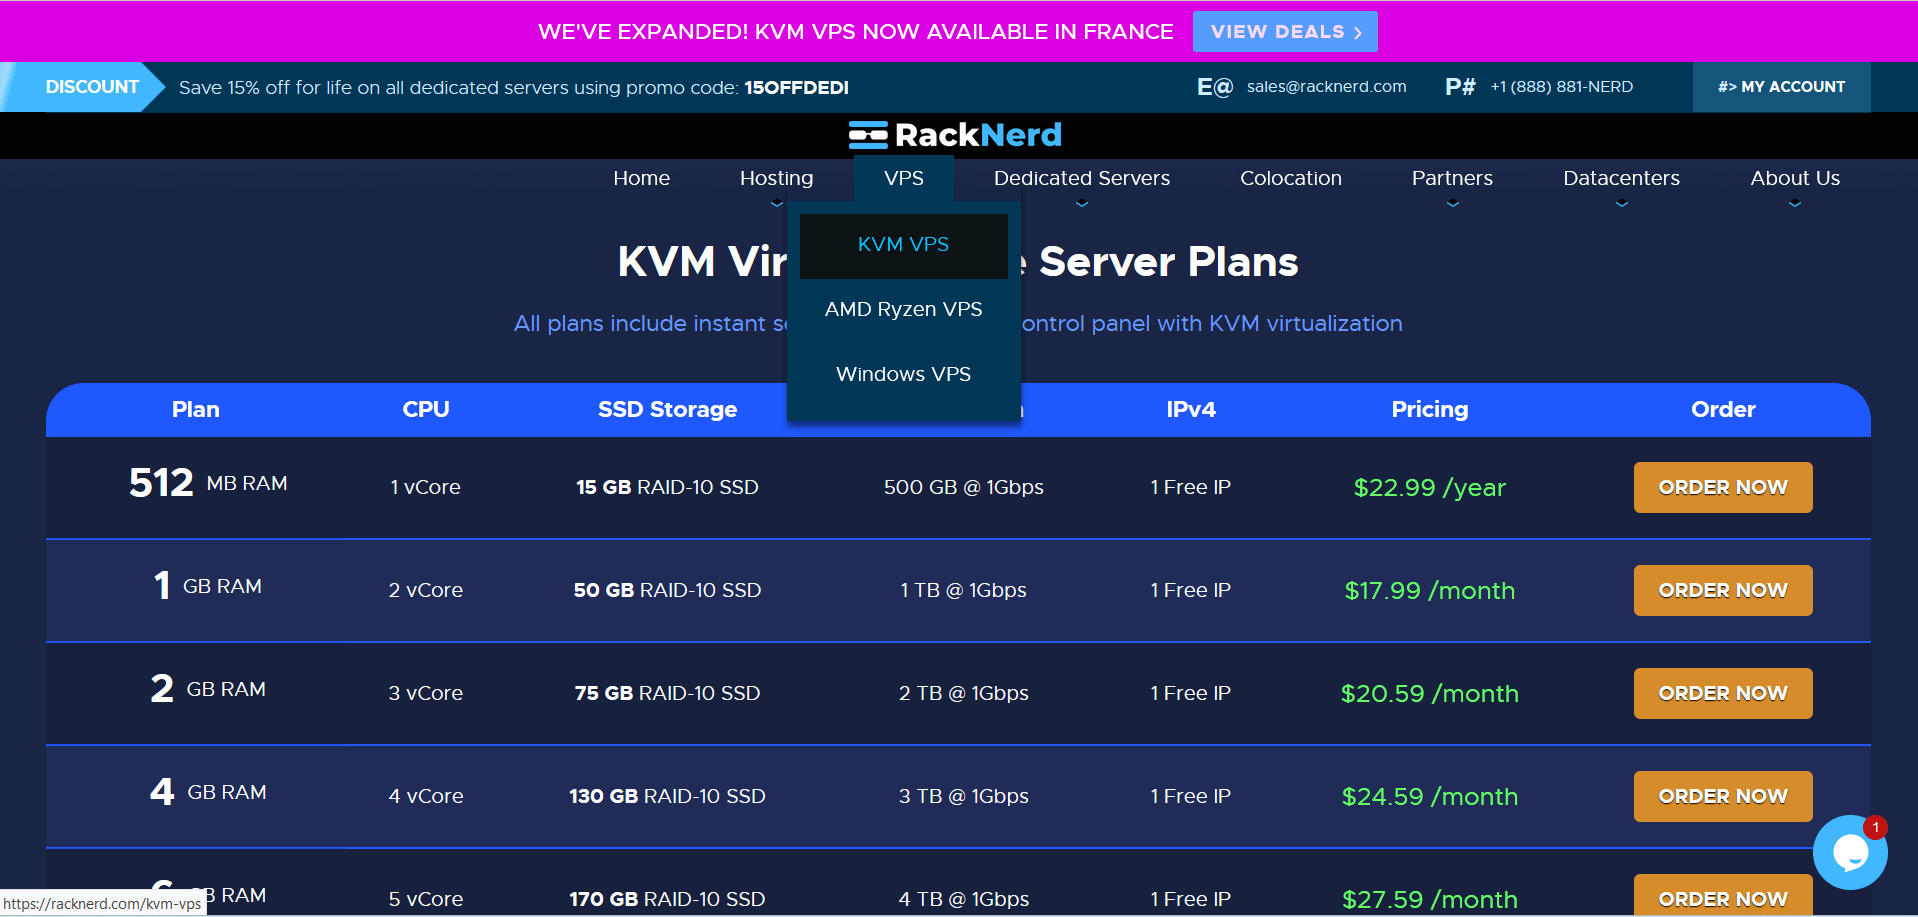
Choose Your Plan: RackNerd offers a variety of plans with different specifications, such as CPU, RAM, and storage. Carefully review your project’s requirements and select the plan that suits you best.
Add to Cart: Click the Order Now button next to your chosen plan.
Step 2: Configure Your VPS
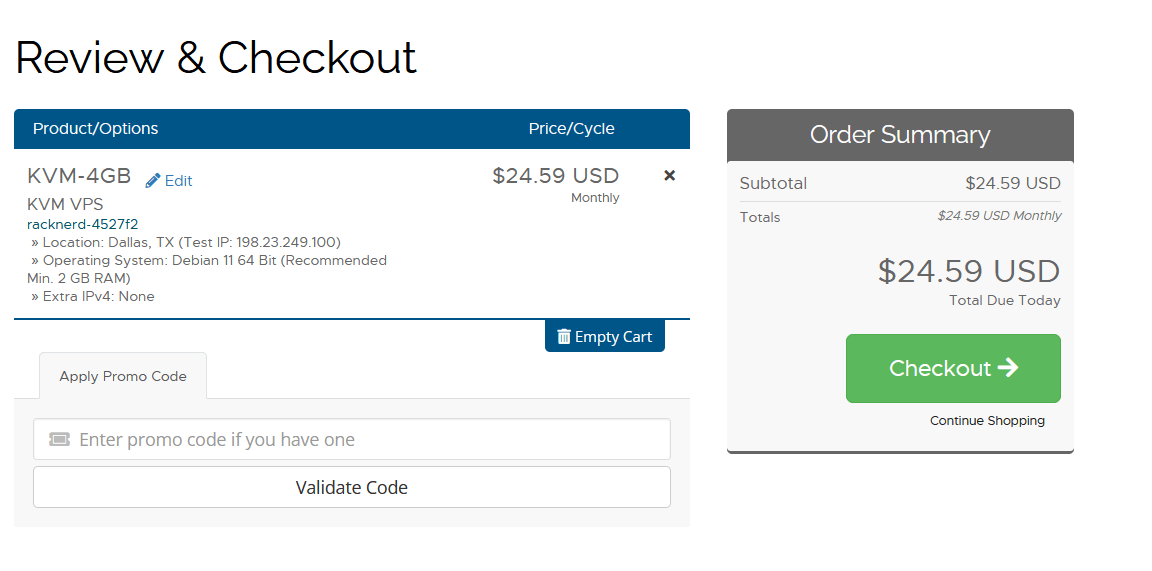
You will be presented with options to customize your VPS, including the choice of operating system, data center location, and additional add-ons. Make your selections based on your preferences and requirements.

Location: You can choose from Dallas, Chicago, New Jersey, Atlanta, New York, Seattle, Los Angeles, or France. With their 512MB Plan, New York is the only location available. If you want to setup an email server, choose Los Angeles or France for a free IPv6.
Extra IPv4: You can add additional IPv4 at $1 per month.
Operating System: Racknerd provides a plethora of latest operating systems. For starters, you can choose Ubuntu or Debian.
Double-check your configuration to ensure it meets your needs and budget. Pay attention to any additional costs associated with add-ons.
cPanel is not available in Racknerd VPS preinstalled but you can install free cPanel alternatives like CloudPanel or CyberPanel.
Proceed to Checkout: Once you are satisfied with your choices, click Continue button and proceed to Checkout.
Step 3: Create Your RackNerd Account
Login or Create an Account: If you already have a RackNerd account, you can log in. If not, you will need to create a new account. Provide your contact and billing information as required.
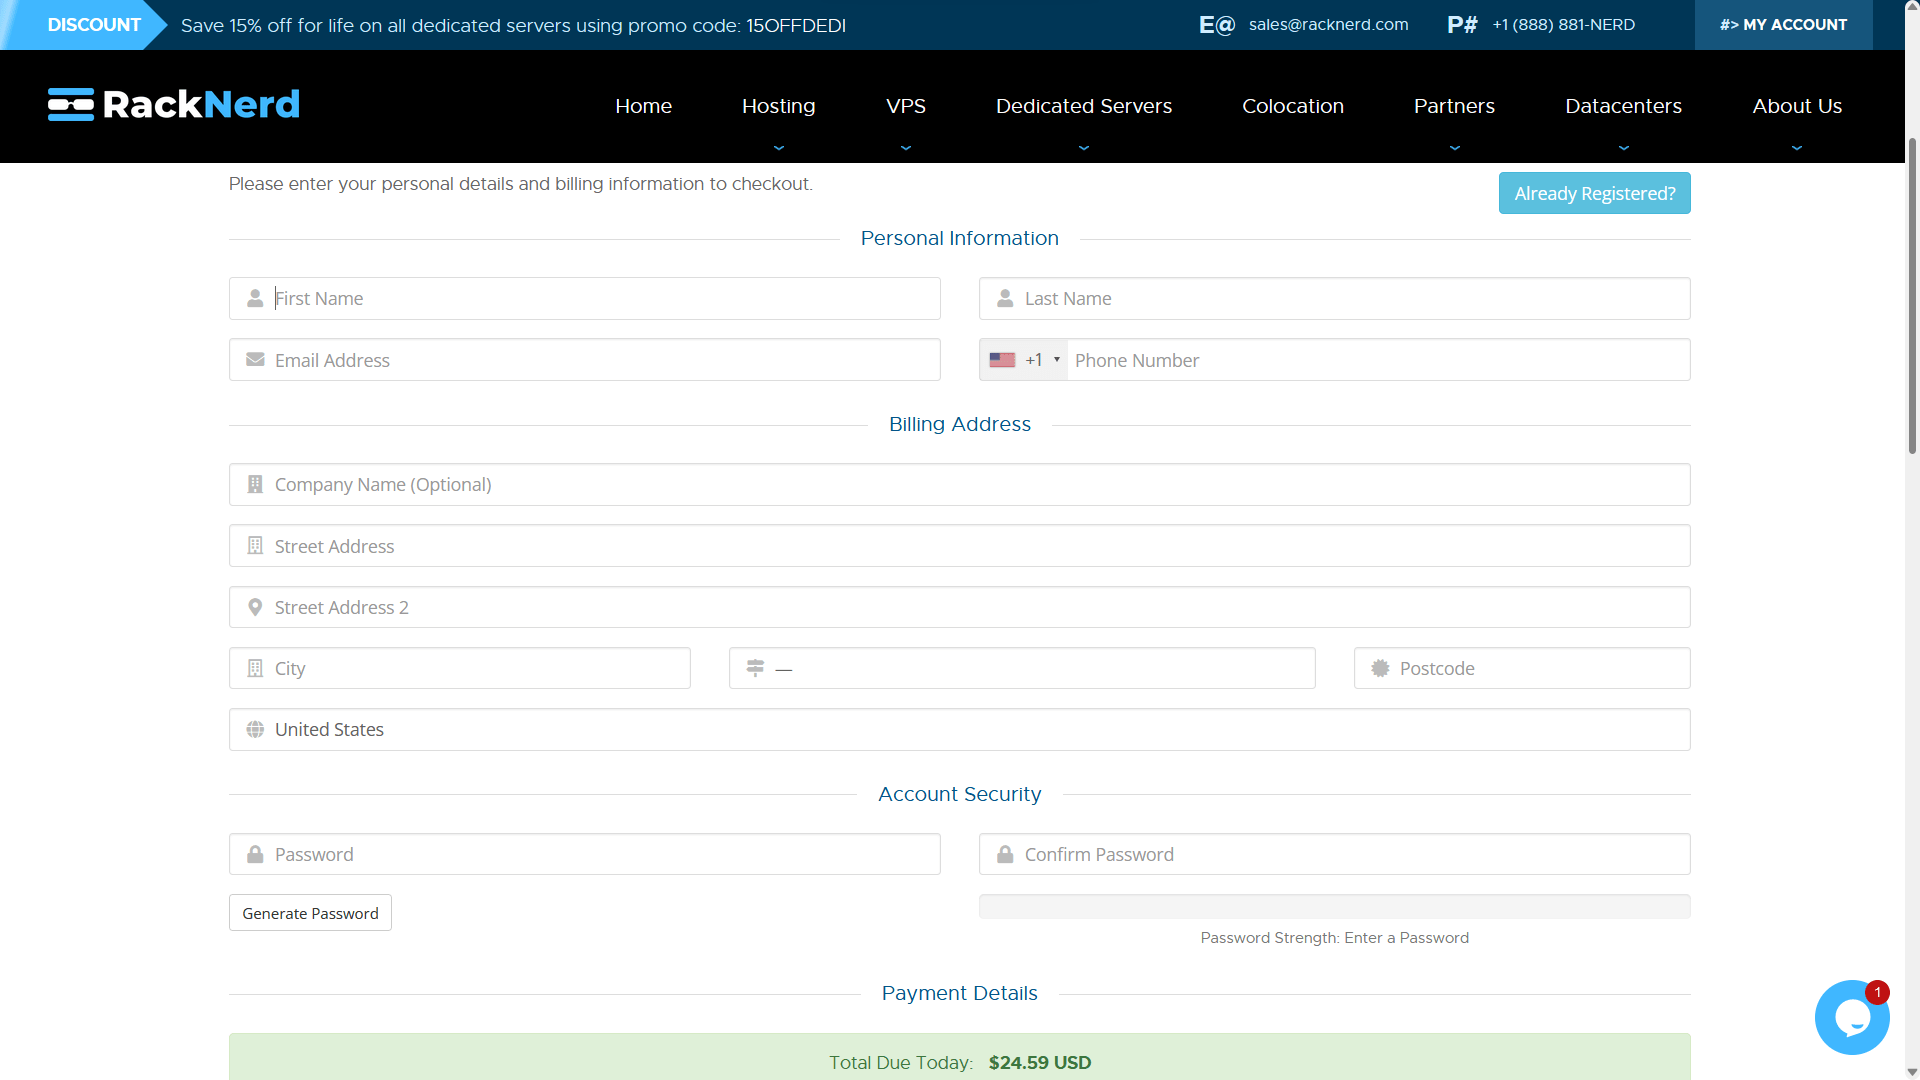
Review and Confirm: Review your order summary and the terms of service. Confirm your agreement with RackNerd’s terms and click Complete Order.
Step 4: Make Payment
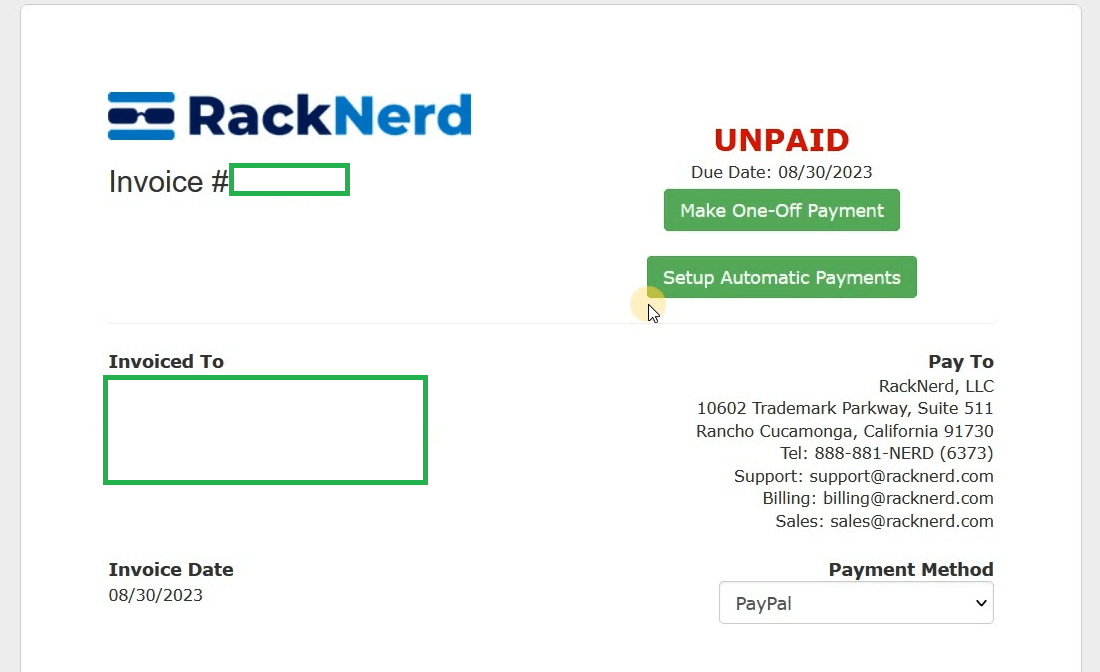
Choose Payment Method: Select your preferred payment method from the options provided, which typically include credit/debit cards and PayPal.
Racknerd accepts PayPal, credit cards, crypto, wire transfers, and many more.
With PayPal. you can set your payment as one-off or automatic.
Step 5: Access Your VPS Control Panel
After your payment is processed, you will receive a confirmation email from RackNerd. This email will contain important information, including your VPS details and login credentials.

Access the Control Panel: Use the provided login credentials to access your VPS control panel. You can typically log in via SSH for Linux-based VPS. I can recommend a free SSH client called Bitvise.
What’s Next?
Secure Your VPS
Firewall Configuration: Configure a firewall to restrict access to your VPS. For Linux, you can use UFW or IPTables. On Windows, use the built-in Windows Firewall.
Regular Backups: Implement a backup strategy to safeguard your data. Consider using built-in tools or third-party backup solutions.
Security Updates: Regularly update your VPS’s operating system and installed software to patch security vulnerabilities.
SSH Key Authentication: If using Linux, consider setting up SSH key authentication for added security.
Upload Your Content
You can host multiple websites in your VPS such as WordPress, Joomla, or other environments like Node.js and Laravel.
Check out our tutorials below:
- Host multiple websites on one server
- How to host multiple websites in a VPS without cPanel
- Build a free SMTP server with aaPanel
Test Your VPS
If you’re hosting a website, perform thorough testing to ensure it’s functioning correctly. Verify that all links, forms, and interactive elements work as expected.
If you’re running applications, test their functionality and troubleshoot any issues.
You Can Also Watch this Tutorial on YouTube
Conclusion
Congratulations! You’ve successfully purchased, configured, and set up Racknerd VPS.
By following the steps outlined in this guide, you’ve taken a significant step towards harnessing the power of a VPS for your websites, applications, or online projects.
Remember that the journey doesn’t end here; maintaining and optimizing your VPS is an ongoing process. Regularly monitor your server, apply updates, and adapt to the changing needs of your project to ensure it continues to perform at its best.