If you’re new to setting up Linux servers or prefer a user-friendly approach, you’re in luck! In this guide, we’ll walk you through the process of installing Mastodon on Ubuntu 22.04 using the free control panel called Cloudron.
This method minimizes the need for complex Linux commands, making it accessible to beginners. So, let’s get started.
Prerequisites
Before we begin, ensure you have the following prerequisites in place:
- A virtual private server (VPS) or dedicated server running Ubuntu 22.04. You can get one from a provider like RackNerd, Knownhost, or Contabo.
- SSH access to your Ubuntu server.
- A domain name you own pointed to your server’s IP address. Register your domain on registrars like Namecheap.
- SMTP server. You can create your own SMTP server or use other SMTP relay services like Google or Brevo.
How to Install Mastodon on Ubuntu 22.04 LTS Easily
You can also use this method with Ubuntu 20.04 LTS.
Step 1: Connect to Your Server
Open your terminal or SSH client and connect to your Ubuntu 22.04 server using the following command, replacing your_server_ip with your server’s IP address:
ssh your_username@your_server_ip
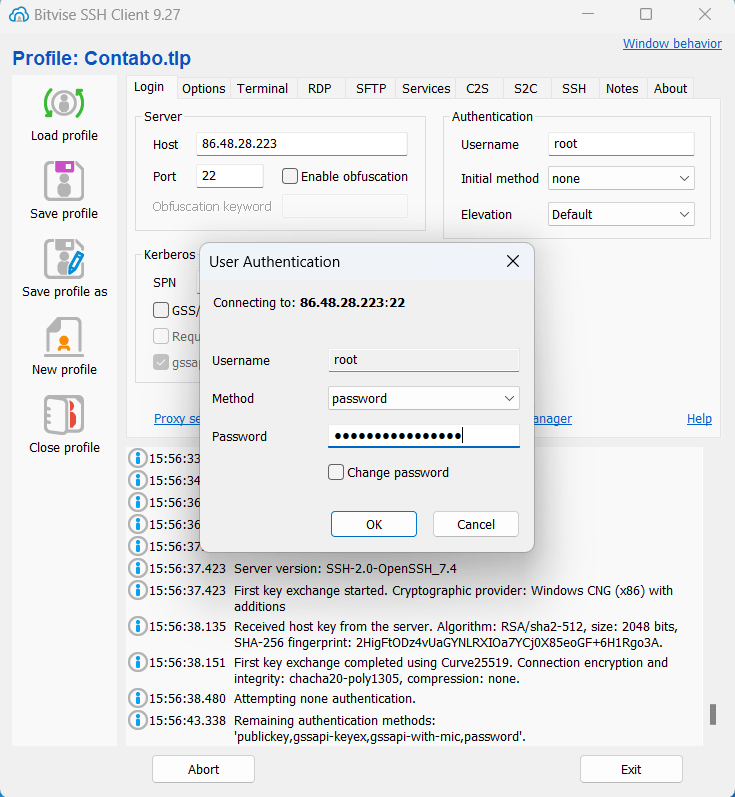
Enter your password when prompted to log in.
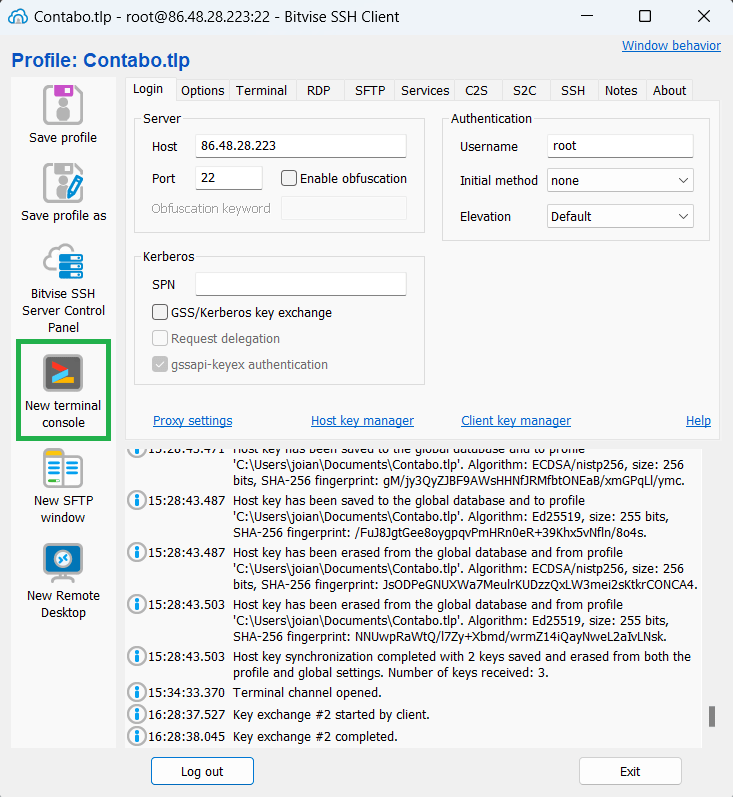
Or you can use an SSH client like Bitvise to login.
Then click the New terminal console on the left menu.
Step 2: Update Your Server
Once you’re logged in, it’s a good practice to update your server’s package list and upgrade installed packages to ensure everything is up-to-date. Run the following commands:
sudo apt update
sudo apt upgrade
Step 3: Install Cloudron
Cloudron is a user-friendly control panel for managing web servers and applications.
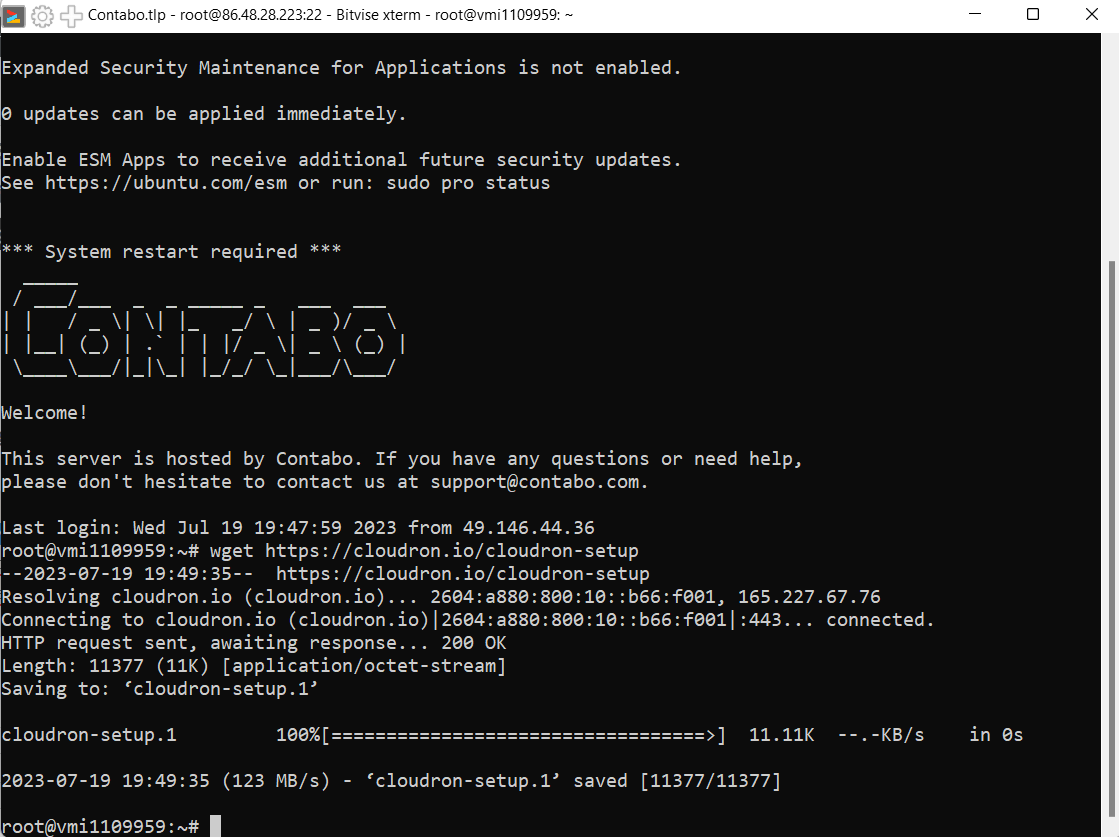
To install it, run the following commands:
wget https://cloudron.io/cloudron-setup
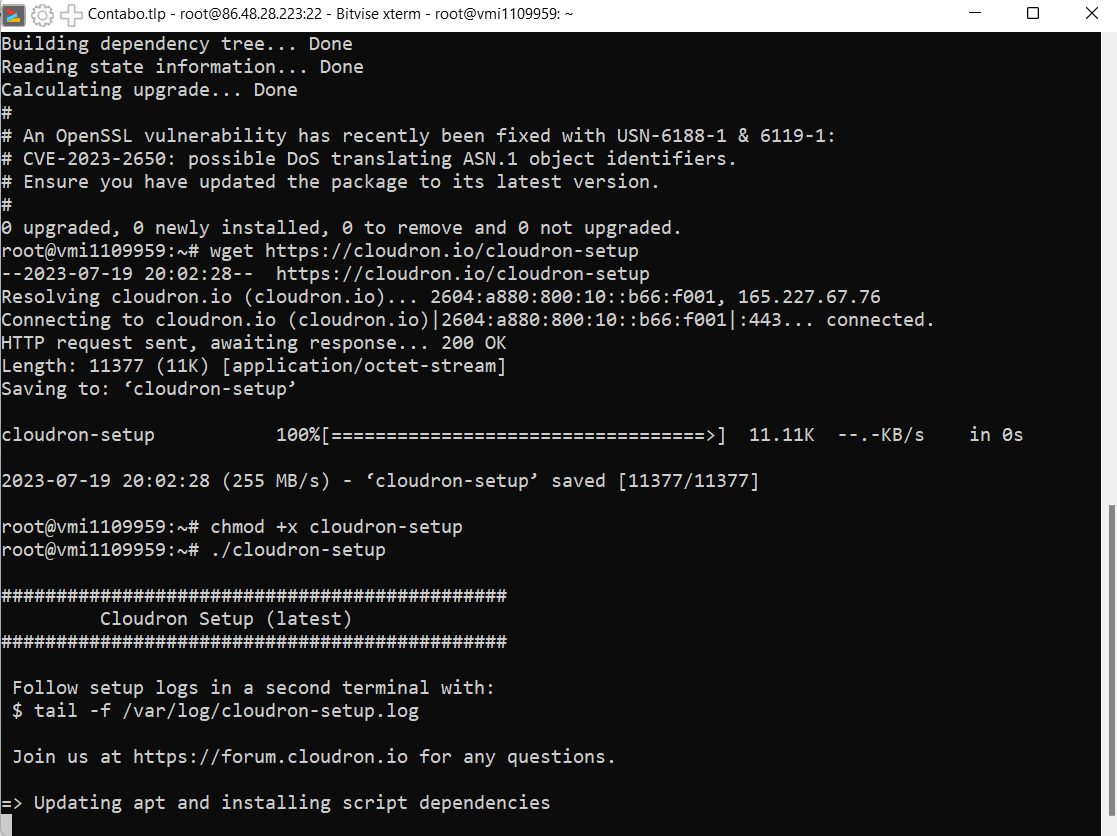
Then execute the command.
chmod +x ./cloudron-setup
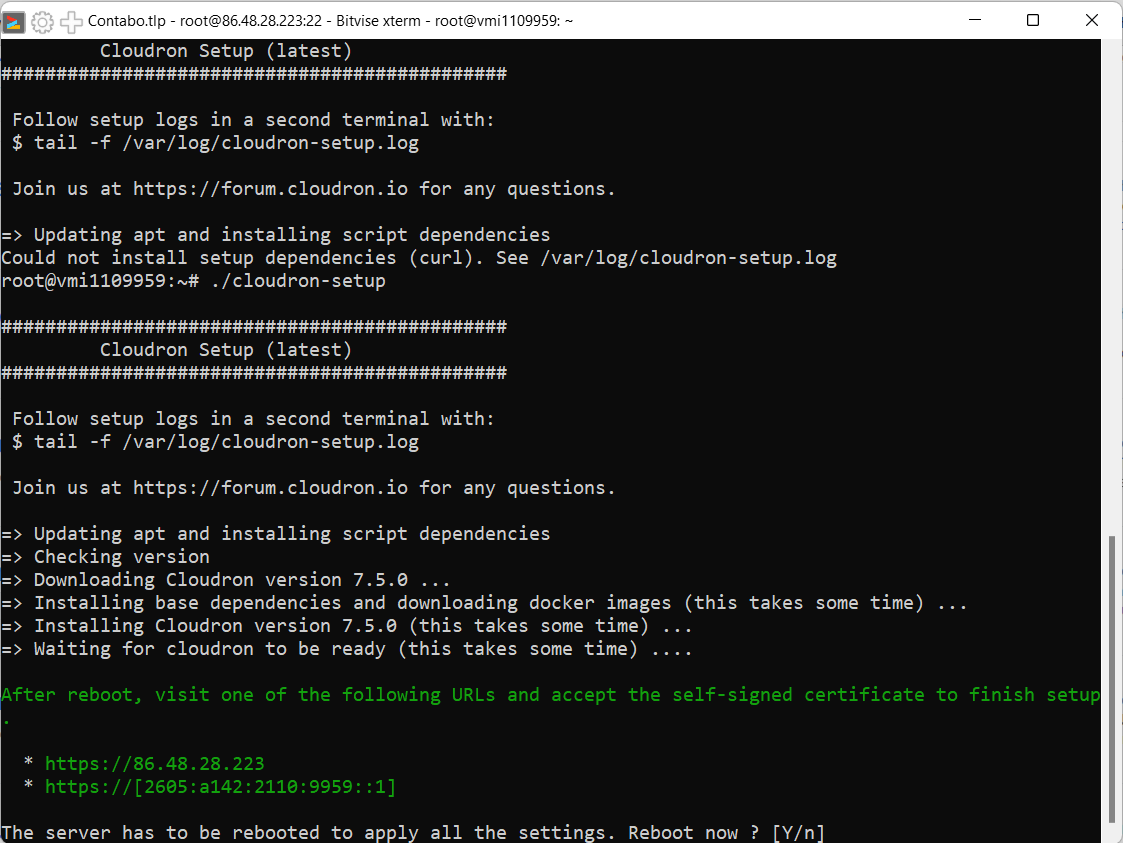
./cloudron-setup
Then reboot your server once the installation is finished.
Step 4: Access Cloudron
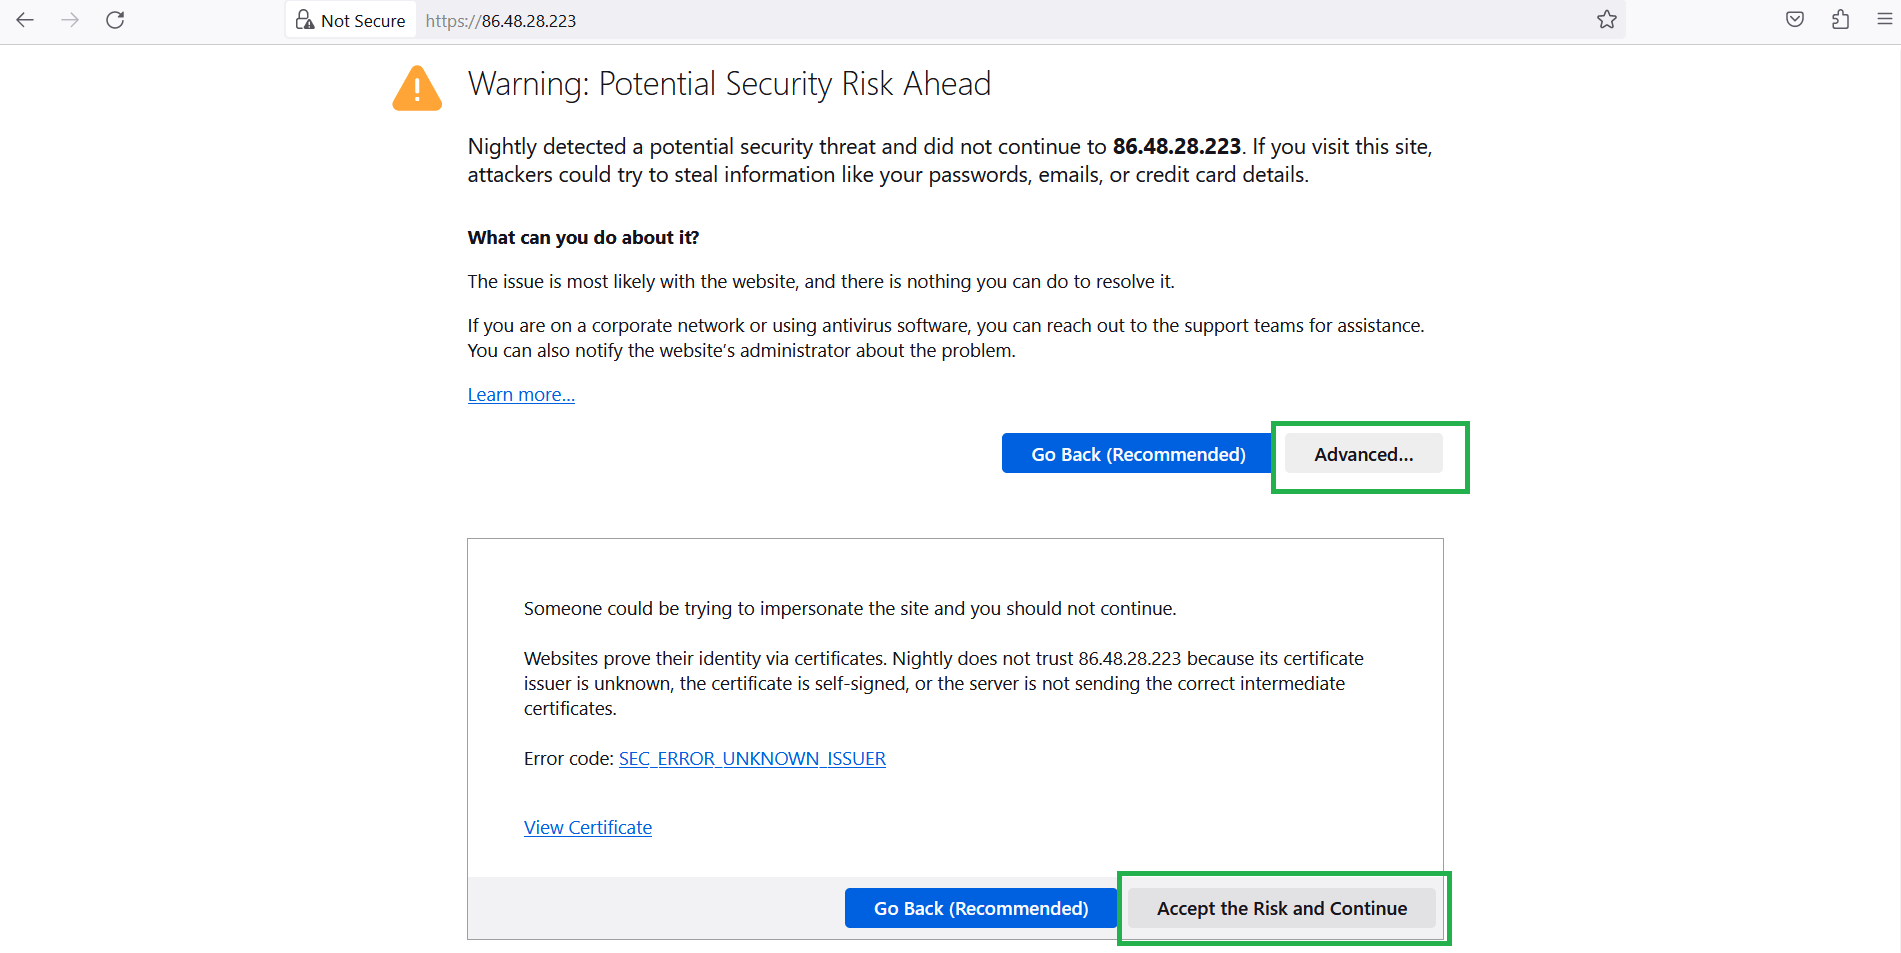
Cloudron should now be installed on your server. You can access it by opening a web browser and navigating to http://your_server_ip:.
Replace your_server_ip with your server’s IP address. You should see the Cloudron login screen.
To start using Cloudron, you’ll need to create an Admin account as well as a Cloudflare (you can use a free plan). To do that, I’ve written a step by step tutorial. (Do not move to the next step until you finish this guide.)
Step 5: Setup a Mail Server and Install Mastodon
Cloudron simplifies this process.
- Setup a free mail server in Cloudron. (Follow this guide before installing Mastodon.)
- Install Mastodon.
We will be using our own mail server to serve as our SMTP server. This is a requirement for Mastodon. Be sure to setup the mail server first.
If you have setup your mail server, it’s time to install Mastodon.
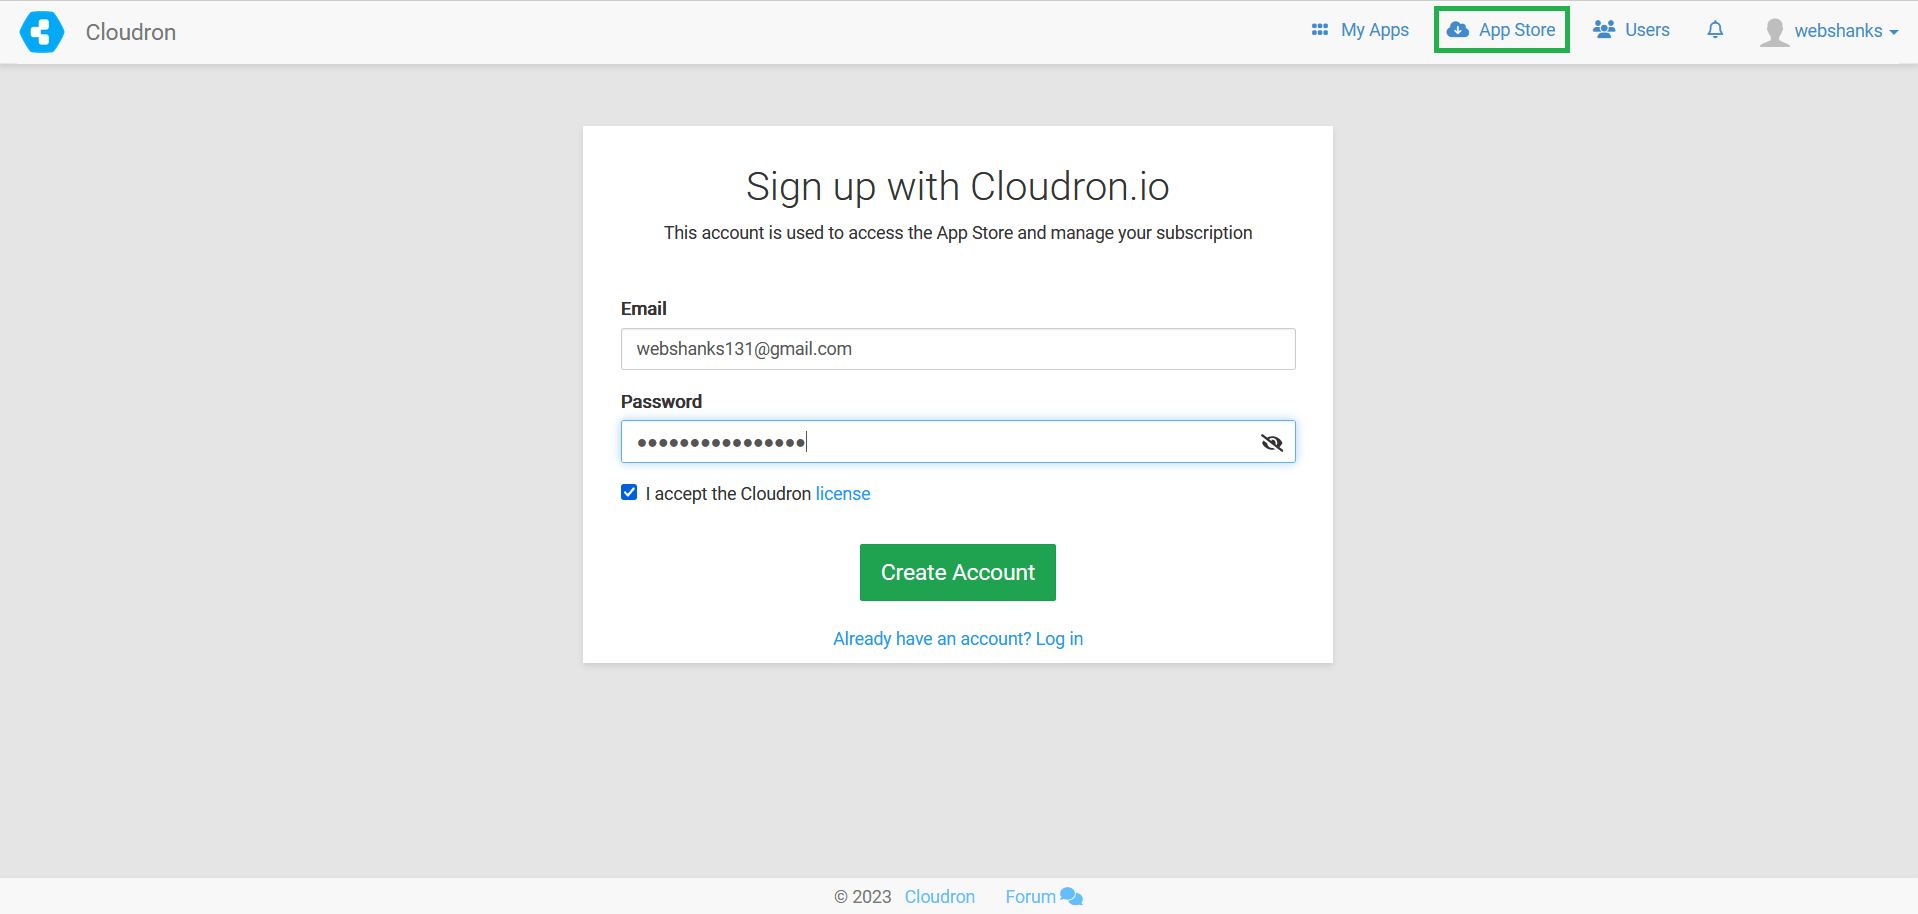
From your Cloudron, go to App Store. Register an account in Cloudron.
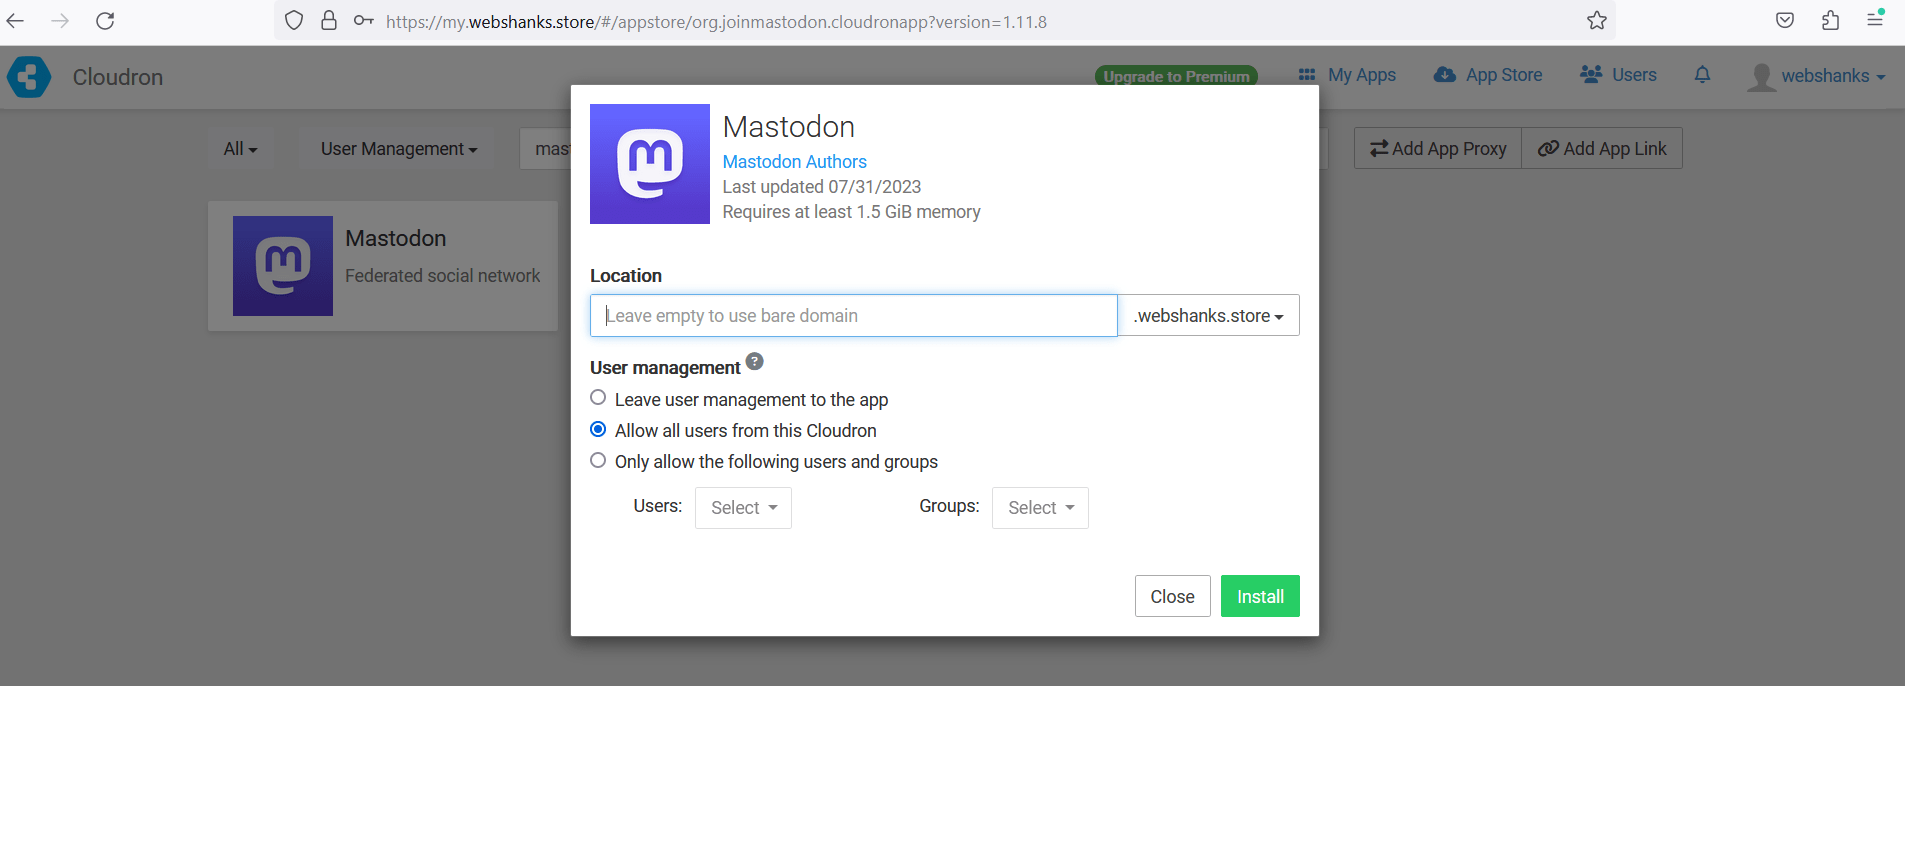
Then look for Mastodon.
Then add your domain or subdomain. To use your top-level domain, leave the field blank.
Step 6: Configure Mastodon
Once the installation is complete, you’ll need to configure Mastodon. Cloudron will provide you with the necessary configuration options, such as setting up your admin account and customizing your instance.
To add email, click on the gear icon on the Mastodon app.
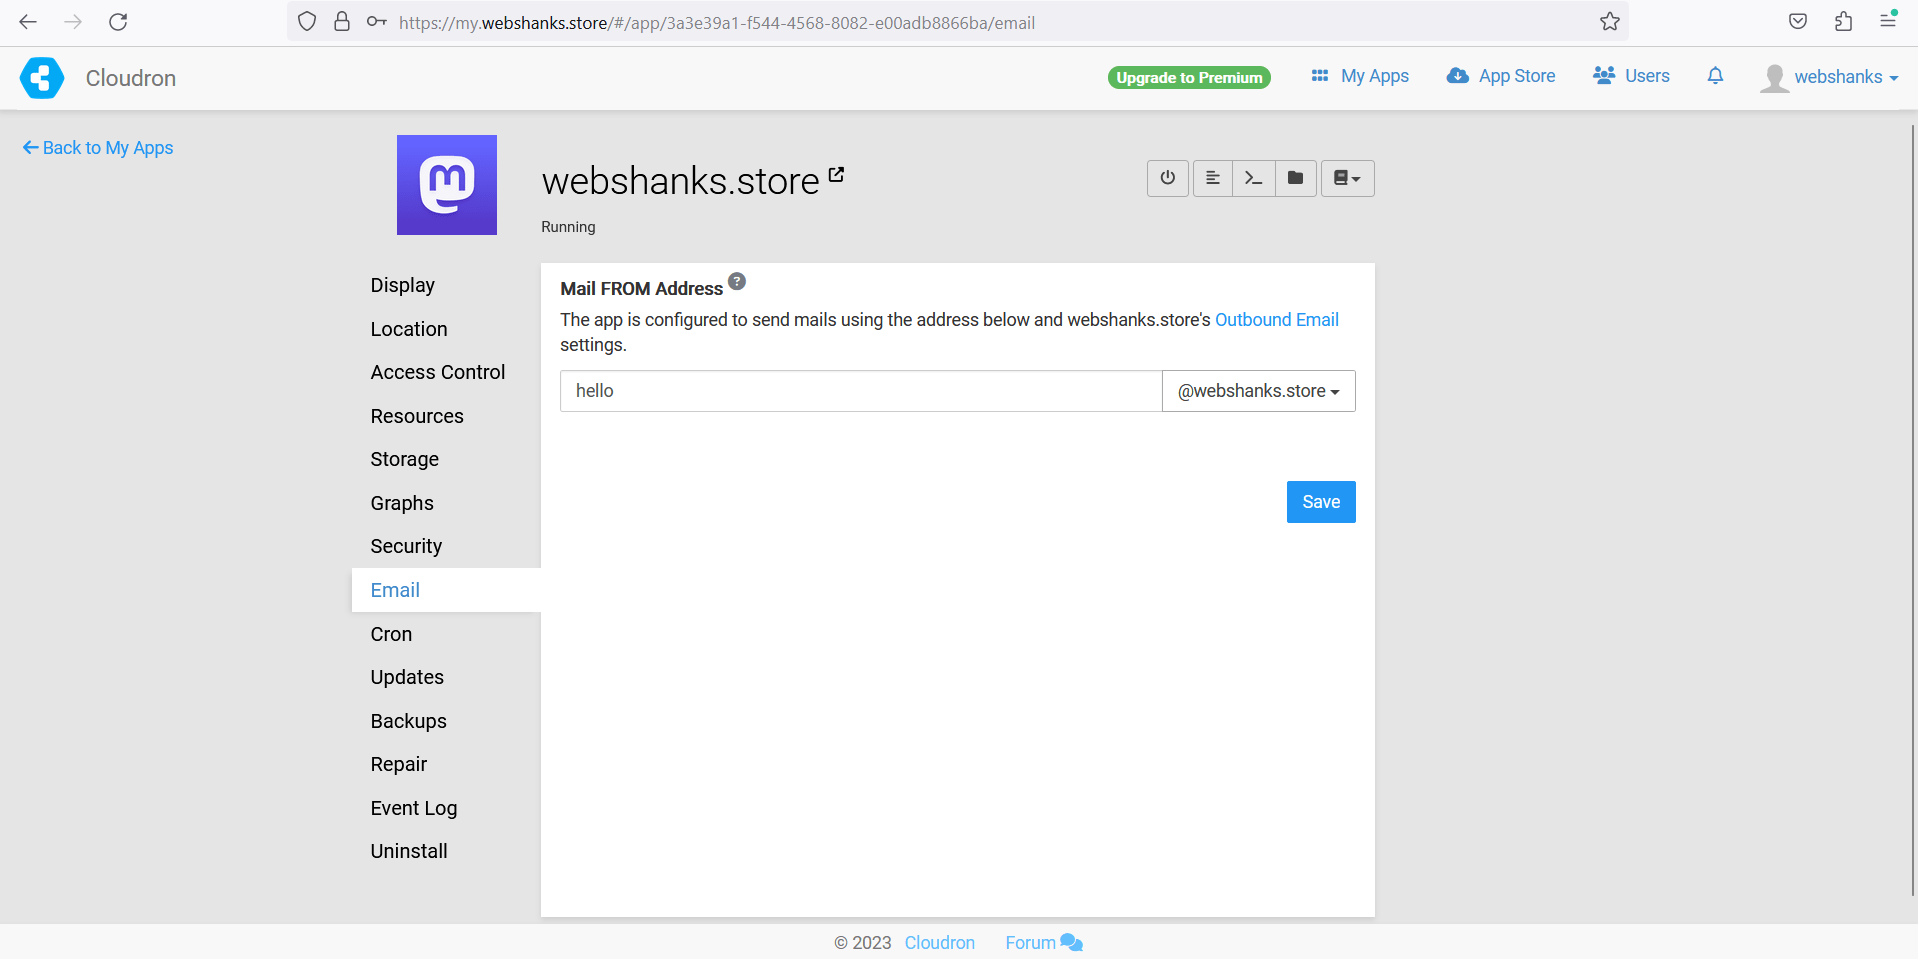
Then navigate to Email and add your email. By now, you should already have created a mailbox.
To access your Mastodon on the web, simply use your domain.
Next, you need to signup for an account on Mastodon https://joinmastodon.org/servers. If you want to make your server available, submit it here https://joinmastodon.org/covenant.
Congratulations! You’ve successfully installed Mastodon on your Ubuntu 22.04 server using Cloudron, without the need for extensive Linux commands.
Conclusion
Setting up Mastodon on Ubuntu 22.04 using Cloudron is a beginner-friendly approach that simplifies the installation process. With Cloudron, you can quickly create your own decentralized social network and customize it to your liking.
Enjoy the benefits of open-source social networking while minimizing the complexities of server management.

