 In this tutorial, I will guide you through the process of setting up your own email server using Contabo VPS as the hosting provider, Cloudron as a free cPanel alternative for server management and email server, and Cloudflare for DNS and security.
We will break down each step to make it easy for you to follow along and successfully configure your email server.
Prerequisites
Before we dive into the setup process, we’ll cover the essential requirements to ensure a smooth installation. This section will include details on what you need, such as a Contabo VPS plan, a registered domain, and access to the Cloudron dashboard.
1. VPS – We will be using a VPS with an open port 25 for sending emails. In this tutorial, we will be using Contabo Cloud VPS. we will install Cloudron in this server with Ubuntu 22.04 operating system.
2. A registered domain, preferably on Namecheap (free lifetime Whois guard).
3. A free account on Cloudflare.
Setup Your Own Email Server With Contabo VPS, Cloudron and Cloudflare
Step 1. Signup with Contabo Cloud VPS
Here, we’ll walk you through the steps of selecting an appropriate Contabo VPS plan for hosting your email server. We’ll also provide instructions on how to sign up for an account, access the control panel, and deploy a virtual server.
In this tutorial we will be using Contabo VPS. It has the latest images including Ubuntu. A ROOT access is required.
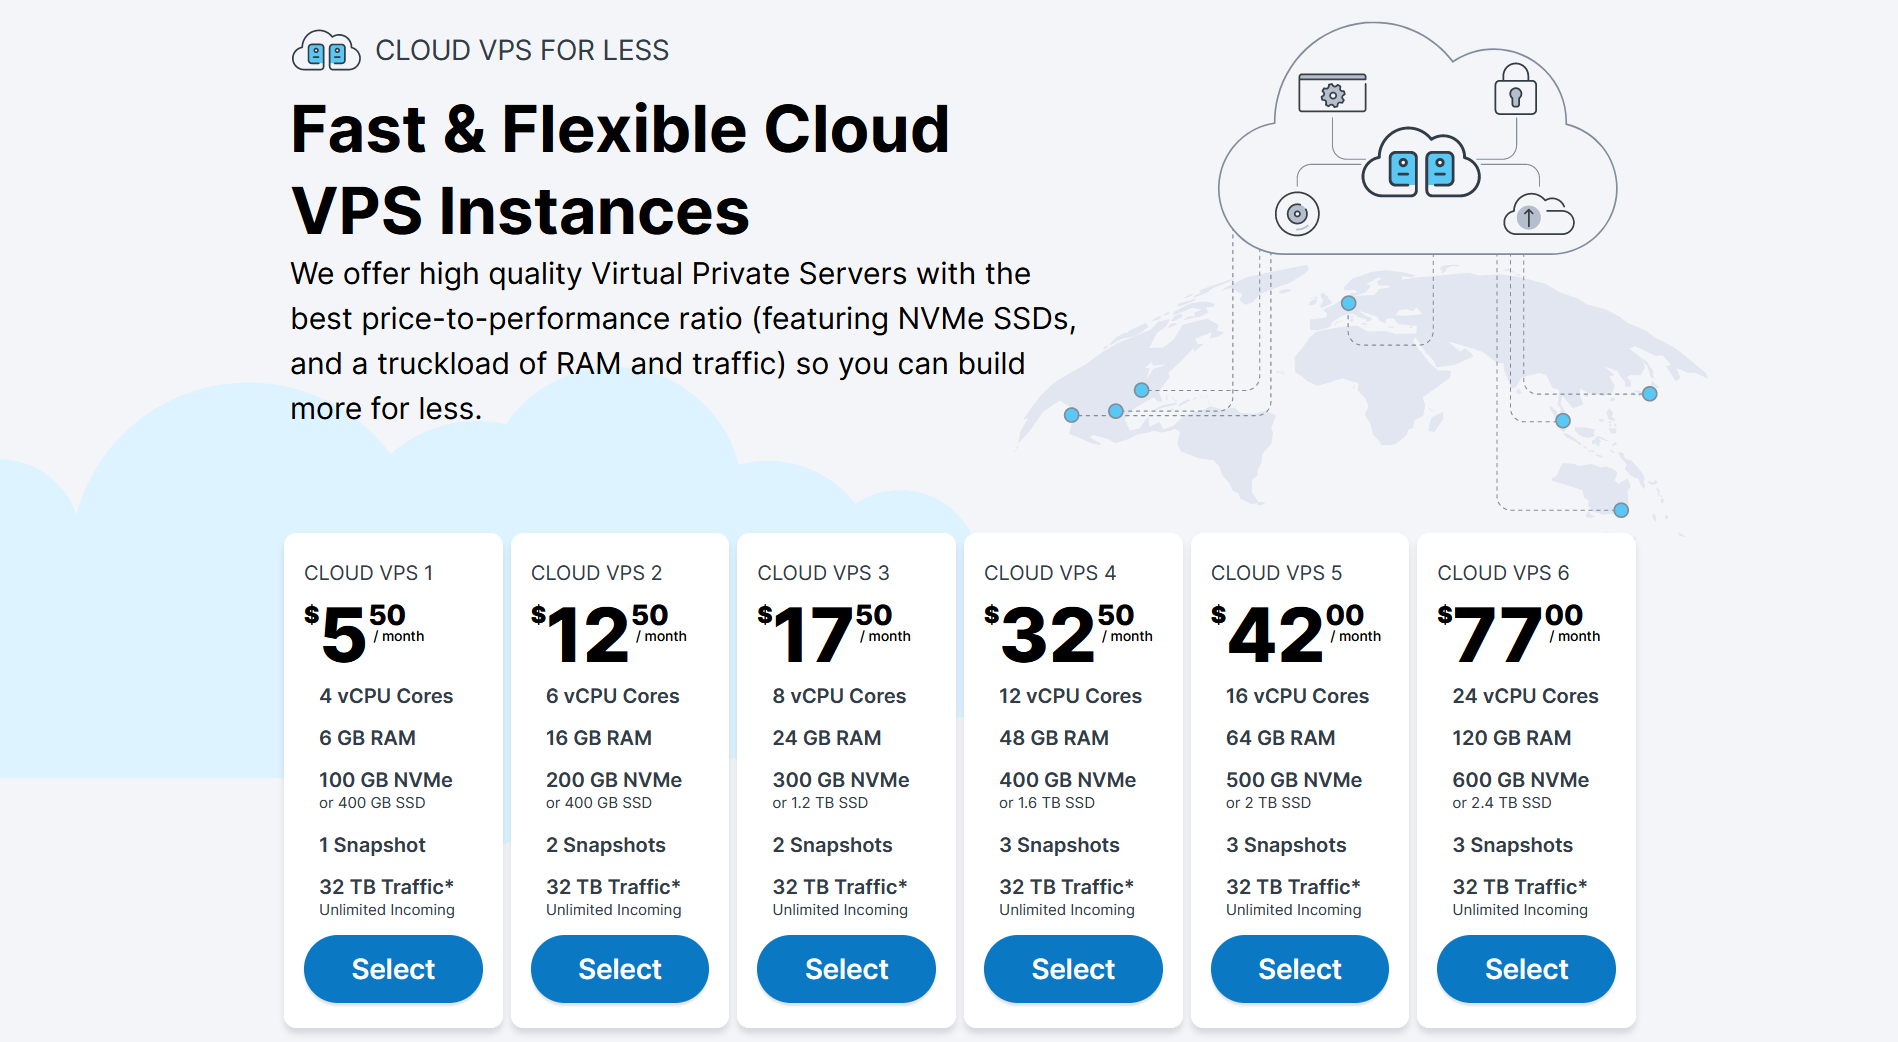
If you’re new to Contabo, you can choose VPS 1 or VPS 2 plan.
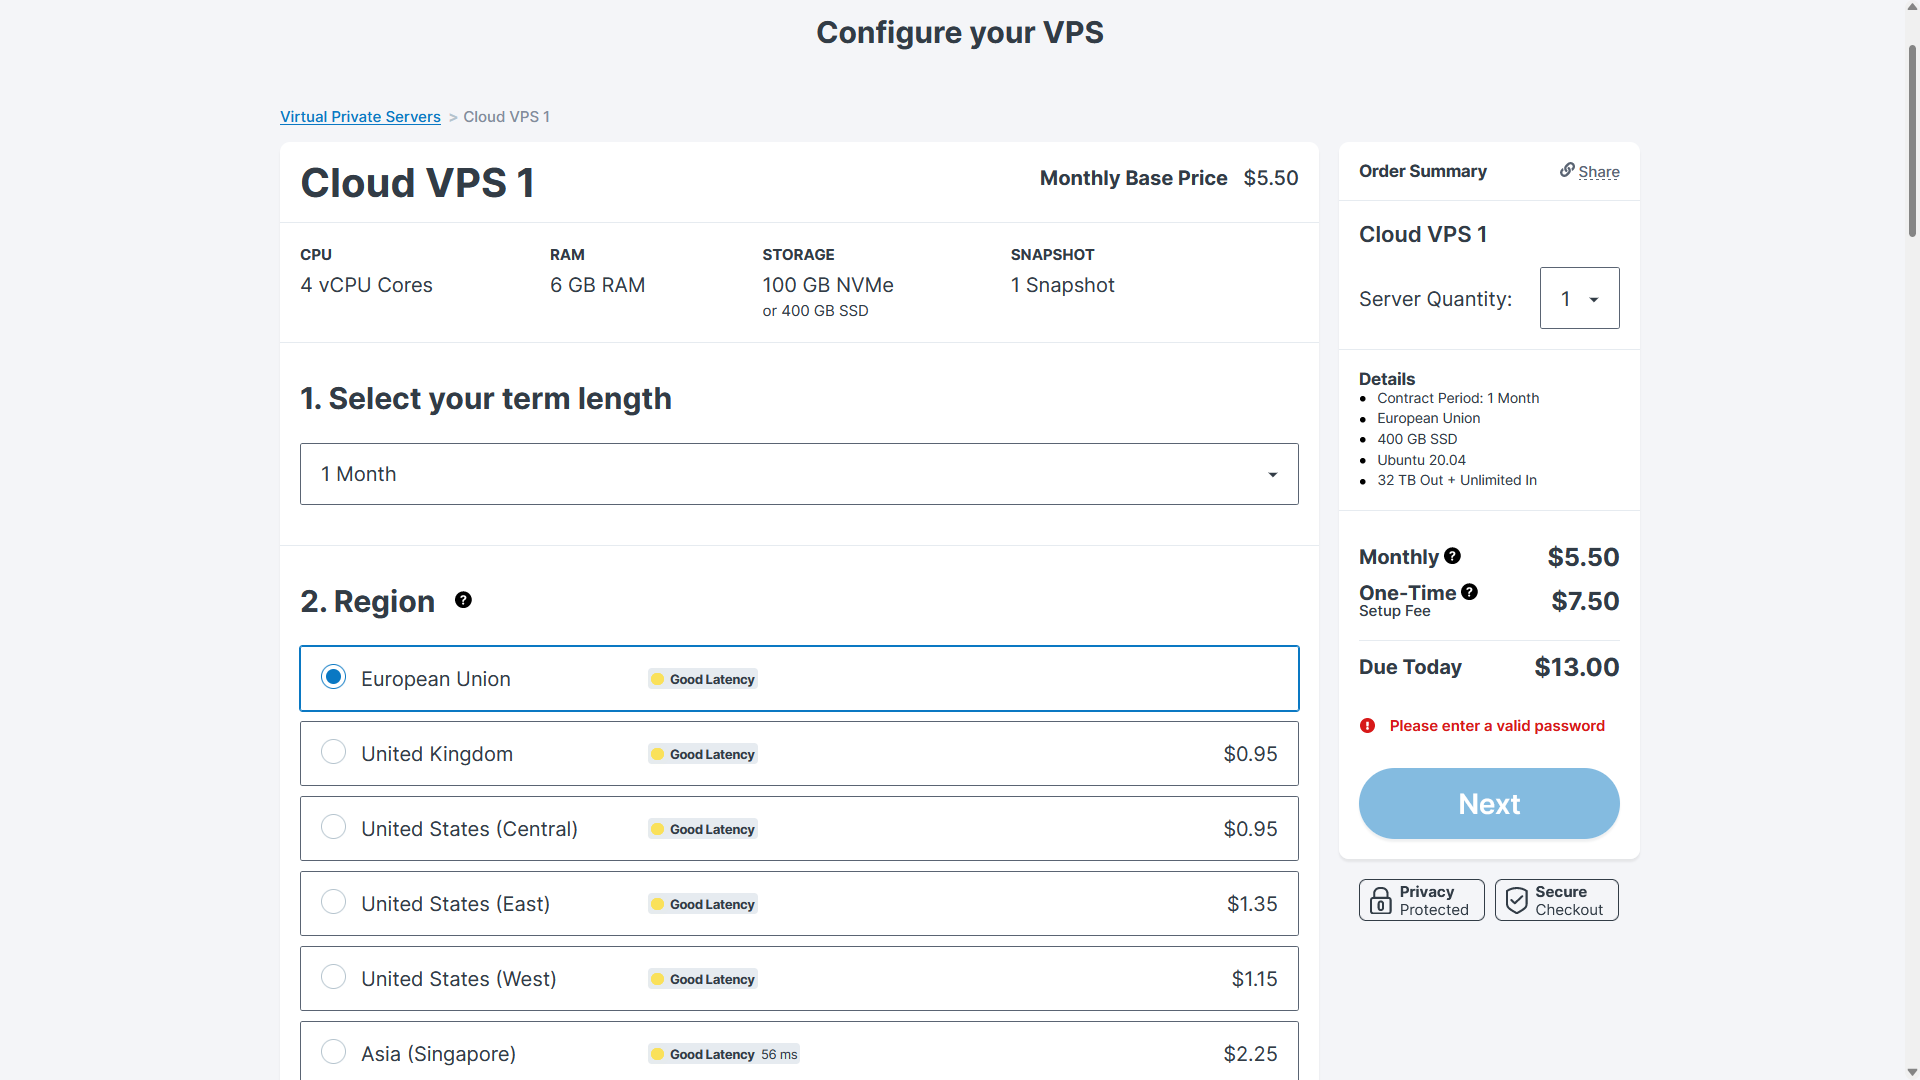
Select your term length and region. If you choose 1 year term length, your setup fee will be waived.
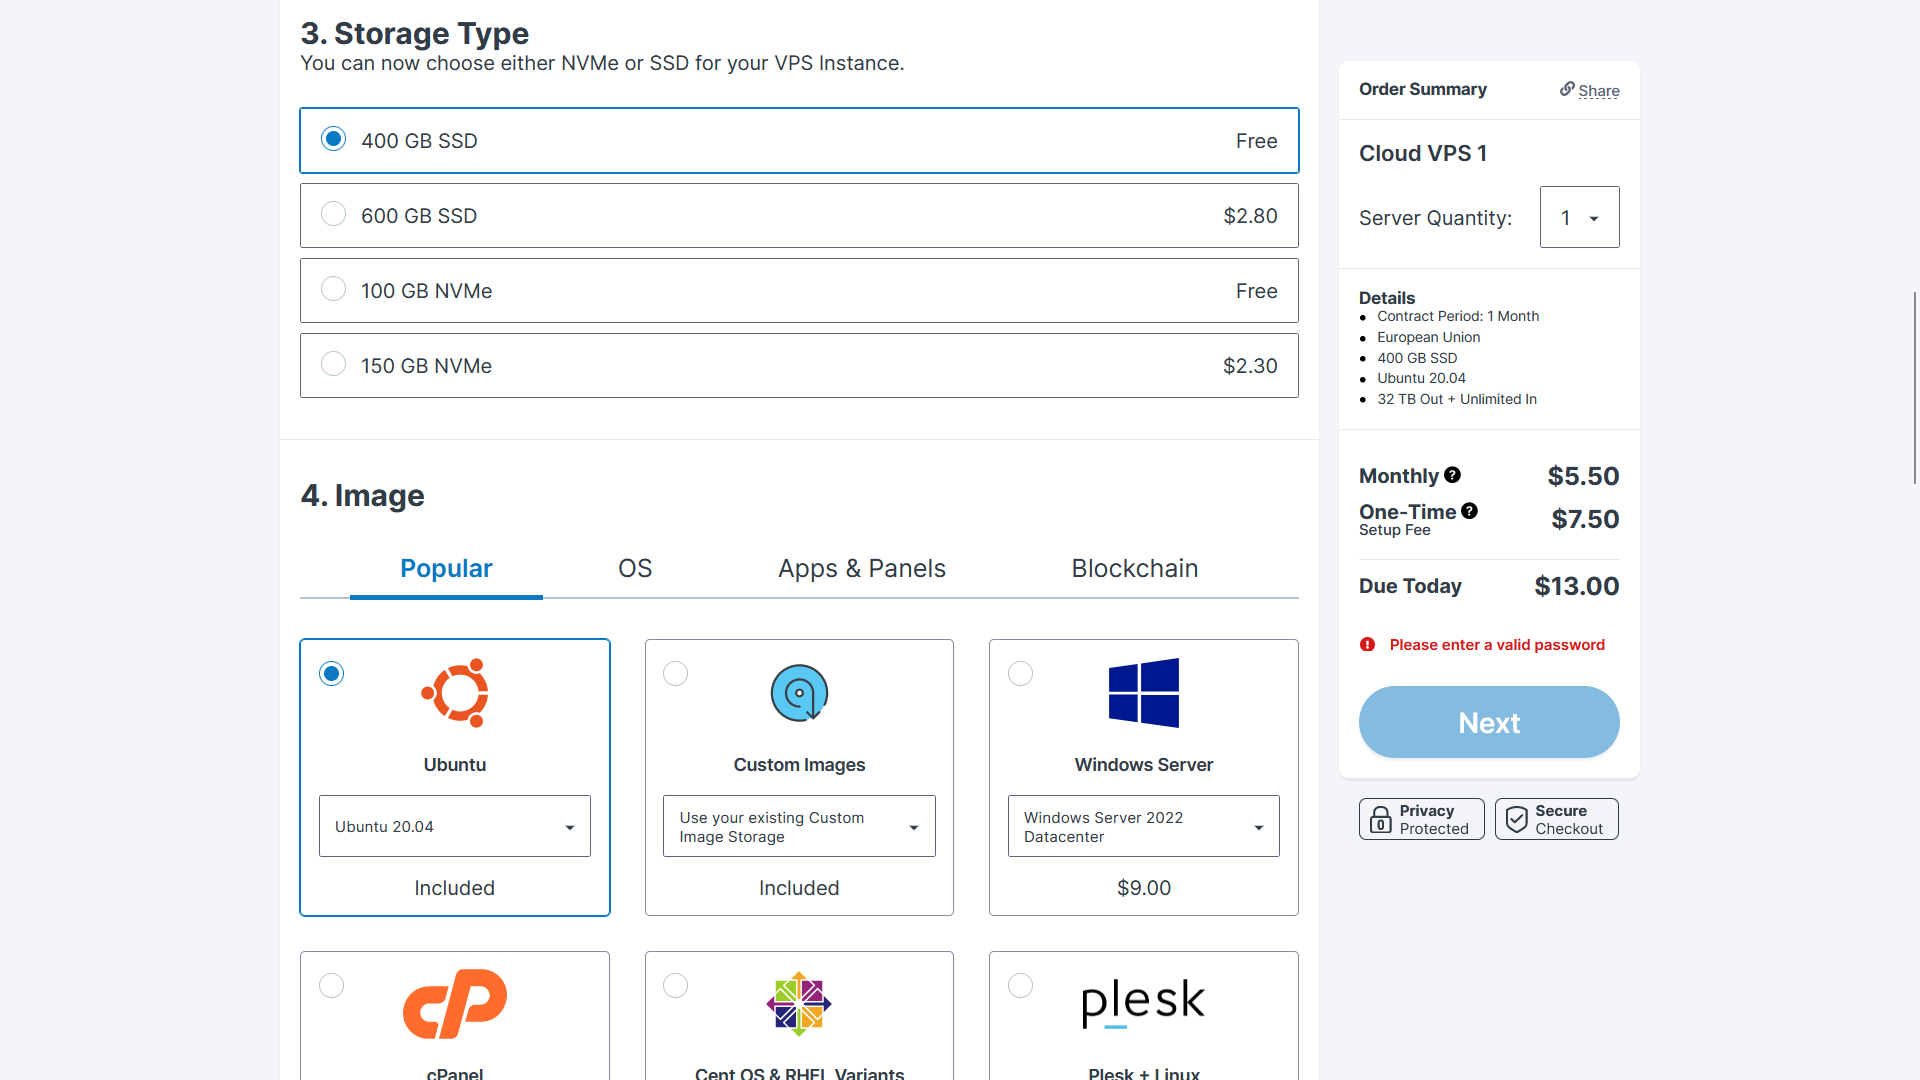
Choose your storage type and under Image be sure to choose Ubuntu 22.04. Also note that NVMe storage is much faster.
Generate a password for root. We will need these credentials to connect to our server later on via SSH. By default, root is your username. Root is the super user.

Step 2. Installing and Configuring Cloudron on your VPS with Cloudflare
Cloudron simplifies server management and application deployment. In this part, we’ll explain how to install Cloudron on your Contabo VPS using the command line. We’ll cover the required software and dependencies, guiding you through the process step by step.
For step-by-step installation with images, be sure to check out this tutorial, including complete setup of Cloudron with Cloudflare. (Don’t skip this tutorial.)
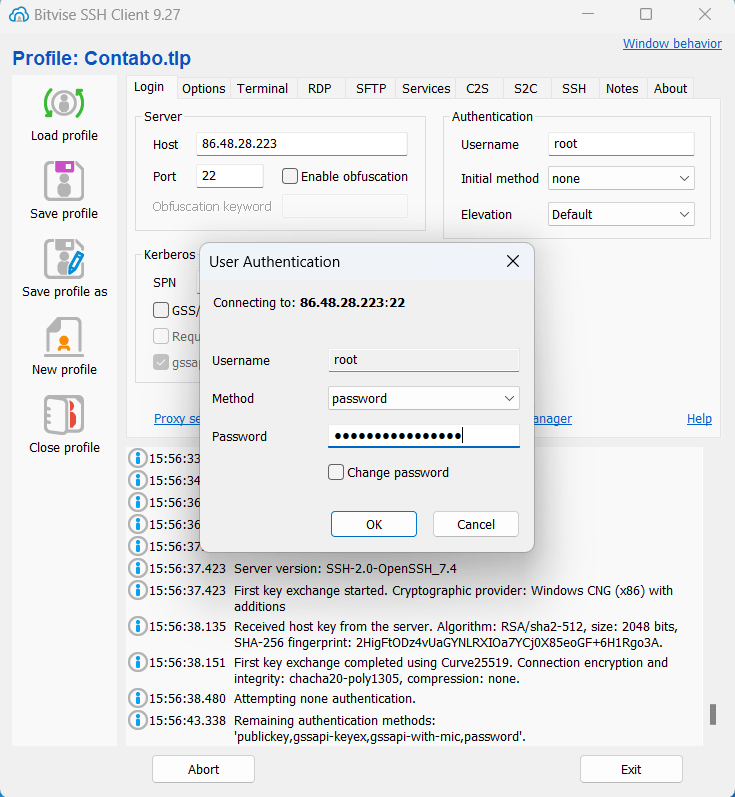
First, connect to your server using Bitvise, a free SSH client.
Run Bitvise. Connect to your Host using your server IP address. Then use the credentials created when signing up with Contabo.
After logging in, click the new terminal console.
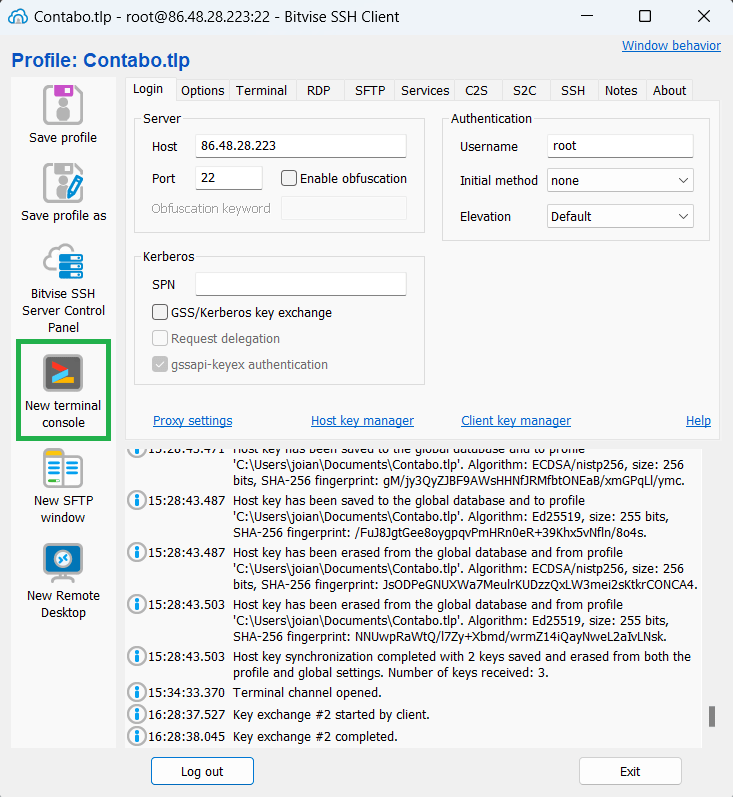
You’ll be displayed with a command line interface.
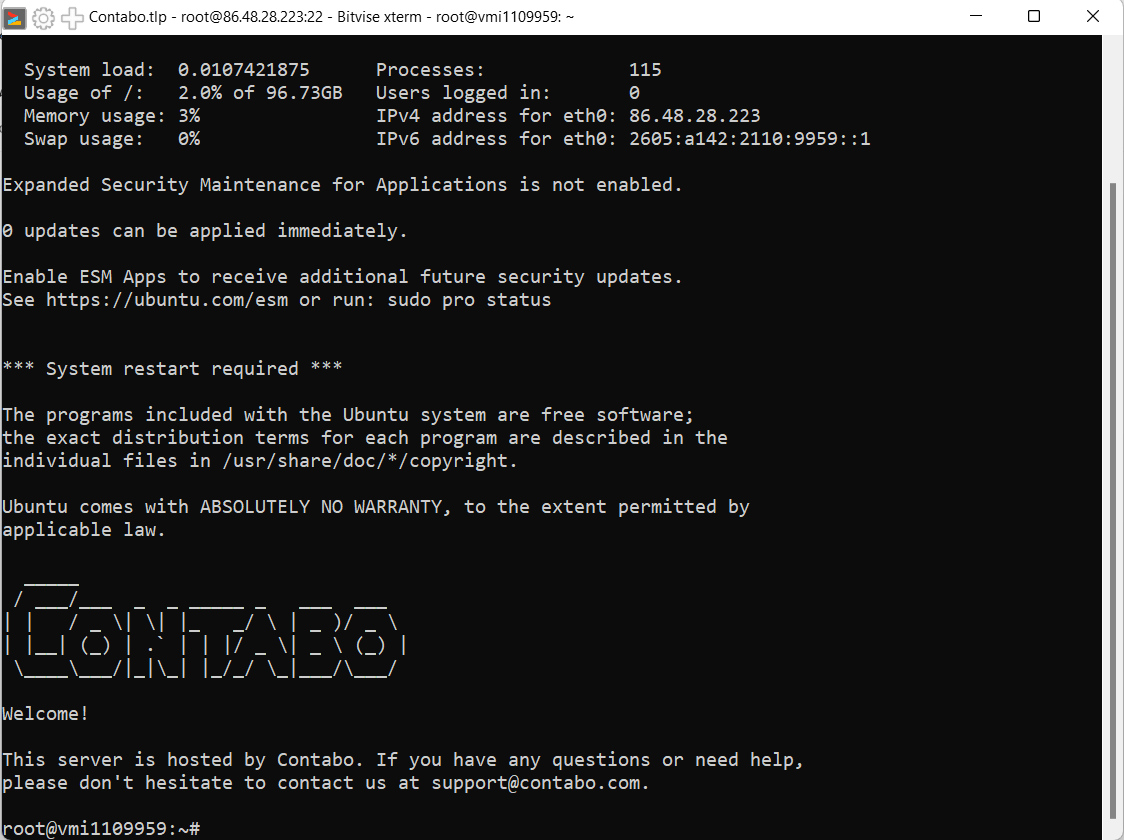
Update your server first.
sudo apt update && sudo apt upgrade
Next, install Cloudron using the following commands. We’ll retrieve the Cloudron files with wget.
wget https://cloudron.io/cloudron-setup
Then execute the command.
chmod +x ./cloudron-setup
./cloudron-setup
Step 3. Configuring DNS for Email Delivery
Configuring DNS correctly is crucial for email delivery. In this section, we’ll guide you on setting up essential DNS records such as MX, SPF, and DKIM to ensure your emails are properly authenticated and avoid spam folders.
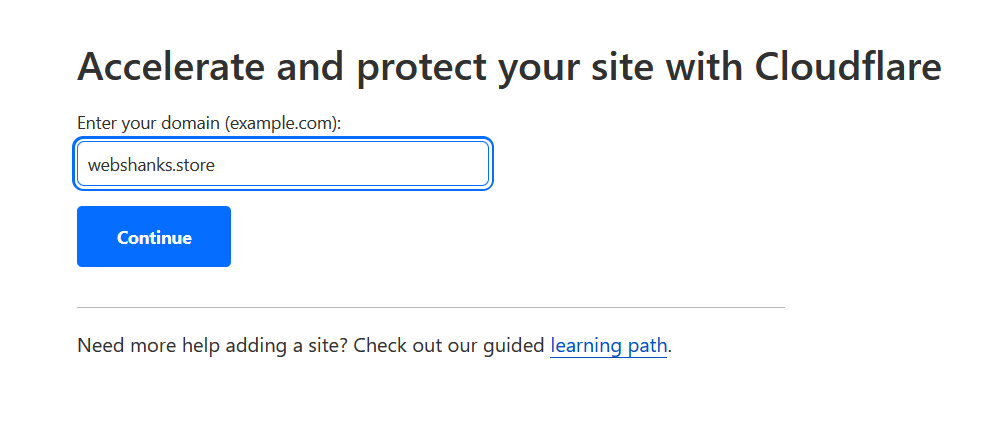
Register a free Cloudflare account. Then add a Site.
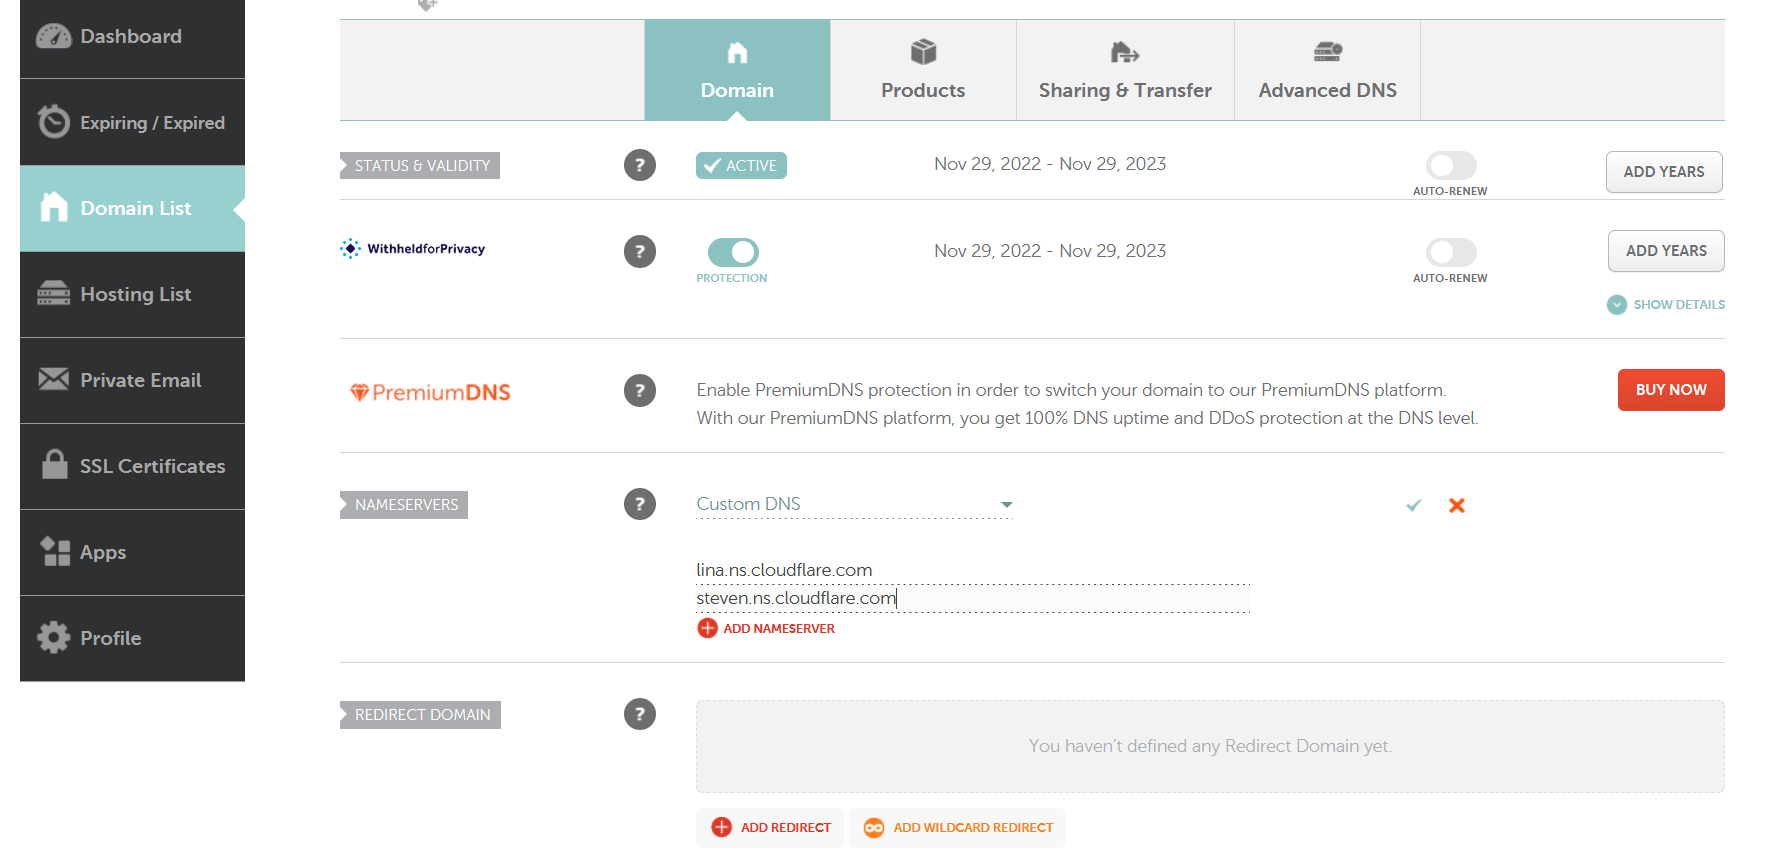
Add Cloudflare’s nameservers to Namecheap.

Use custom DNS so that you can enter Cloudflare’s nameservers.
Then go back to Cloudflare and access your Global API key.
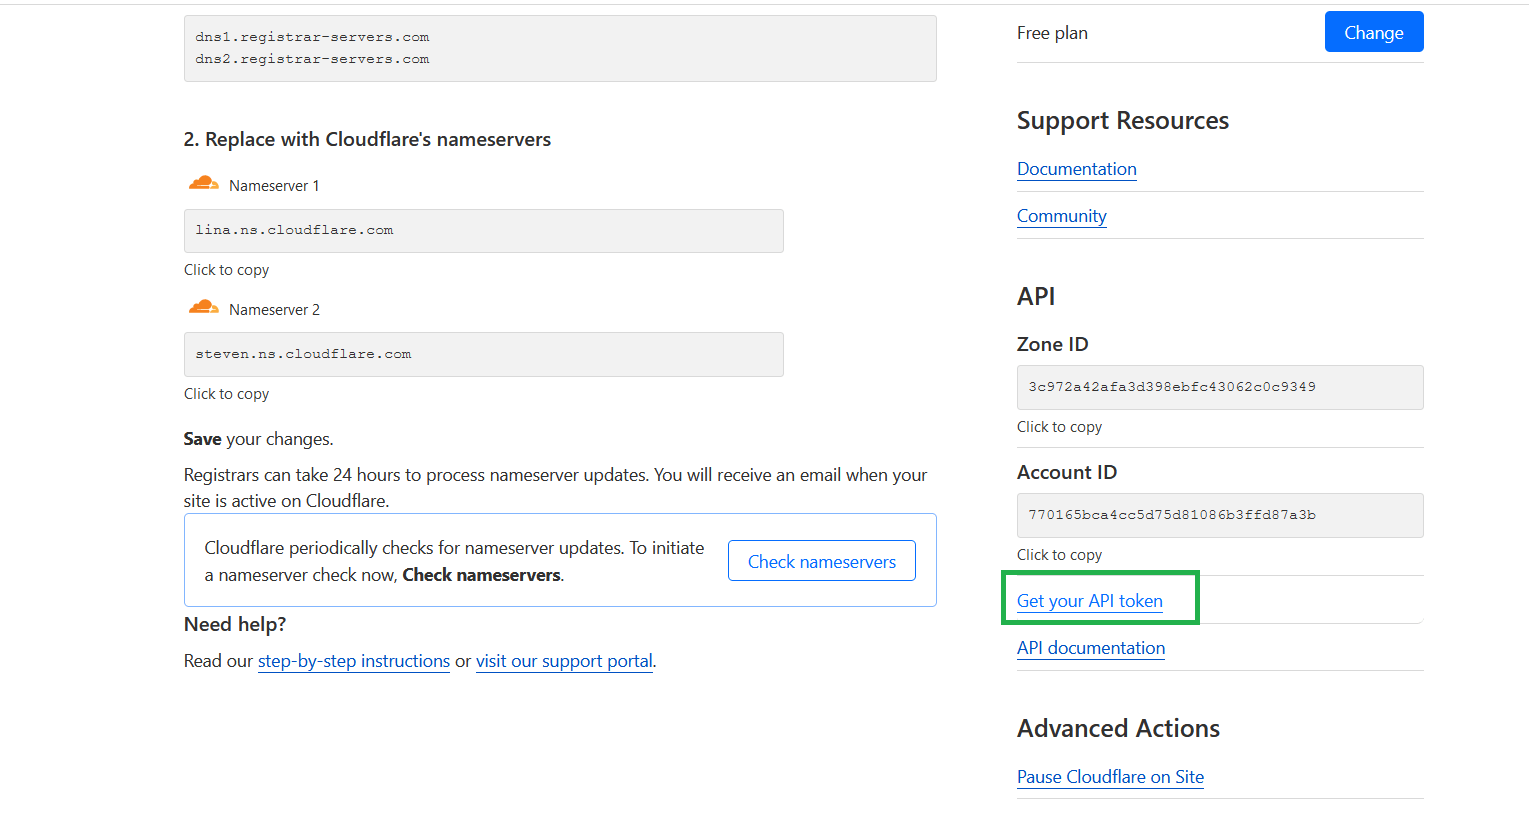
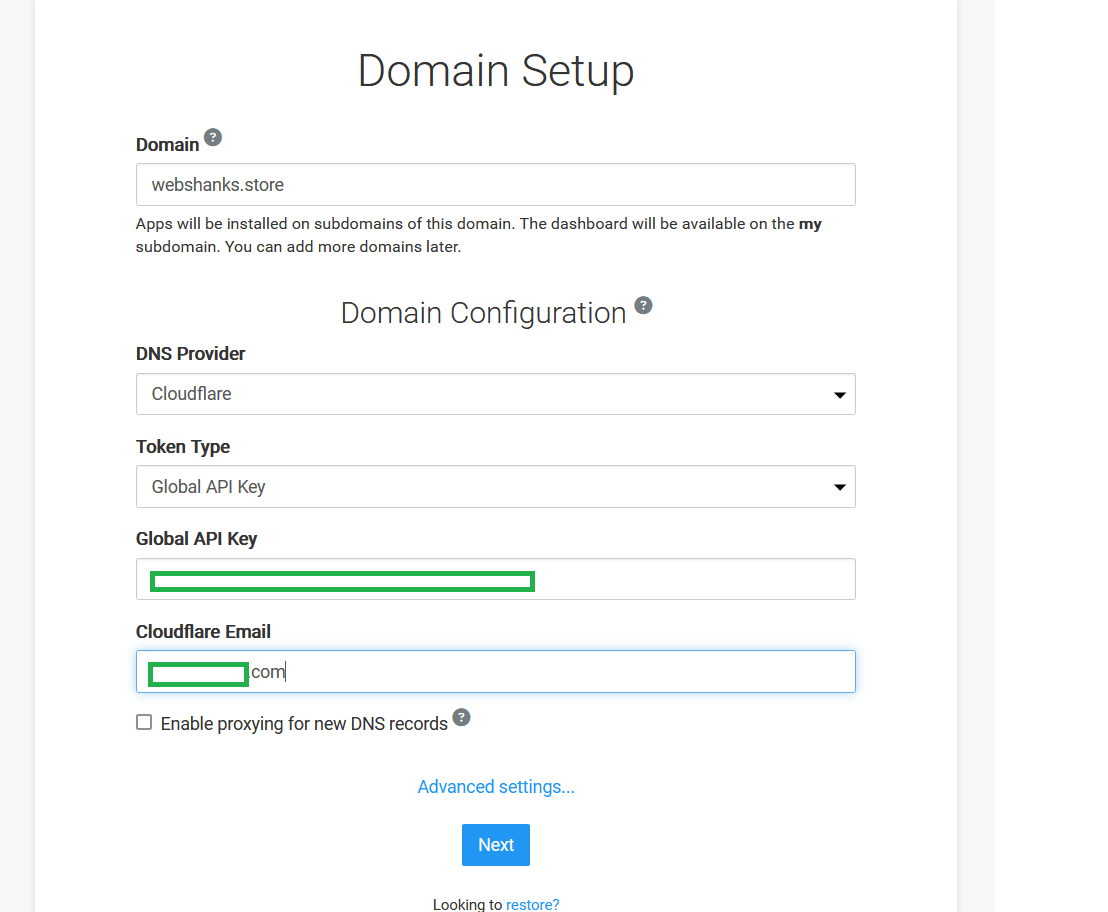
Add your domain and choose Cloudflare as DNS provider. Paste your Global API key and add your Cloudflare email.
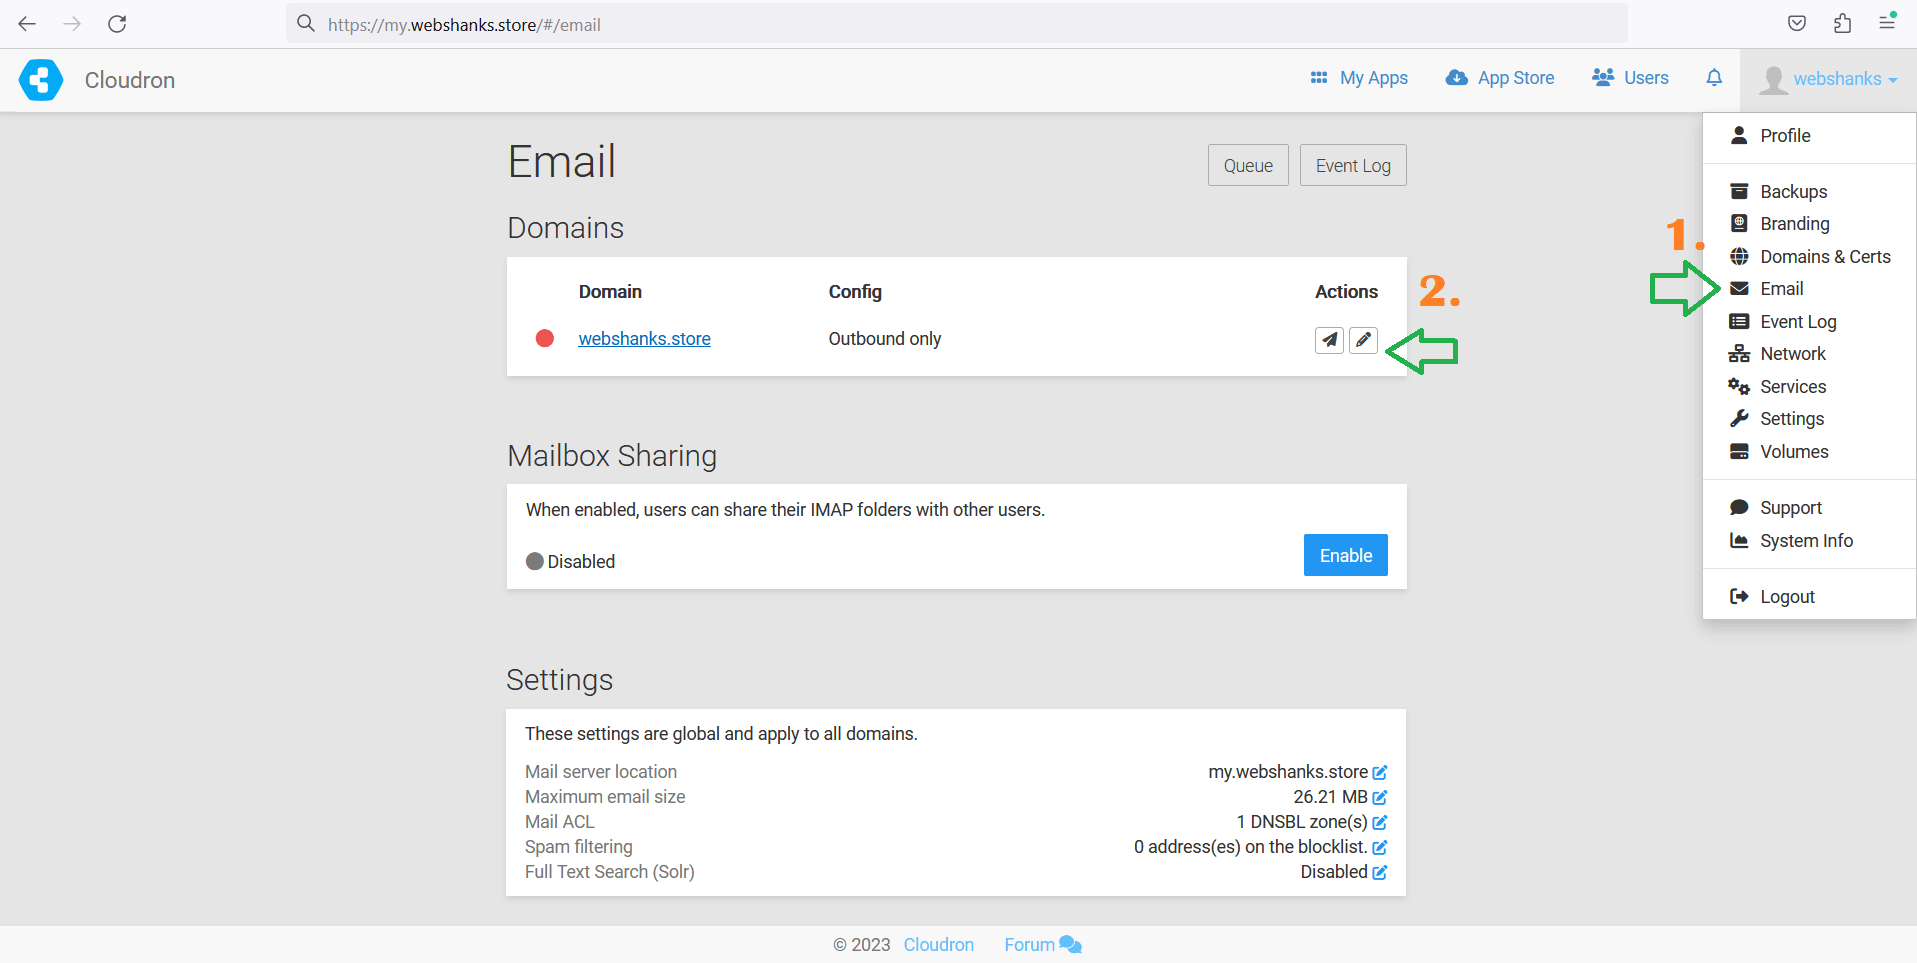
Once you have setup your Cloudron, under your profile choose Email, then pencil icon.
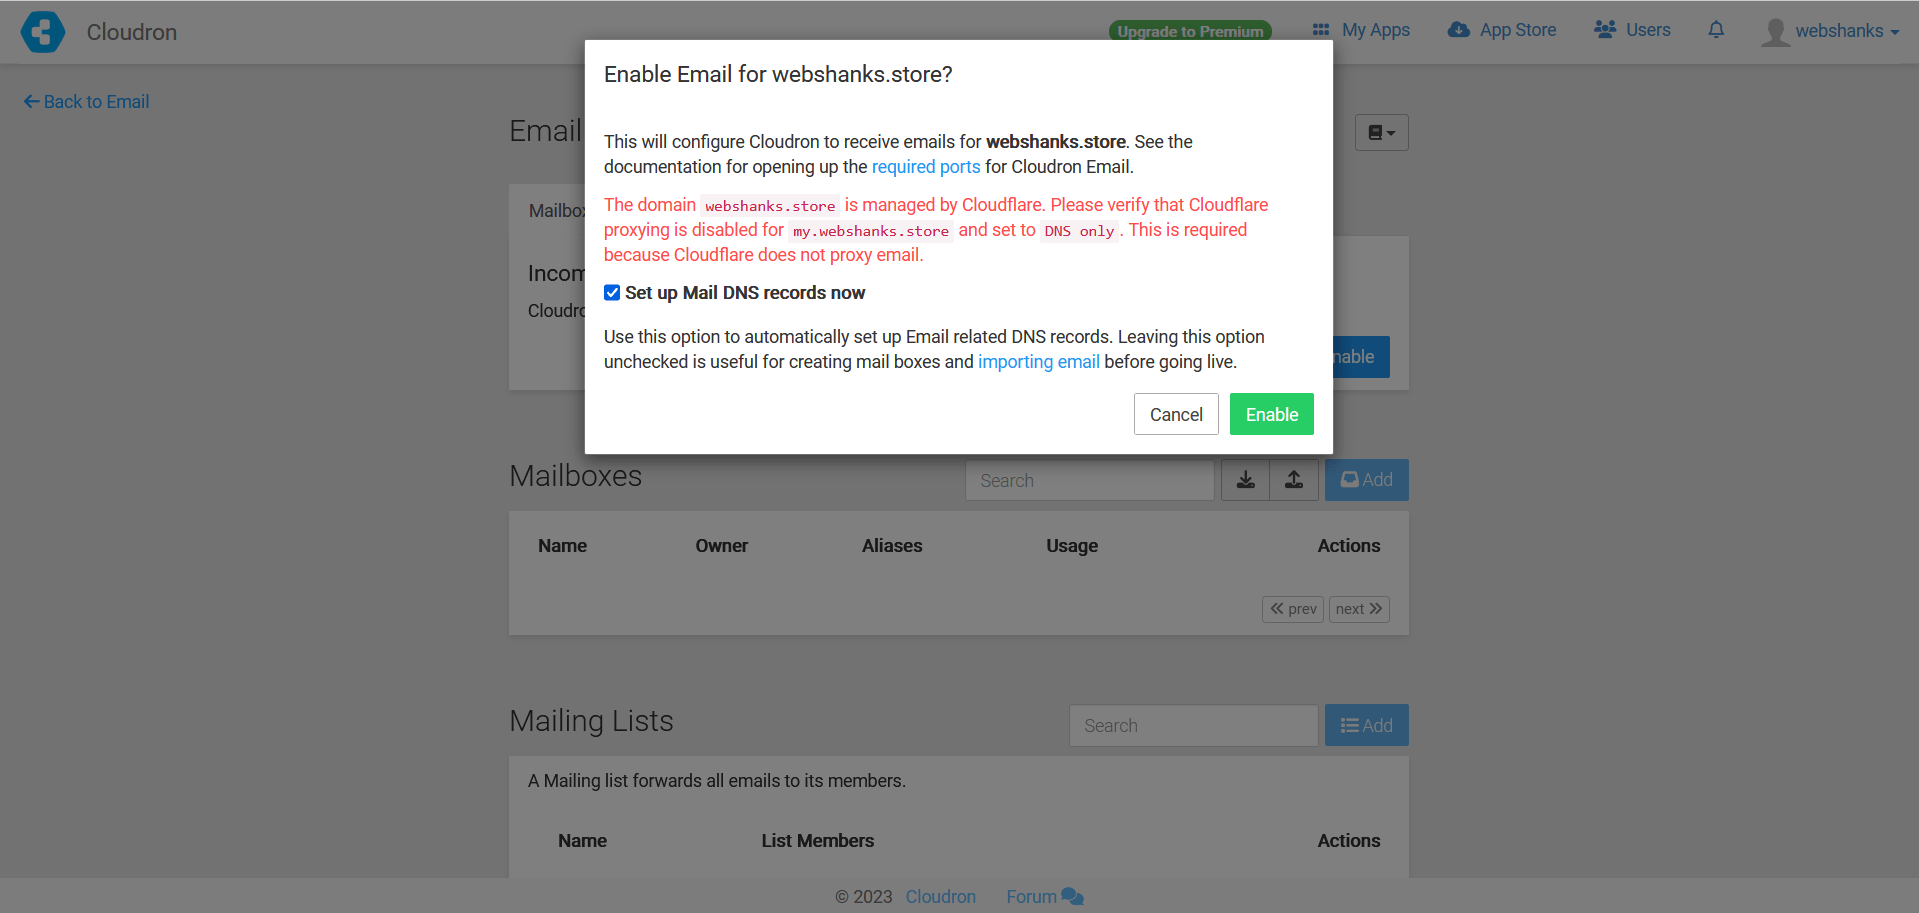
Under Mailboxes, click Enable.
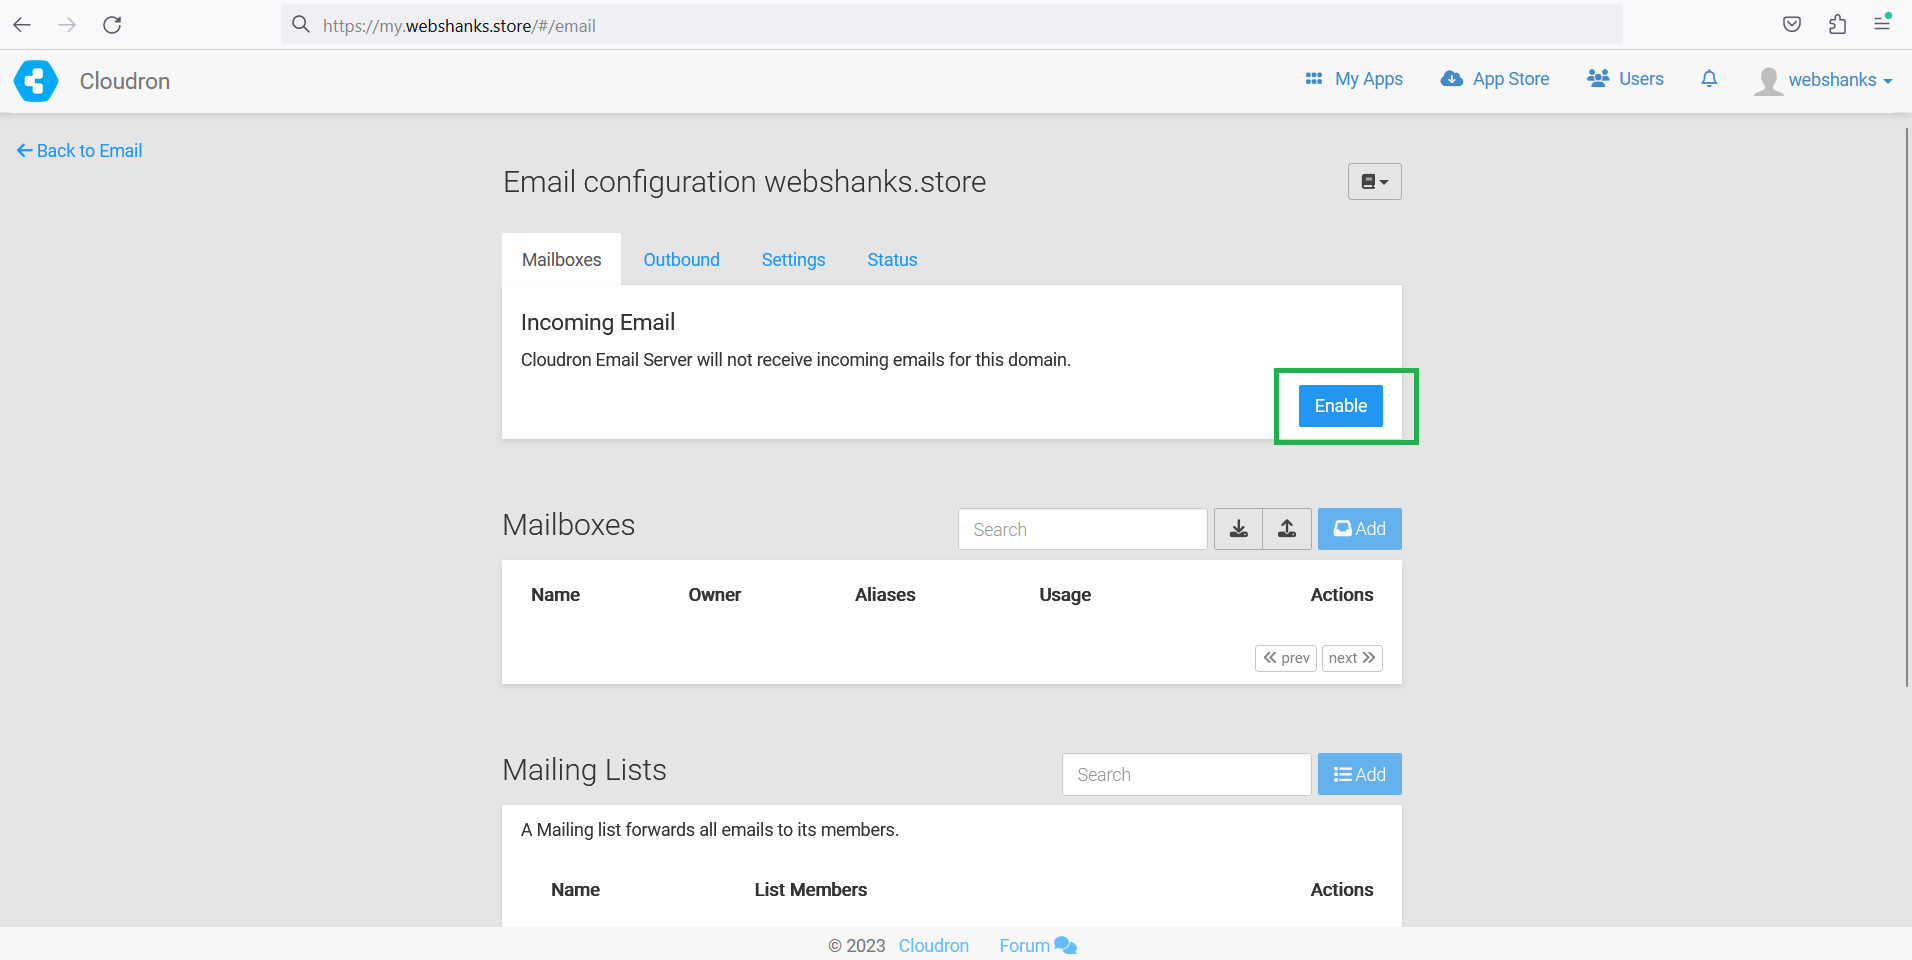
Then a message will appear. Click Enable.
The good thing about Cloudron is, it will automatically set your DNS from Cloudflare so you don’t have to manually add them. Just click the checkbox and the DNS will be setup right away.
Next, go to Outbound and choose Built-in SMTP server.
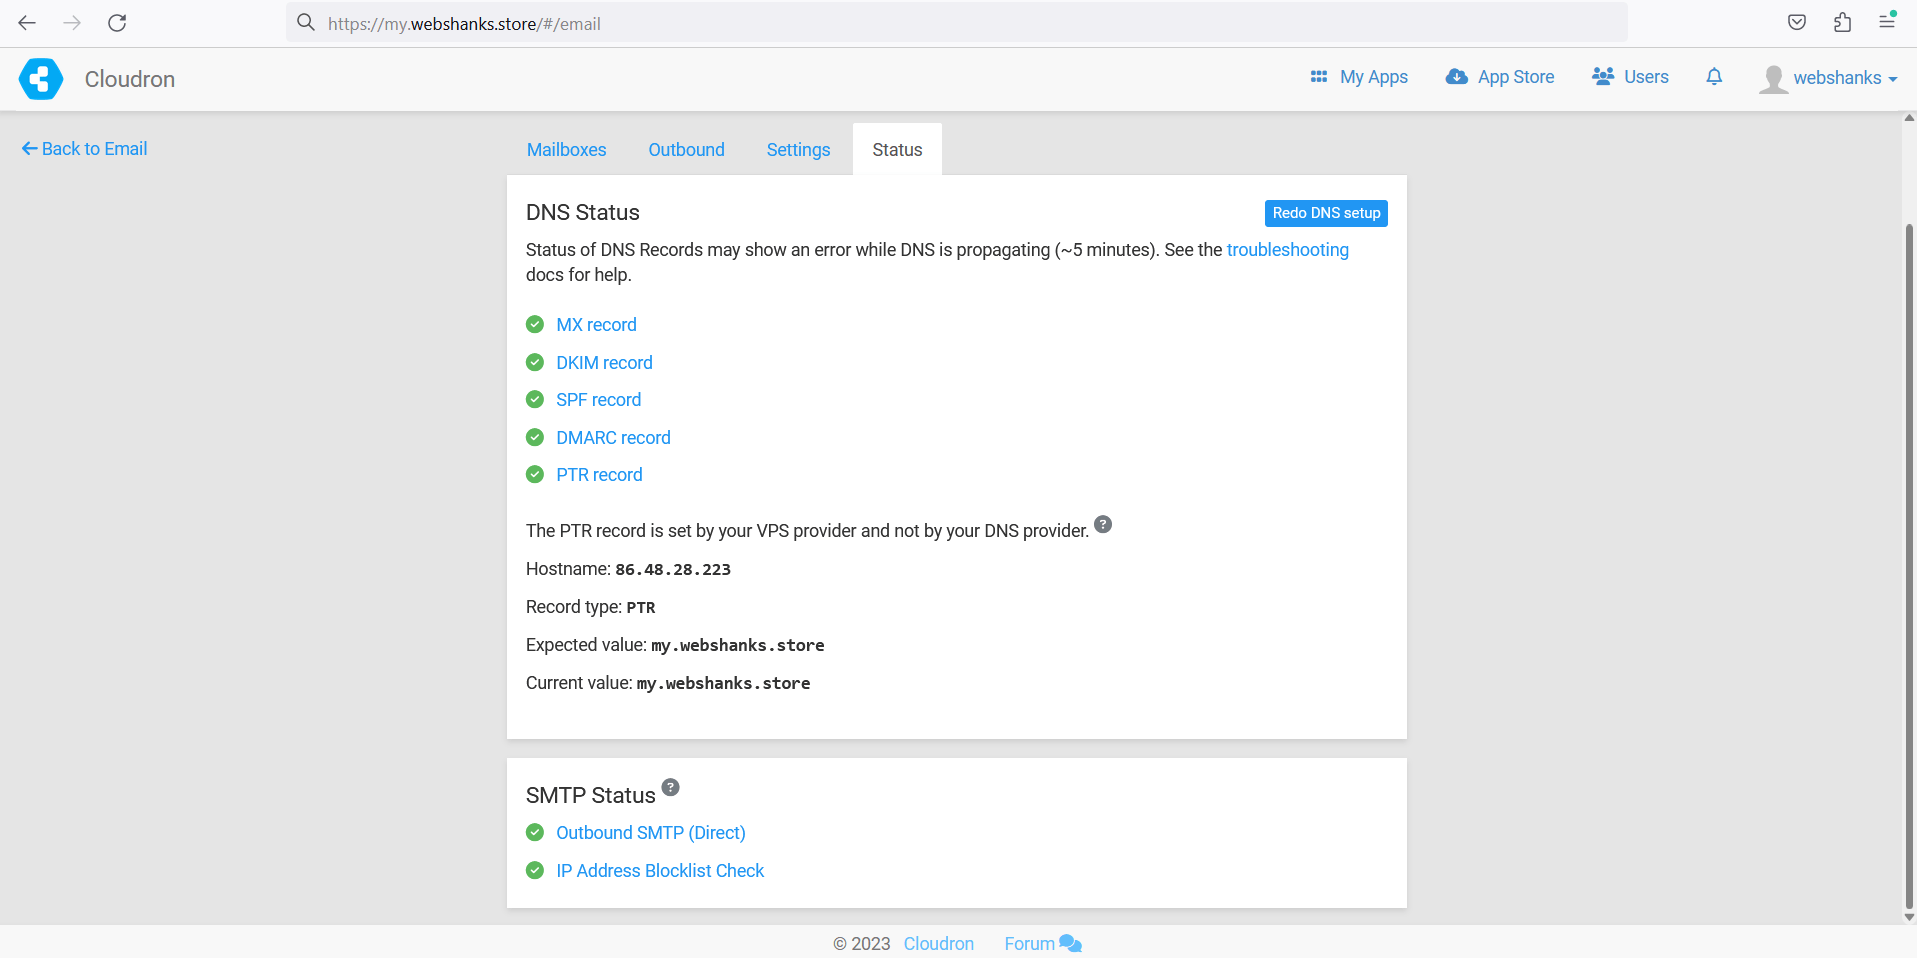
Then under Status, be sure all records are checked green.

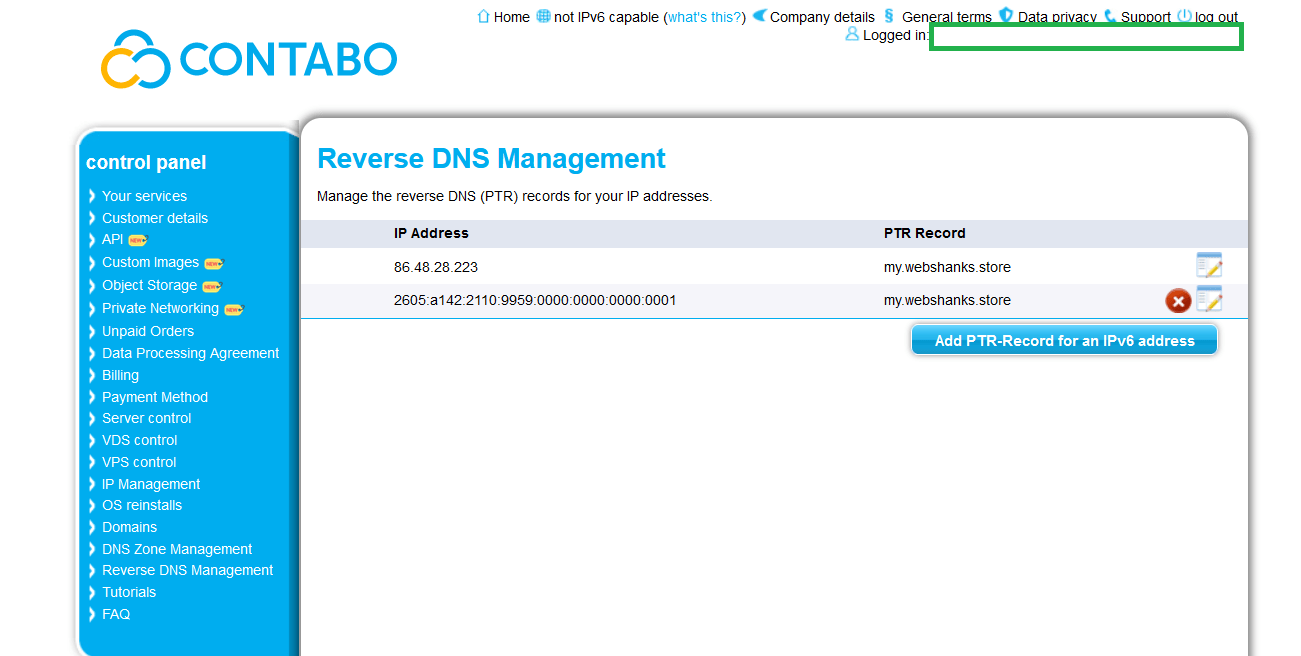
We’ll need to add a PTR record in our Contabo. Login to Contabo and go to Reverse DNS Management. Be sure to have your PTR record pointed to your mail domain.
In my case, my mail domain is my.webshanks.store. You can choose whatever mail domain you want to add.
Go back to your Cloudron and refresh PTR record. Now all records are green.
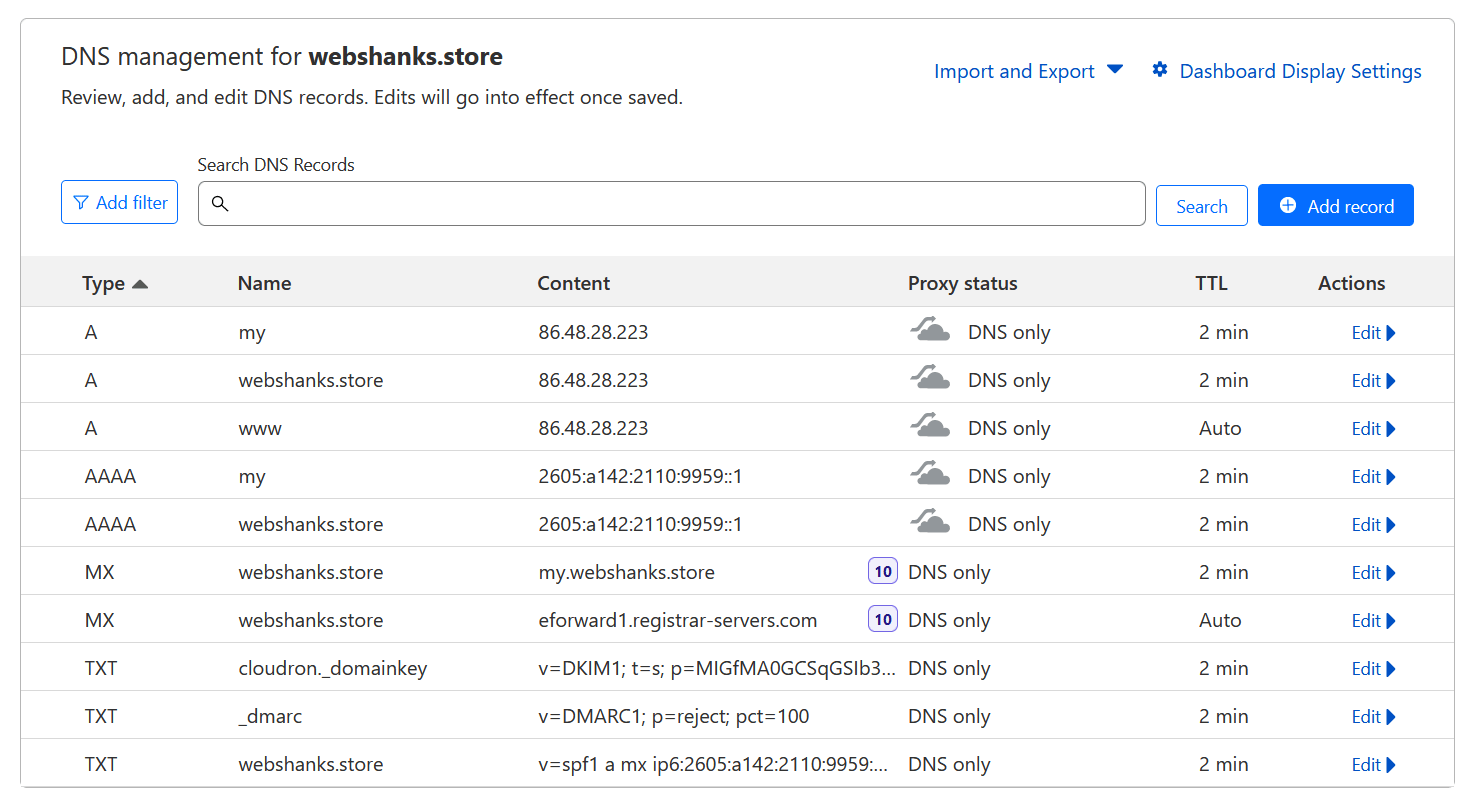
Now this is what your DNS records will look like in Cloudflare.
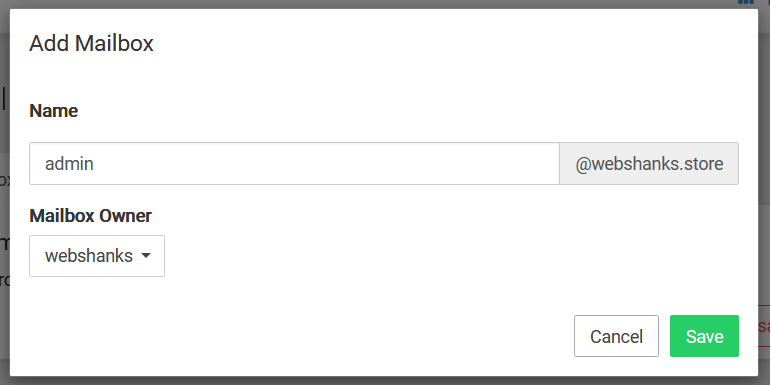
Step 4. Add Mailboxes
To start sending and receiving emails, you need to add mailbox to your email server.
Go back to Mailboxes and click Add.

Step 5. Installing Webmail Clients
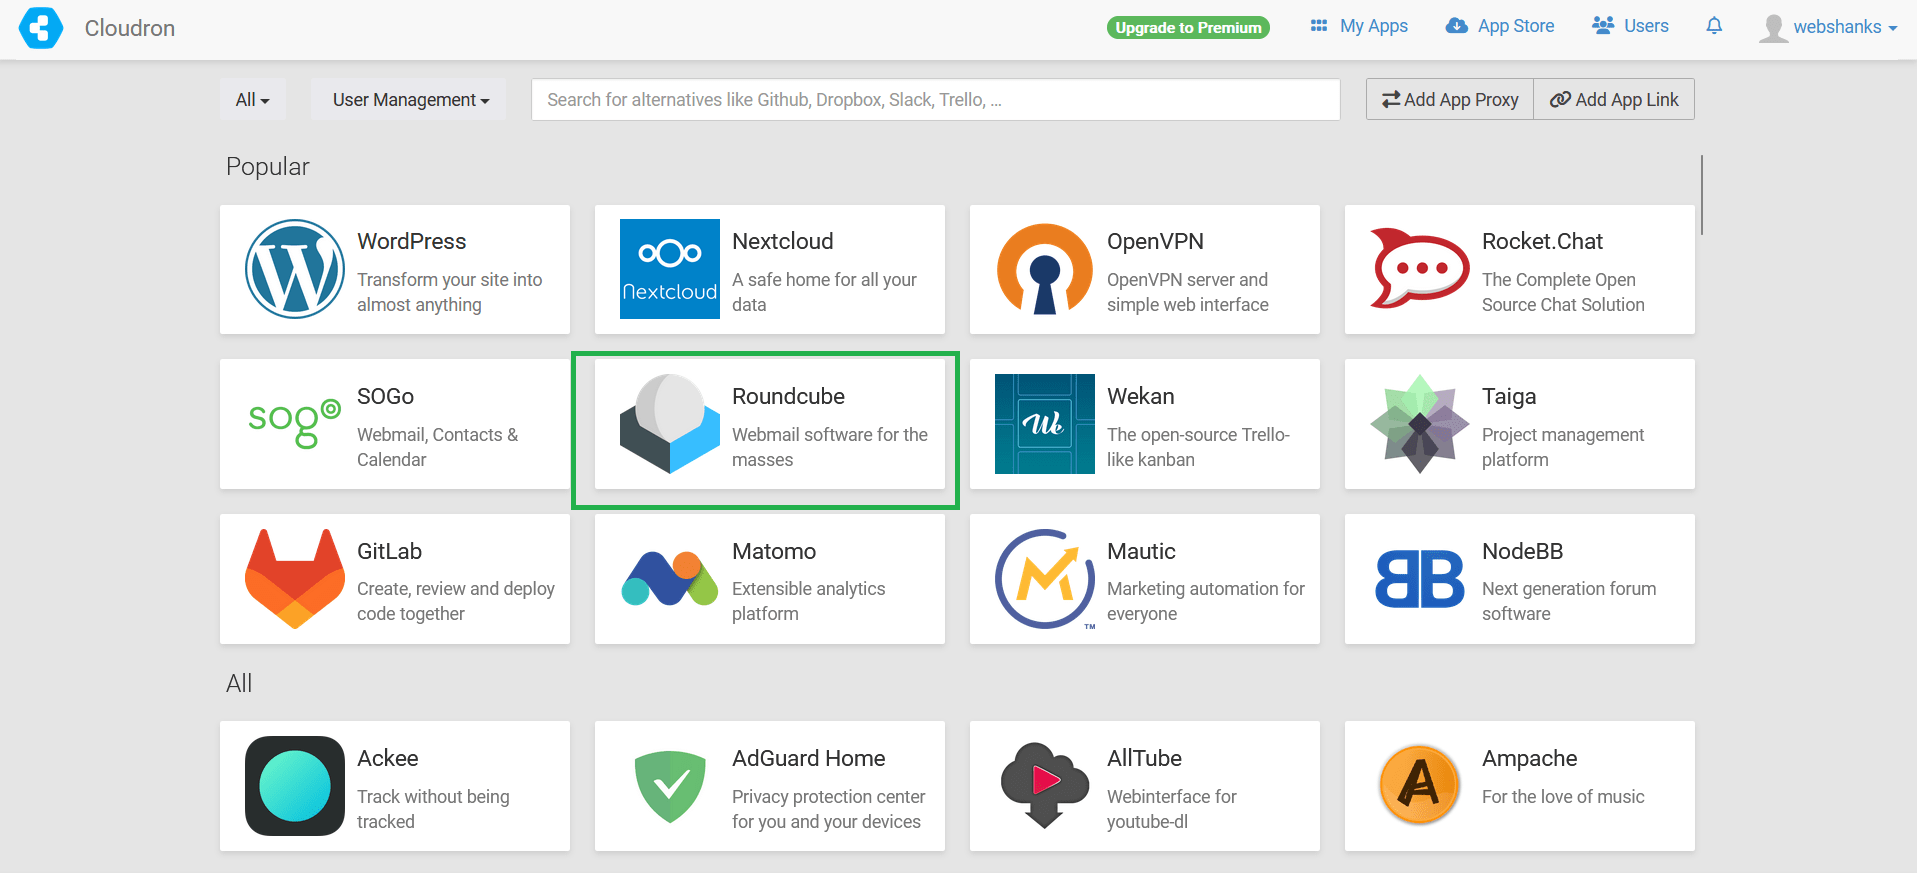
A user-friendly webmail client allows easy access to emails from any device. We’ll walk you through the process of installing popular webmail clients like Roundcube or RainLoop on your Cloudron instance.
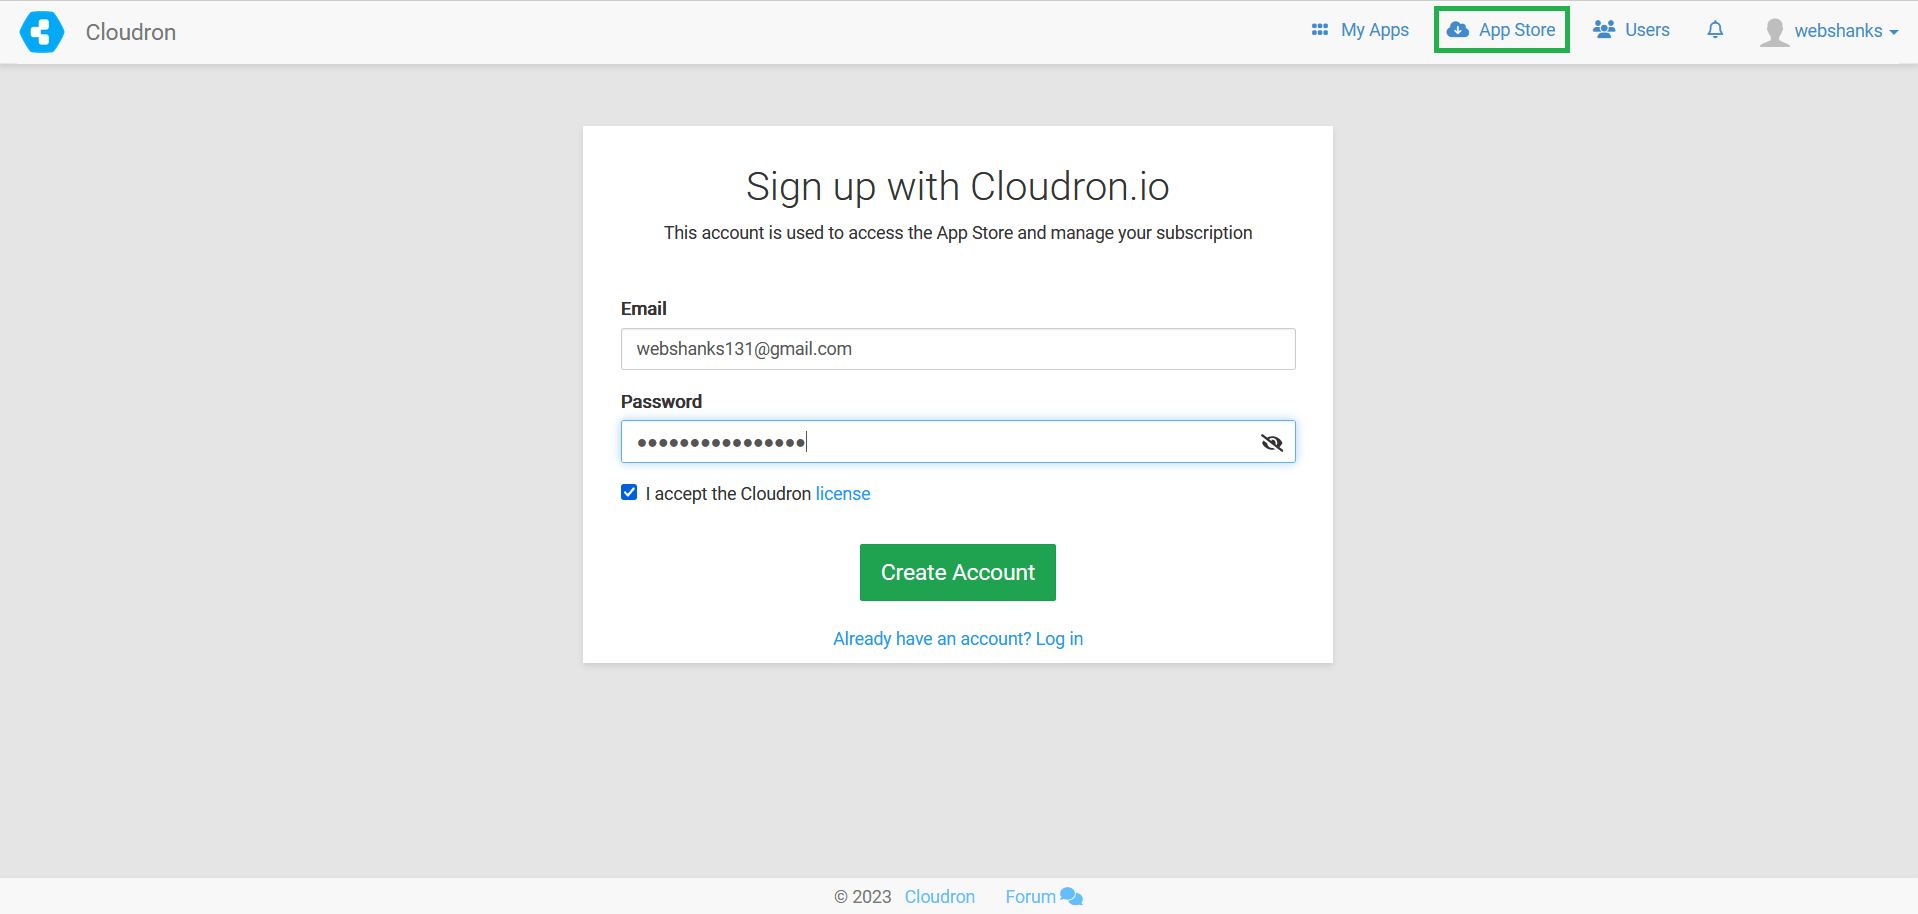
Click App Store and create an account with Cloudron.
Install Roundcube.
Then it will appear in your Cloudron dashboard.
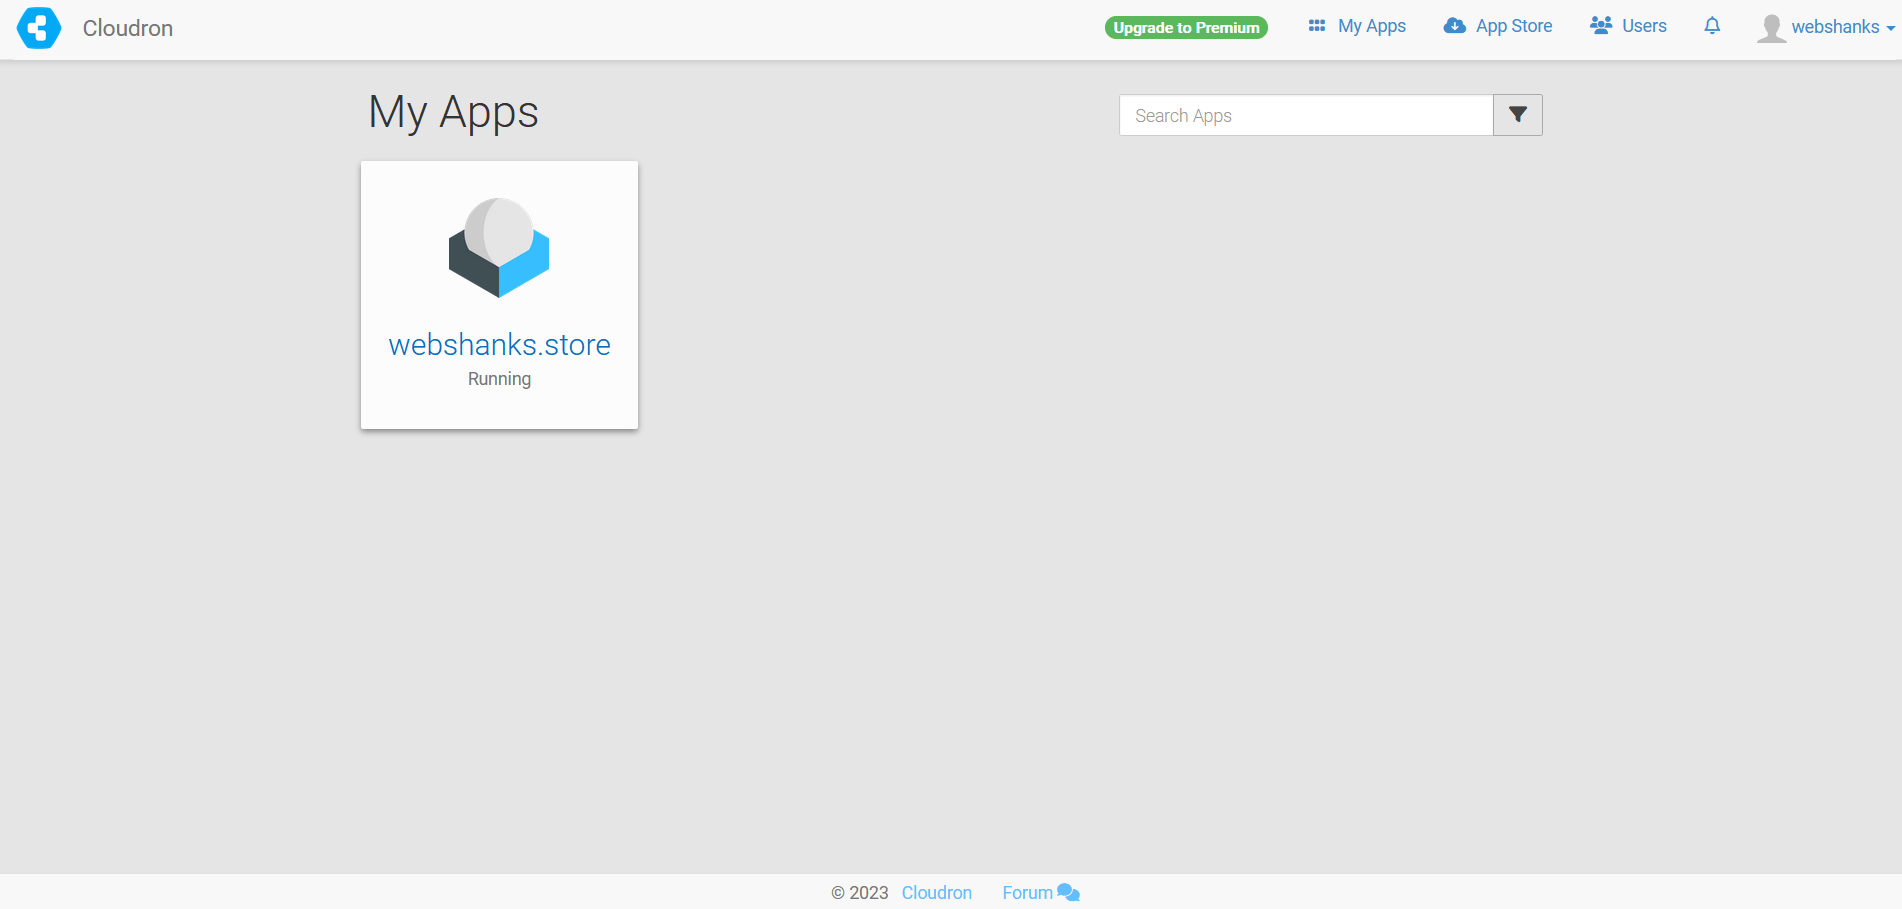
Click Roundcube and you will be redirected to your mail domain. In this case, it’s my.webshanks.store.
Login using your created Mailbox and the password is the one you created for Admin account during setting up with Cloudron.
Step 6. Test Email Server by Sending Sample Email
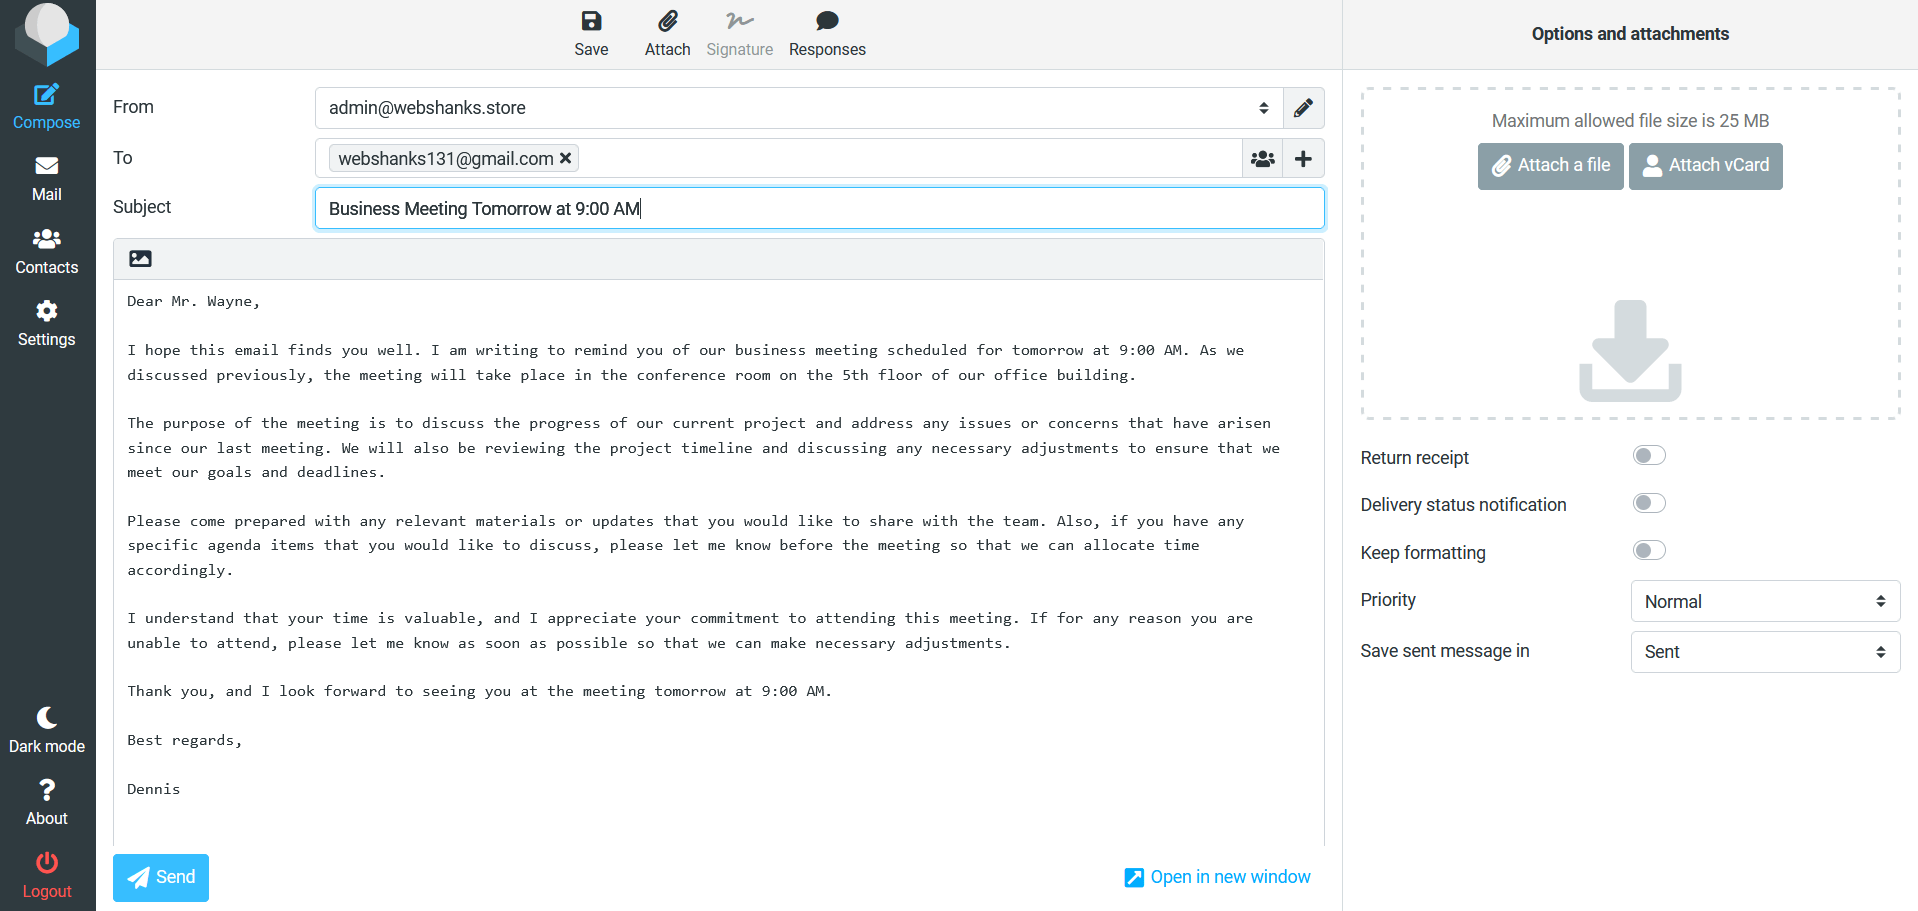
Now we’ll just need to test our email server by sending a test email to Gmail.
To avoid spam, we have to create an email template that looks legit.
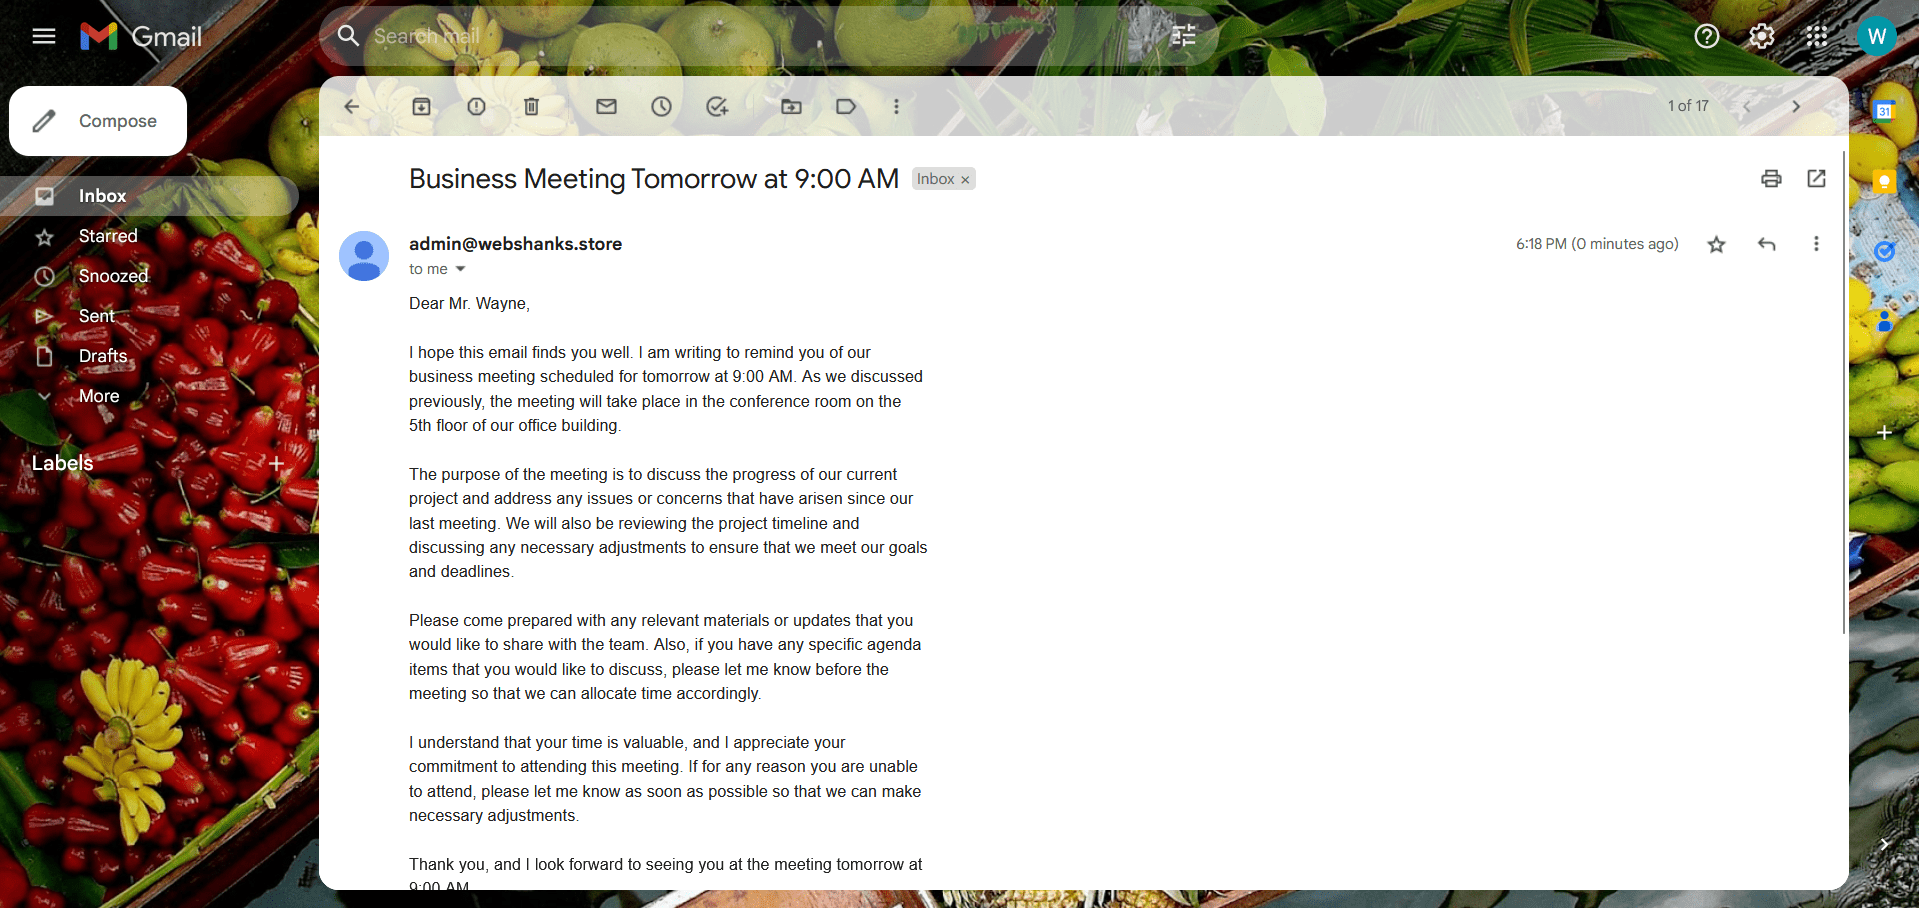
Received in our inbox!
We will reply from that email.
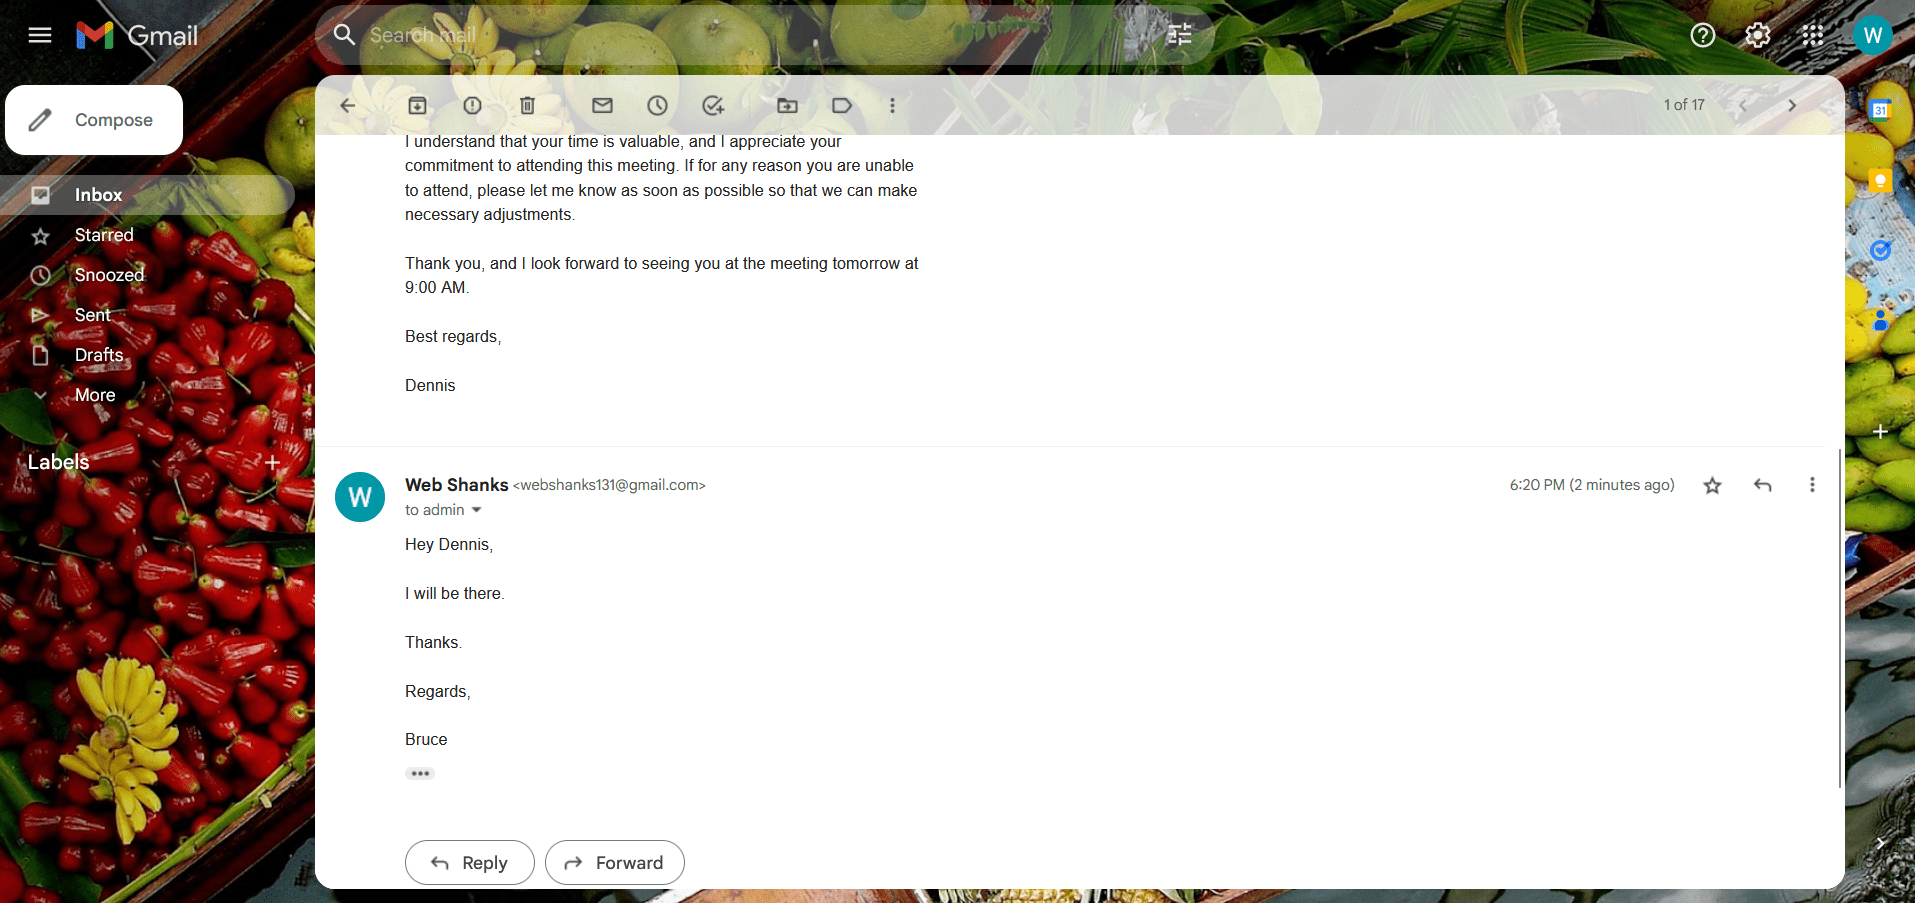
Let’s see if our email server received the message. Let’s check our webmail.
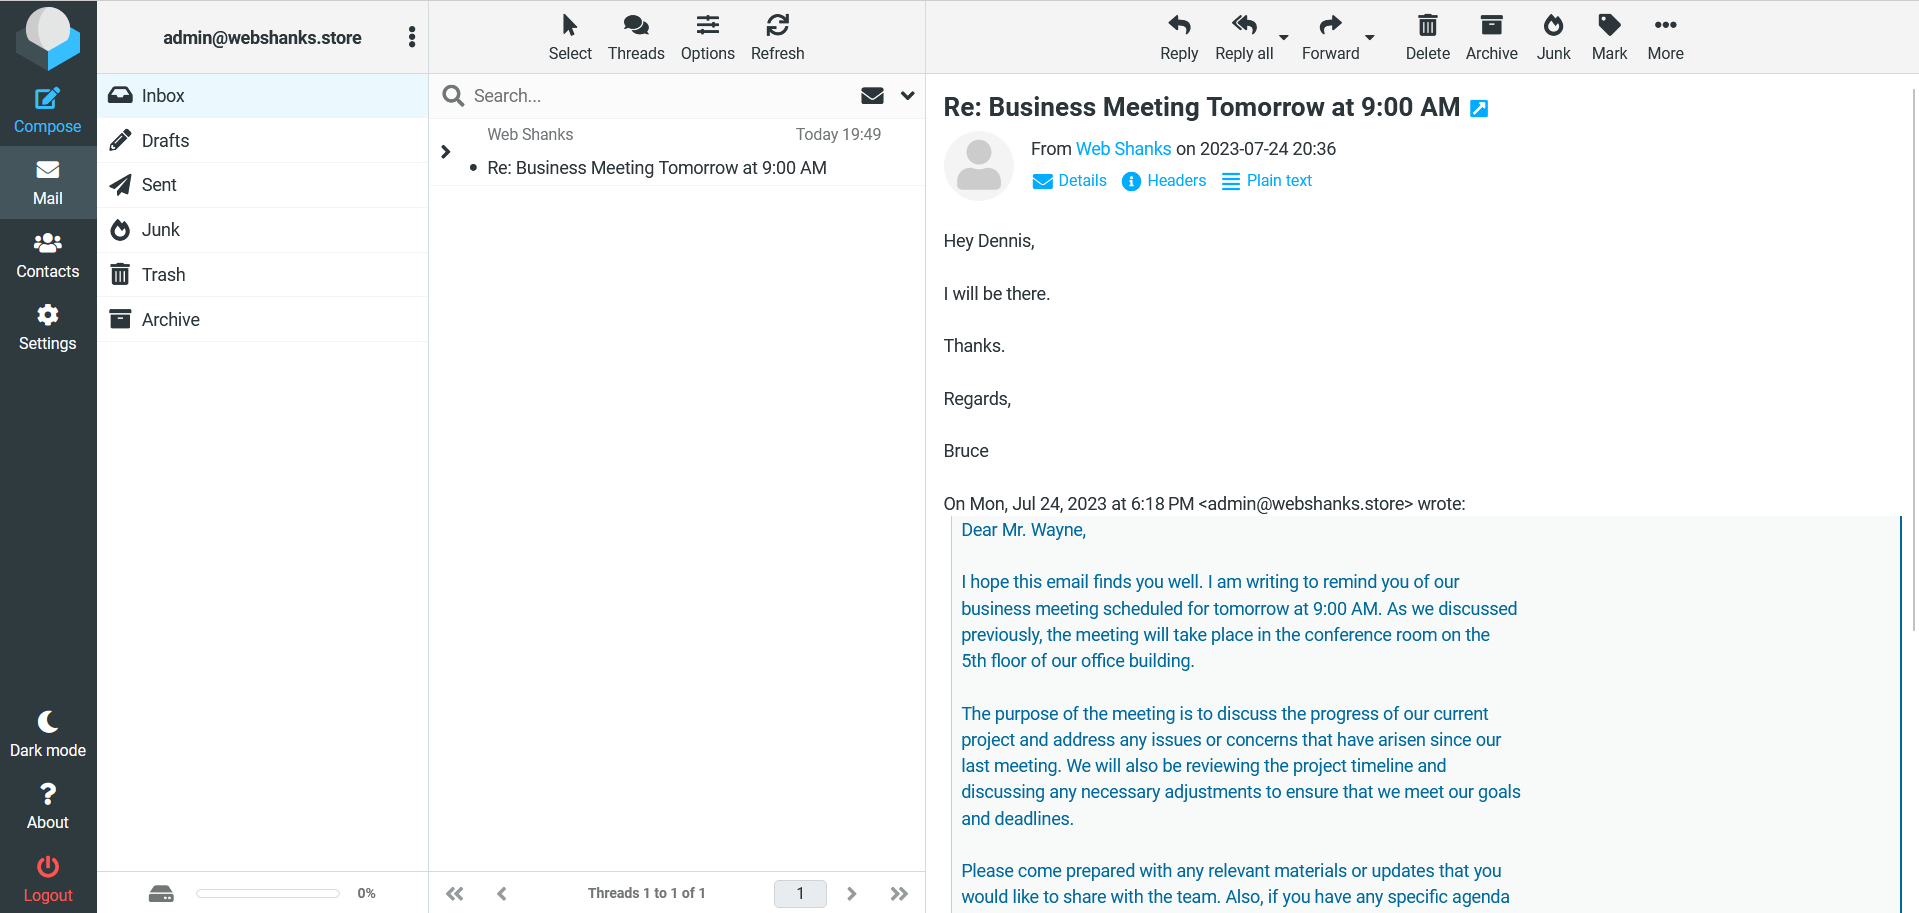
Success! We configured Cloudron as a mail server with Roundcube as our webmail. We can send and receive emails!
Troubleshooting
If you cannot reply from your Gmail or other email services, manually replace your SPF with this:
v=spf1 a mx ip6:2605:a142:2110:9959:0000:0000:0000:0001 ip4:86.48.28.223 -all
Be sure to change the IPv4 and IPv6 with your respective IPs.
Frequently Asked Questions (FAQs):
Can I use any VPS provider other than Contabo for this setup?
While this tutorial focuses on using Contabo VPS, you can use other VPS providers with similar specifications. Just make sure the provider supports Ubuntu or other supported Cloudron OS and offers enough resources for your email server needs. Your VPS also has unblocked port 25 for outbound email.
What VPS has open 25 port?
Do I need a registered domain before starting this setup?
Yes, you’ll need a registered domain to set up your email server properly. Without a domain, you won’t be able to receive or send emails. If you don’t have one yet, you can register a domain through various domain registrars.
Can I use Cloudron for more than just email hosting?
Absolutely! Cloudron is a versatile platform that supports a wide range of applications. Besides email hosting, you can deploy web apps like WordPress, Nextcloud, and more, all managed from the same Cloudron dashboard.
Is Cloudflare necessary for setting up my email server?
While Cloudflare is not strictly necessary, it offers DNS management and additional security features that can enhance your server’s performance and protect against DDoS attacks. However, you can use other DNS providers if you prefer.
What are the recommended system requirements for the VPS?
The system requirements depend on the number of users and expected email traffic. For smaller setups, a VPS with at least 2GB of RAM, 2 CPU cores, and 20GB of storage should be sufficient. Larger setups may require more resources. Contabo VPS has 8GB of RAM and 4vCPUs at $8.49 per month.
How do I access my emails after setting up the server?
After setting up the email server, you can access your emails through webmail clients like Roundcube or SnappyMail. Additionally, you can configure your preferred email client (e.g., Thunderbird or Outlook) to access your emails via IMAP or POP3 protocols.
For complete details, check this documentation out.
Conclusion
In conclusion, setting up your own email server with Contabo VPS, Cloudron, and Cloudflare is a rewarding and educational experience.
Following this comprehensive tutorial, you’ll have your email server up and running with confidence, ready to send and receive emails securely and efficiently.
Remember to keep your server updated and regularly maintain its security to ensure a smooth email communication experience. Happy emailing!
Hi,I am doing email marketing right now by using Thunderbird to send bulk emails.But I want to build own SMTP for my marketing purposes. Like outgoing server port number is 465 or 587.
Can you build for my marketing purposes. I will pay for you
Hi Kota,
Please email me so that we could talk. contactme27 at webshanks.com
I followed all the procedure but my rdns and cloudflare registration are less than 24 hours so login in to cloudron via racknerd VPS keeps returning site can’t be reached. Mind u I deleted all the previous records of the domain in cloudflare before connecting cloudron could this explain why or do I need to wait for rdns and 24 hours to have elasped to get this..the installation of cloudron was smooth via bitwise..
Thank you so much for this tutorials I’m grateful
From racknerd’s rdns, you should wait for 24 hours to fully propagate.
Hello
Please advice how to add SpamExperts in Cloudron and Cloudflare
Thanks