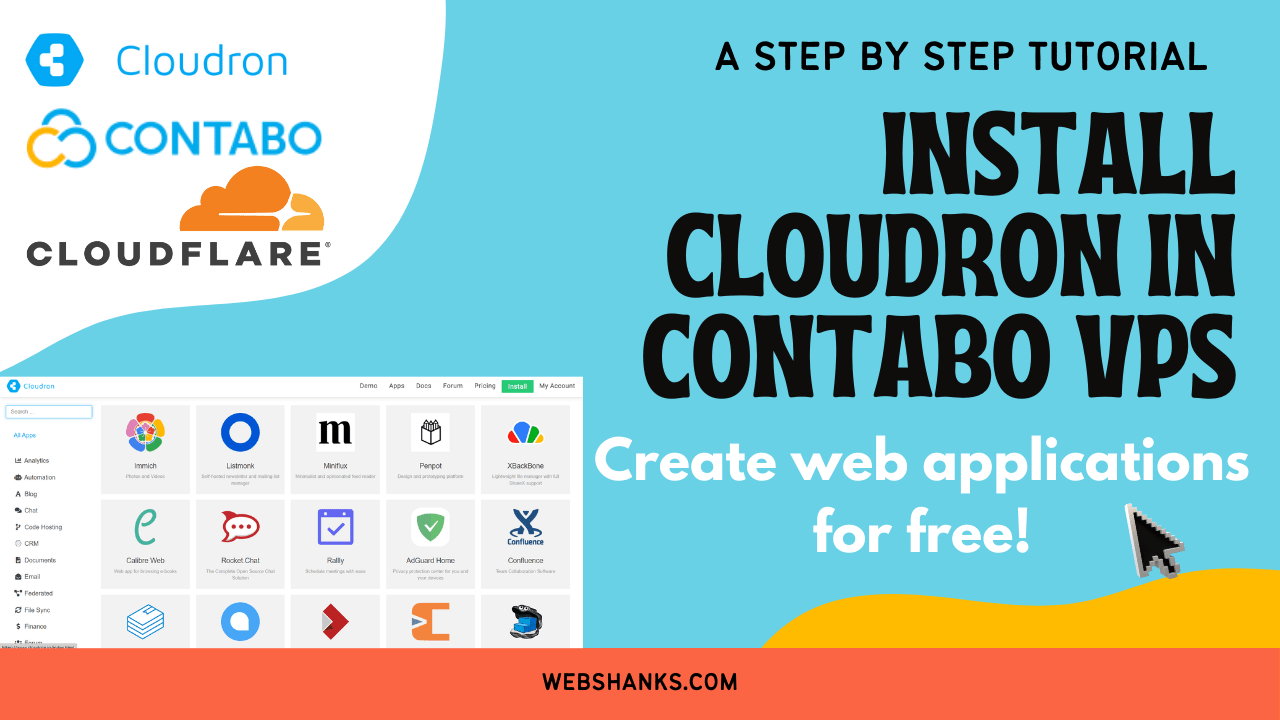
 Are you looking for a simple way to deploy powerful apps on your virtual private server (VPS) without getting lost in technical jargon? Our step-by-step blog will walk you through the hassle-free process of setting up Cloudron, a user-friendly platform that allows you to effortlessly install and manage a wide range of applications.
In this easy-to-follow guide, we’ll show you how to get started with Contabo VPS and Ubuntu 22.04 LTS, followed by a seamless installation of Cloudron. No complex coding or technical expertise required – just clear instructions and a user-friendly interface that anyone can navigate.
Unleash the full potential of your VPS with Cloudron’s simplified app deployment and management system. Join us on this exciting journey to take control of your server and explore a world of powerful applications with ease!
Don’t miss out on this opportunity to level up your server management skills. Stay tuned for the blog release and unlock the possibilities of Cloudron on your Contabo VPS today!”
Prerequisites
- A VPS with a fresh install of Ubuntu 22.04 LTS. No other environments running on the server. We’ll use Contabo Cloud VPS in this tutorial.
- A domain name (preferably Namecheap).
- A Root access.
Let’s Install Cloudron on Your Contabo VPS with Ubuntu 22.04
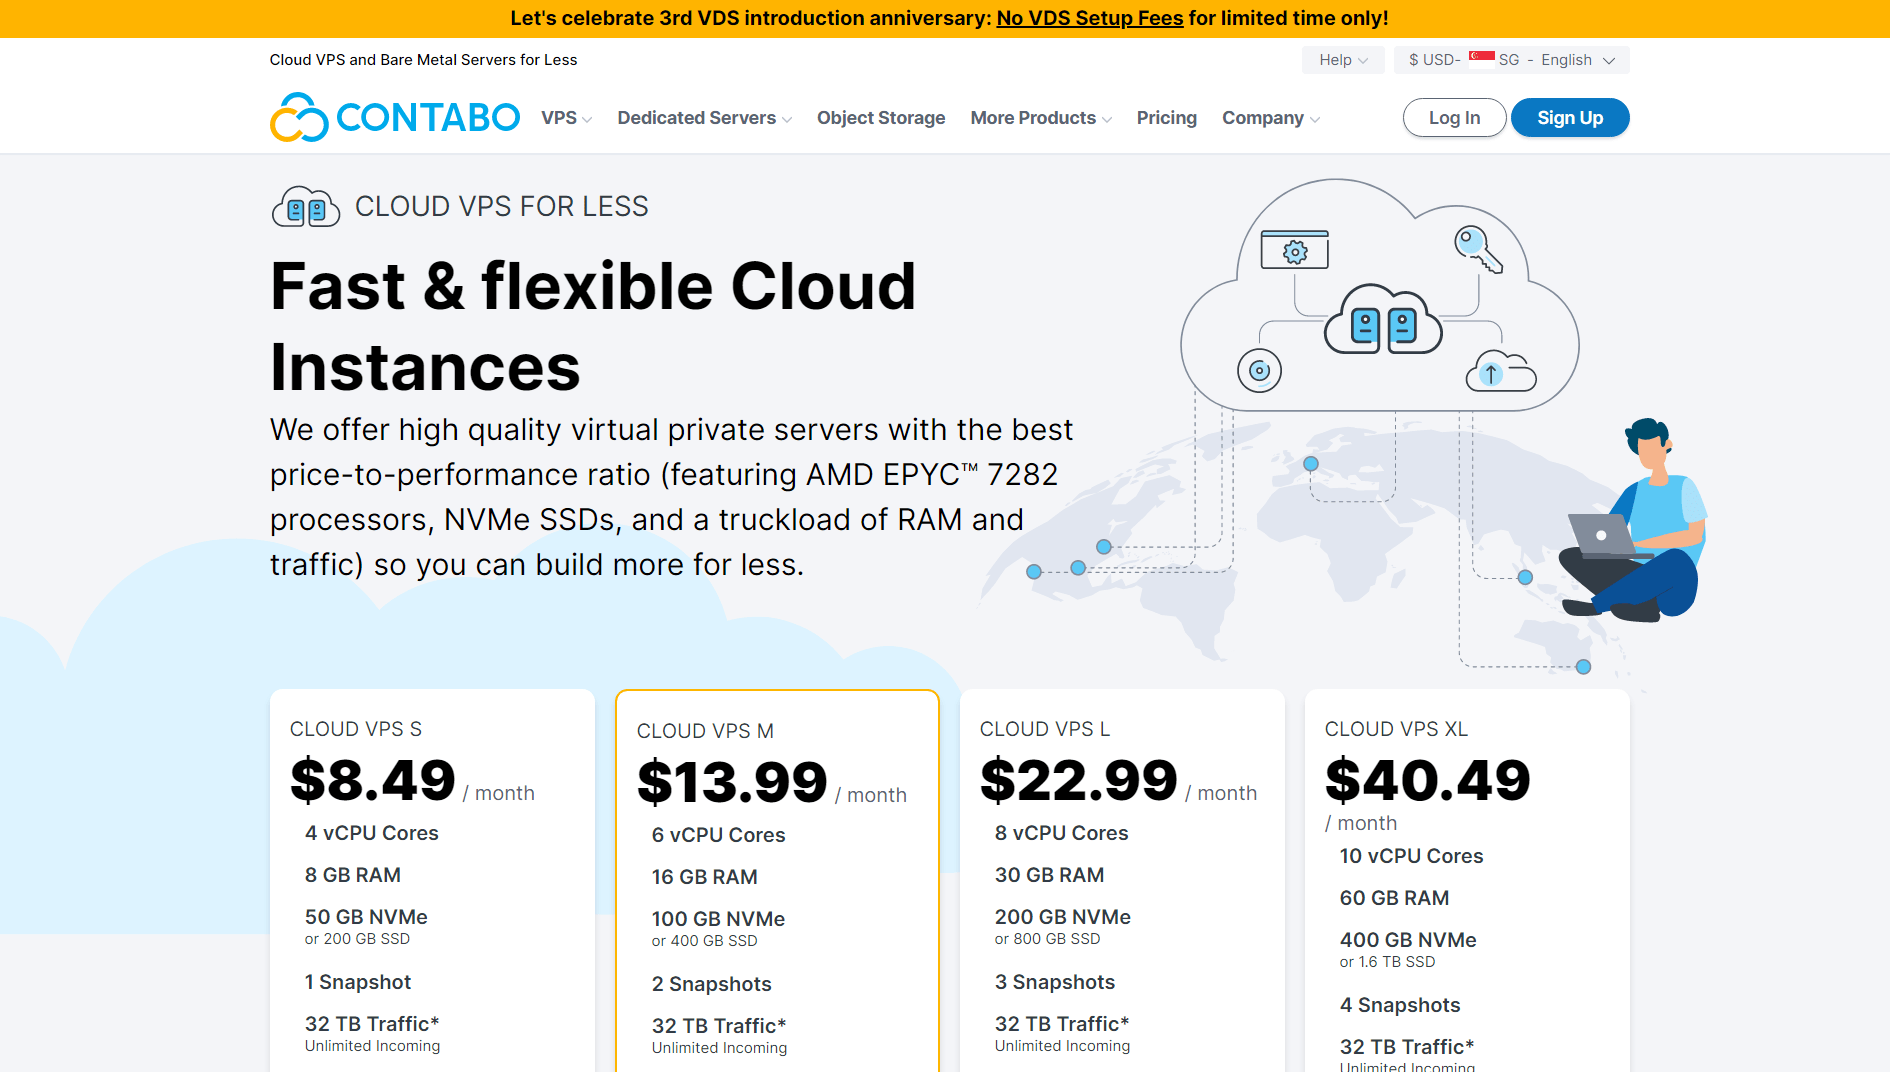
Step 1. Signup with Contabo VPS
In this tutorial we will be using an affordable Contabo VPS. It has plethora of operating to choose from including Ubuntu. Be sure you have a ROOT access.
If you’re new to Contabo, you can choose VPS S or VPS M.
Then choose your term length and region. Choose the closest region base on your audiences geographical location.
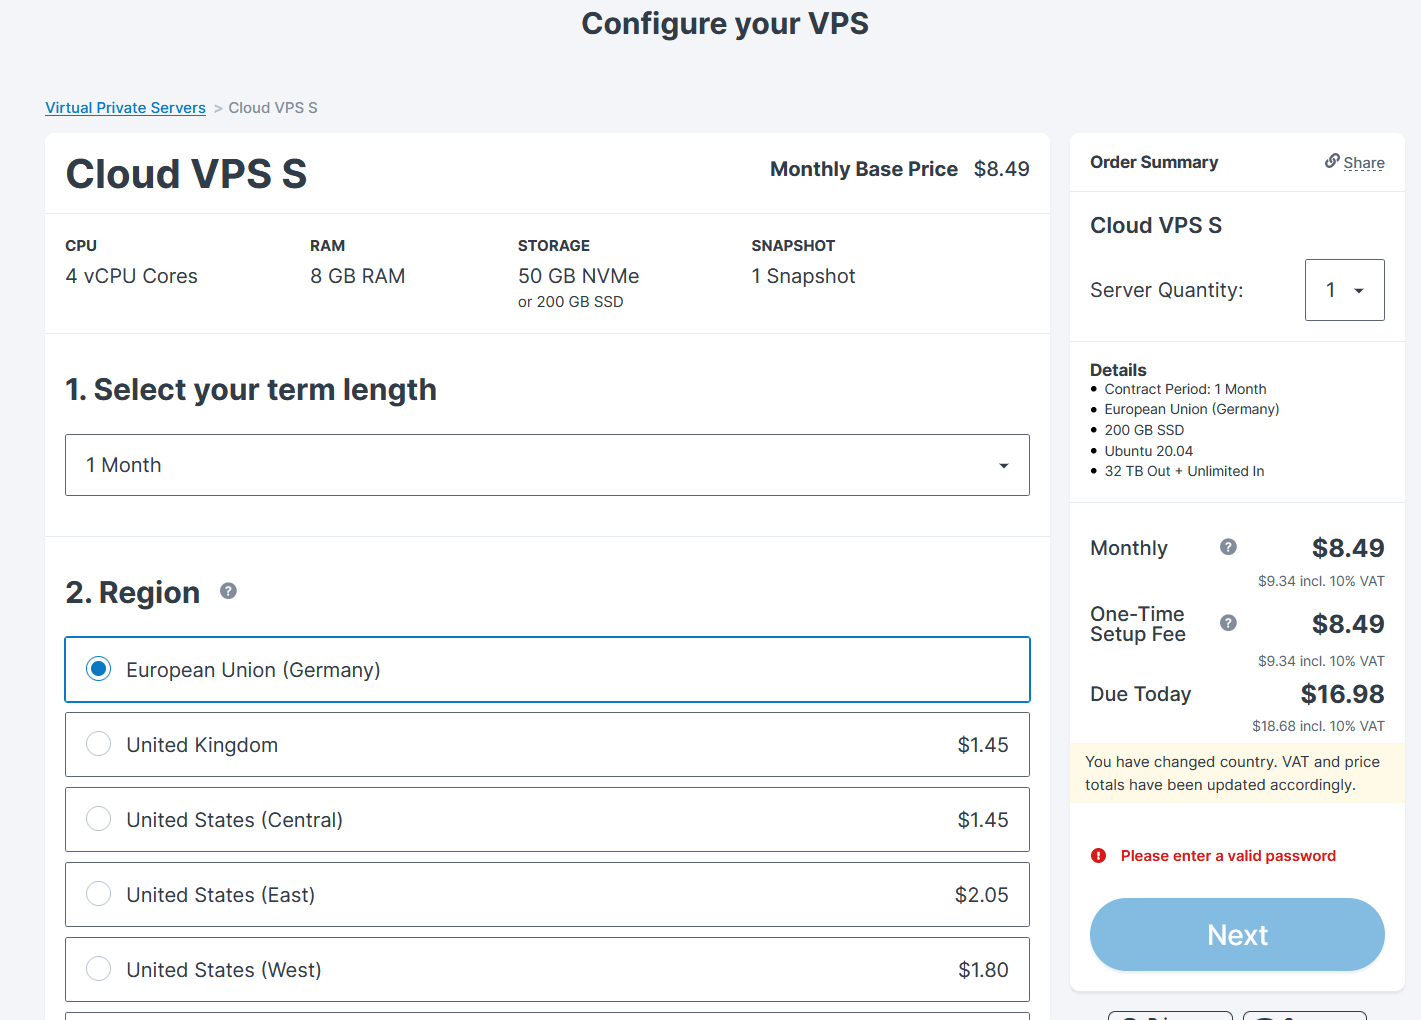
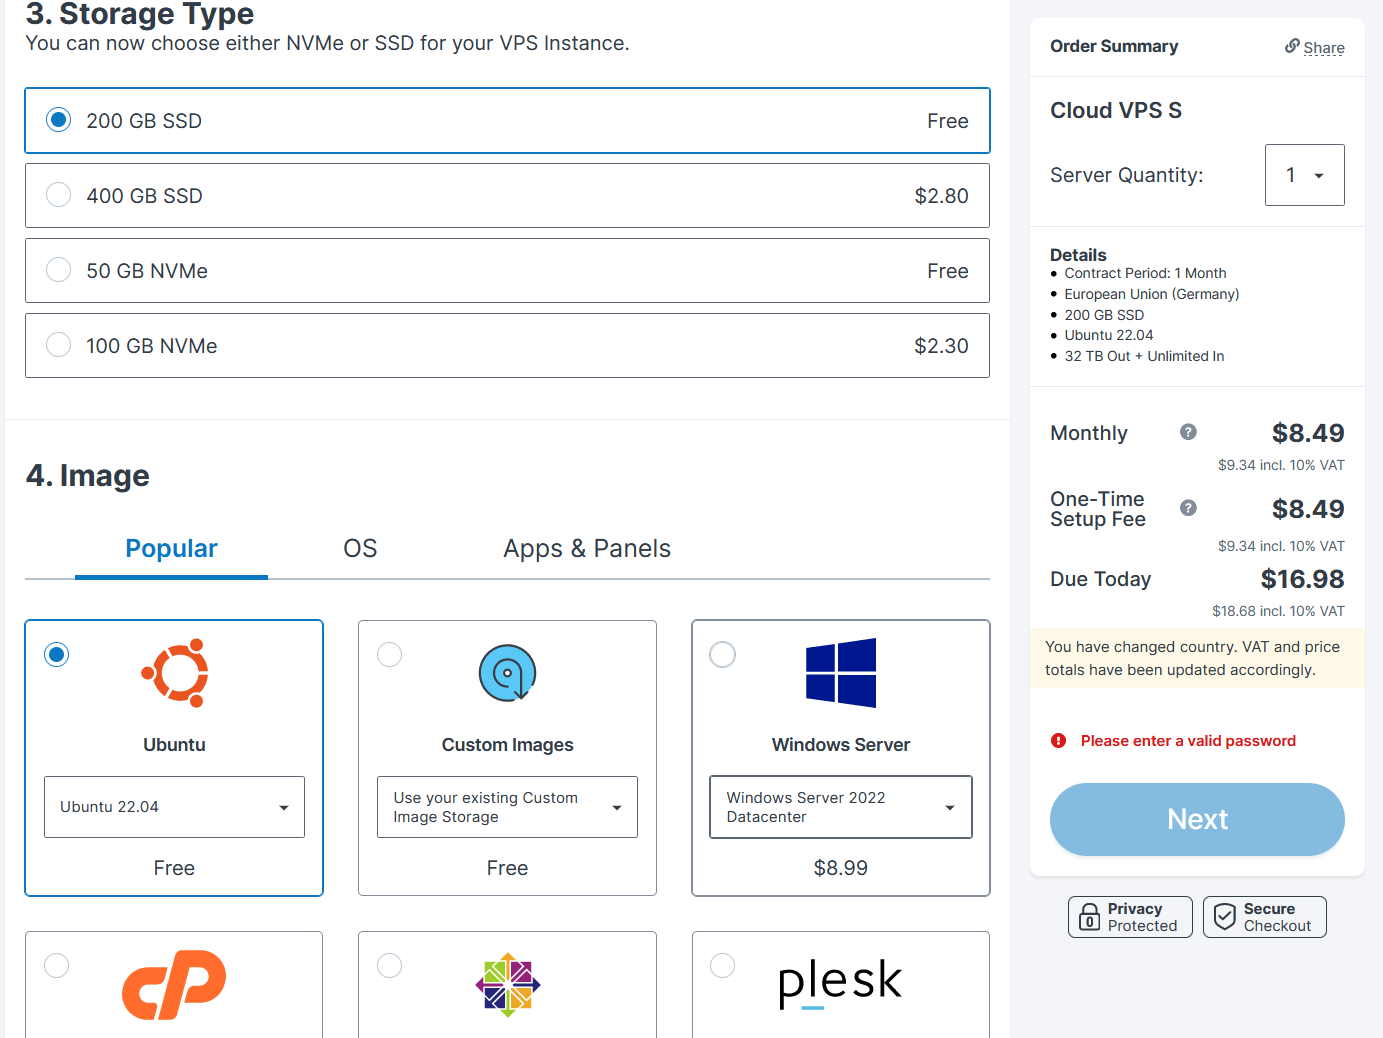
Choose your preferred storage type then choose Ubuntu 22.04 LTS as your image. As of now Cloudron only supports Ubuntu operating system.
Generate a password of root and be sure to store it in a safe place. We will need that to connect to our server later on. By default, root is your username.

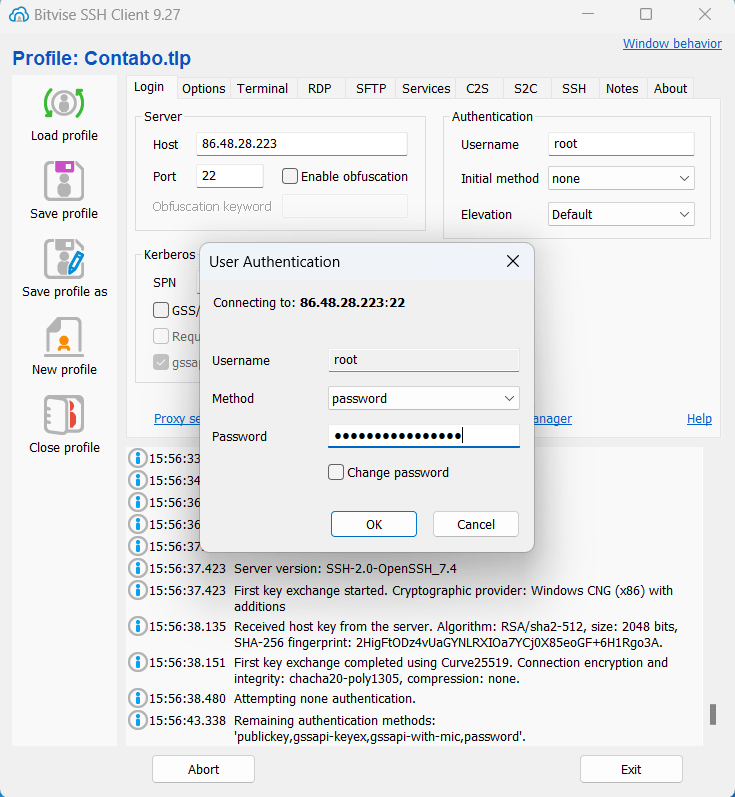
Step 2. Connect to Your Server
Download Bitvise – a free SSH client. We will use this to connect to our server using the credentials we created previously. Then click Accept and Save.
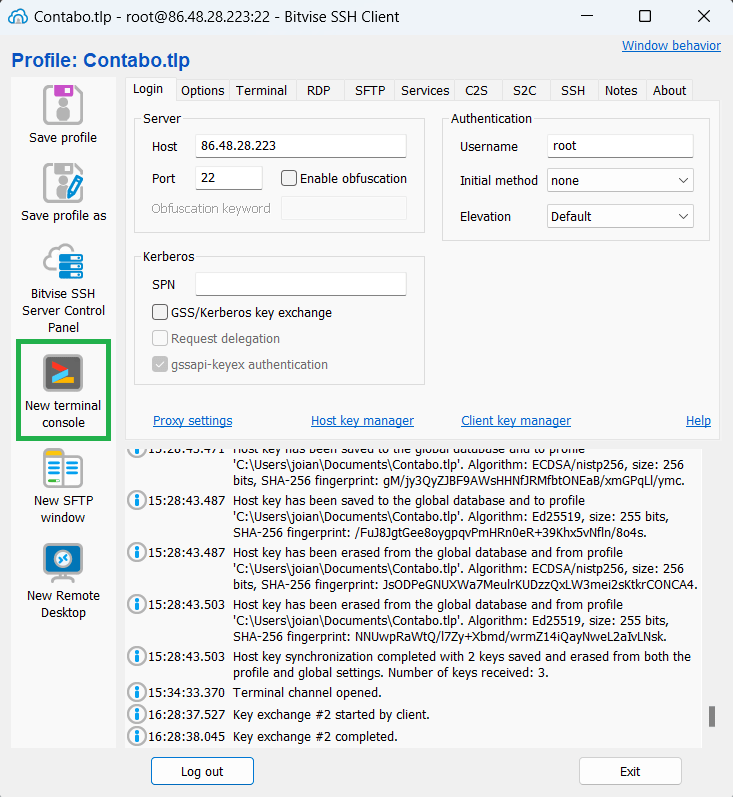
On the left menu click New terminal console.
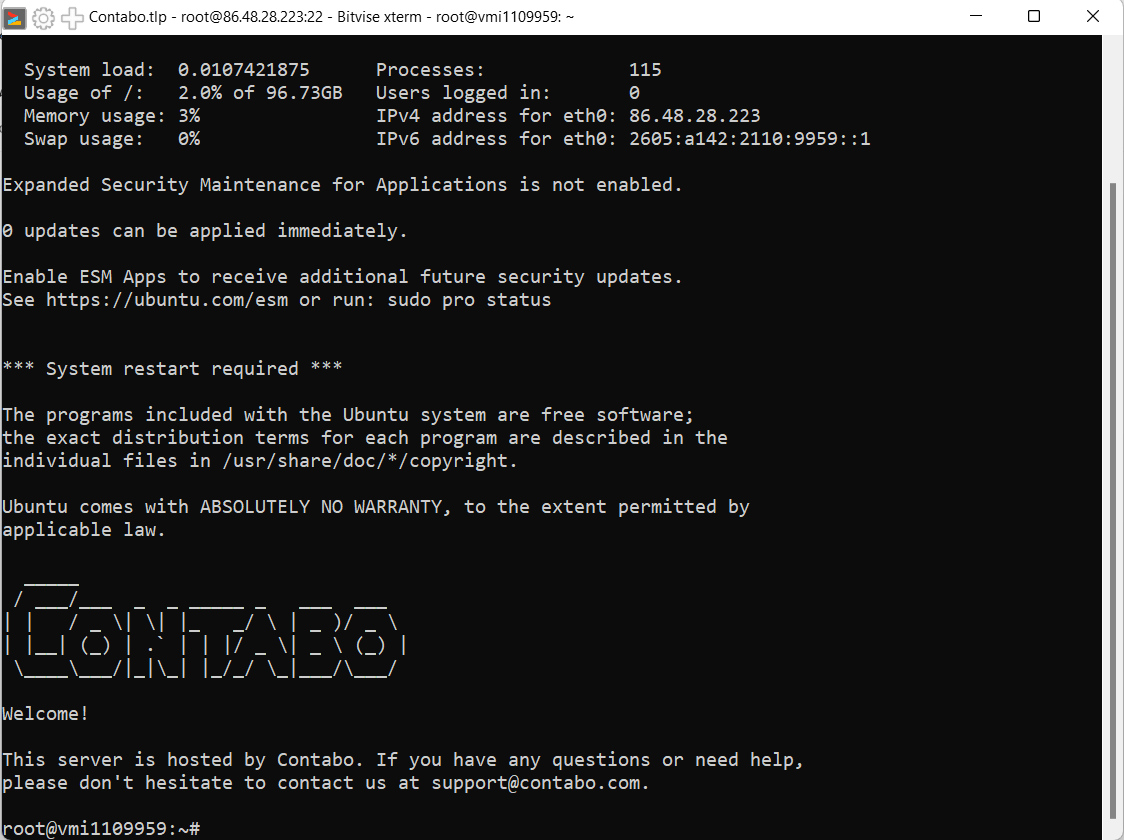
Then you will see this command line interface.
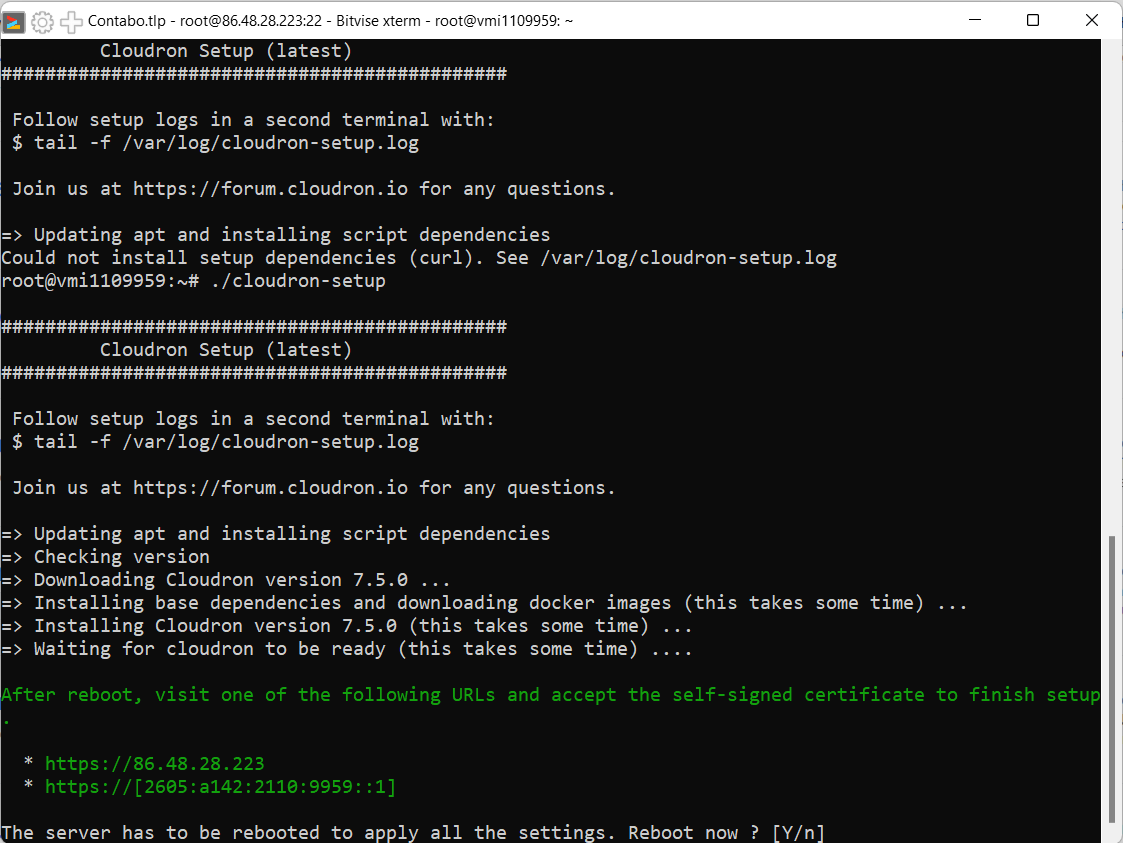
Step 3. Install Cloudron in Your Server
Keep Ubuntu packages updated first.
sudo apt update && sudo apt upgrade -y
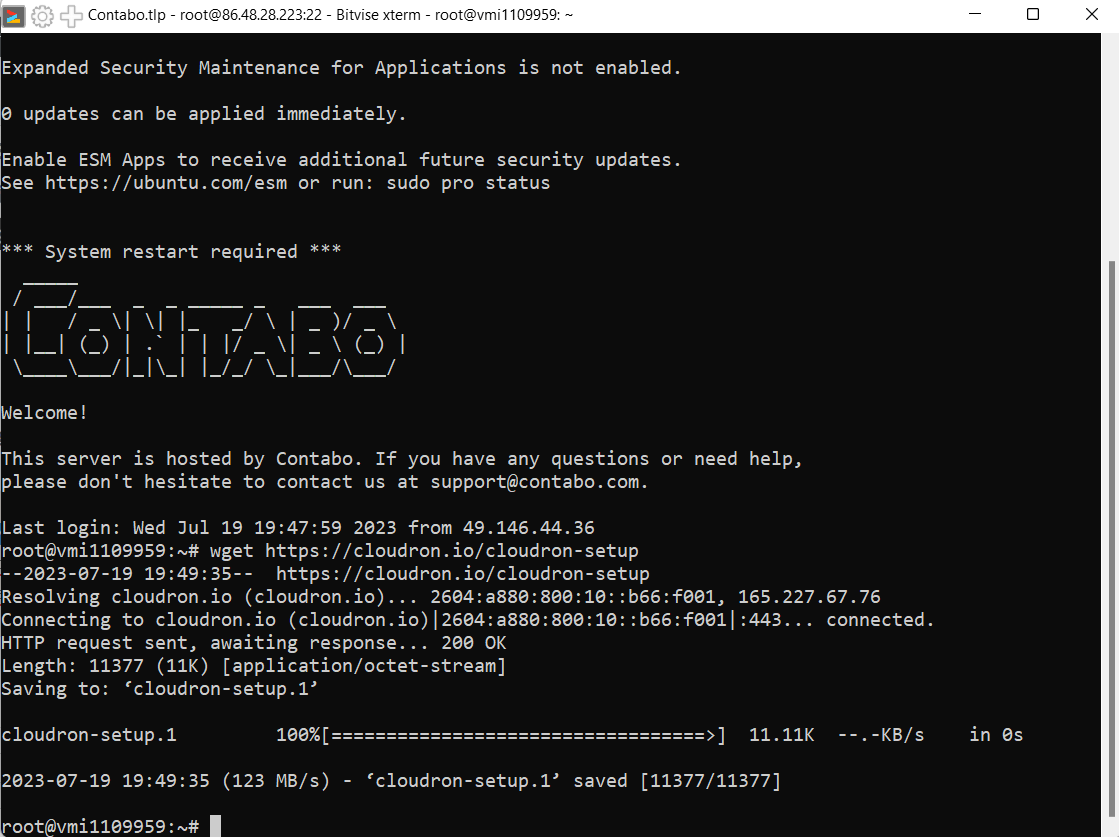
Run the following command to install Cloudron. We’ll retrieve the files first.
wget https://cloudron.io/cloudron-setup
Then execute the command.
chmod +x ./cloudron-setup
./cloudron-setup

Once the installation is done, reboot your server by typing ‘Y’.
The server has to be rebooted to apply all the settings. Reboot now ? [Y/n]
Step 4. Access and Configure Your Cloudron
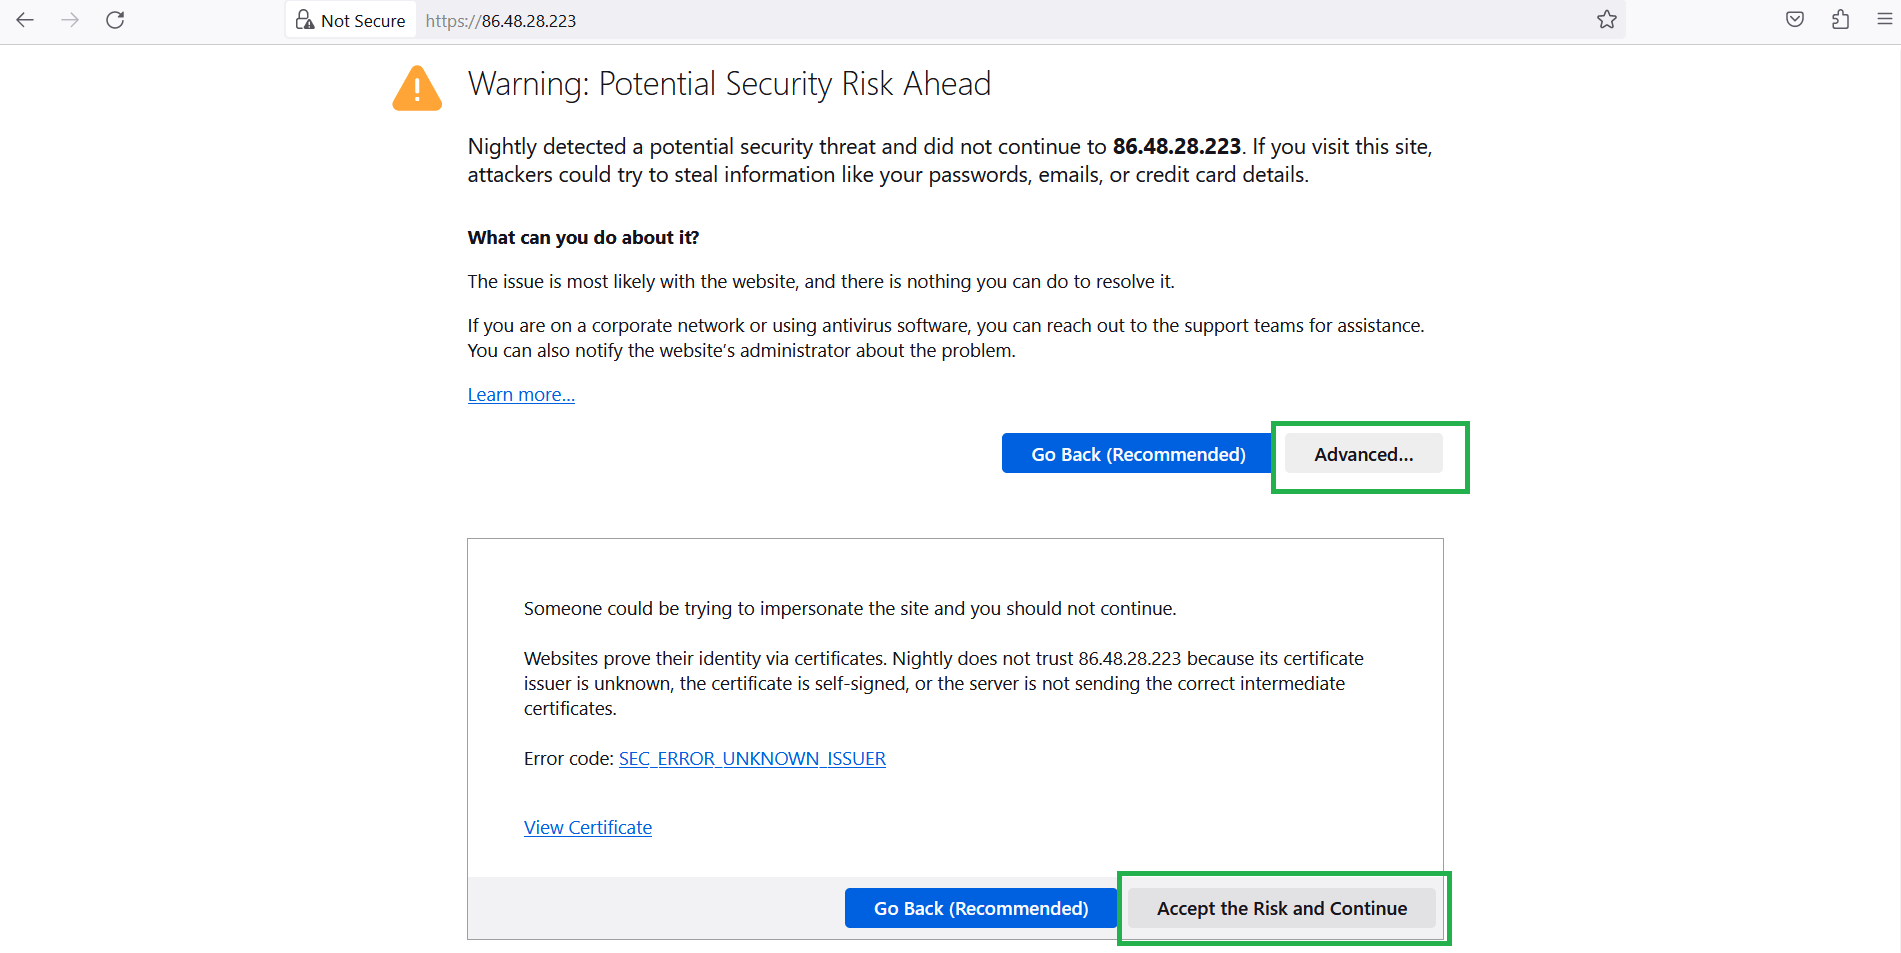
To access your Cloudron, just type in your server IP address on your favorite web browser and hit enter.
First create a free account in Cloudflare and add a site.

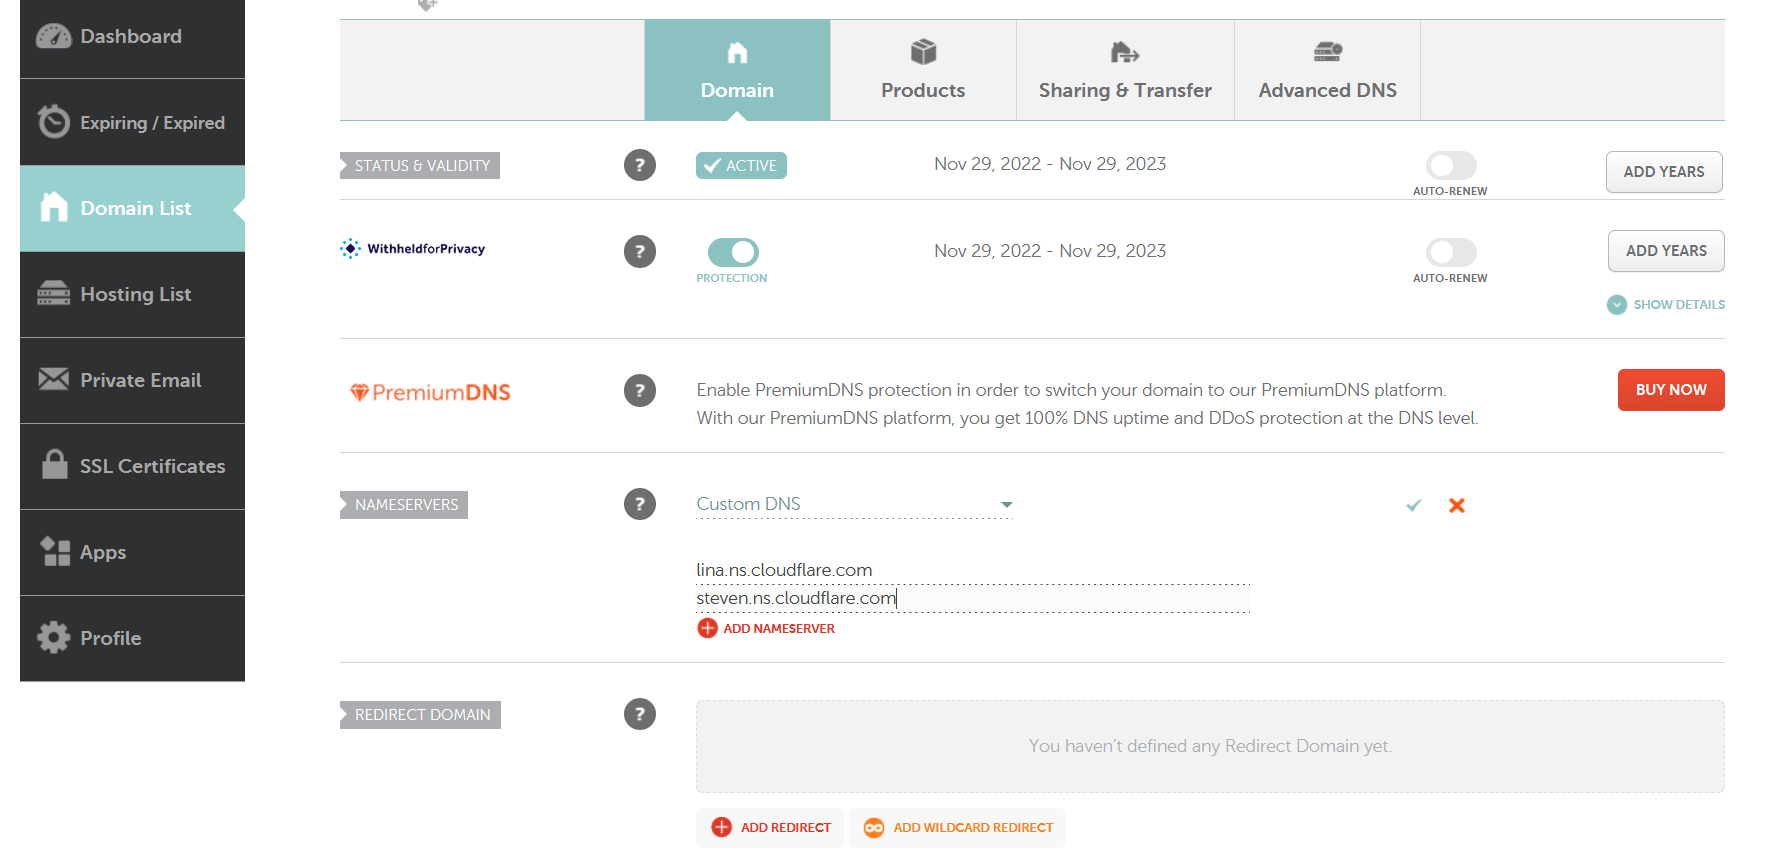
Then copy Cloudflare’s nameservers to your favorite domain registrar.

I’m using Namecheap so go to your domain and use custom DNS and paste Cloudflare’s nameservers.
It will take 24 hours for the DNS to propagate at most.
Then go back to Cloudflare. Go to your site and select Get your API token.
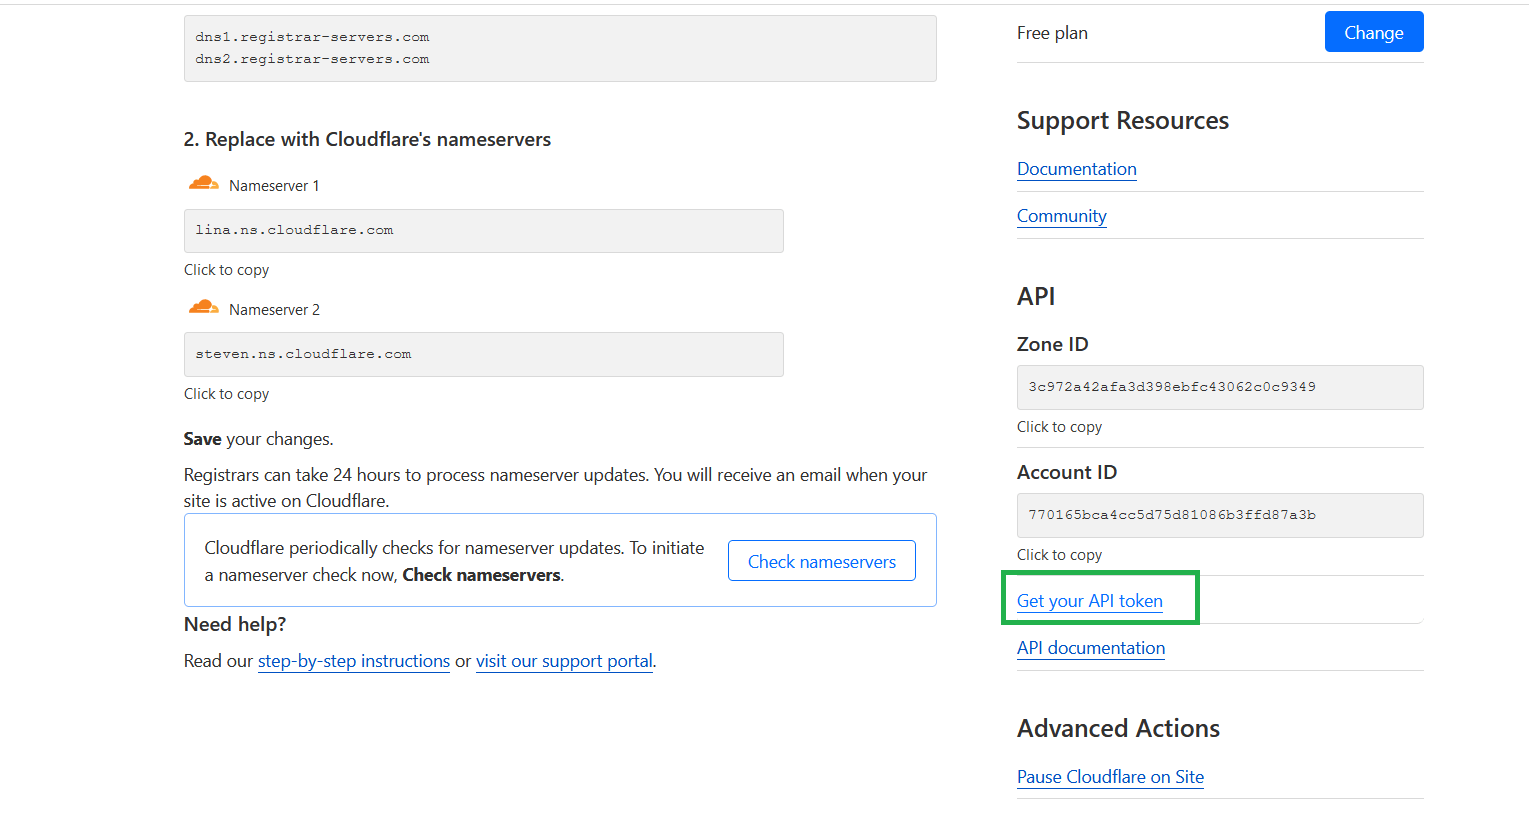
The view Global API key.
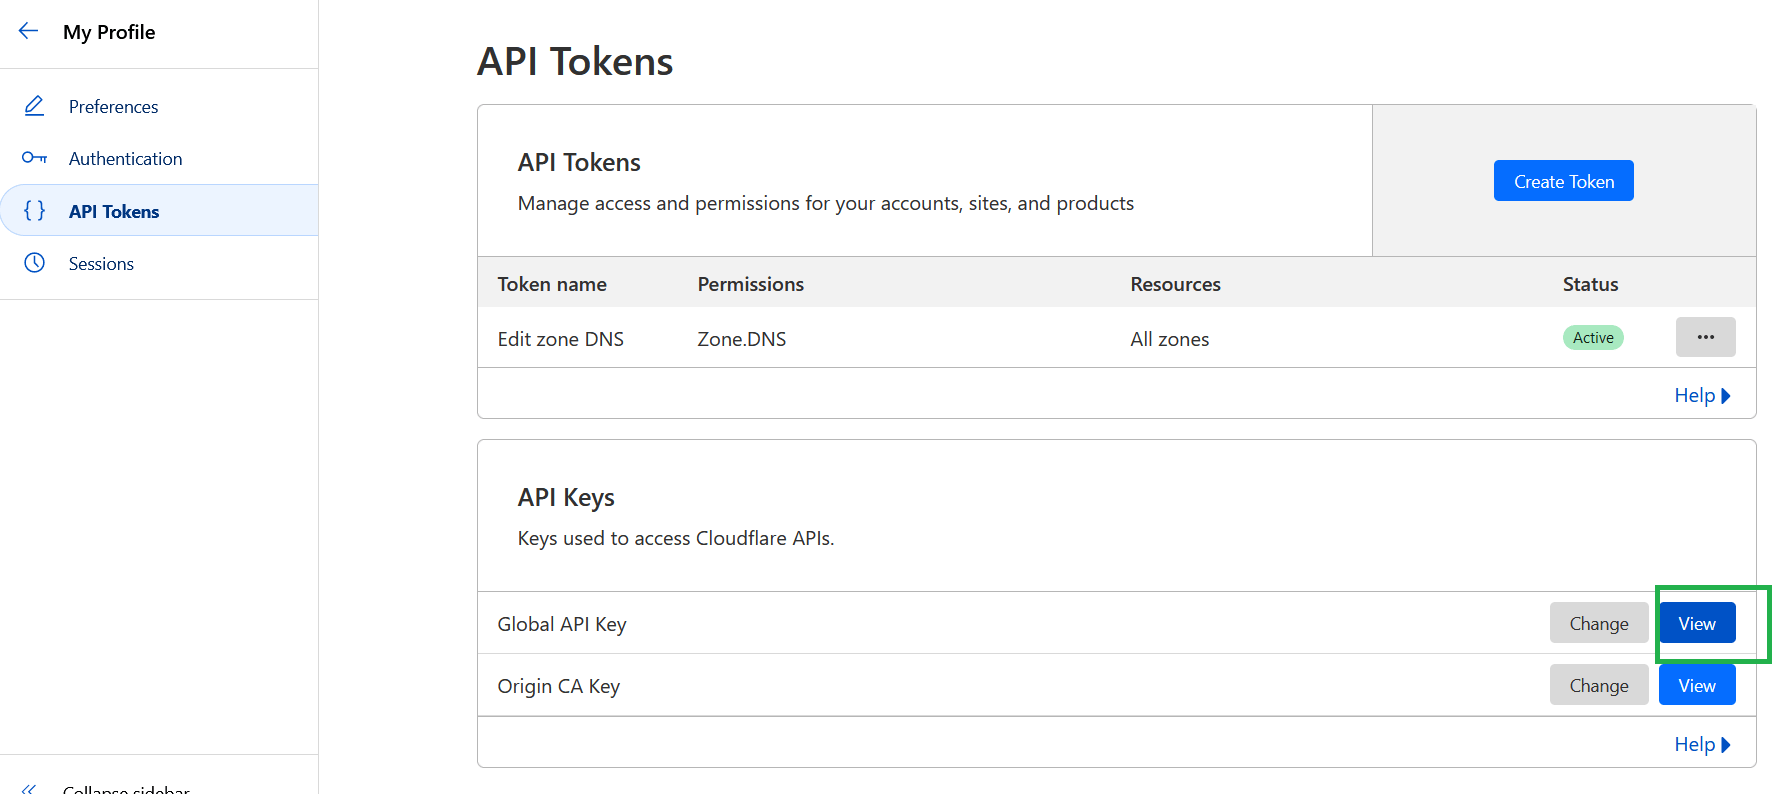
Let’s go back to our Cloudron. Copy the Global API key and paste it under Global API key
- Domain: Your domain
- DNS Provider: Choose Cloudflare
- Token Type: Choose Global API key
- Global API Key: Your Global API key from Cloudflare
- Cloudflare Email: Your email registered in Cloudflare
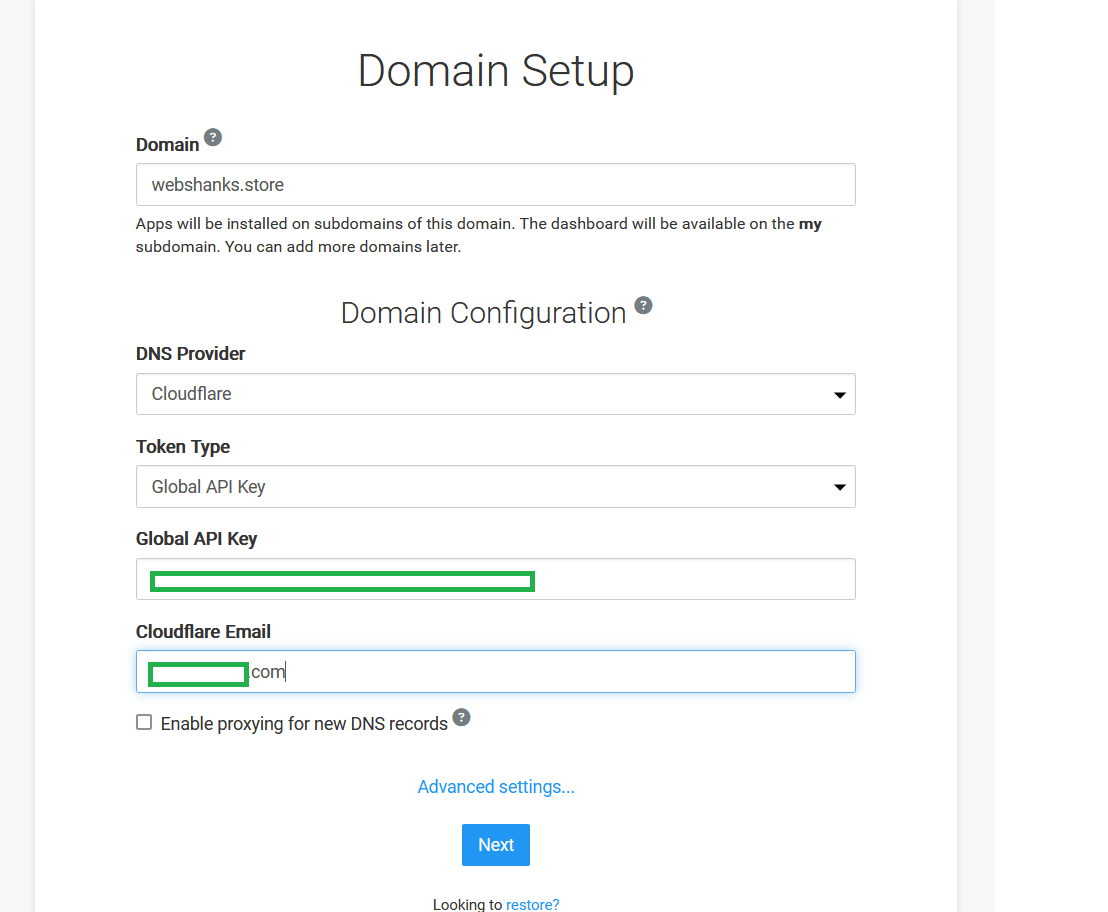
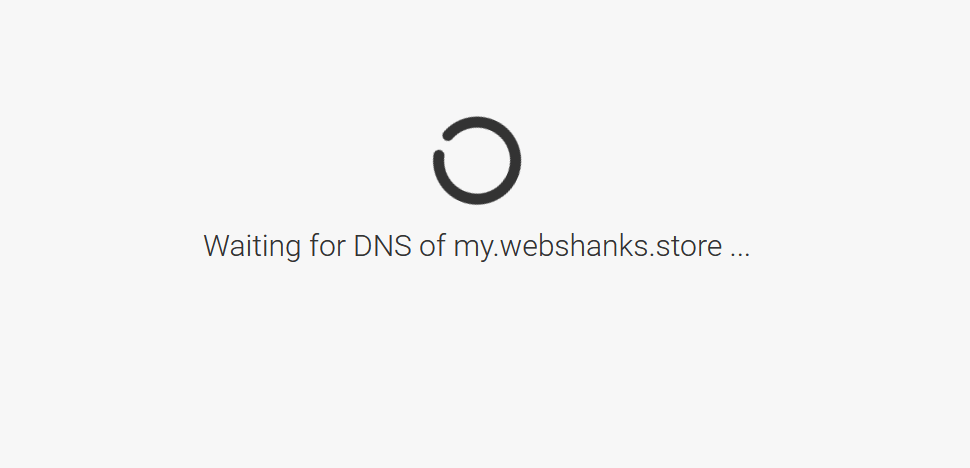
The Cloudron will check your DNS.
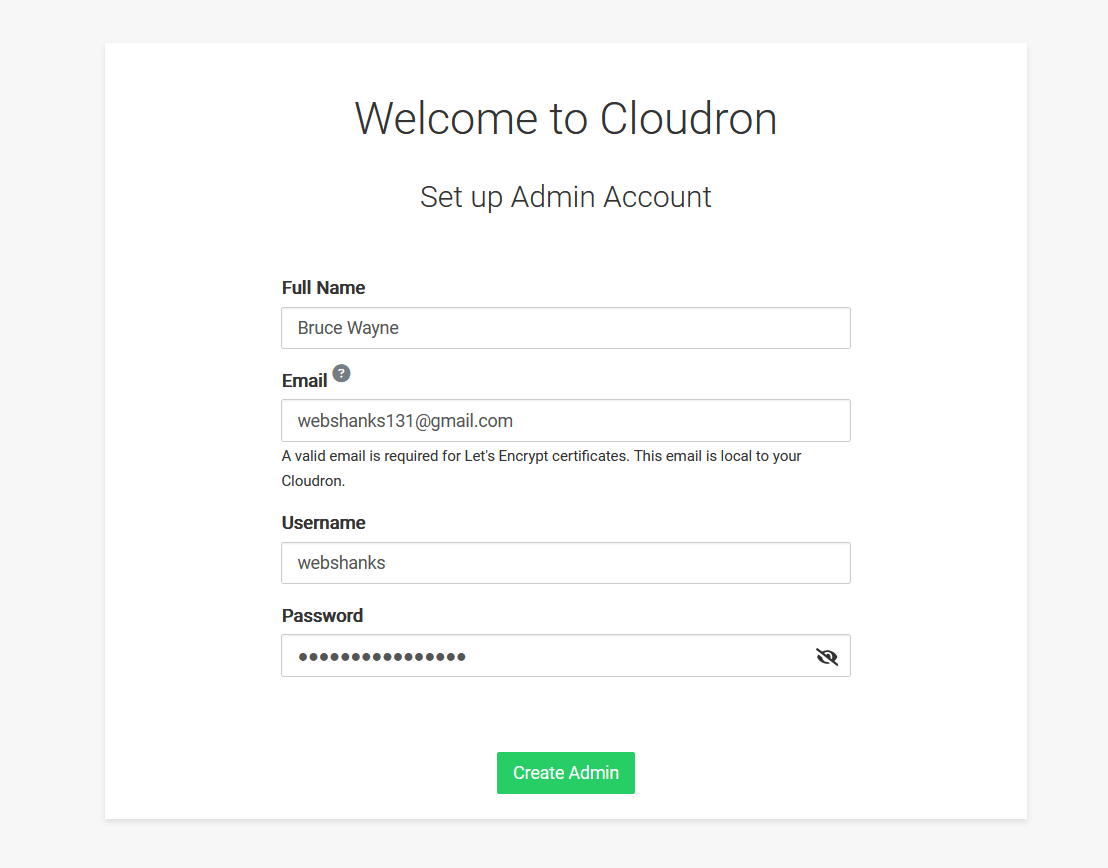
Next fill in the necessary details for creating Admin user.
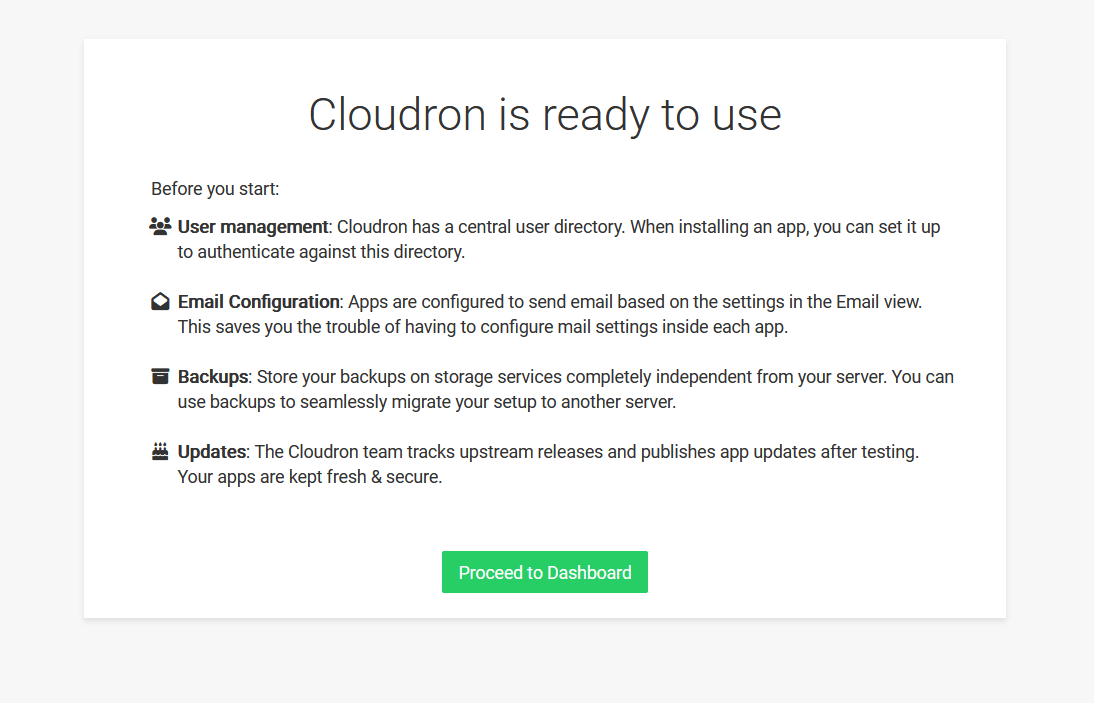
Finally Cloudron is ready for you to use.
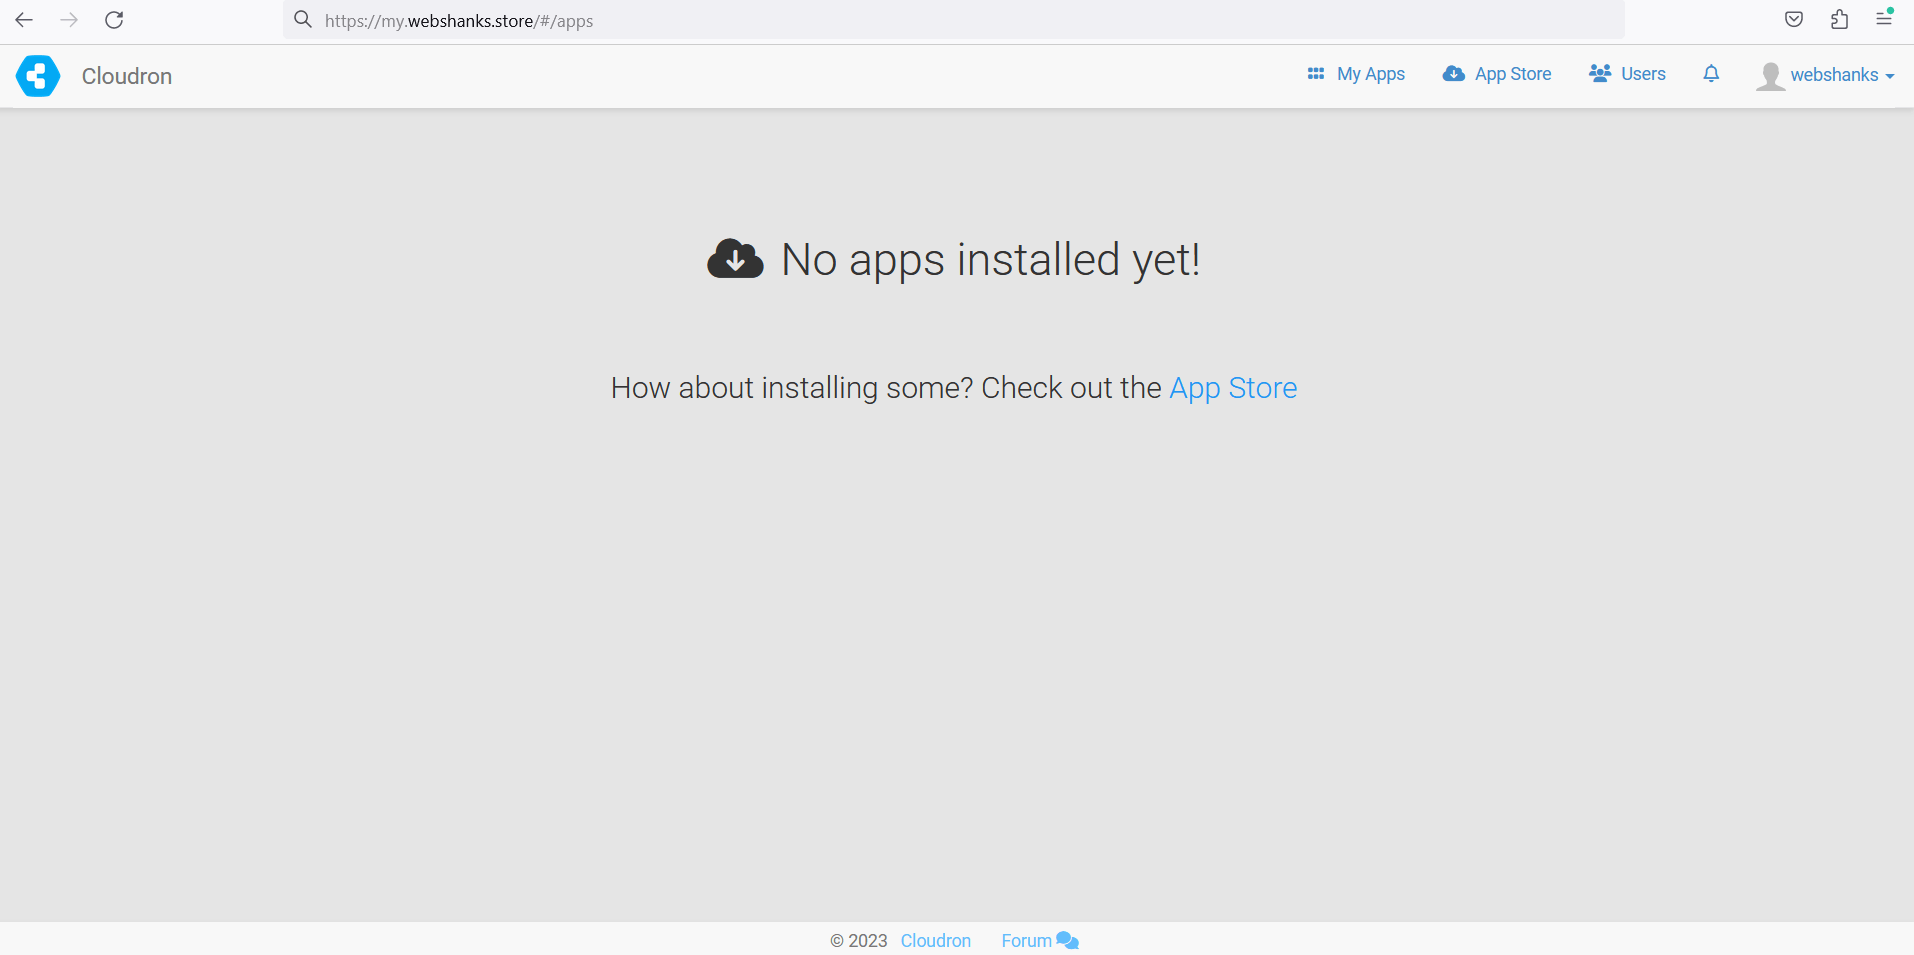
Now you’re ready to create web applications! You can create WordPress website or a Chat app.
Watch on YouTube
What to Do Next?
1. Install Apps
Once your domain is set up, you can start installing applications from the Cloudron App Store. Cloudron offers a range of applications, including content management systems (CMS), email servers, file sharing platforms, and more.
2. Configure Apps
After installing an app, you can customize its settings and configurations through the Cloudron Dashboard. Each app has its own dashboard within Cloudron.
3. Backups
It’s essential to set up regular backups for your Cloudron instance to prevent data loss. Cloudron provides built-in backup options that you can configure within the Dashboard.
4. Secure your Cloudron
Enable 2FA for Cloudron, if available, to add an extra layer of security to your account. Regularly update the applications installed on Cloudron to ensure they have the latest security patches.
Conclusion
Now that you have learned how to install Cloudron in Contabo VPS, you can now create multiple web applications. Be aware as well about your resources. Contabo VPS has 8GB RAM and 4vCPUs, though you can scale that easily.