 Welcome aboard, tech enthusiasts and aspiring server wranglers! If you’ve ever dreamt of harnessing the power of a virtual private server (VPS) to run your own web applications, websites, email server, or experiments, you’re in for a treat.
Today, we’re embarking on a journey through the exciting world of Contabo VPS setup, and our destination is crystal clear: installing the blazing Ubuntu 24.04 LTS, or even an image that truly resonates with your project.
So, fasten your seatbelt, grab your coffee (or tea if that’s more your style), and let’s dive into the exhilarating world of Contabo VPS configuration.
Step-by-Step Contabo VPS Setup
Step 1. Go to Contabo
Go to Contabo.com and choose VPS. Select Cloud VPS.
For starters, you can choose either Cloud VPS 10 or Cloud VPS 20. I’ll be selecting the Cloud VPS 20 plan.

Step 2. Setup Your VPS
1. Select your term length.
Get a discounted price if you pay semi-annually or annually.

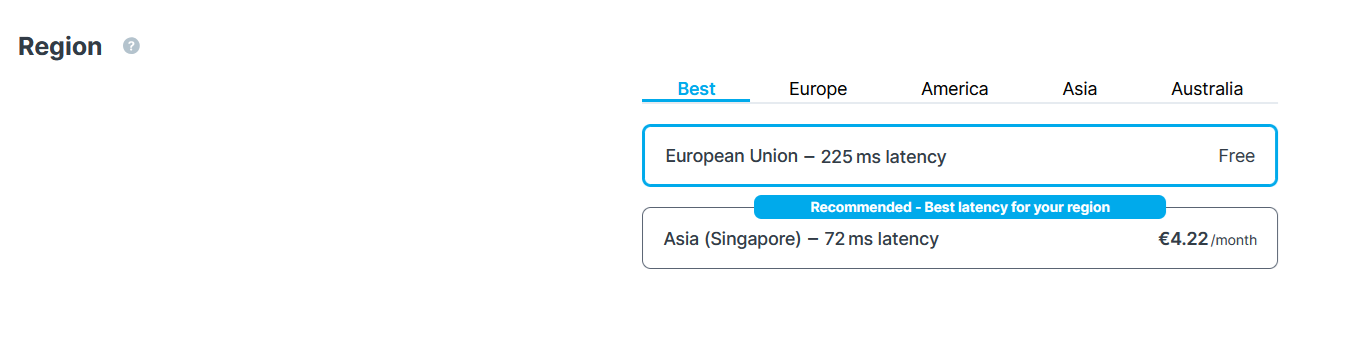
2. Region.
Choose the location that is closest to your audience.
3. Storage Type
If you want to have bigger storage, you can choose a 200GB SSD. But I always prefer NVMe SSDs because they are much faster.

4. Image
In this section, you can select your preferred operating system to install on your VPS. Contabo has a plethora of images to choose from. From Linux, Unix, and Windows with the latest version! You can also upload your own image.
Likewise, Contabo has commercial control panels to choose from. If you’re new to web hosting control panels, you can try cPanel or Plesk.
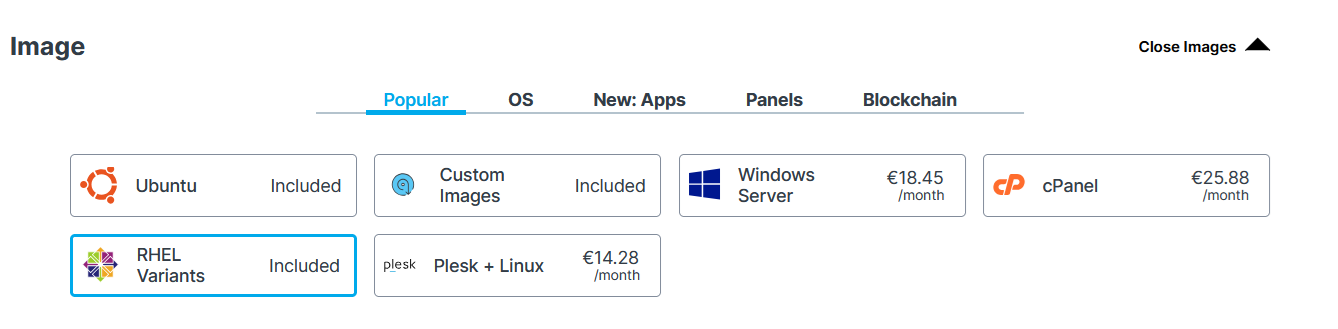
By the way, image does not mean photo; it’s a bootable file.
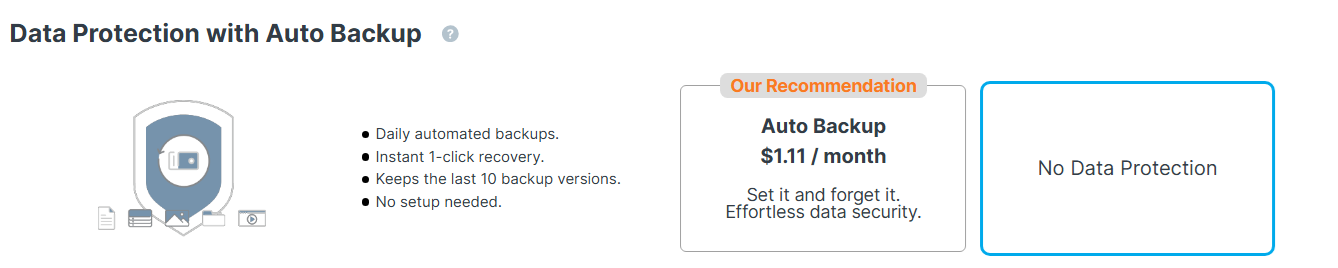
5. Data Protection with Auto Backup
If you don’t want to include a backup for your server, you can choose Auto Backup.
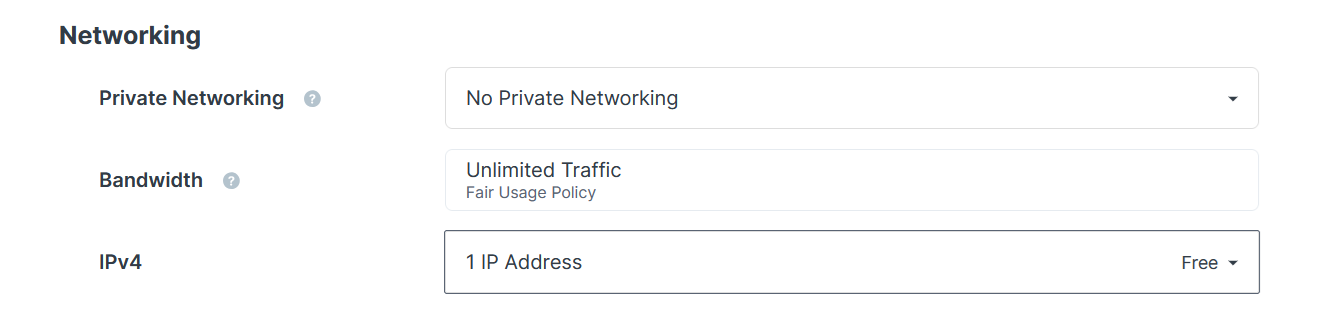
6. Networking
Choose a private network if you want to secure your connections. You can also add an extra IP in case you want to setup email, or you want your web applications from a separate IP.
7. Add-Ons
For add-ons, I leave it as is. If you don’t know how to manage a server, you can choose Managed under Server Management. This will free you from maintaining your server, especially in the security aspect.
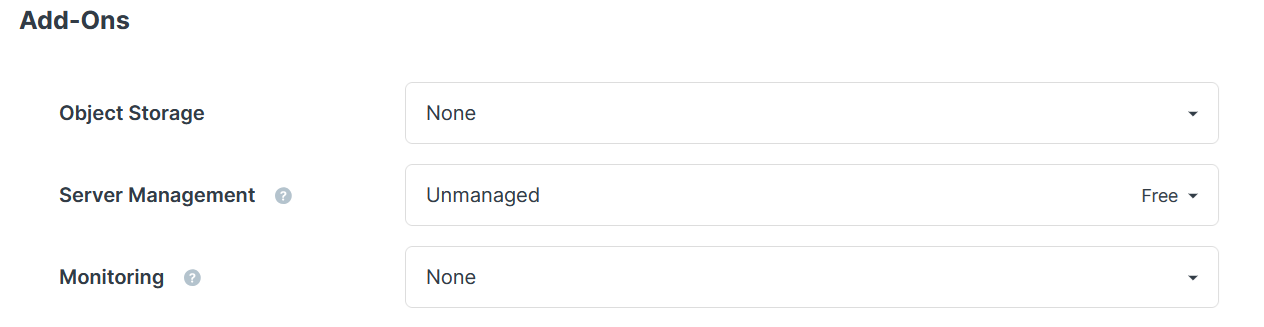
Backup space could be helpful, but I use an external cloud like Google Drive to store my backups. If your backups will exceed 15GB, you can purchase Backup space anytime.
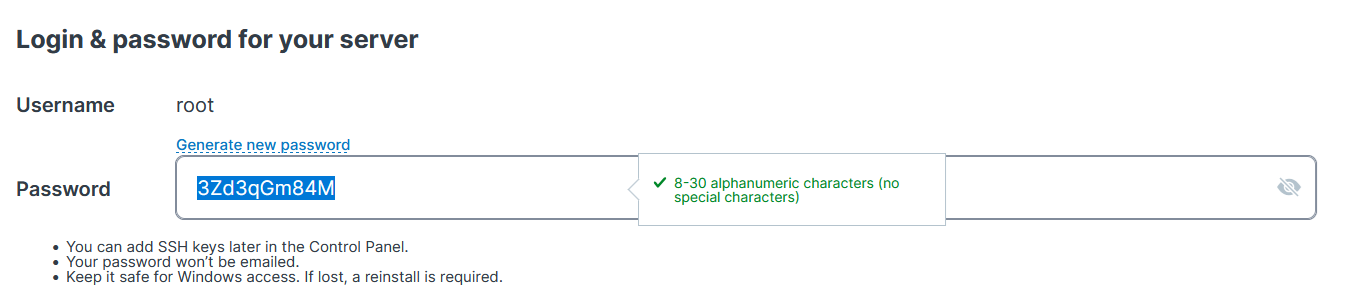
8. Login & password for your server
This part is the most important. You will need to generate a password or create your own later on. You’ll need this when connecting to your server via SSH.
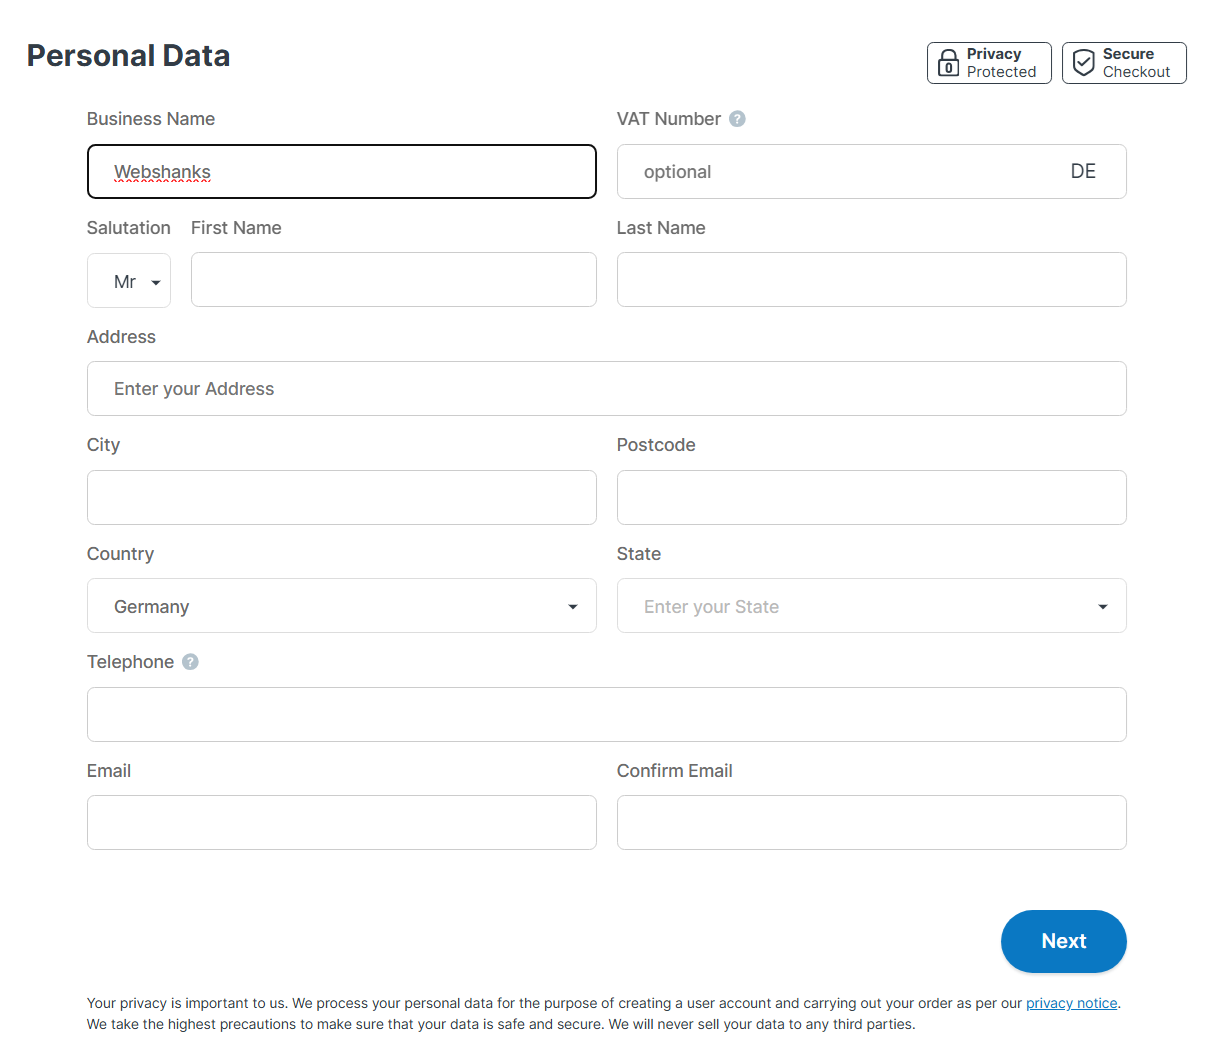
Step 3. Customer Data
In this part, you just need to enter your details.
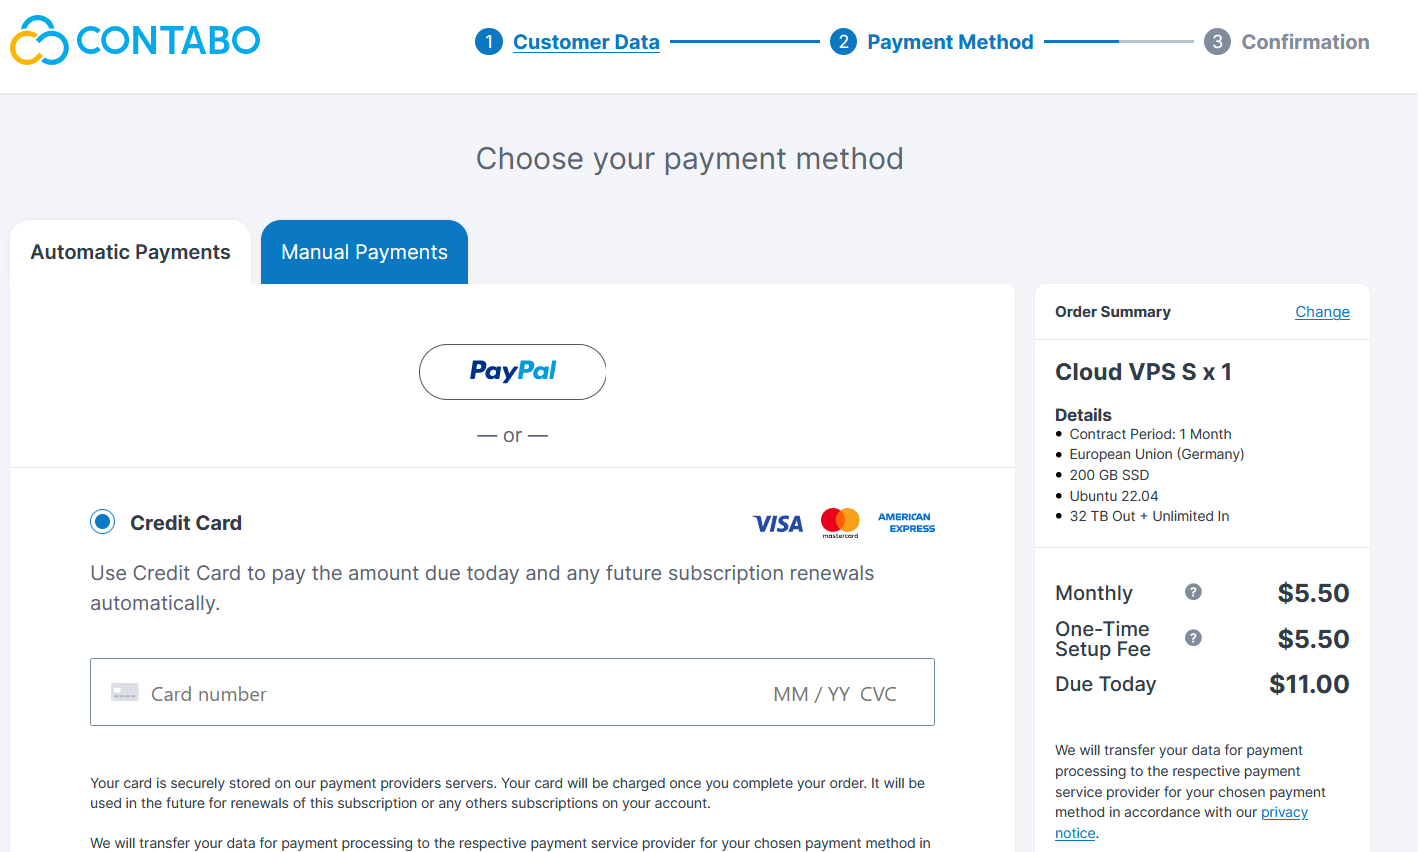
Step 4. Payment Method
You can choose to pay with a credit card or PayPal.
Step 5. Confirmation
Confirm your details, and you’ll proceed to the payment gateway.
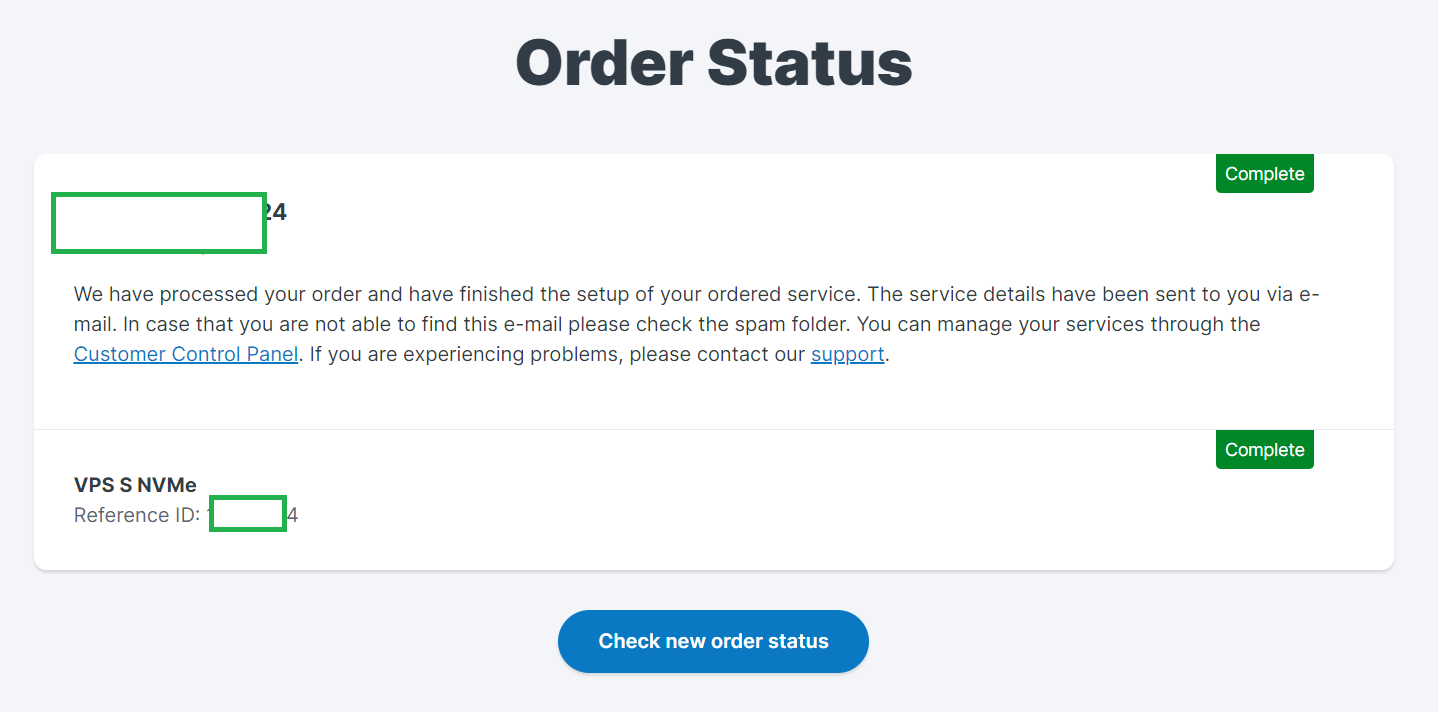
Contabo will send the order process to your email. VPS and VDS will be setup within 3 hours by Contabo. So in this part, you’ll just have to wait.
Contabo will also send you your login details to your email.
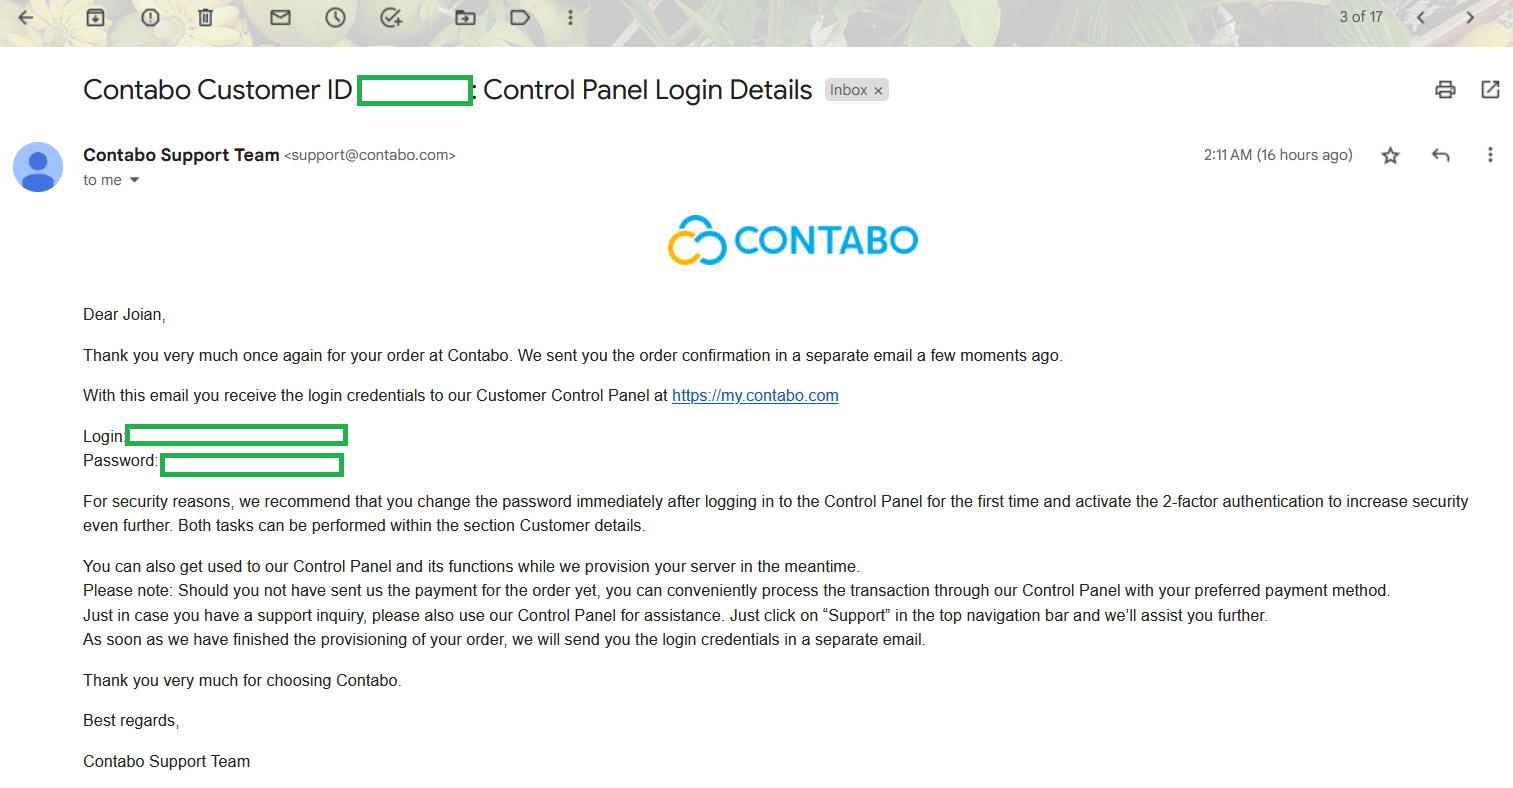
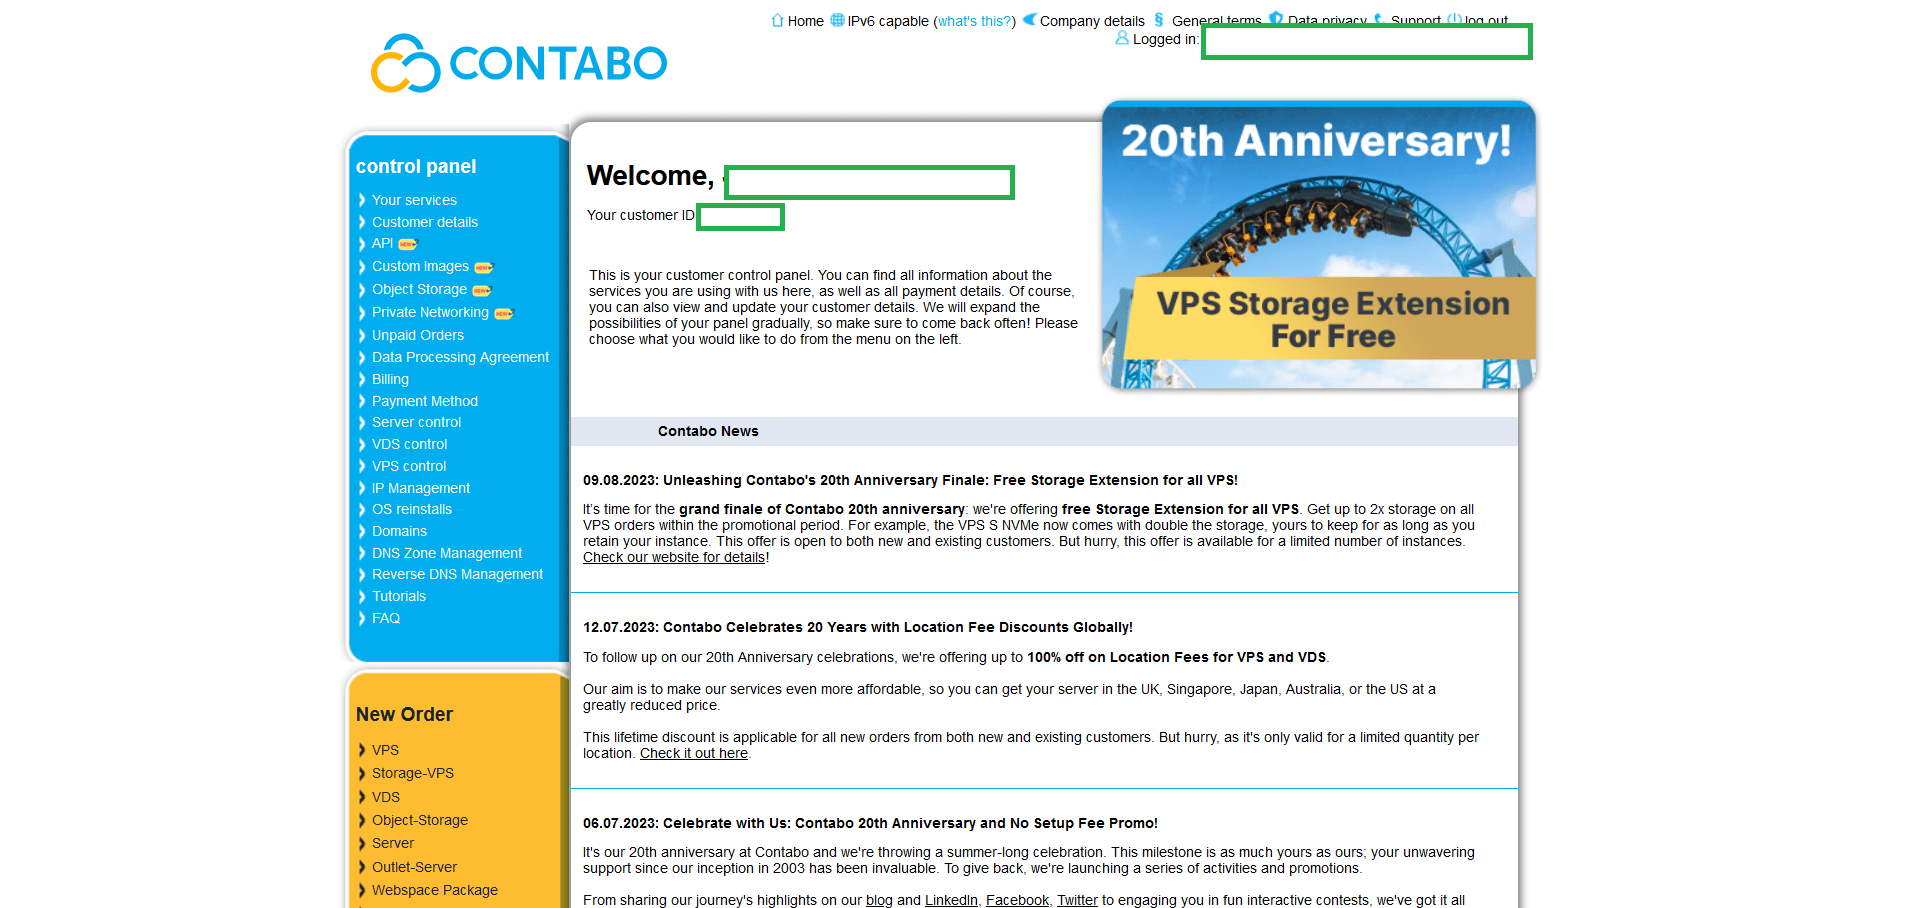
Once the process is complete, you can now login to your Contabo dashboard.
Your Contabo Dashboard
Welcome to your Contabo dashboard. Here you can control your VPS server. If you want to install a new operating system, just go to VPS Control > Reinstall and choose your preferred OS.
That’s it! You have successfully setup Contabo VPS.
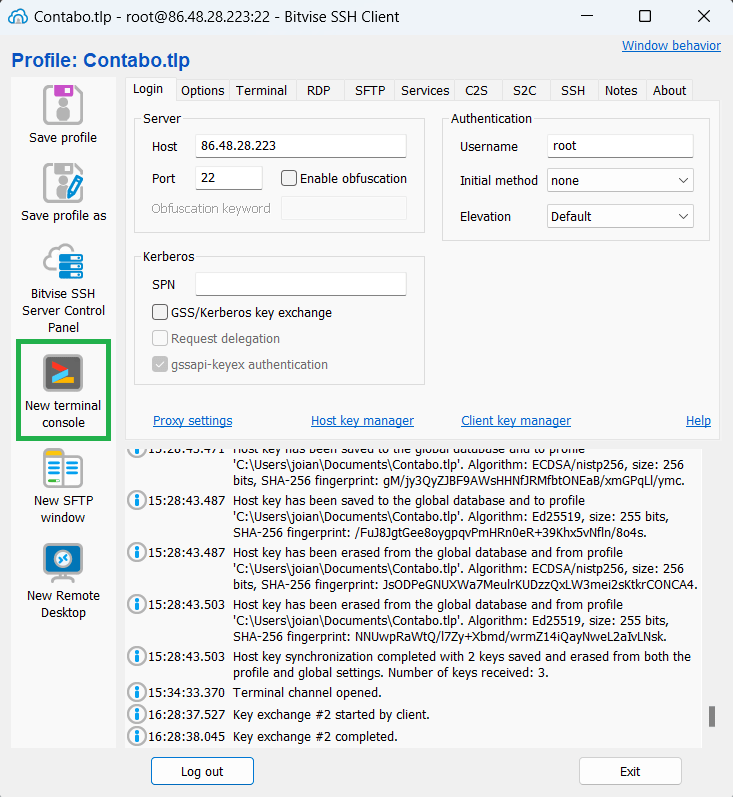
Now you can connect to your server using SSH. Download Bitvise.
Login using your ROOT credentials.
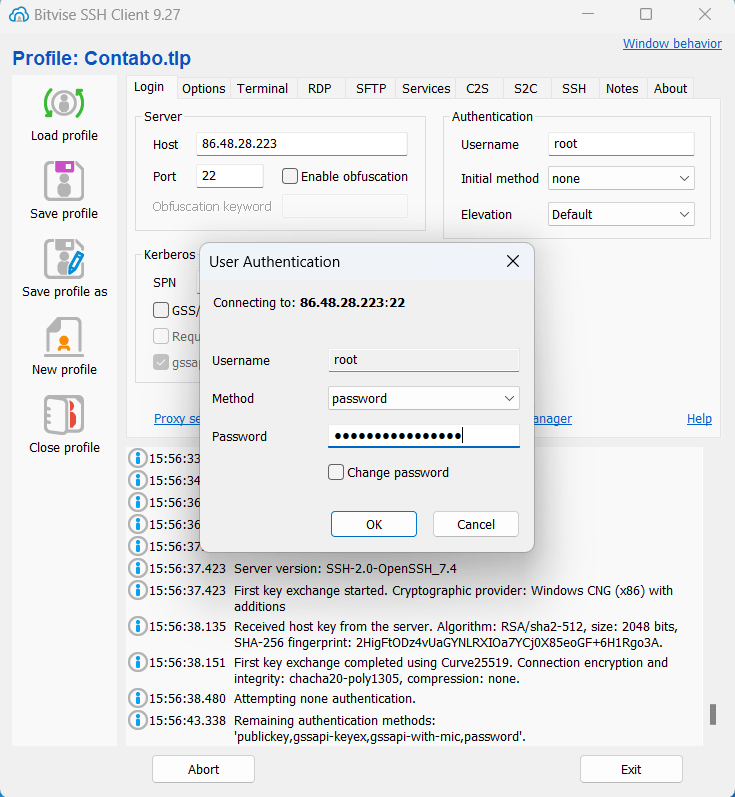
Click New terminal console.
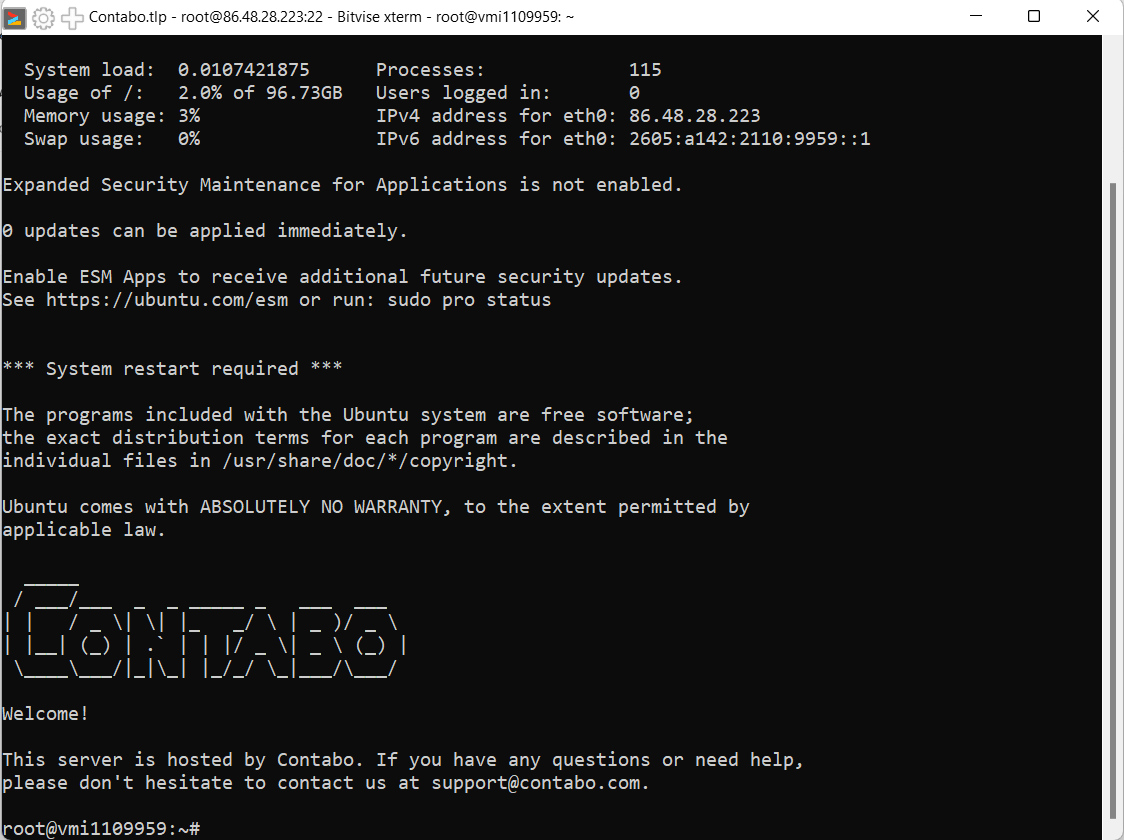
Now you are connected to your server.
Watch on YouTube
What’s Next?
Access and Security
- SSH Key Authentication: Instead of relying solely on passwords, set up SSH key authentication. This adds an extra layer of security by requiring both a private key and a passphrase to gain access to your server.
- Two-Factor Authentication (2FA): Implement 2FA for an additional security layer. This ensures that even if someone gains access to your credentials, they still need a second authentication method to log in.
Install Necessary Software
- Package Managers: Utilize package managers, such as
aptfor Ubuntu oryumfor CentOS to install software efficiently. These managers handle dependencies and updates automatically, streamlining the installation process. - Web Servers: Depending on your needs, you might install a web server like Apache or Nginx. These servers will host your websites or applications and handle incoming requests.
- Databases: Install and configure databases such as MySQL, PostgreSQL, or MongoDB to store and manage your data.
- Programming Languages: Install programming languages and frameworks relevant to your project, allowing you to develop and deploy your applications.
Website or Application Deployment
- Version Control: Use version control systems like Git to manage and track changes to your codebase. This makes collaboration and deployment easier.
- Web Server Configuration: Configure your chosen web server to host your website or application. Create virtual hosts, set up domain names, and manage server blocks.
- Mail server: Install mail server so you can send and receive email messages.
- Content Management Systems (CMS): If you’re setting up a content-based website, consider using a CMS like WordPress, Joomla, or Drupal. These platforms simplify content management and design. You can host multiple websites in Contabo VPS.
Backup Strategy
- Regular Backups: Set up automated, regular backups of your server’s data and configurations. This ensures that you can quickly recover from hardware failures, data corruption, or accidental deletions.
- Off-Site Storage: Store backups in a separate location from your VPS. Cloud storage or another physical server can protect your data even if your VPS experiences catastrophic failures.
- Testing Backups: Periodically test your backups by restoring them in a controlled environment. This ensures that your backup process is working effectively.
Regular Maintenance
- Log Analysis: Regularly review logs for unusual activity, errors, and security breaches. Analyzing logs can help you identify and address potential issues before they become critical.
- Software Updates: Stay on top of software updates, including the operating system, applications, and plugins. Regular updates help close security vulnerabilities and improve performance.
- Resource Monitoring: Monitor your VPS’s resource usage (CPU, memory, disk space) to identify any bottlenecks or issues that might affect performance.
- User Management: Manage user accounts and permissions carefully. Remove unnecessary users and limit privileges to minimize security risks.
Final Thoughts
From establishing secure access to your VPS and choosing the right image for your project, to installing vital software components and implementing backup strategies, you’ve learned how to lay the groundwork for a successful VPS deployment.
So, as you continue to fine-tune your Contabo VPS, may your digital endeavors be fruitful, secure, and ever-evolving.