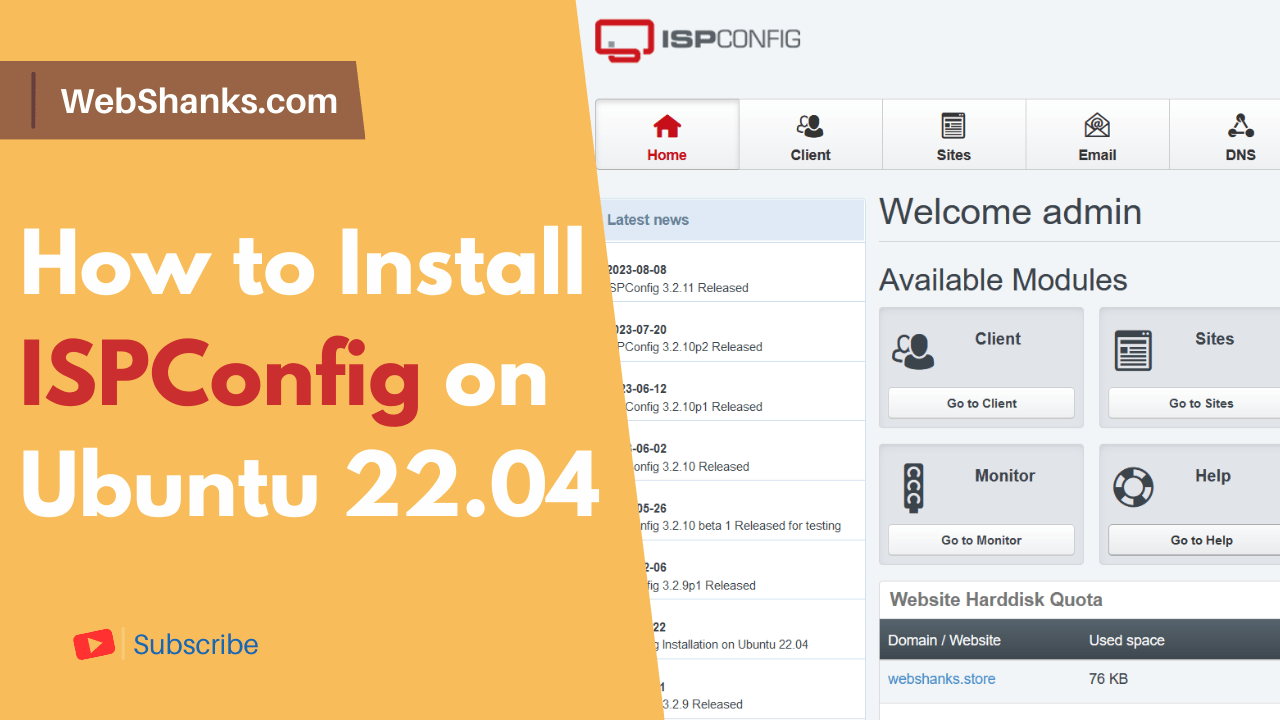
 Installing ISPConfig on a RackNerd VPS running Ubuntu 22.04 LTS is a powerful combination that can provide you with free web hosting control panel. ISPConfig simplifies the management of your web server and hosting accounts, making it an excellent choice for web hosting providers and developers.
In this step-by-step guide, we’ll walk you through the process of installing ISPConfig on your RackNerd VPS running Ubuntu 22.04 LTS.
Prerequisites
Before you begin, ensure you have the following:
- A RackNerd VPS running Ubuntu 22.04 LTS. Checkout this article: RackNerd VPS Setup Guide.
- SSH access to your VPS.
- A domain. I can recommend Namecheap.
How to Install ISPConfig on Ubuntu 22.04 LTS in RackNerd VPS
ISPConfig System Requirements
- Debian 10 – 12 (See tutorial)
- Ubuntu 18.04 – 22.04
- CentOS 7 – 8
- 1GB+ of RAM
- 20GB SSD storage
Step 1: Connect to Your VPS
Open your terminal.
Use SSH to connect to your VPS using the provided IP address and credentials:
ssh username@your_server_ip
You can also use a free SSH client Bitivise. Enter your server IP in Host with port 22 and click login.
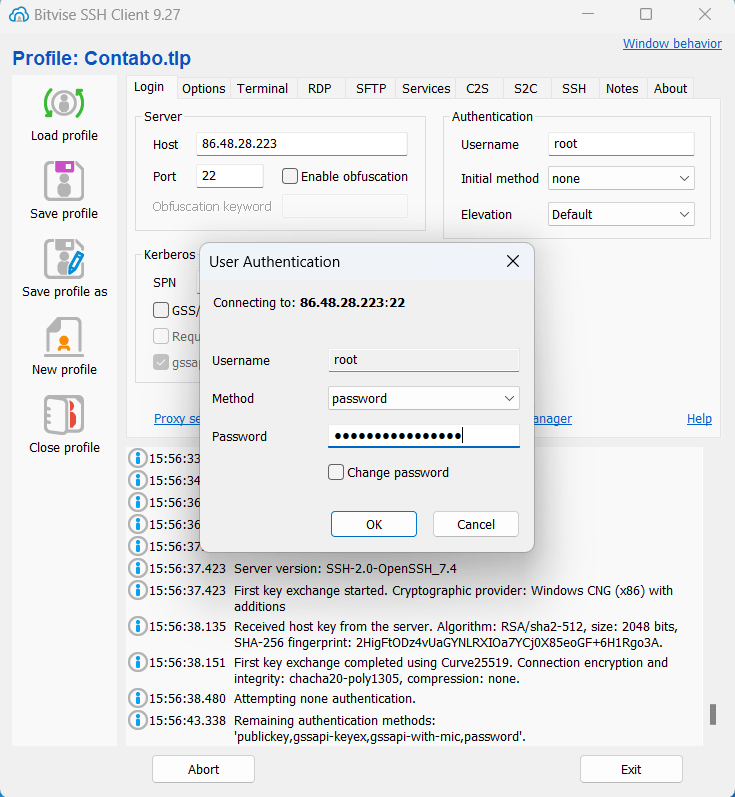
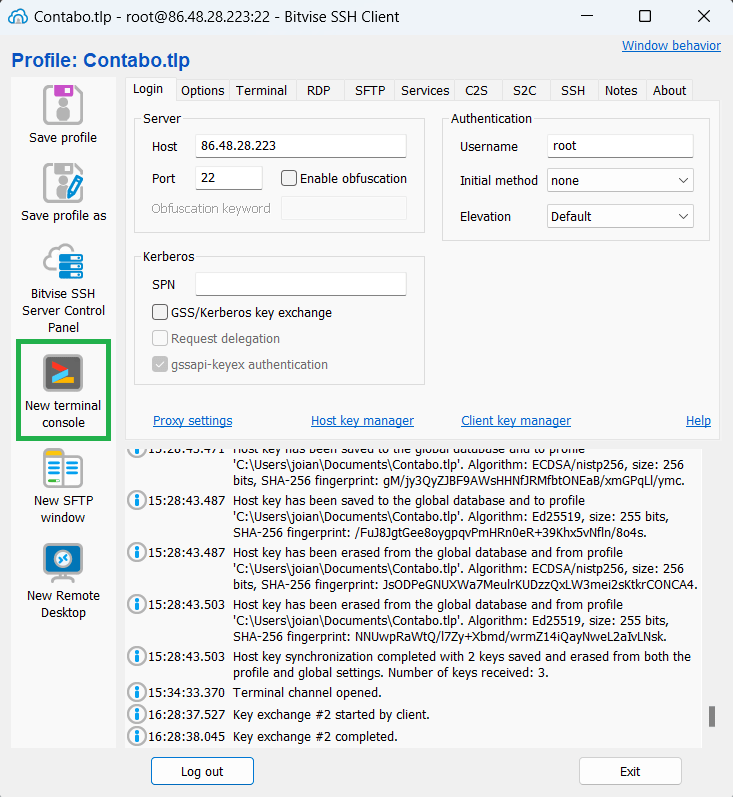
Enter your Root password and click OK. Click New terminal console on the left menu.
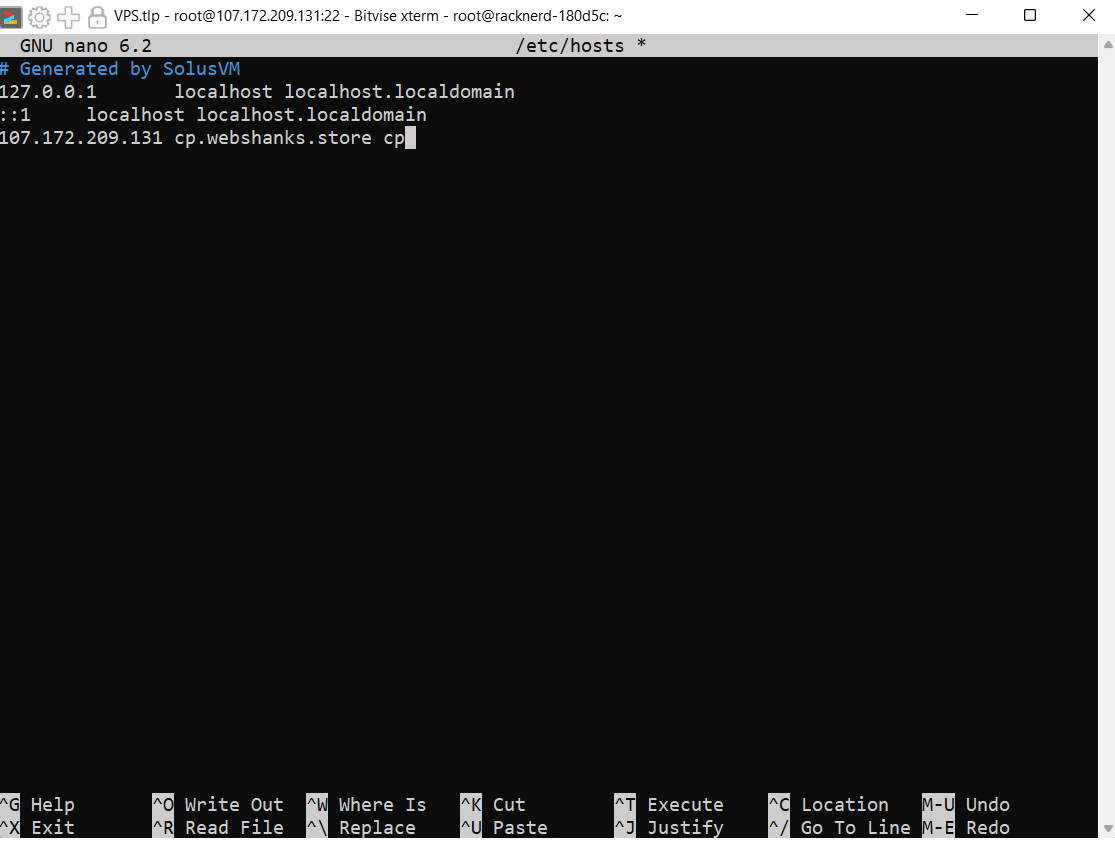
Step 2: Configure Hostname and Hosts
Run the following command to change hosts.
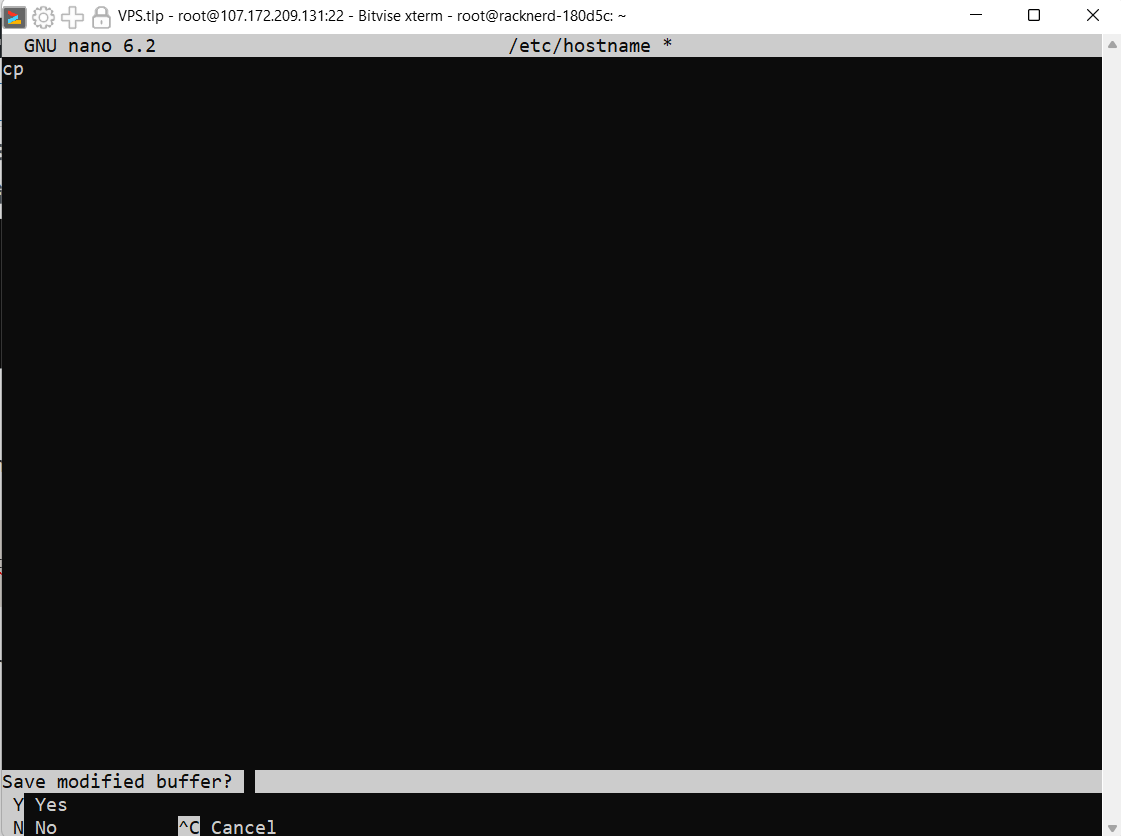
nano /etc/hosts
Our full subdomain in this tutorial is cp.webshanks.store where our cp is our subdomain part.
The format should be IP<space>full hostname<space>subdomain.
After changing, click ctrl + X and then if asked Save modified buffer? choose Y and hit Enter. Do not change the filename when asked File Name to Write. Just hit Enter.
Next we’ll change our hostname.
nano /etc/hostname
Our subdomain part is cp so we will change it to cp.
After changing, click ctrl + X and then if asked Save modified buffer? choose Y and hit Enter. Do not change the filename when asked File Name to Write. Just hit Enter.
Then restart your system for the changes to take into effect.
systemctl reboot
Login back to your your VPS and run the following commands to see if we successfully changed our hosts and hostname.
hostname
hostname -f
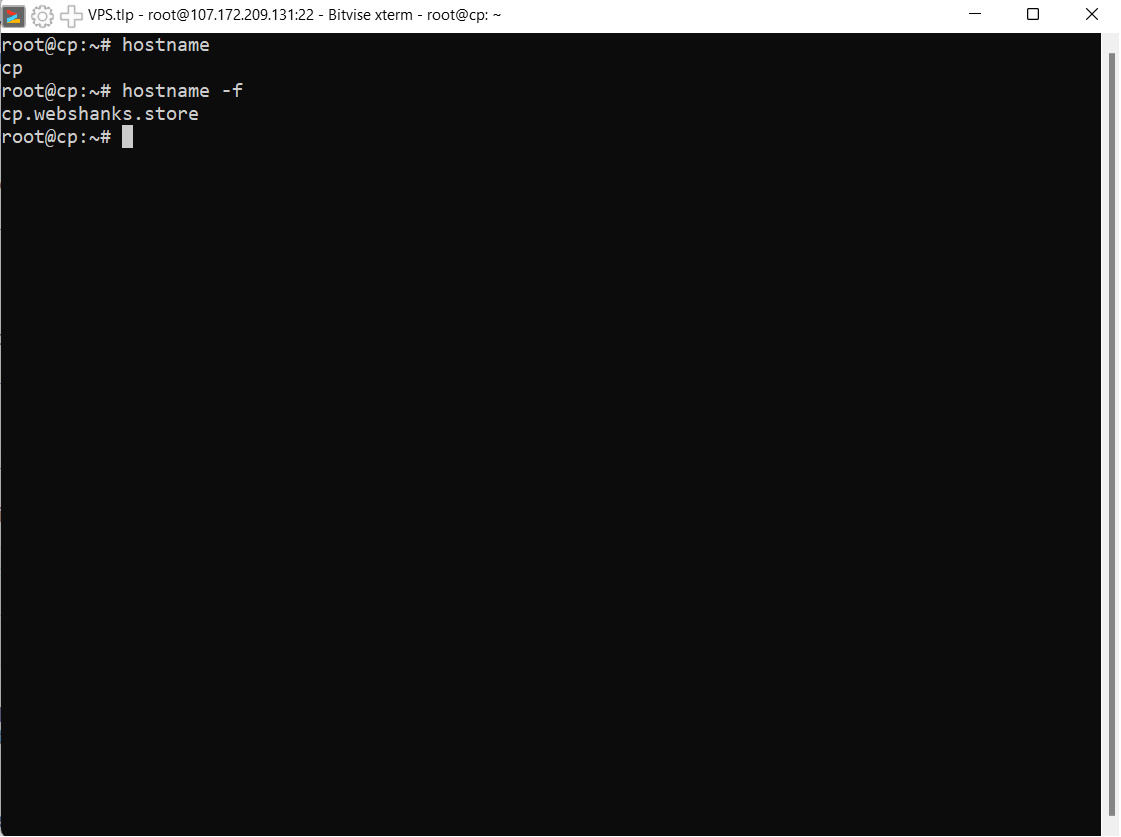
Success! We configured hostname and hosts in ISPConfig.
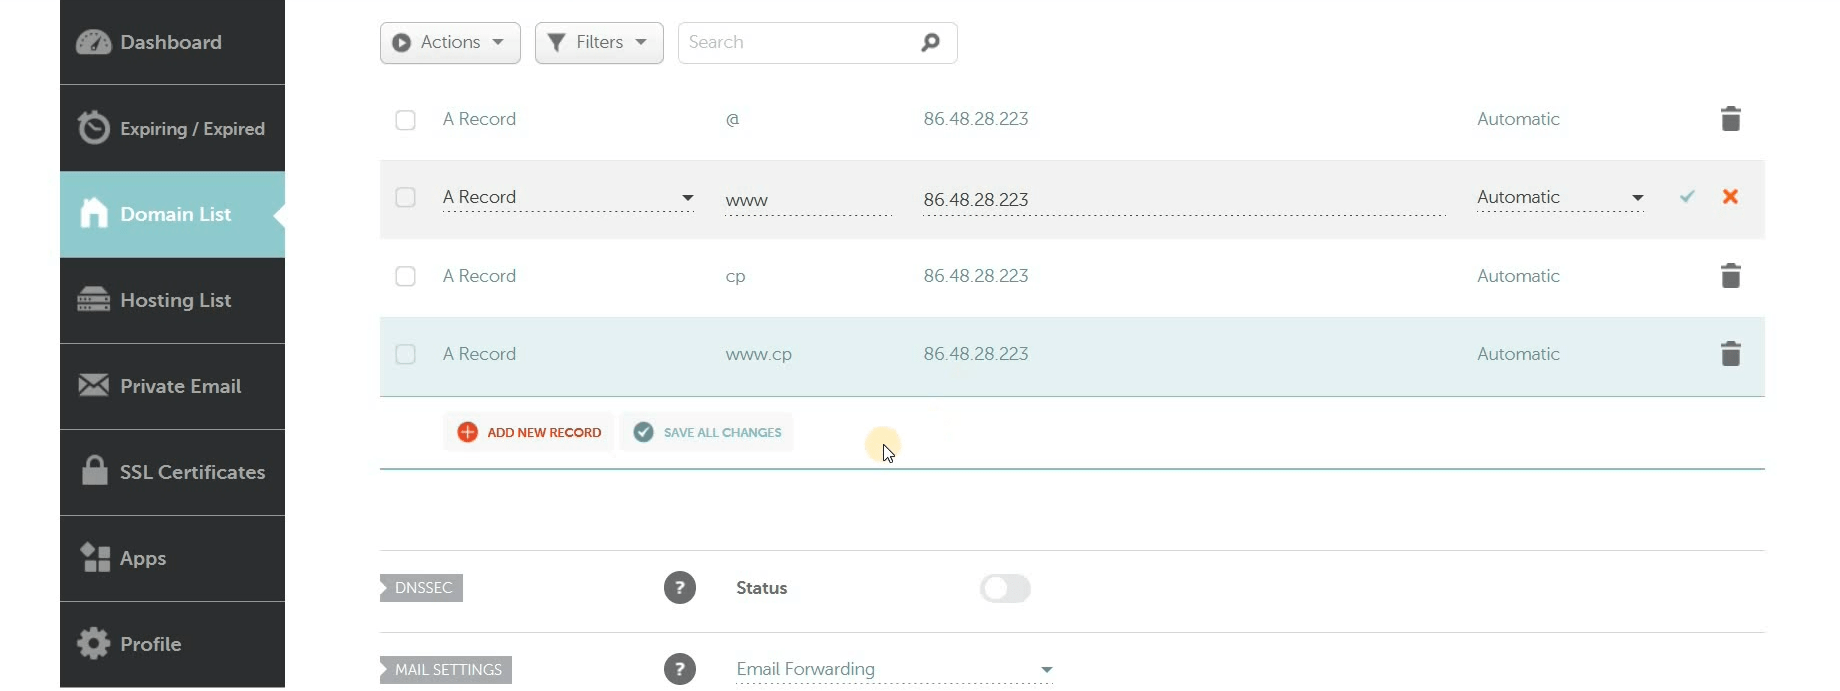
Now go to your favorite domain registrar and add an A Records for your domain and subdomain.
I’m using Namecheap and this is how it looks like.
Step 3: Update Your System
Ensure your system is up to date by running the following commands:
sudo apt update
sudo apt upgrade
Step 4. Run the Autoinstaller
The basic setup contains:
- Apache2
- PHP (versions 5.6 – 8.0)
- MariaDB
- Postfix
- Dovecot
- Rspamd
- BIND
- Jailkit
- Roundcube
- PHPMyAdmin
- Mailman
- Webalizer
- AWStats
- GoAccess
But instead of using Apache, we will use Nginx.
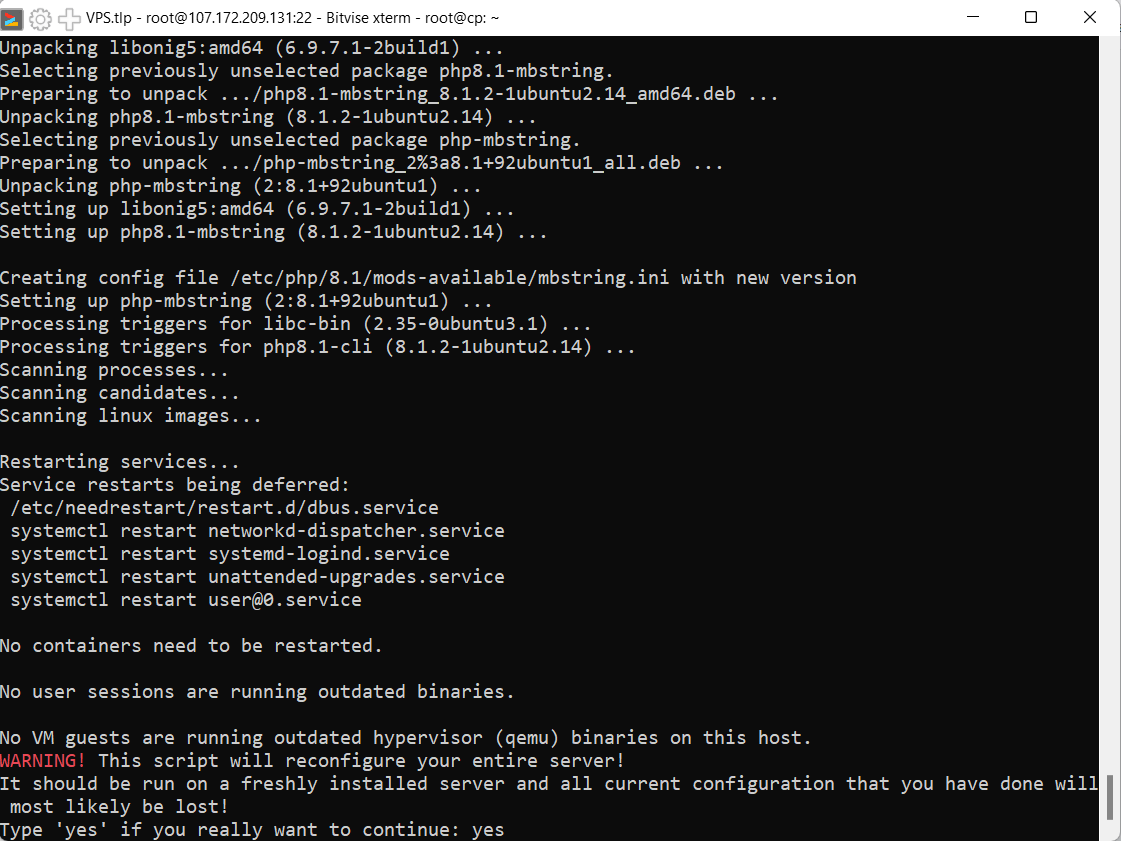
wget -O - https://get.ispconfig.org | sh -s -- --use-nginx --use-ftp-ports=40110-40210 --unattended-upgrades
If a warning message will appear like in the image below, just hit Enter.
Step 5: Access the ISPConfig Control Panel
After the installation is complete, access the ISPConfig control panel using your server’s IP address in a web browser:
https://your_server_ip:8080

Step 6: Login to ISPConfig
Log in with username admin and password set by ISPConfig after installation.

And this is now your ISPConfig dashboard!

Congratulations, you have successfully installed ISPConfig on Ubuntu 22.04 LTS in RackNerd VPS!
What’s Next?
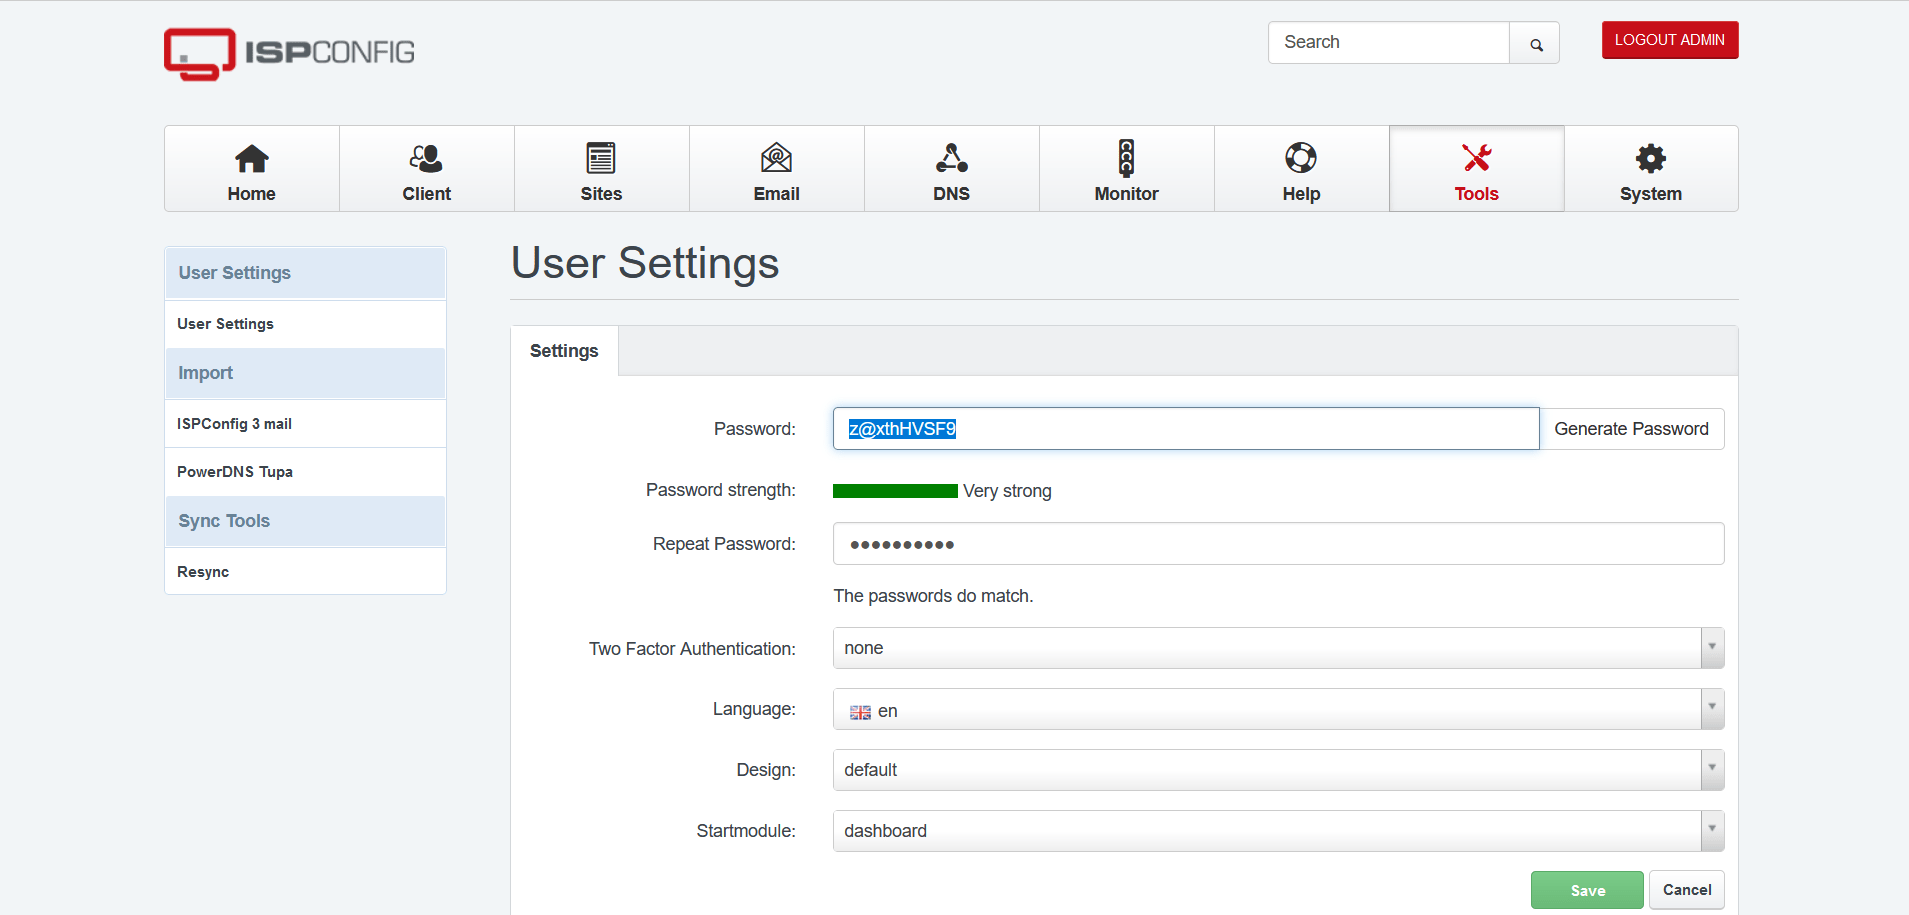
Change your password
Go to Tools and generate a password.
Setup firewall
Go to System > Firewall > Add Firewall record.
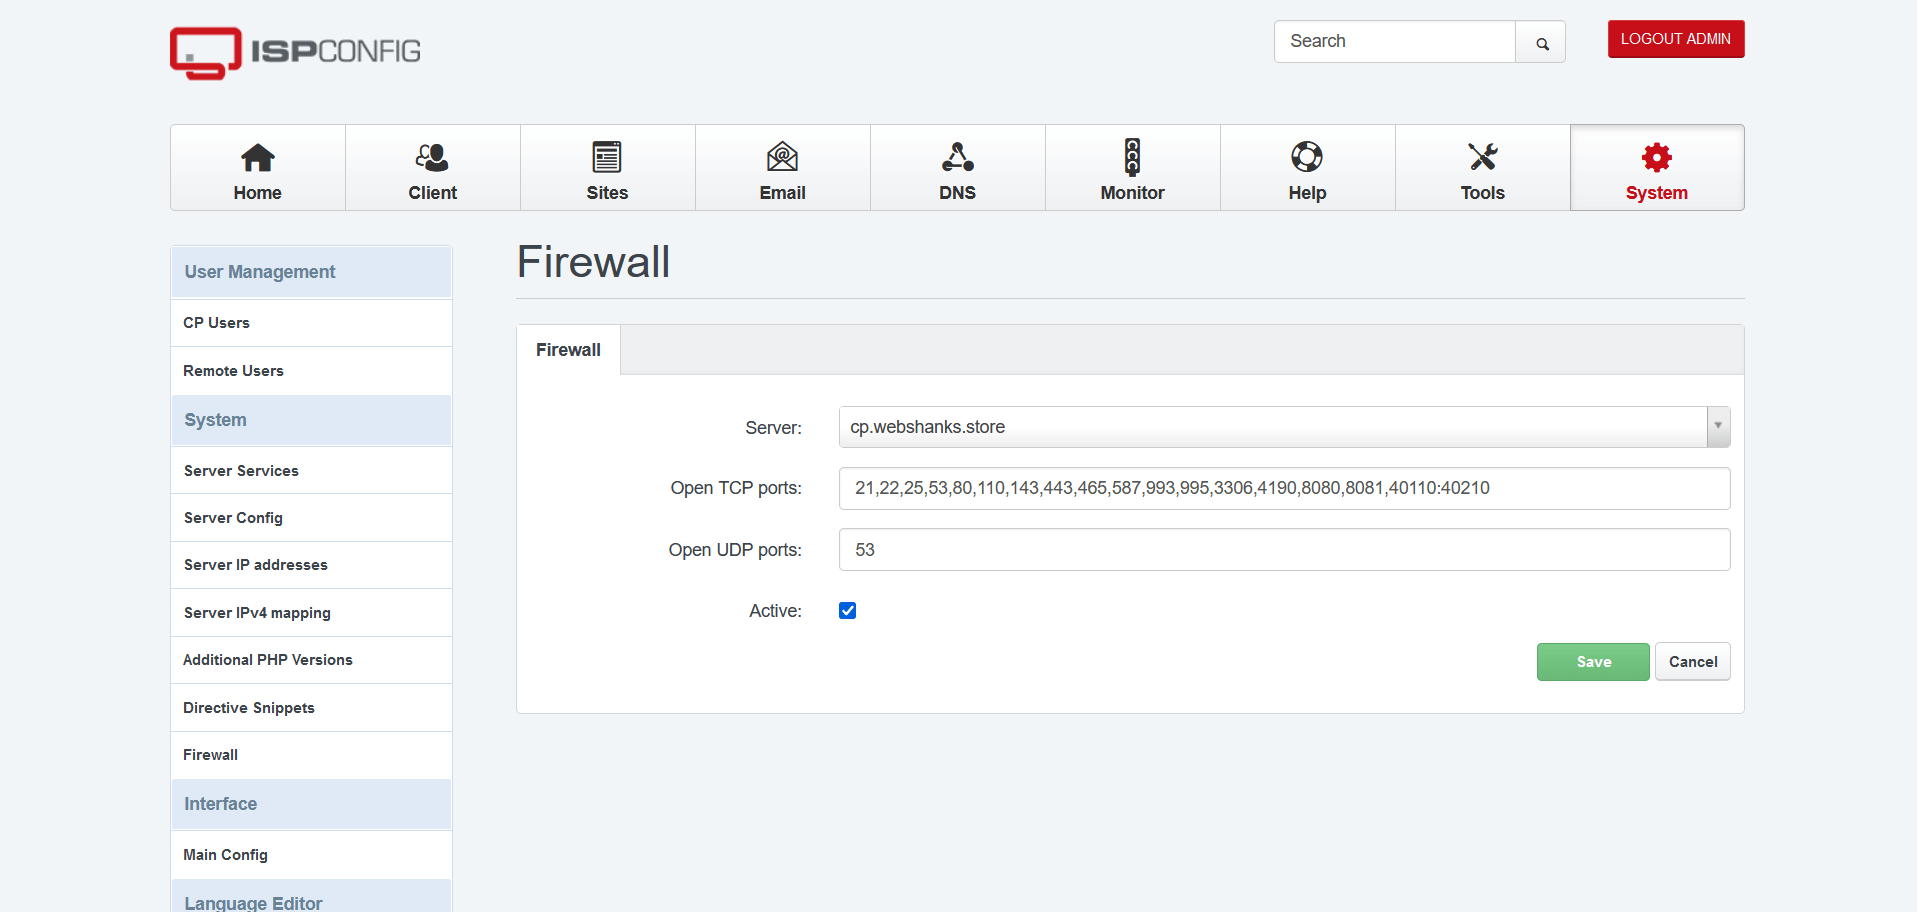
Ports for the web: 20, 21, 22, 80, 443 and 40110:40210 (All TCP, no UDP)
Ports for the mail: 25, 110, 143, 465, 587, 993, and 995 (All TCP, no UDP)
DNS: 53 (TCP and UDP)
Ports for Panel: 8080 and 8081 (All TCP, no UDP)
After setting up your firewall, wait for a few minutes to take into effect. From then on you can now use your hostname cp.webshanks.store:8080 to access your ISPConfig instead of an IP address.
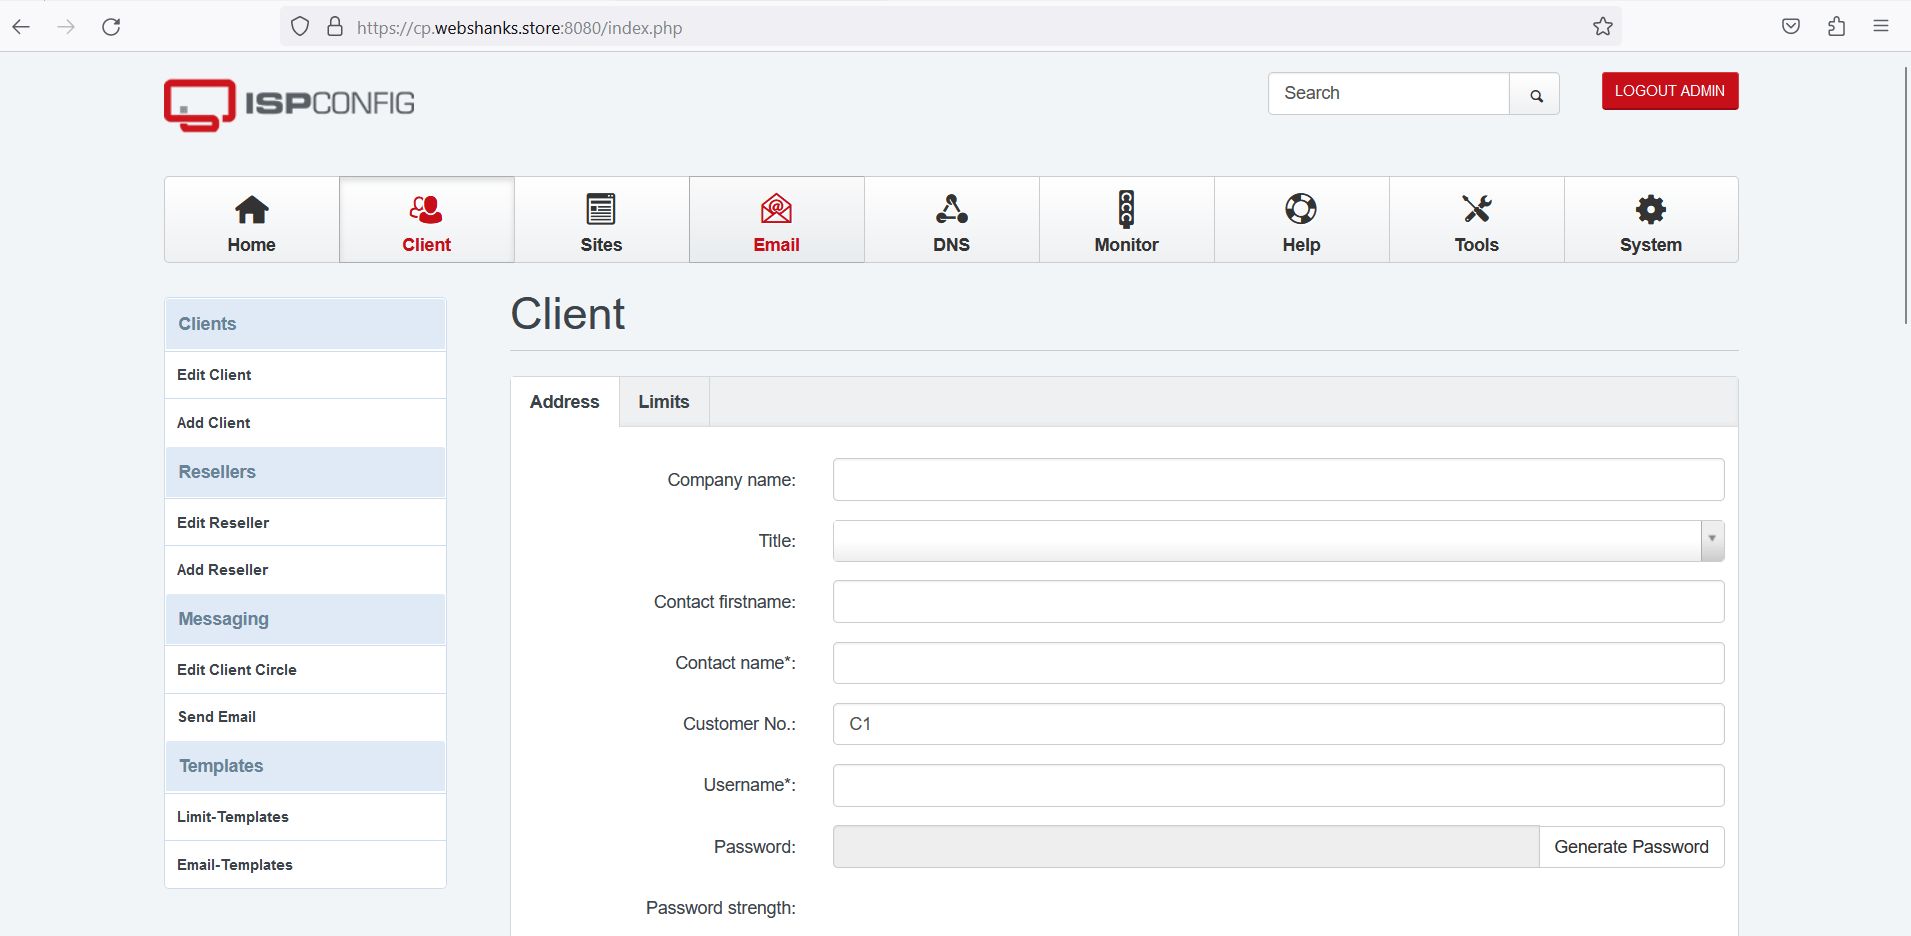
Add client
Go to Client > Add client.
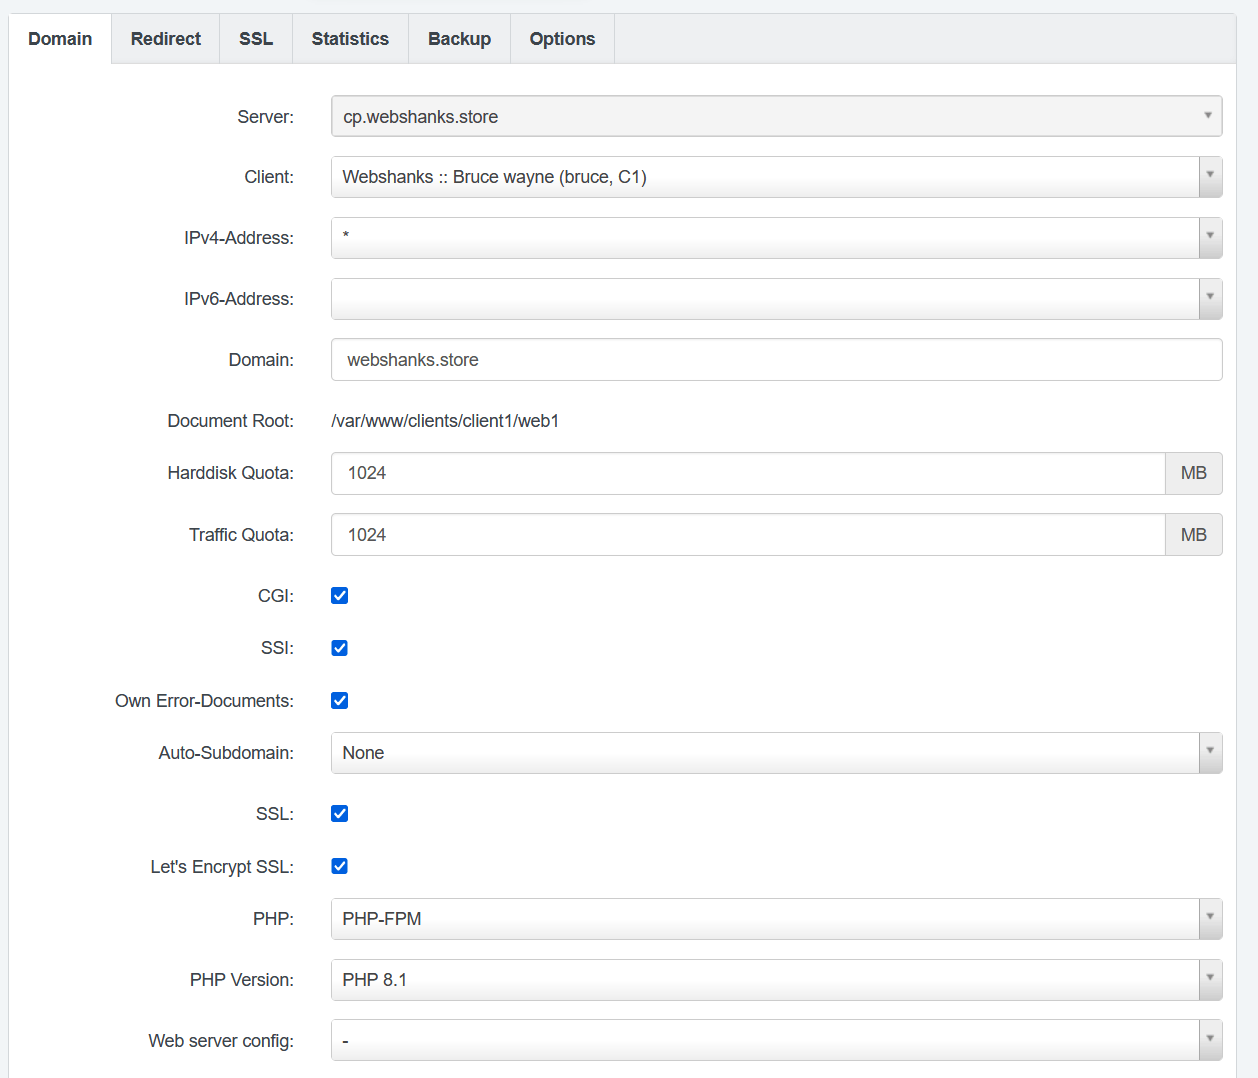
Add a website
Go to Sites > Add new website > fill in the necessary details.
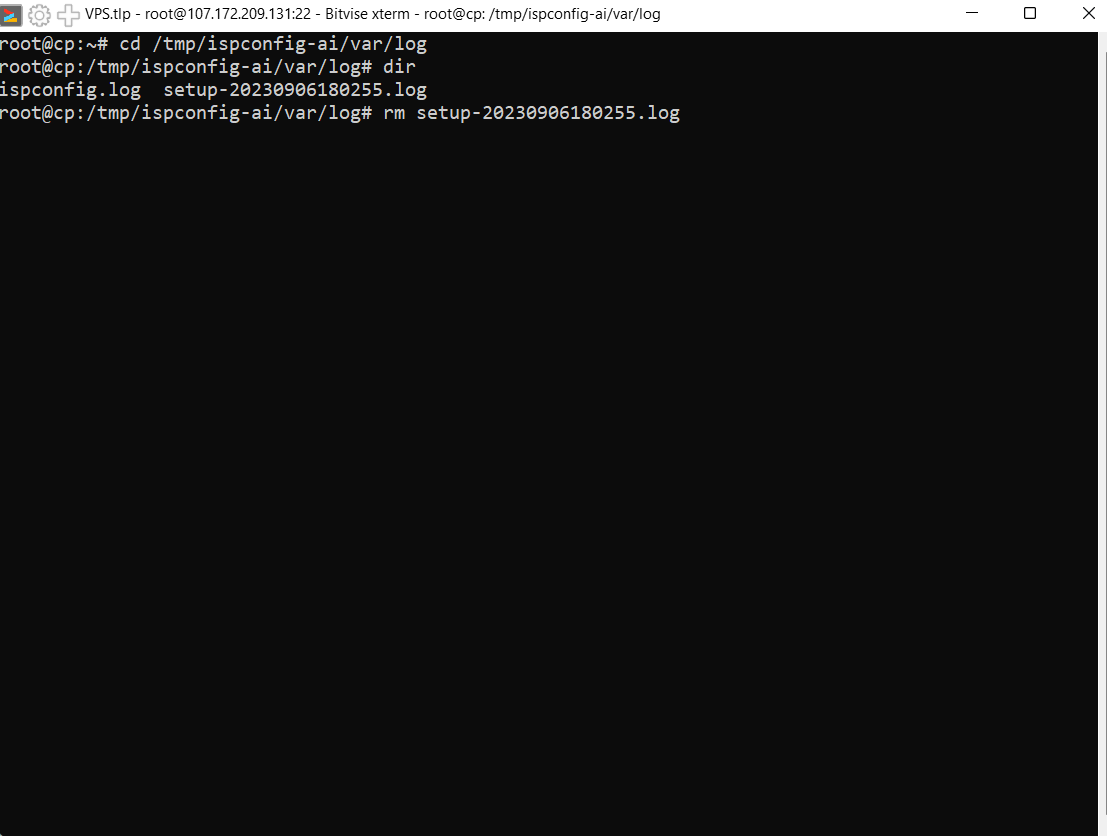
Delete setup log
For security reasons, delete log files in /tmp/ispconfig-ai/var/log/setup-*.
FAQs
What is ISPConfig?
ISPConfig is an open-source web hosting control panel that allows you to manage multiple websites, email accounts, databases, and DNS records on a single server.
How can I update ISPConfig?
To update ISPConfig, you can use the ISPConfig update script:
ispconfig_update.sh
Be sure you have a Root access.
Can I use ISPConfig to manage email accounts?
Yes, ISPConfig allows you to create and manage email accounts. You can do this by navigating to the “Email” section in the control panel and selecting “Mailboxes.”
Is ISPConfig suitable for production use?
Yes, ISPConfig is suitable for production use, but it’s important to properly secure and configure your server. Regularly update your system and ISPConfig installation to ensure stability and security.
Conclusion
By following this guide, you’ve successfully installed ISPConfig on your RackNerd VPS with Ubuntu 22.04 LTS. You now have a powerful web hosting control panel at your disposal, making it easier to manage your websites and hosting accounts. Explore ISPConfig’s features to unleash its full potential for your hosting needs.