Installing ISPConfig on Contabo VPS is a great way to manage your web hosting environment. It provides an easy-to-use interface for managing domains, email accounts, databases, and more.
With ISPConfig, you can easily set up and manage multiple websites on the same server.
In this guide, we will show you how to install ISPConfig on Contabo VPS in just a few simple steps. We will also discuss some of the benefits of using ISPconfig and how it can help you better manage your web hosting environment.
Let’s now install ISPConfig on Contabo Cloud VPS! 🙂
Prerequisites
- A clean operating system install. We will be using Contabo Cloud VPS running Debian 11 (Bullseye).
- A ROOT access.
How to Install ISPConfig on Contabo Cloud VPS with Debian 11
ISPConfig system requirements:
ISPConfig is compatible with Debian 9 – 11, Ubuntu 18.04 – 22.04 or CentOS 7 – 8.
- Ram: 1GB or above
- Disk: 1GB or above
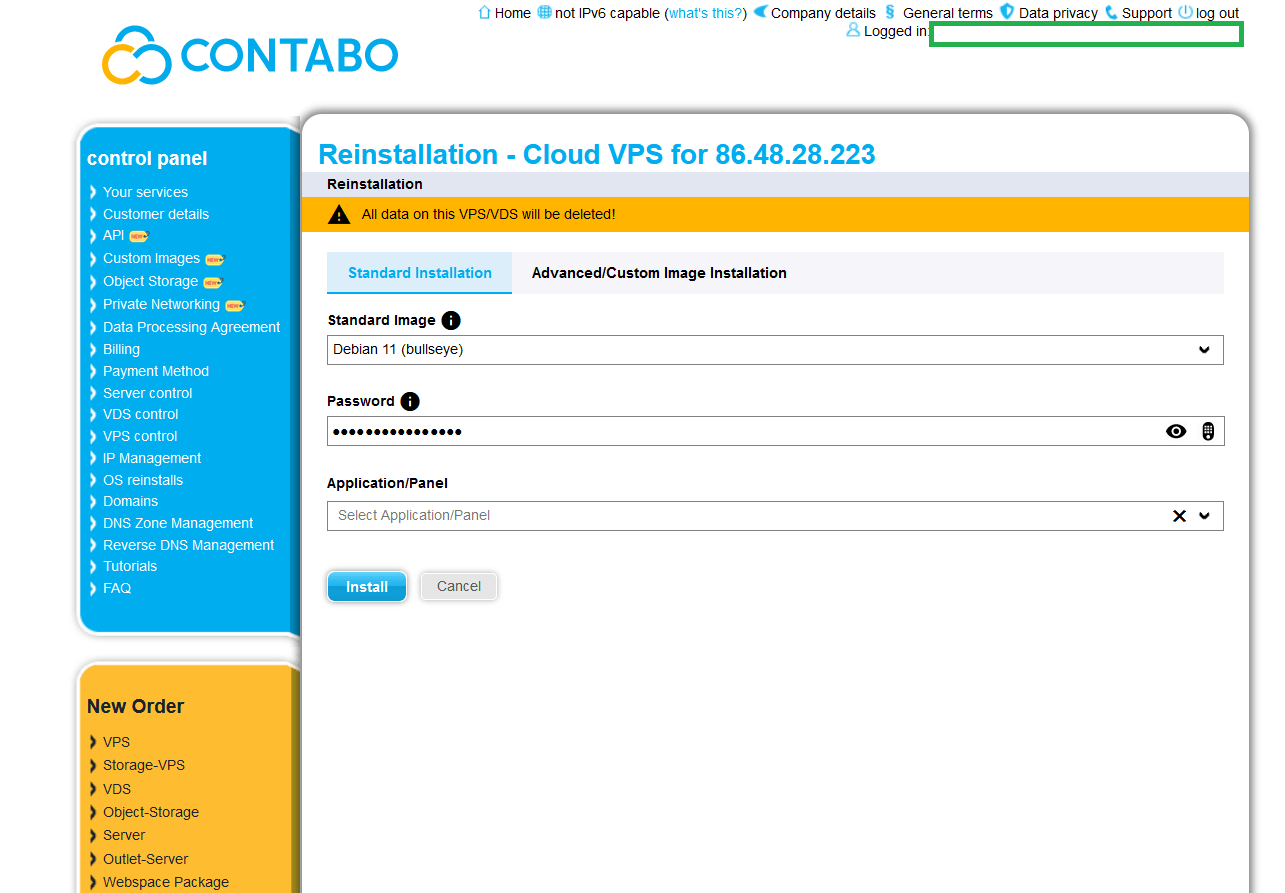
Step 1. Fresh Install Debian 11 on Contabo Cloud VPS
If you just signed up with Contabo Cloud VPS, you can skip this step. If you want a fresh install, go to your Contabo dashboard and install a new operating system.
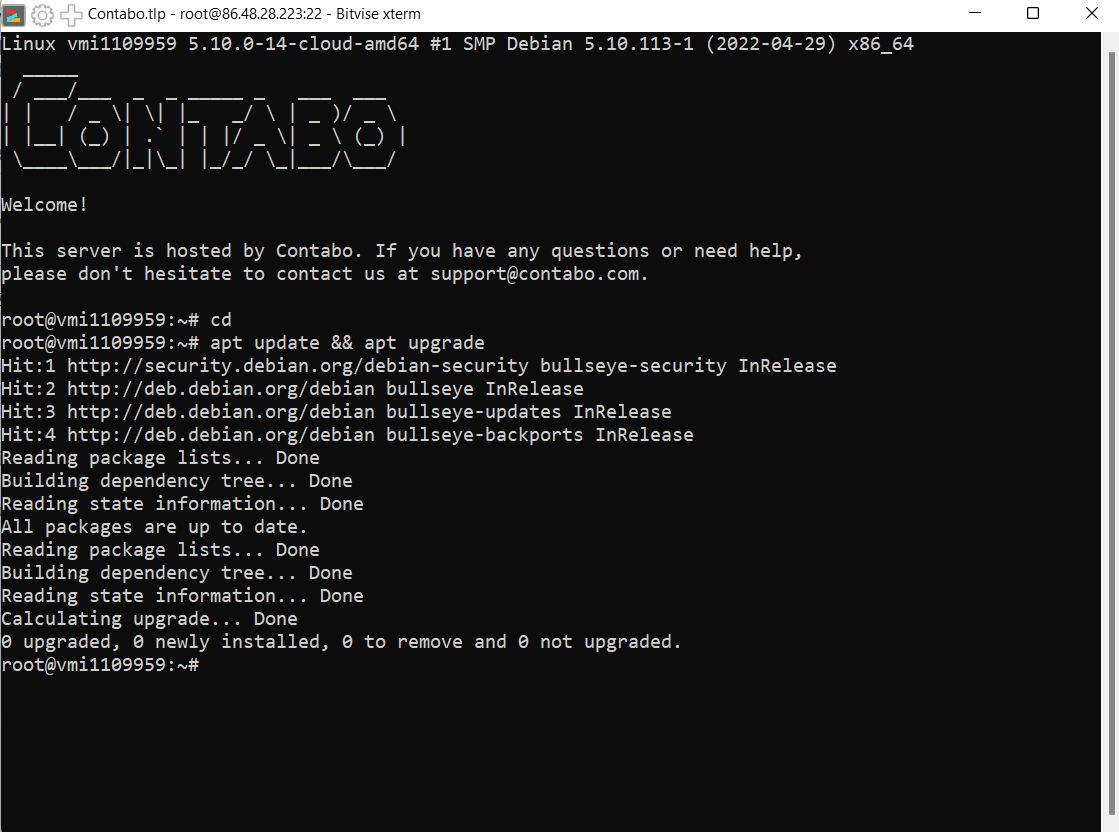
Step 2. Login to Your Server via SSH with ROOT Access
You need to have a ROOT access to install important components of ISPConfig. Use an SSH client to login. We’ll be using Bitvise in this tutorial.

Step 3. Install ISPConfig on Your Server
First, as usual we need to update the packages.
wget -O - https://get.ispconfig.org | sh -s -- --use-ftp-ports=40110-40210 --unattended-upgrades
Second, install ISPConfig with the following commands.
For Apache web server:
wget -O - https://get.ispconfig.org | sh -s -- --use-ftp-ports=40110-40210 --unattended-upgrades
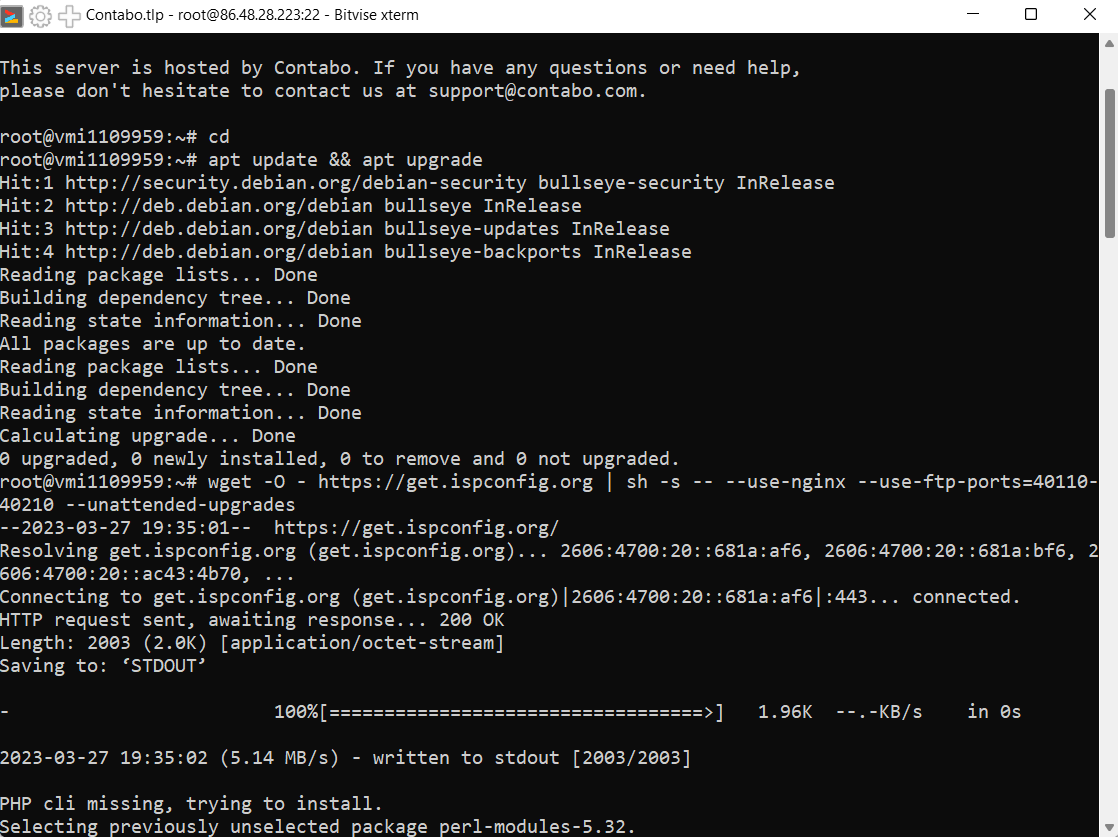
For Nginx web server:
wget -O - https://get.ispconfig.org | sh -s -- --use-nginx --use-ftp-ports=40110-40210 --unattended-upgrades
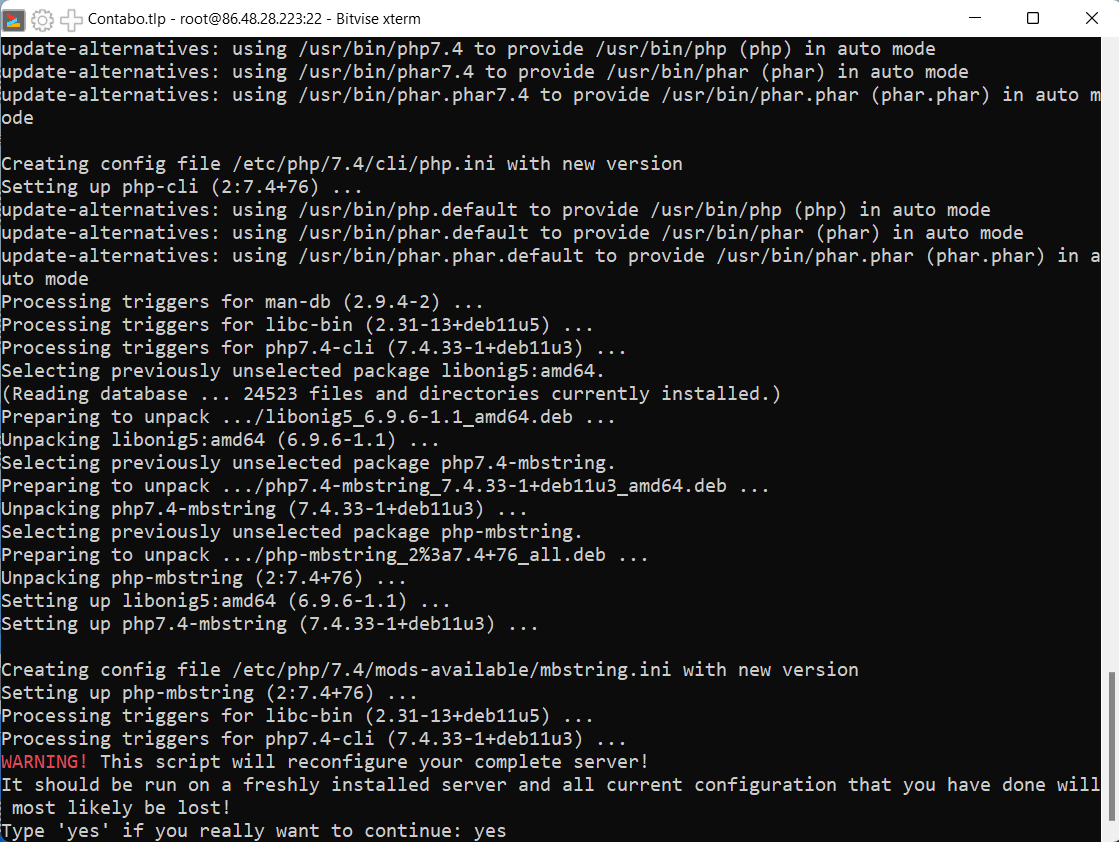
When you see Warning message in red color, just type YES.
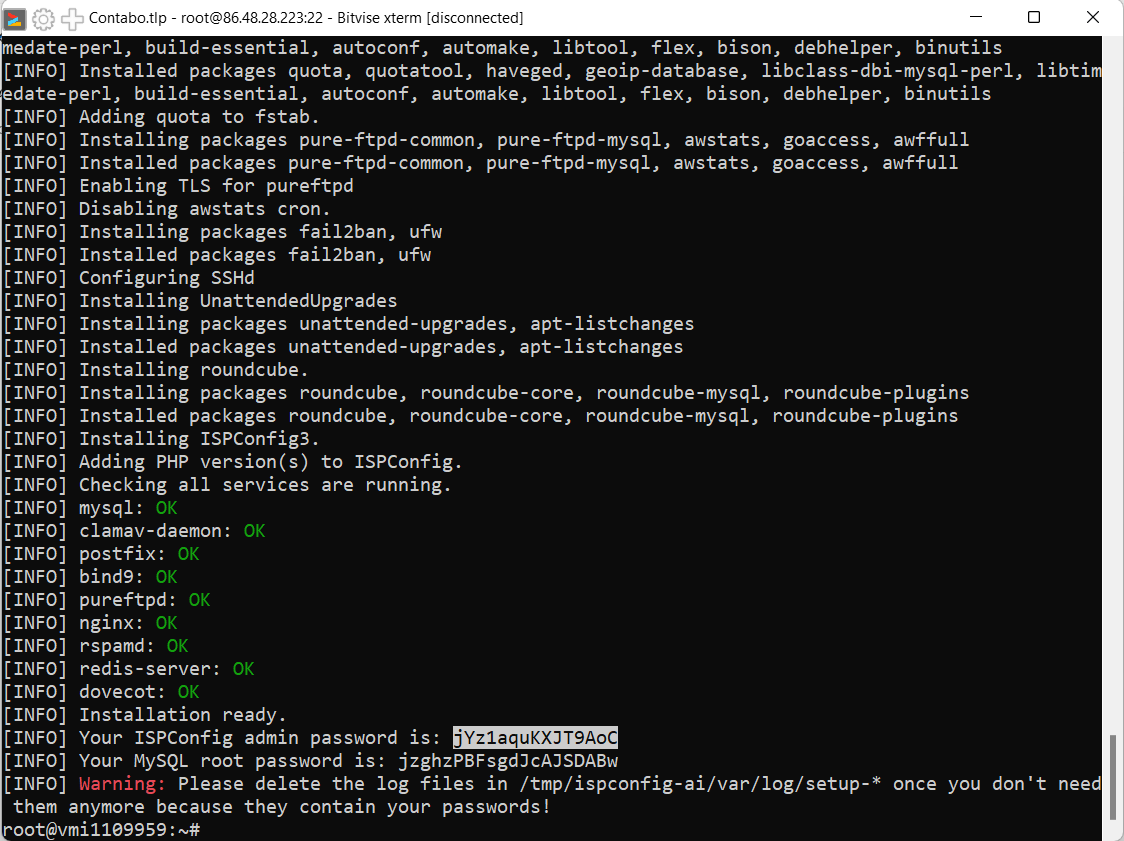
Once the process is done, be sure to copy and paste the admin and MySQL passwords.
Step 4. Access Your ISPConfig Control Panel
Now that we’ve successfully installed ISPConfig, it’s time to access it.
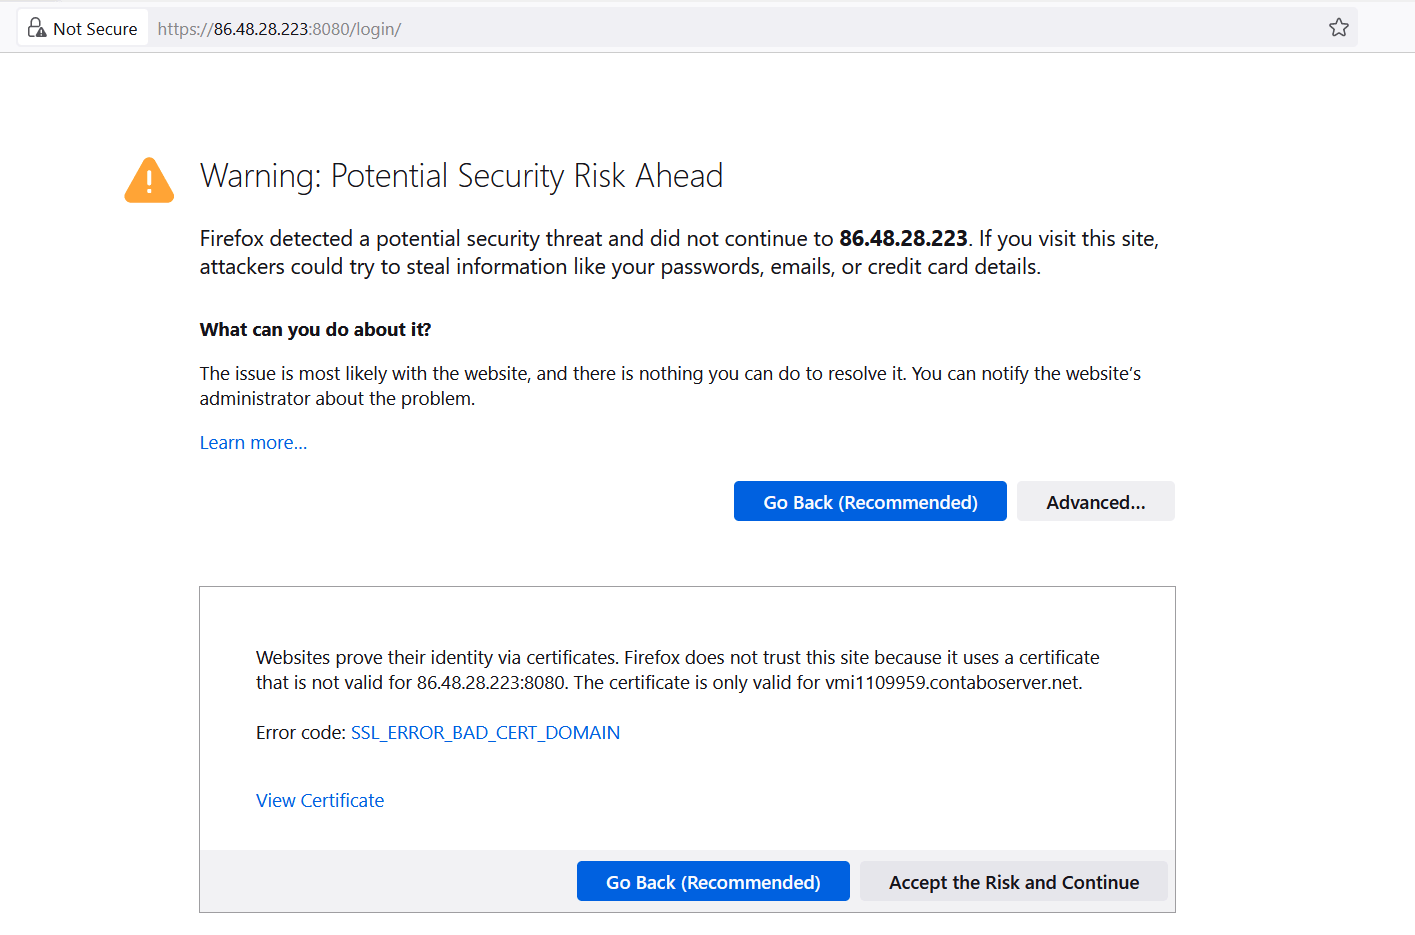
Use your IP address in accessing ISPConfig and port 8080: <yourserverIP>:8080
If security warning message prompts, just click Advanced > Accept the Risk and Continue
Then, use Admin as username and the password you copied after the installation.

That’s it! You’ve successfully installed ISPConfig on Contabo Cloud VPS running Debian 11.
What to do next?
Create a website or application. Be sure, the firewall is configured properly to allow important ports.
Conclusion
Installing a free, open-source control panel like ISPConfig is not that difficult. If you want to replace commercial control panels like cPanel, try out ISPConfig.
With ISPConfig, you can create websites and apps on your own!
Also, check out our YouTube channel for more tutorials like this.