Learn how to install Hestia Control Panel – free and easy!
Hestia Control Panel is one such powerful control panel that offers a range of features to make managing your VPS easier and more efficient. However, the installation process of Hestia Control Panel on a Contabo Cloud VPS running Debian 11 operating system may seem daunting to some.
In this blog post, we will guide you through the step-by-step process of installing Hestia Control Panel on your Contabo Cloud VPS with Debian 11, making it easier for you to get started with this free control panel.
If you want to install WordPress, Laravel, Prestashop, you might want to try Hestia Control Panel.
Let’s start but first…
Prerequisite
- Running server with clean operating system. We will be using Debian 11 (Bullseye) to install Hestia Control Panel on Contabo Cloud VPS.
- Access to Root.
Watch on YouTube
Setup Hestia Control Panel on Contabo Cloud VPS With Debian 11
Hestia Control Panel is compatible with:
- Debian 10
- Debian 11
- Ubuntu 18.04 LTS
- Ubuntu 20.04 LTS
- Ubuntu 22.04 LTS
Minimum requirements
- CPU: At least 1 core, 64-bit; Recommended: 4 Cores
- RAM: At least 1 GB without SpamAssassin and ClamAV; Recommended: 4GB
- DISK: At least 10 GB HDD; Recommended: 40 GB SSD
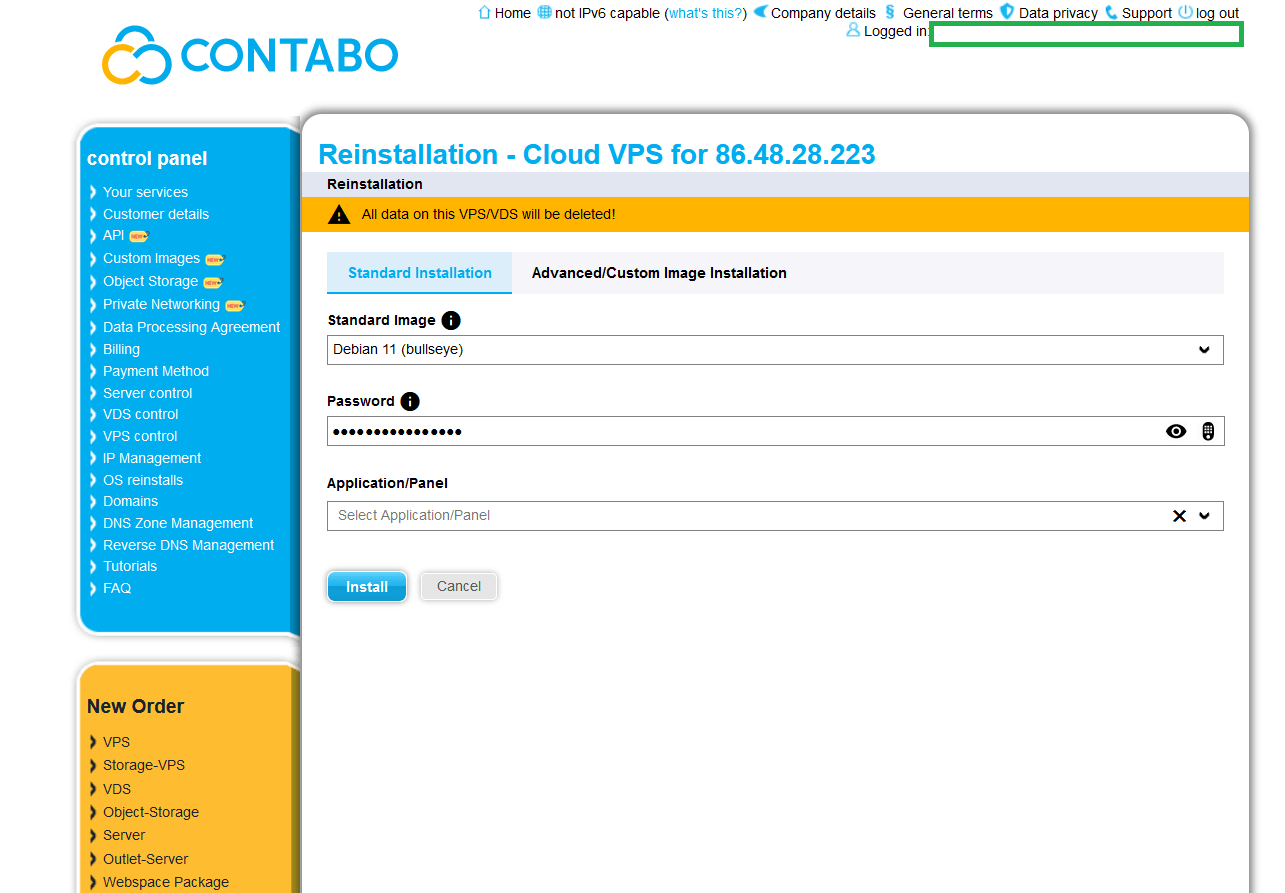
Step 1. Install Debian 11 on Contabo Cloud VPS
In this tutorial, we will be using a clean install of Debian 11 on Contabo Cloud VPS.
In your Contabo dashboard, go to VPS Control > Re-Install > Choose Debian 11 (Bullseye)
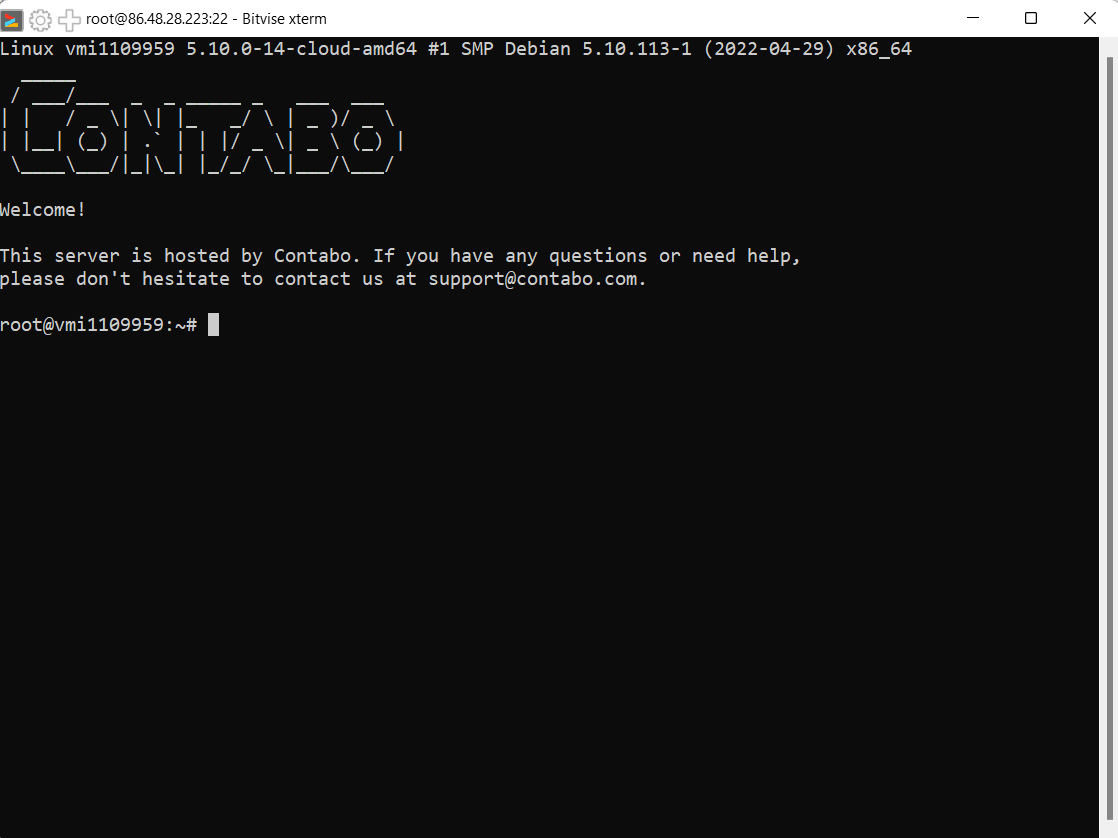
Step 2. Login as Root
Be sure you have a Root access in your Contabo server or else Hestia Control Panel won’t completely install.
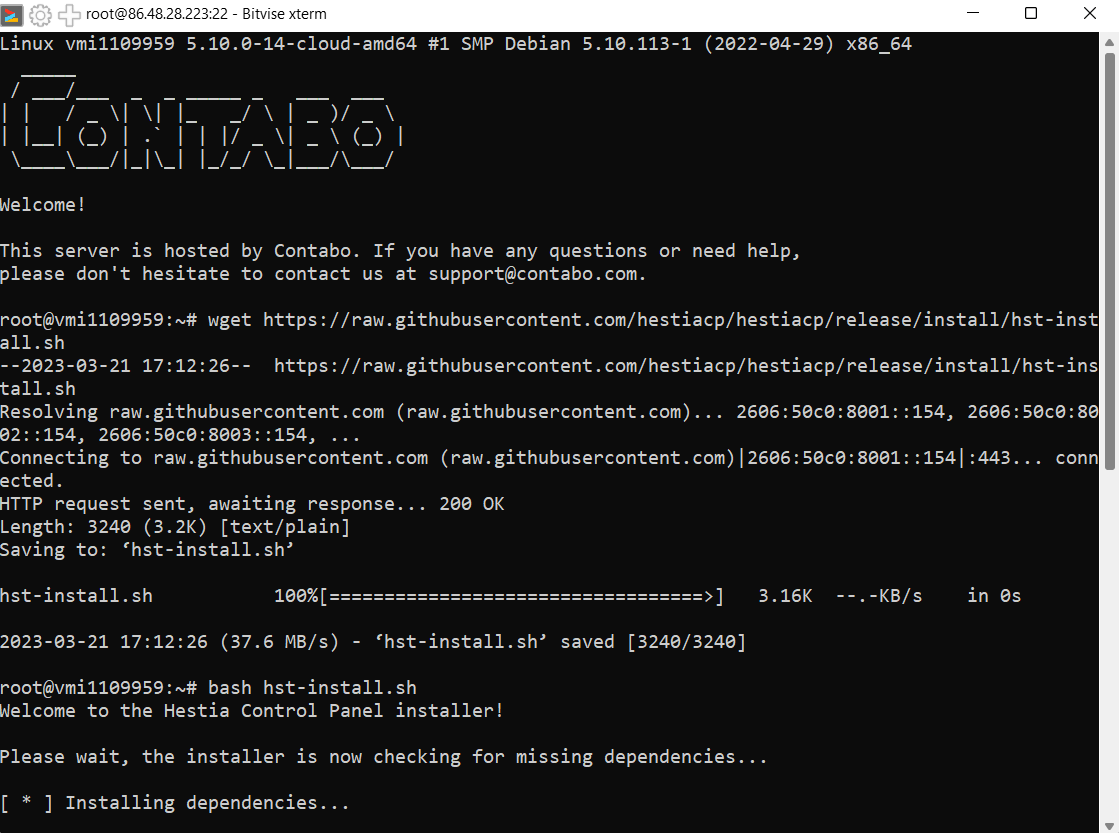
Step 3. Install Hestia Control Panel
Use the following command to install Hestia Control Panel on your Contabo server.
wget https://raw.githubusercontent.com/hestiacp/hestiacp/release/install/hst-install.sh
bash hst-install.sh
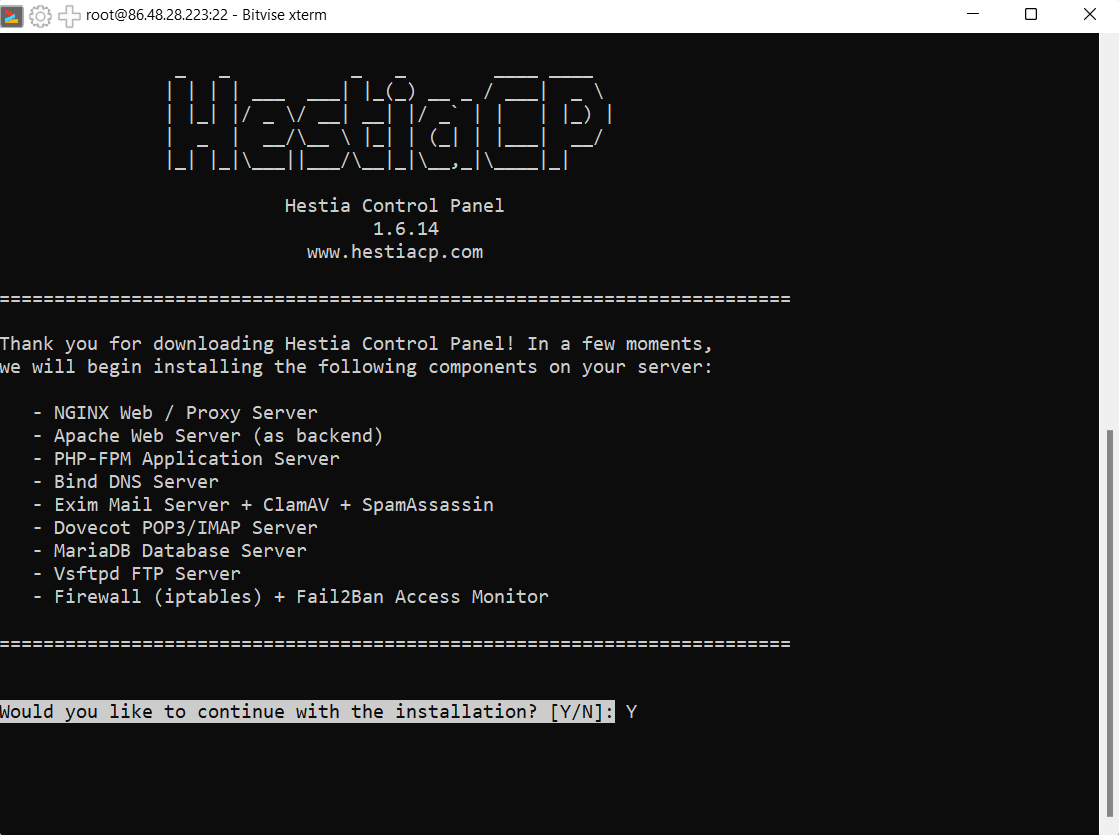
Next, a message prompt:
Would you like to continue with the installation? [Y/N]:
Choose Y.
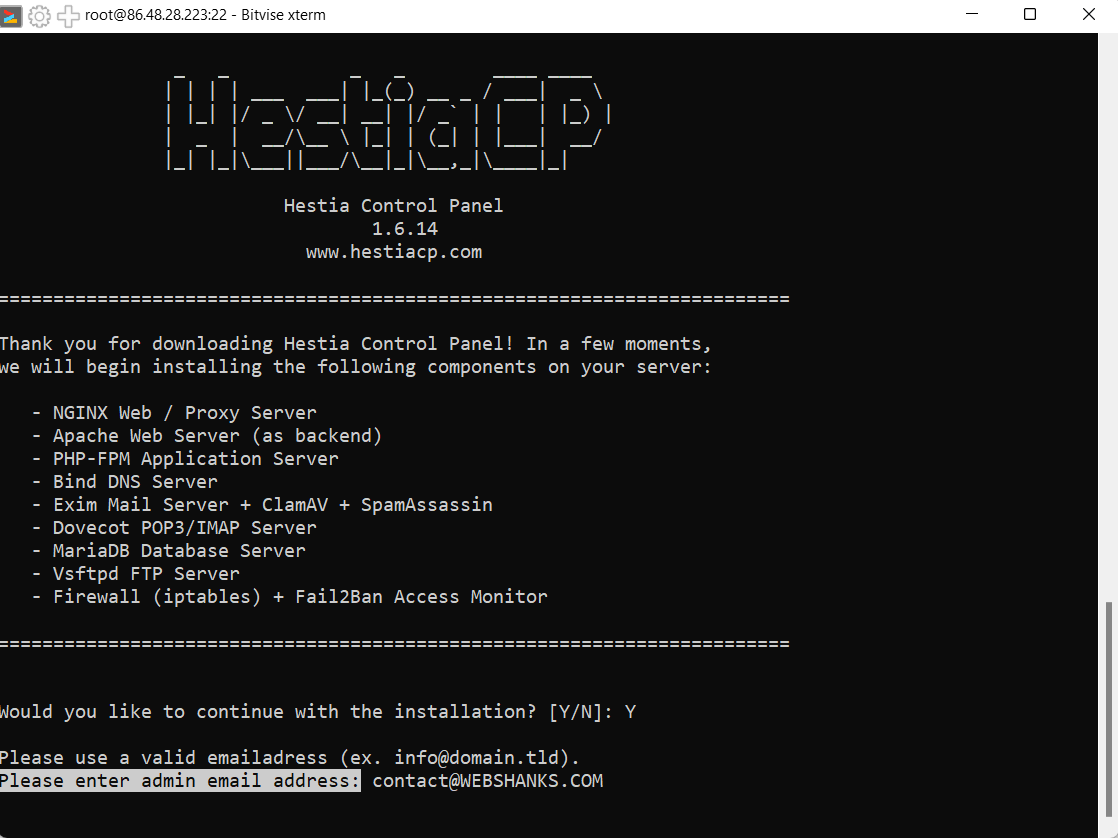
Provide a email valid address. This email should be an active email.
Please enter admin email address:
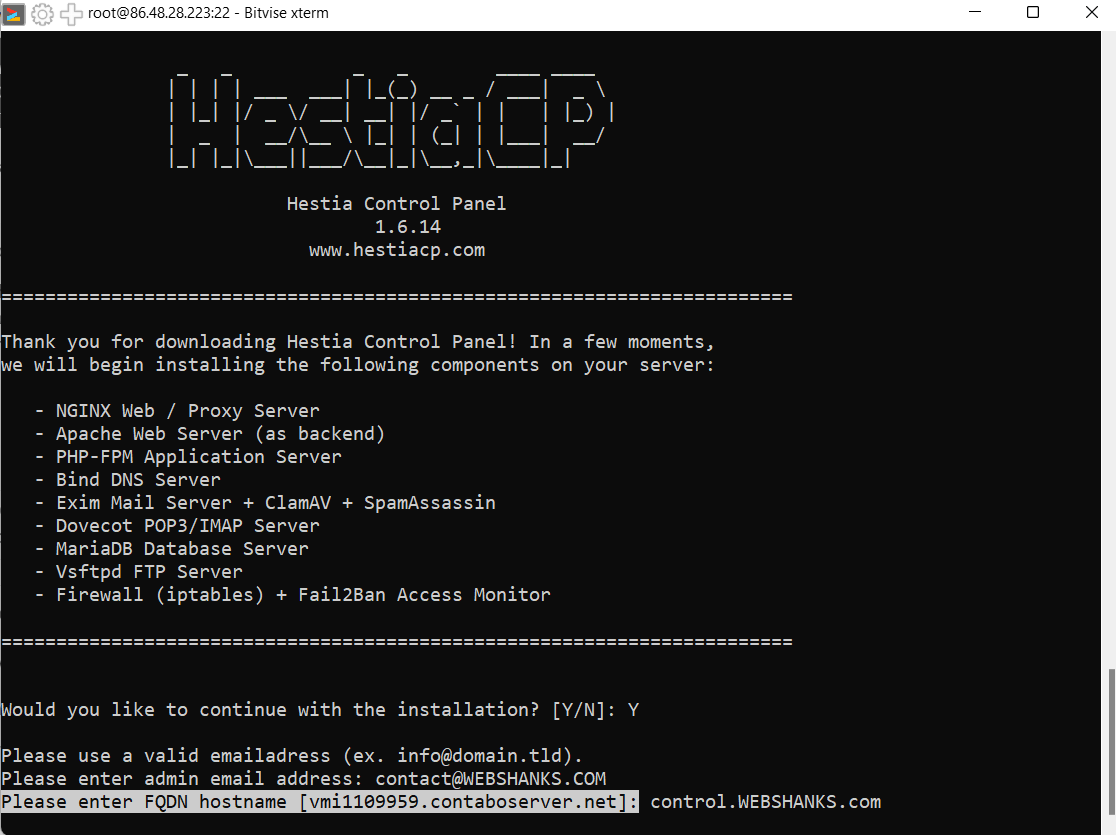
Enter a fully qualified domain. For instance, control.webshanks.com
Please enter FQDN hostname:
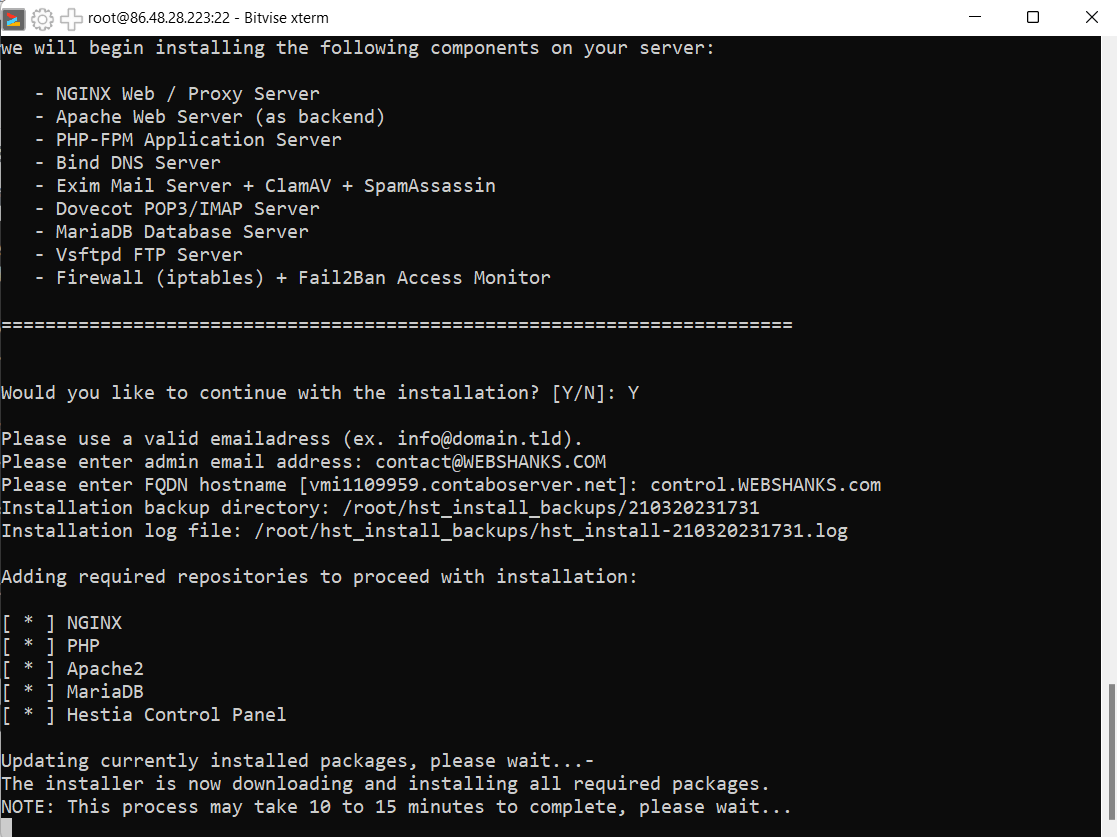
And, wait for the installation process to finish.
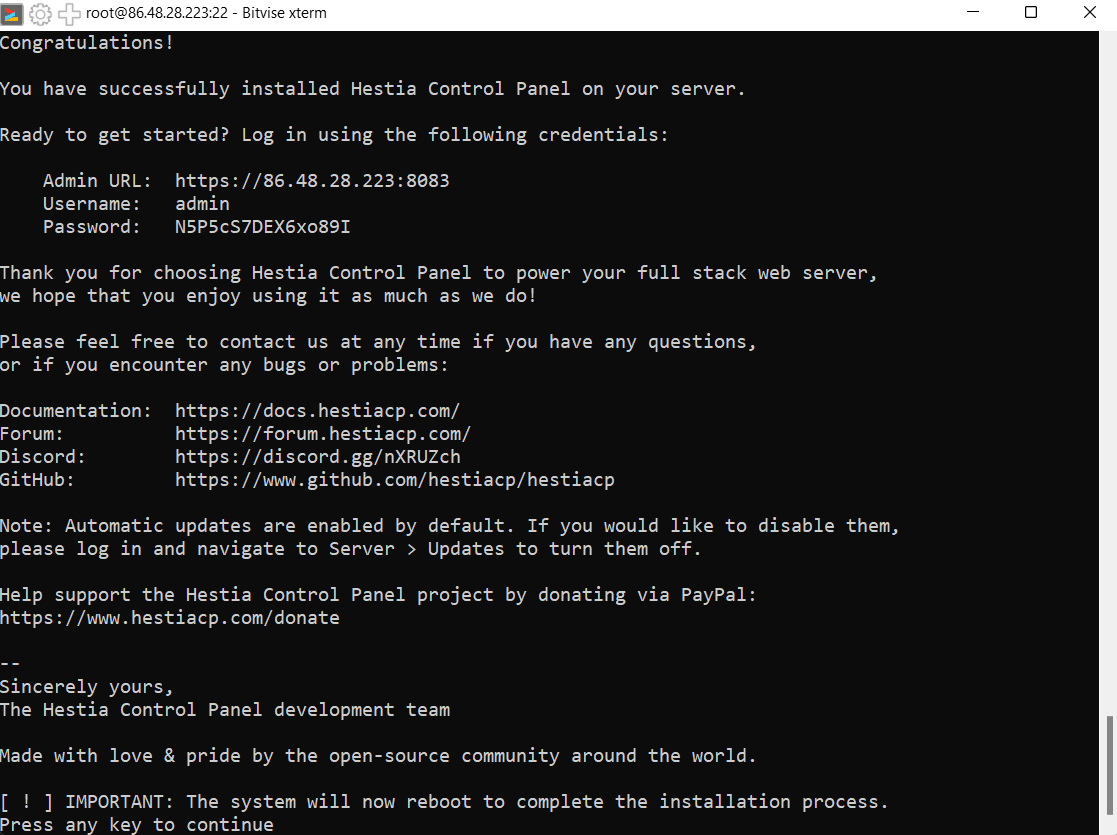
Once the installation is finished, a message will appear like the image below. Be sure to copy your admin password.
Then press any key to reboot your server.
Step 4. Access Hestia Control Panel
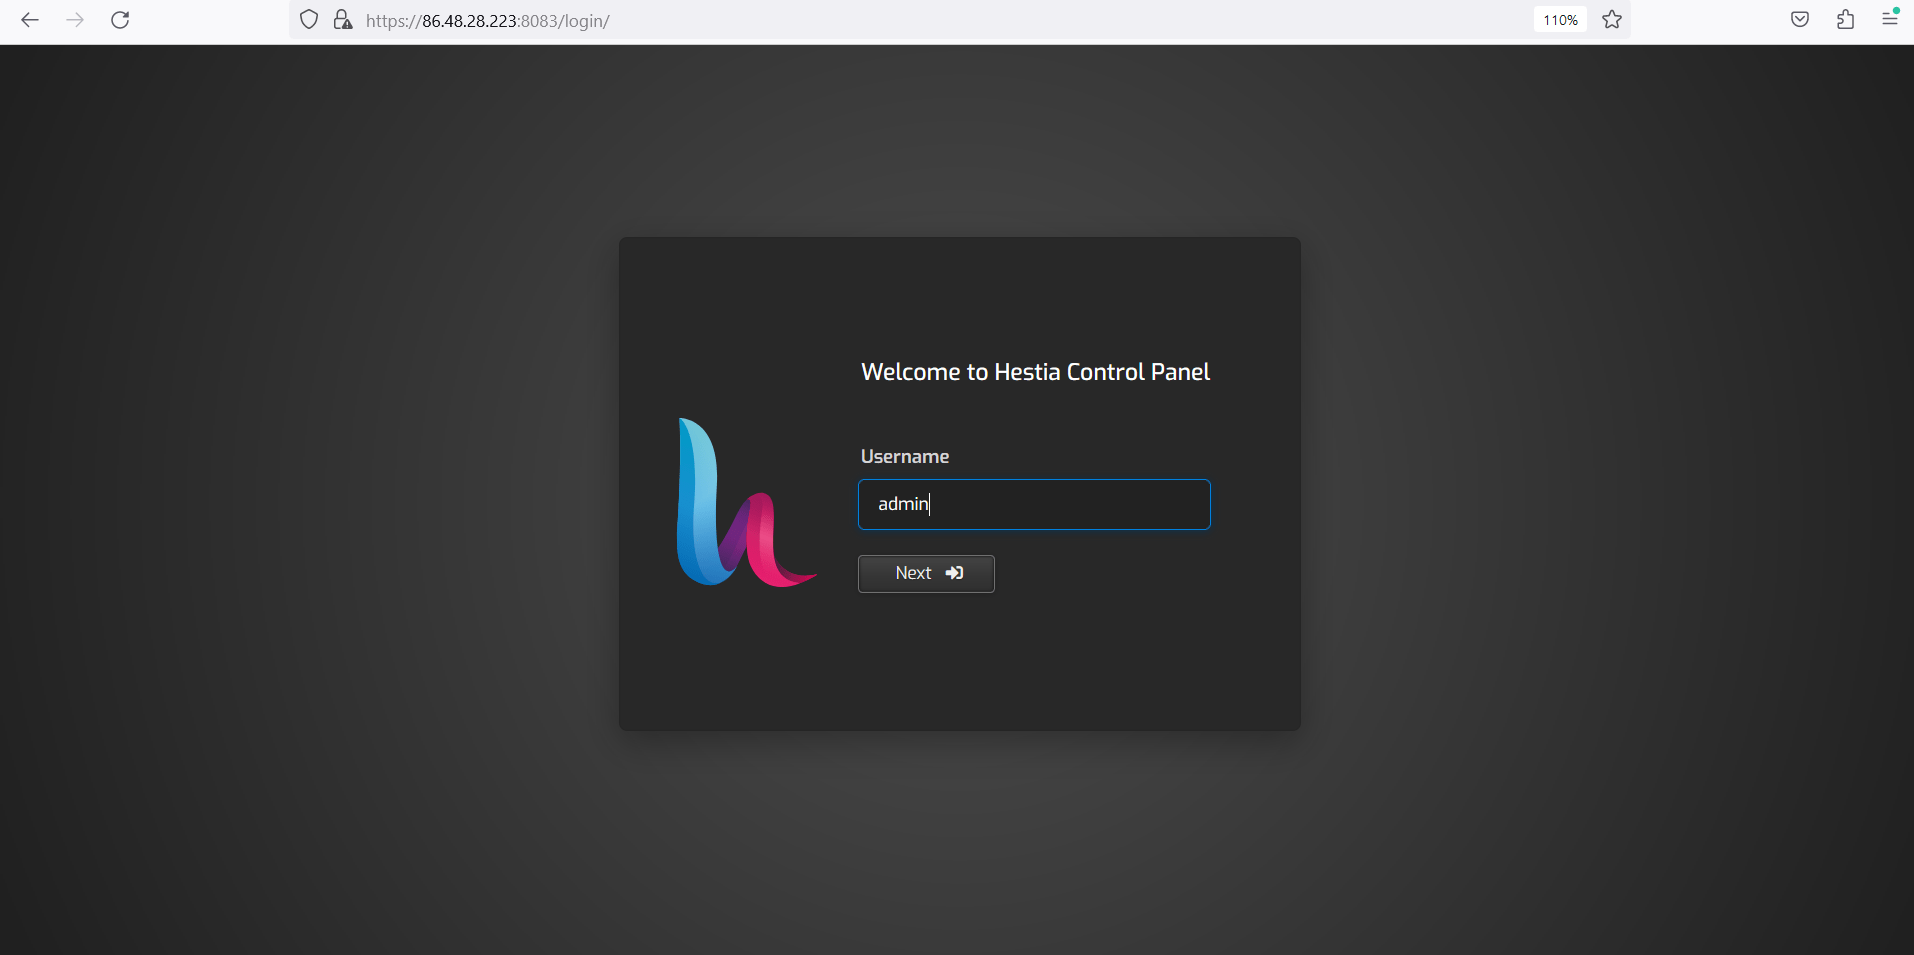
Access your Hestia Control Panel using: <IPAddress>:8083
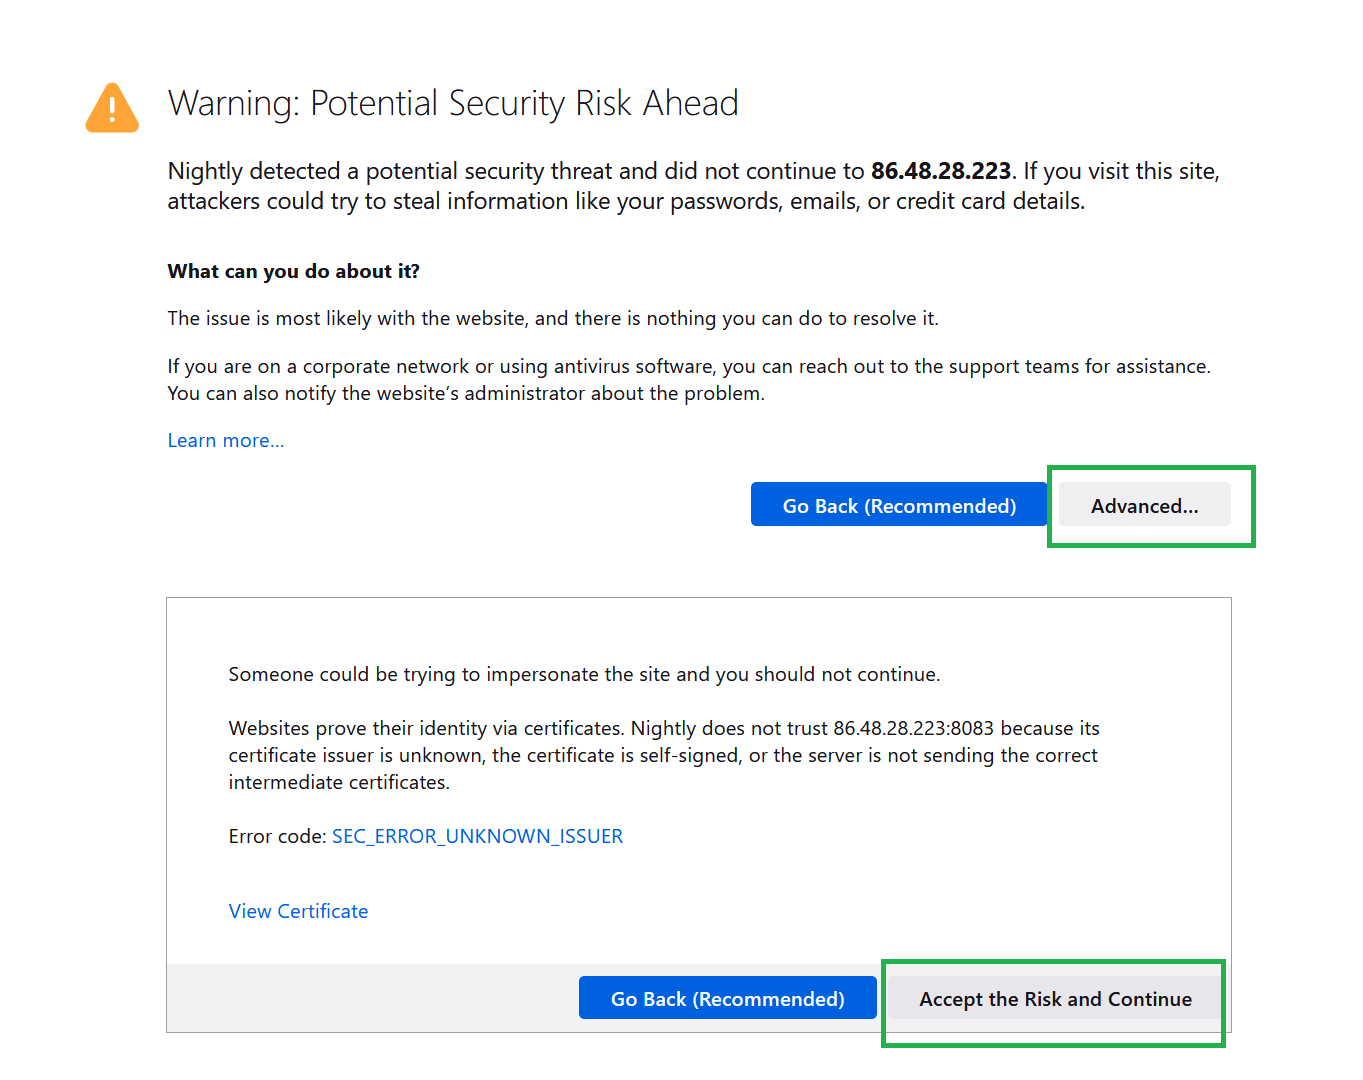
A warning message will appear in your browser. I’m using FireFox Nightly. Just click Advanced > Accept the Risk and Continue.
Enter Admin username.
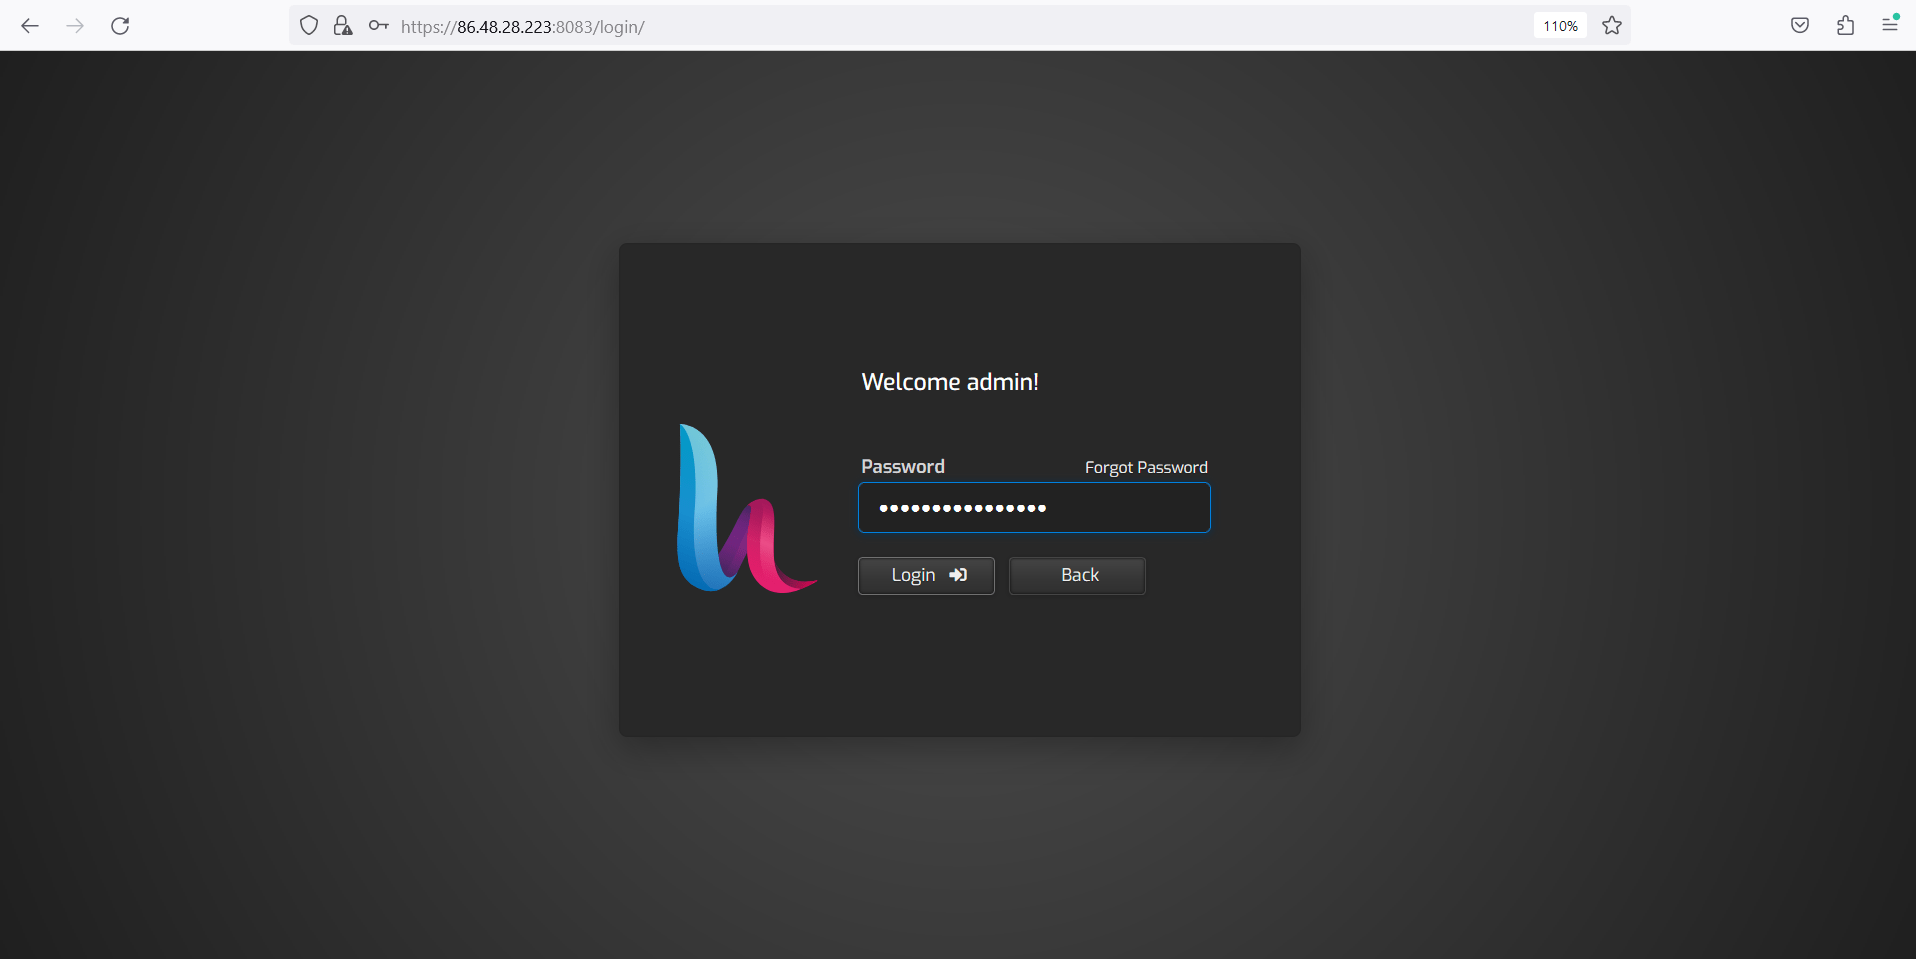
Enter Admin password.
Welcome to your Hestia Control Panel dashboard.

What to do next?
Now that you have the control panel up and running, there are a few important steps you should take to get the most out of it and ensure your VPS is fully optimized.
1. Secure your server – Before you start configuring your server and website, it’s crucial to secure your VPS by installing a firewall, setting up fail2ban, and enabling automatic security updates.
2. Create a website – With Hestia Control Panel, creating a website is a breeze. Simply go to the “Web” tab and select “Add Web Domain. Follow the prompts to set up your website, including selecting your domain name and setting up SSL.
Check out this tutorial on how you can install a WordPress website on Hestia Control Panel.
3. Configure Email – Just like CyberPanel, Hestia Control Panel has email feature.
4. Set up backups – Regular backups are crucial to protect your data in case of a server failure or data loss. Hestia Control Panel makes it easy to set up automatic backups, so be sure to configure this feature.
5. Monitor server performance – Finally, keep an eye on your server’s performance to ensure it’s running smoothly. Hestia Control Panel includes a range of monitoring tools to help you do this, such as bandwidth usage, CPU and memory usage, and more.
Just go to Server (Gear Icon on upper right corner) > Task Monitor.
Conclusion
Hestia Control Panel is a great choice for anyone looking to simplify their VPS management and optimize their server’s performance. By following the steps outlined in this blog post, you can get started with Hestia Control Panel and take full advantage of its amazing features.
You can easily install WordPress, Drupal, Laravel, Prestashop, and many more with just one click.
After installing Hestia Control Panel on your Contabo Cloud VPS with Debian 11, it’s important to take a few crucial steps to fully optimize your server. By securing your server, creating a website, installing additional software, setting up backups, and monitoring server performance, you can ensure your VPS is running smoothly and your data is protected.