 In this blog, we will be exploring how to install CyberPanel on Contabo VPS and install WordPress. CyberPanel is a free and open-source web hosting control panel that provides a user-friendly interface for managing your web server.
Combining this with the popular open-source content management system, WordPress can create a robust and scalable web hosting solution for your website.
By following this step-by-step guide, you’ll be able to quickly and easily set up your own web hosting environment on a Contabo VPS.
Let’s go!
How to Install CyberPanel On Contabo Cloud VPS & Install WordPress
Step 1: Prepare your server
Be sure your server meets CyberPanel requirements. In addition, your server should have a clean install of operating system. In this tutorial, we will be running an Ubuntu 20.04 LTS.
CyberPanel requirements:
- Server with a fresh install of Centos 7.x, Centos 8.x, Ubuntu 18.04, Ubuntu 20.04, AlmaLinux 8
- Python 3.x
- 1024MB RAM, or higher
- 10GB Disk Space
Since Contabo VPS meets these requirements, let’s now proceed to step 2.
Step 2: Install CyberPanel
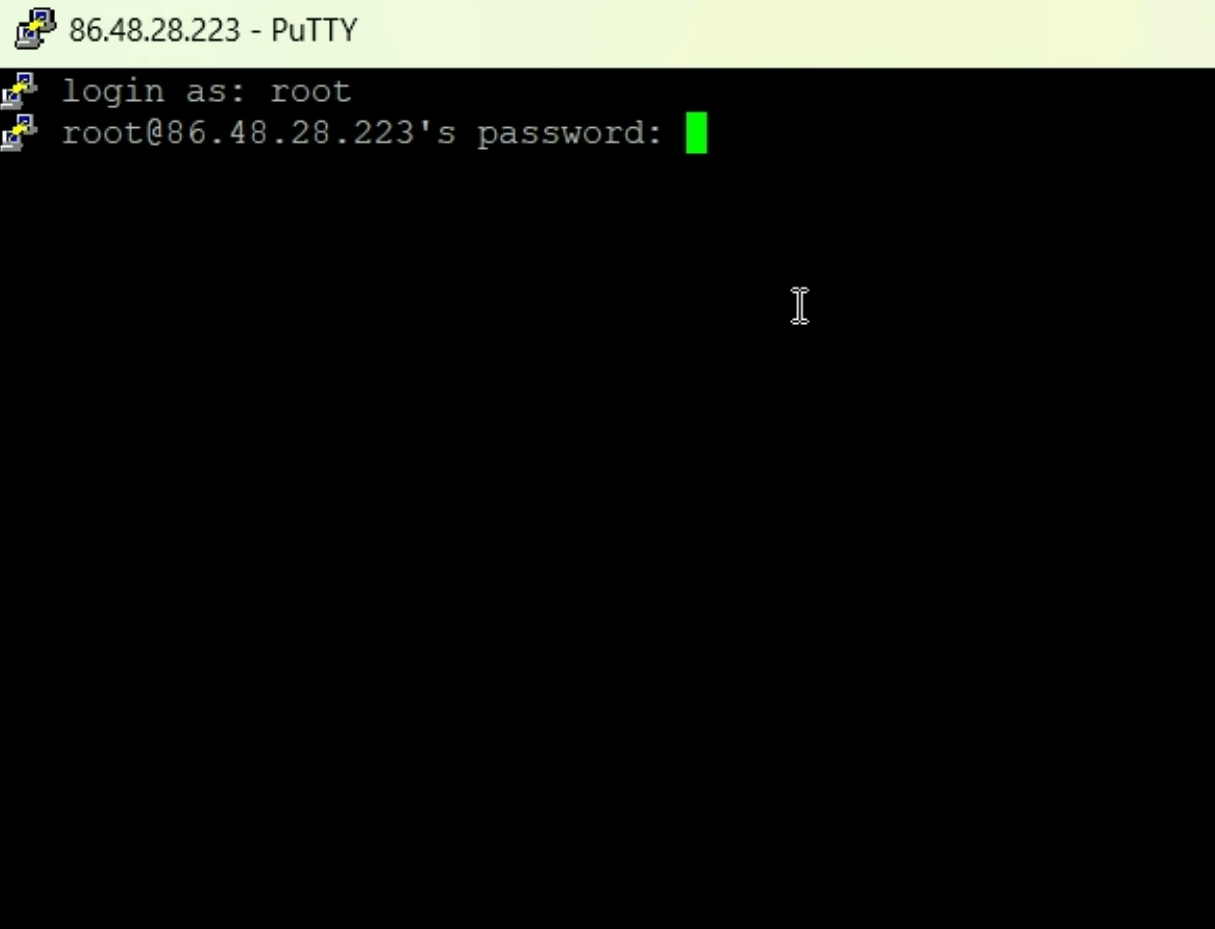
First, we need login to our server via a secure shell (SSH). To do that we’ll need a SSH client software called PuTTY. Download and install PuTTY.
Next, login to your server. Use root when logging in to have full access on your server.
Next, update the packages. Copy and paste the following command into CLI (Command Line Interface).
sudo apt update && sudo apt upgrade -yWait for the process to finish.
After the packages have been updated, run the following installation script:
sh <(curl https://cyberpanel.net/install.sh || wget -O - https://cyberpanel.net/install.sh)Selections:
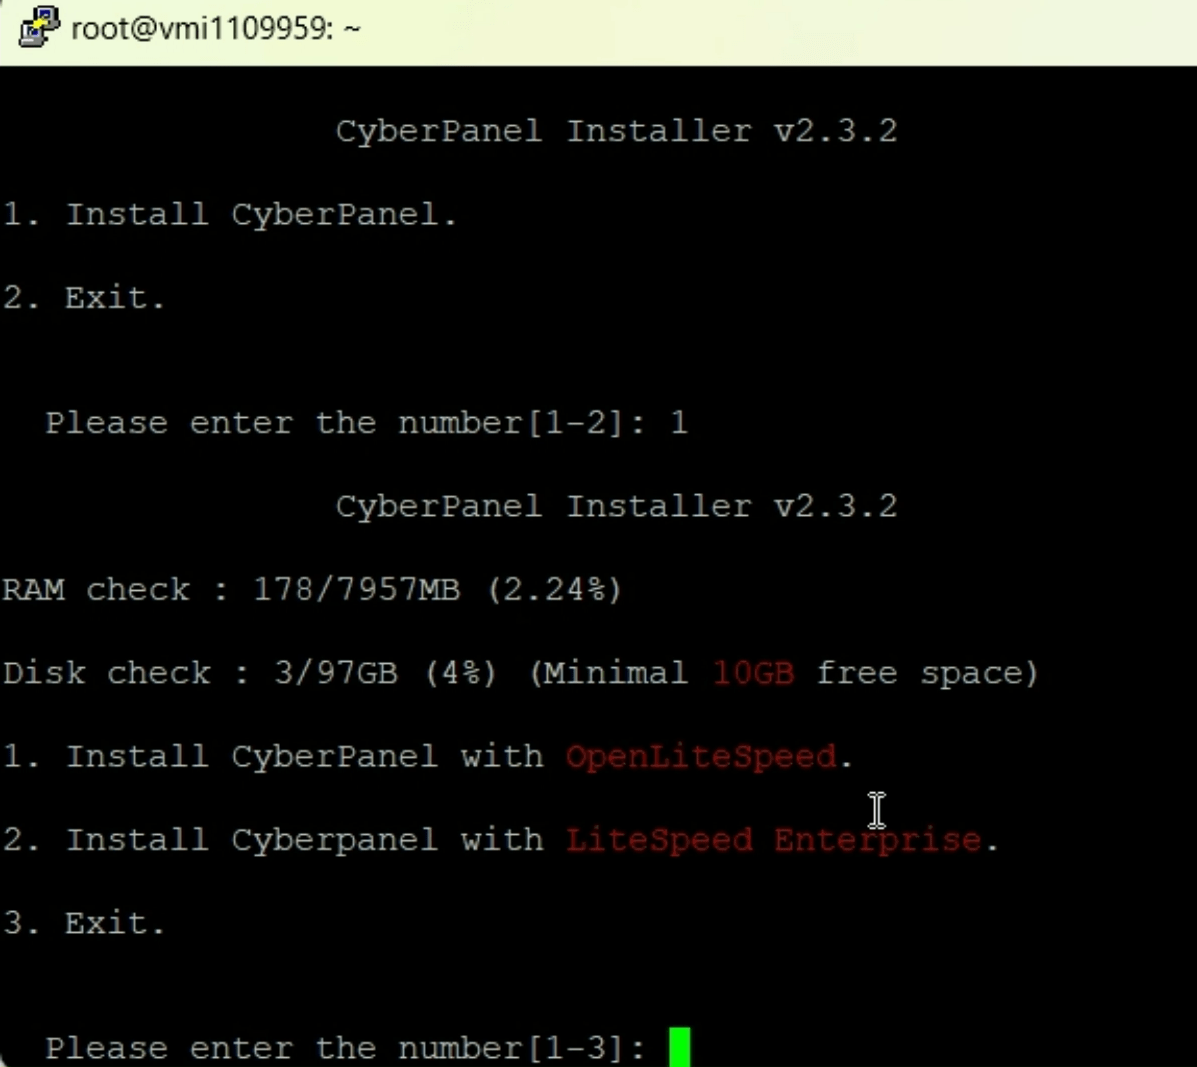
After entering the installation script, you’ll be presented with the following options. These are the options I’ve chosen:
CyberPanel Installer: Choose 1. The choose 1. Install CyberPanel with OpenLiteSpeed
Install Full service for CyberPanel? Choose Y
Do you want to setup remote MySQL? Choose N
Press Enter to install the latest version of CyberPanel.
Please choose default password 1234567, randomly generate on (recommended) or specify the admin password? Choose (d)efault, (r)andom or (s)et password: [d/r/s] Choose R or you can set your own password.
Do you wish to install Memcached process and its PHP extension? Choose Y
Do you wish to install Redis process and its PHP extension? Choose Y
Do you like to setup Watchdog (beta) for Web service and Database service? Choose Y
After selecting the options presented, you need to wait 10-15 minutes to finish the installation.
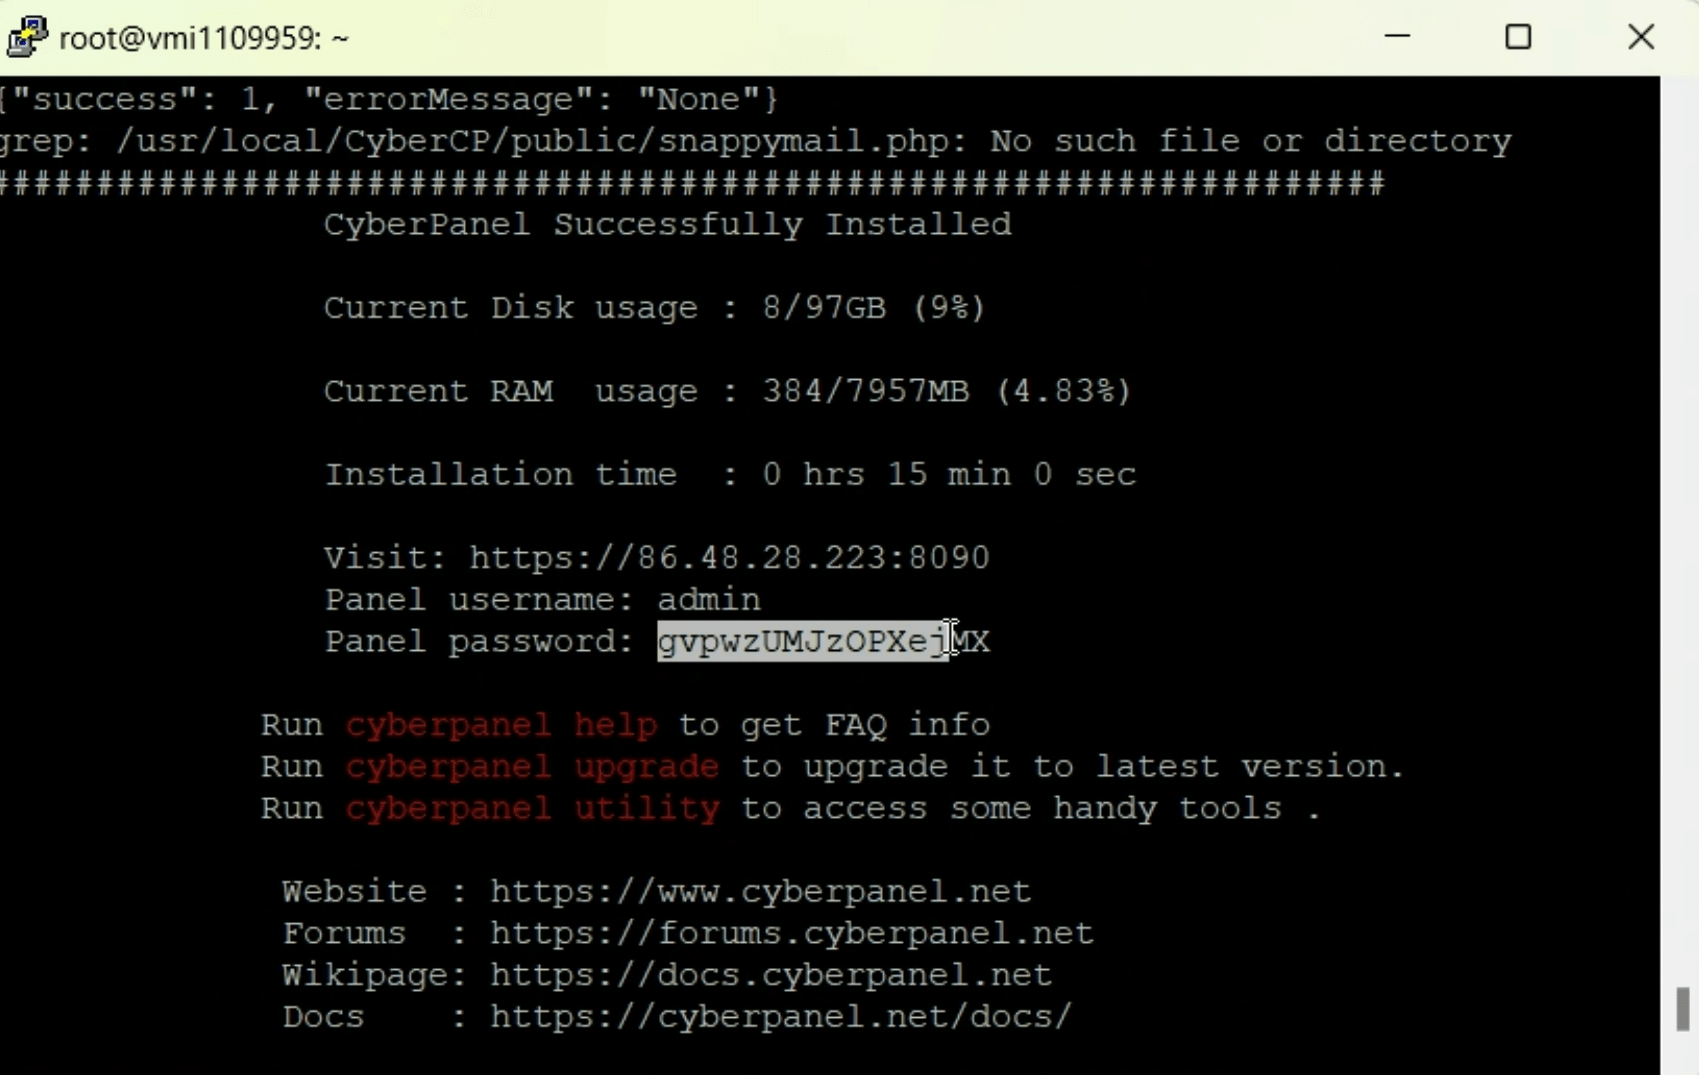
After installing CyberPanel, you’ll be presented with a random generated password. Be sure to copy and paste it and store securely in your drive. If you have created your own password, be sure you’ve memorized it.
Finally, restart your server. Just press Y.
Step 3. Access CyberPanel
Now we’ve successfully installed CyberPanel, we’ll access it through a browser. Enter your IP address followed by 8090 port: example: IPAddress:8090
I’ll be using FireFox to access CyberPanel.
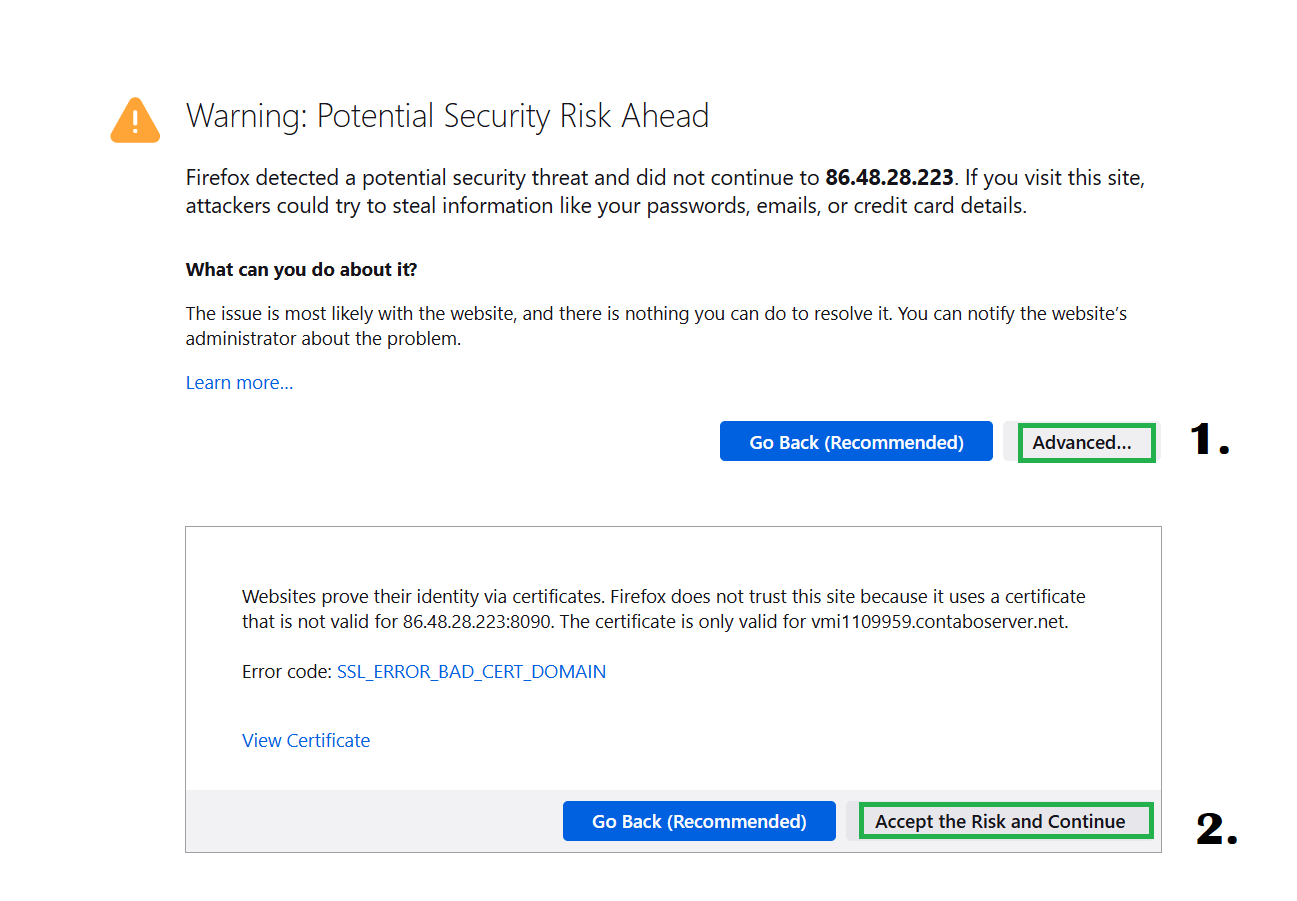
You’ll be shown a Security Prompt. Don’t worry, since it’s your server, rest assured it is safe to access it. Just click Advanced and Accept the Risk and Continue.
Step 4. Install WordPress
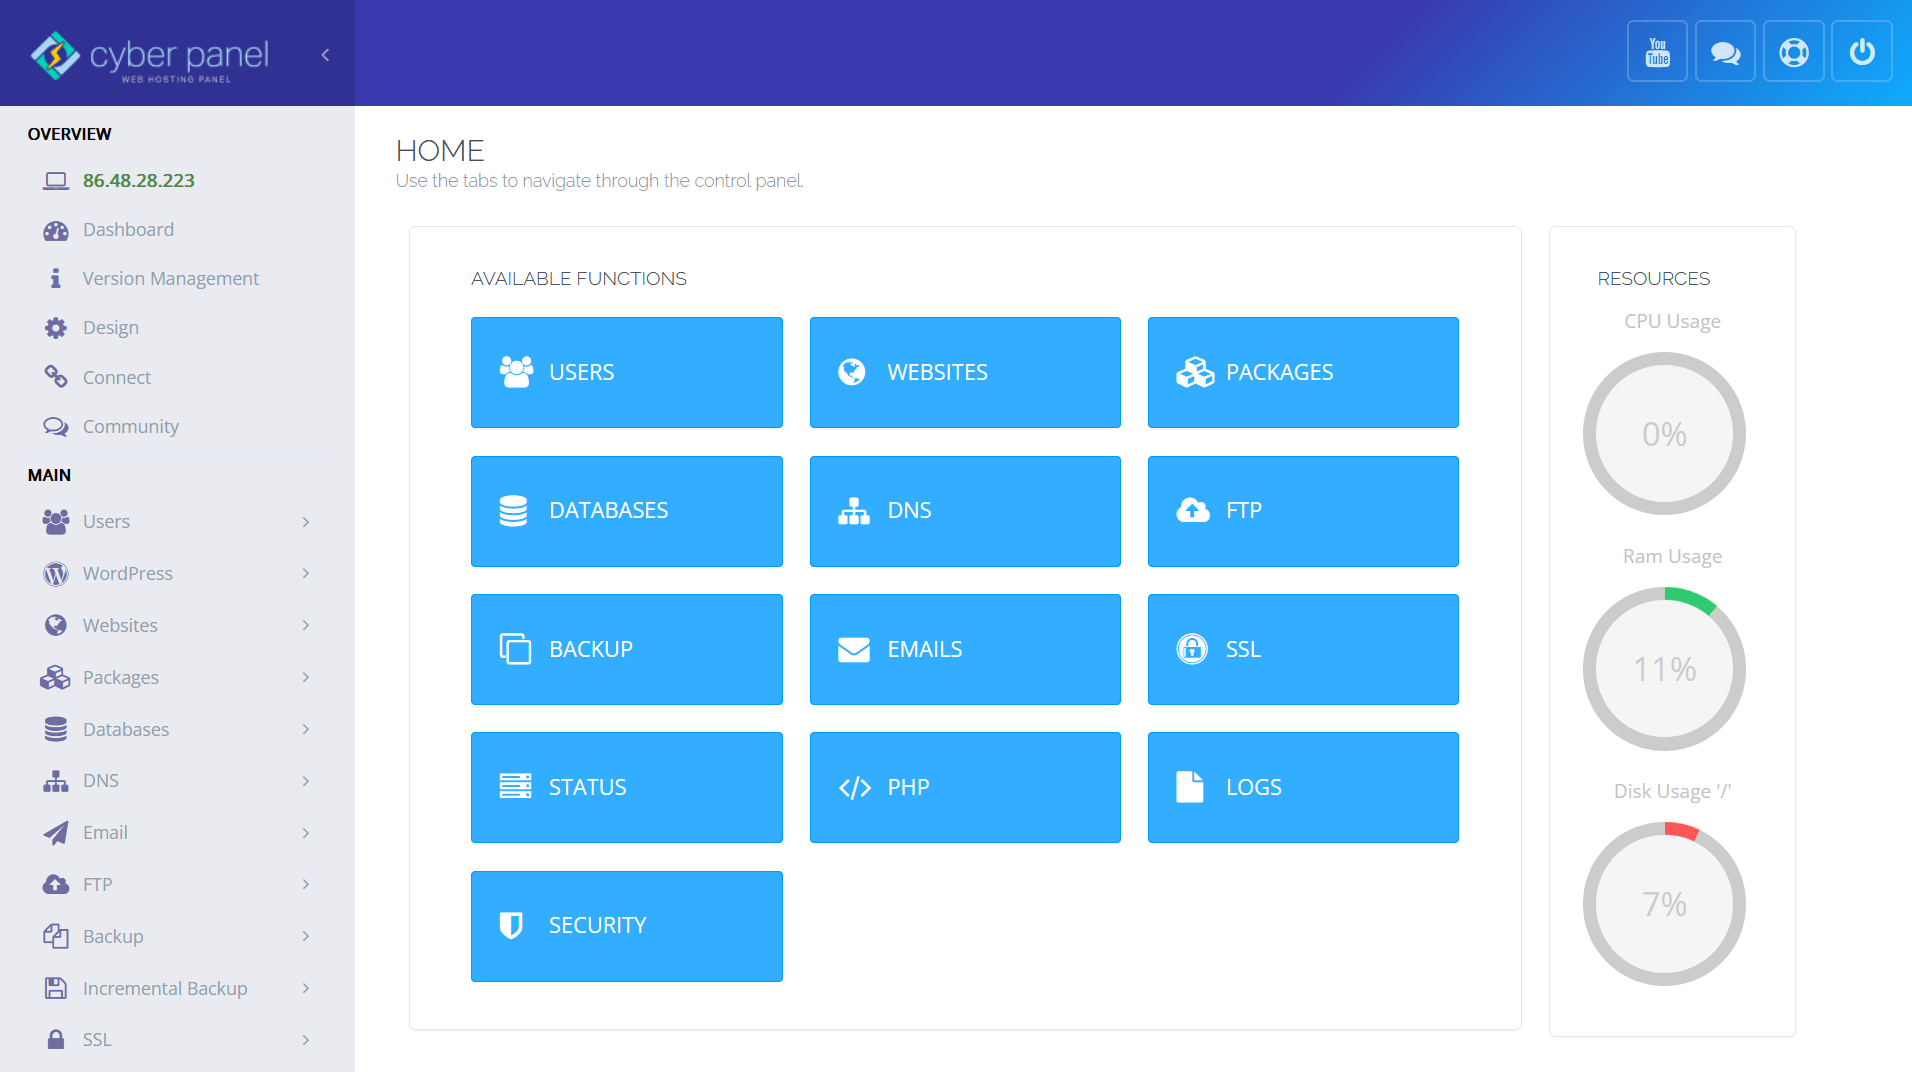
Now we’ve accessed the CyberPanel interface, it’s time to install WordPress.
We’ll be using a free approach to installing WordPress. So we’ll just choose Websites in the Menu instead of WordPress (Paid).
First, we need to create a website and then install WordPress afterward.
Step 4.2 Fill in Website Details
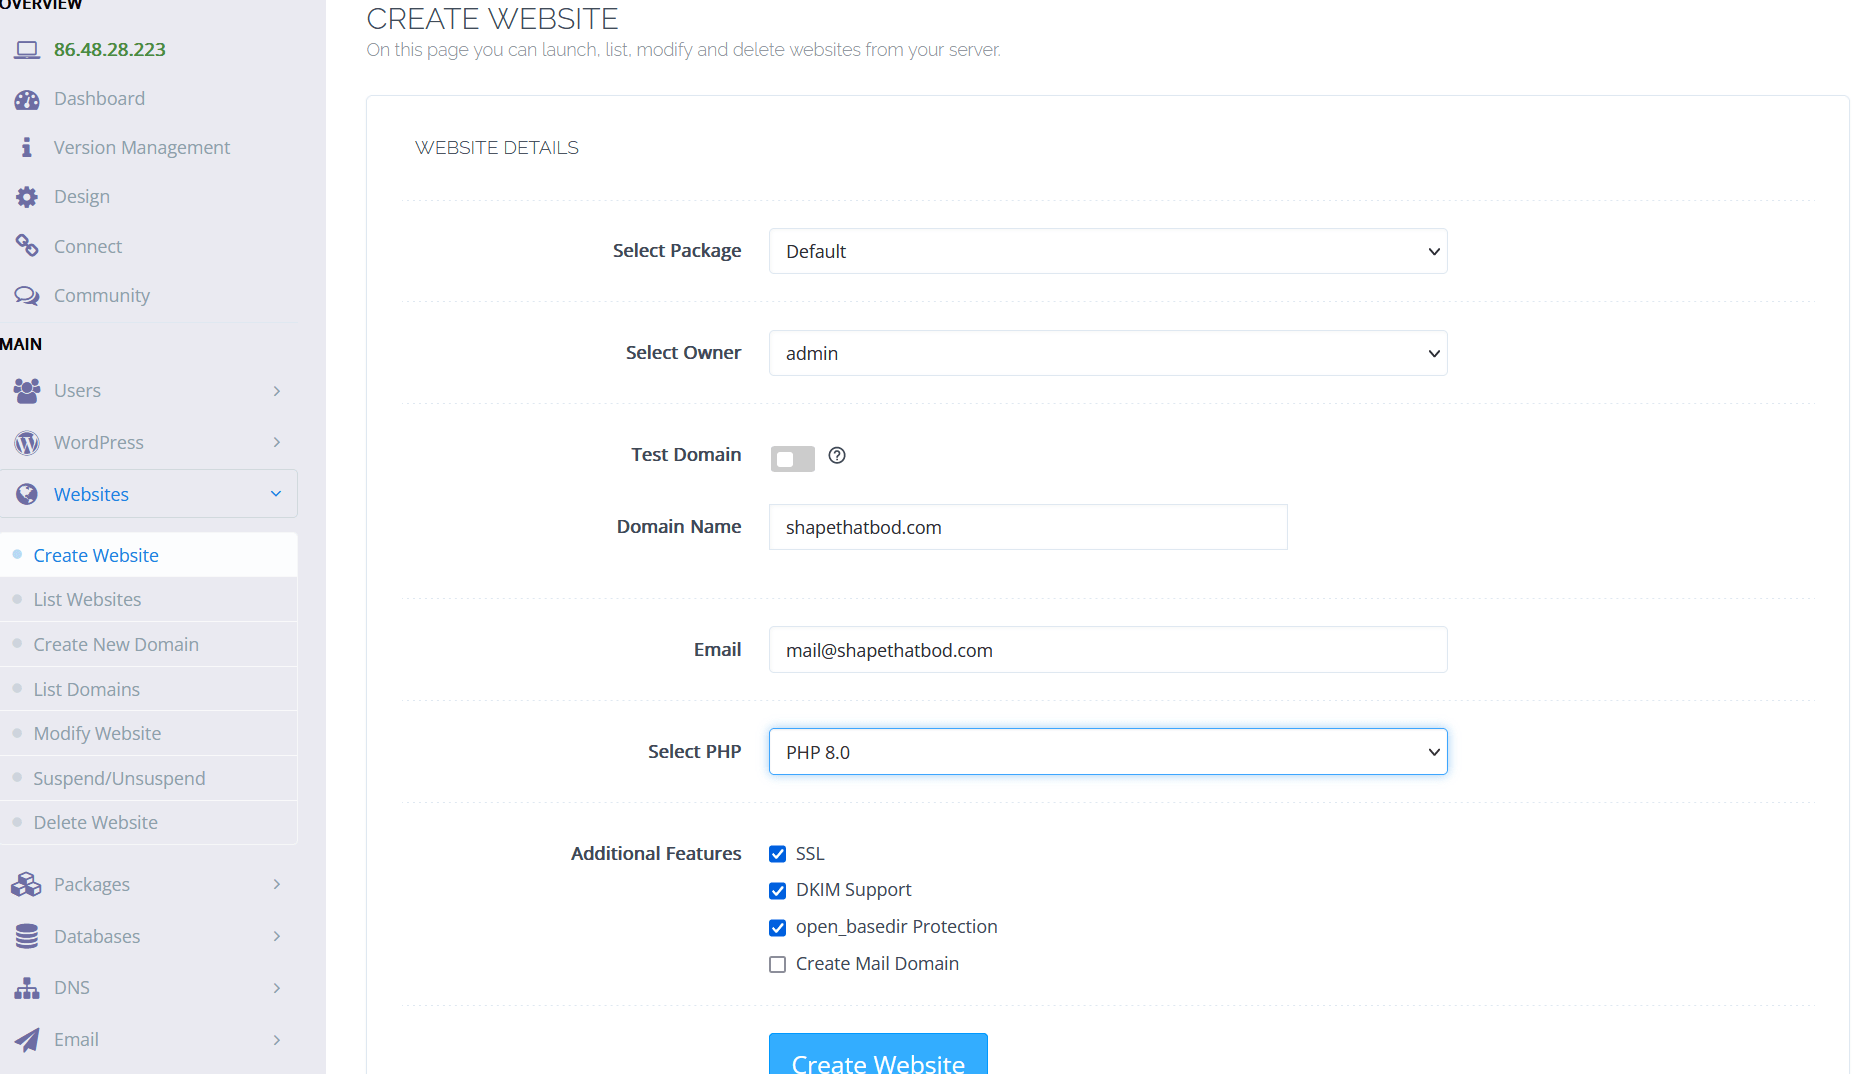
Select Package: Choose Default
Select Owner: Choose admin or if you create another user, use that instead
Toggle off Test Domain (It’s paid service)
Domain Name: Enter your domain name (You should have a domain at this point)
Email: Enter your email address
Select PHP: Choose PHP 8.0
Additional Feature: Choose SSL, DKIM Support, and open_basedir Protection
Step 4.3 Install WordPress in File Manager
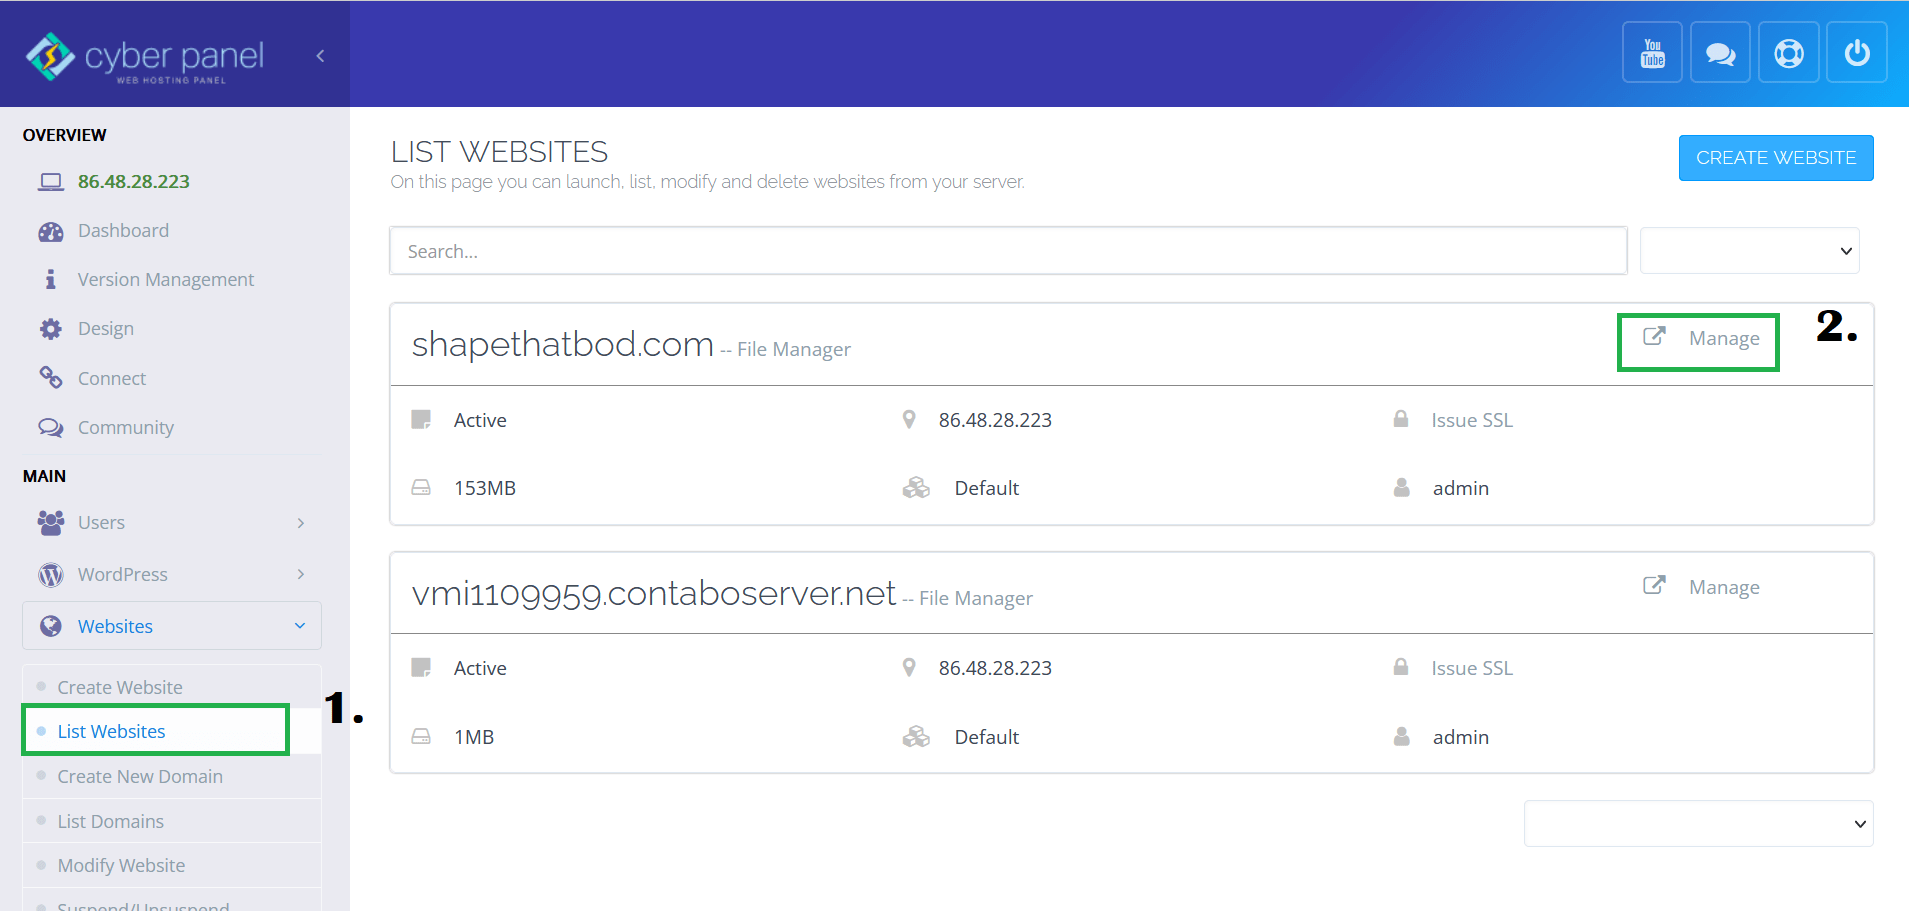
Next, we’ll install the WordPress app found in File Manager. Go to Websites > List Websites > Go to your domain and click Manage
Then scroll down and look for WP+LSCache.
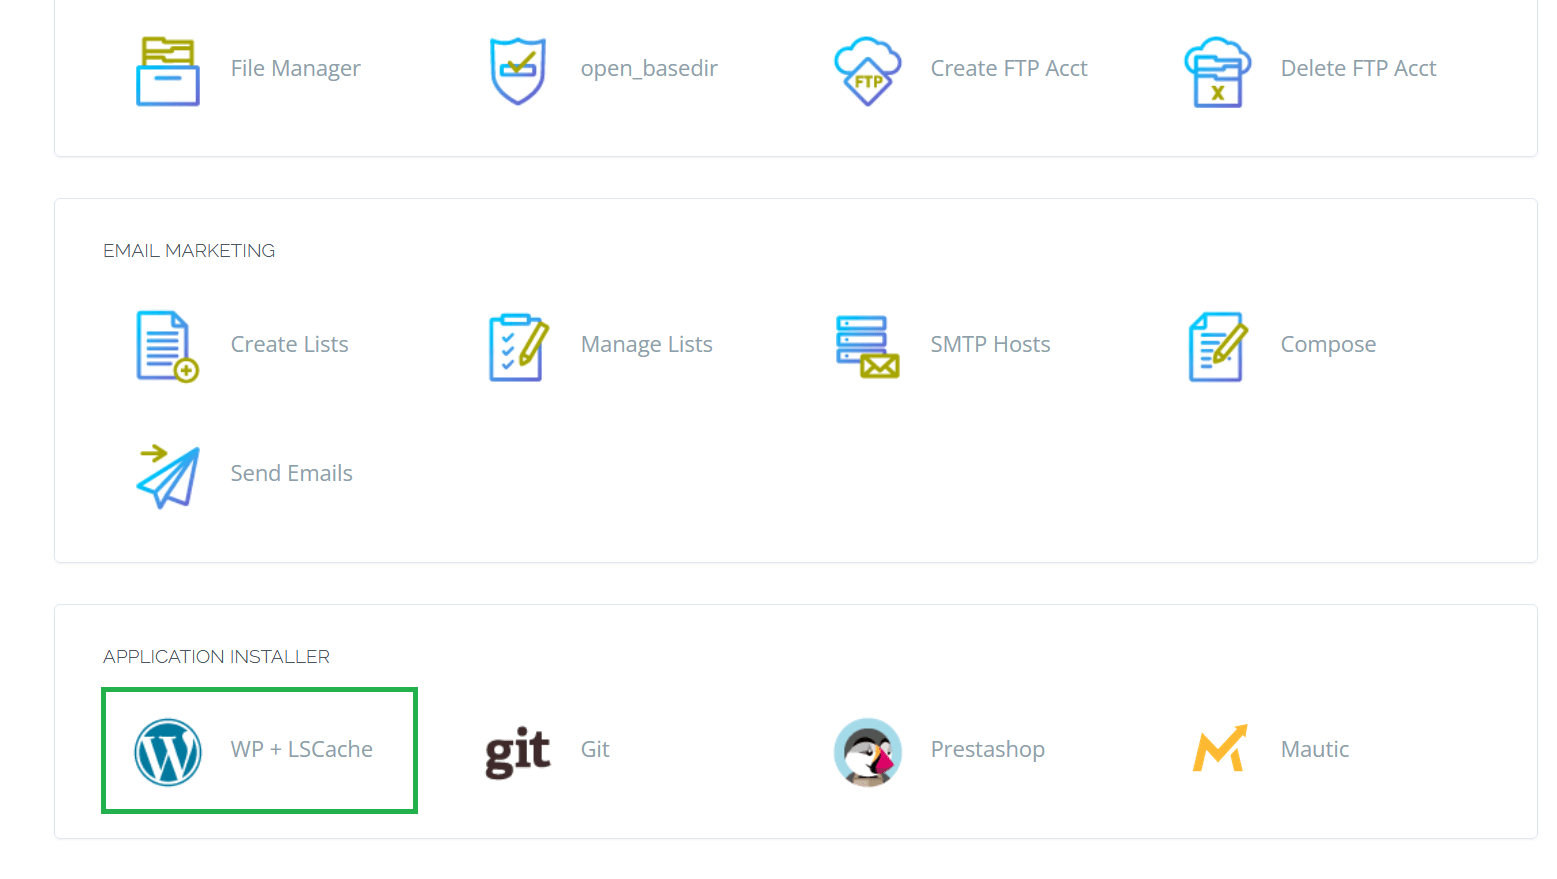
Then fill in installation details and click install.
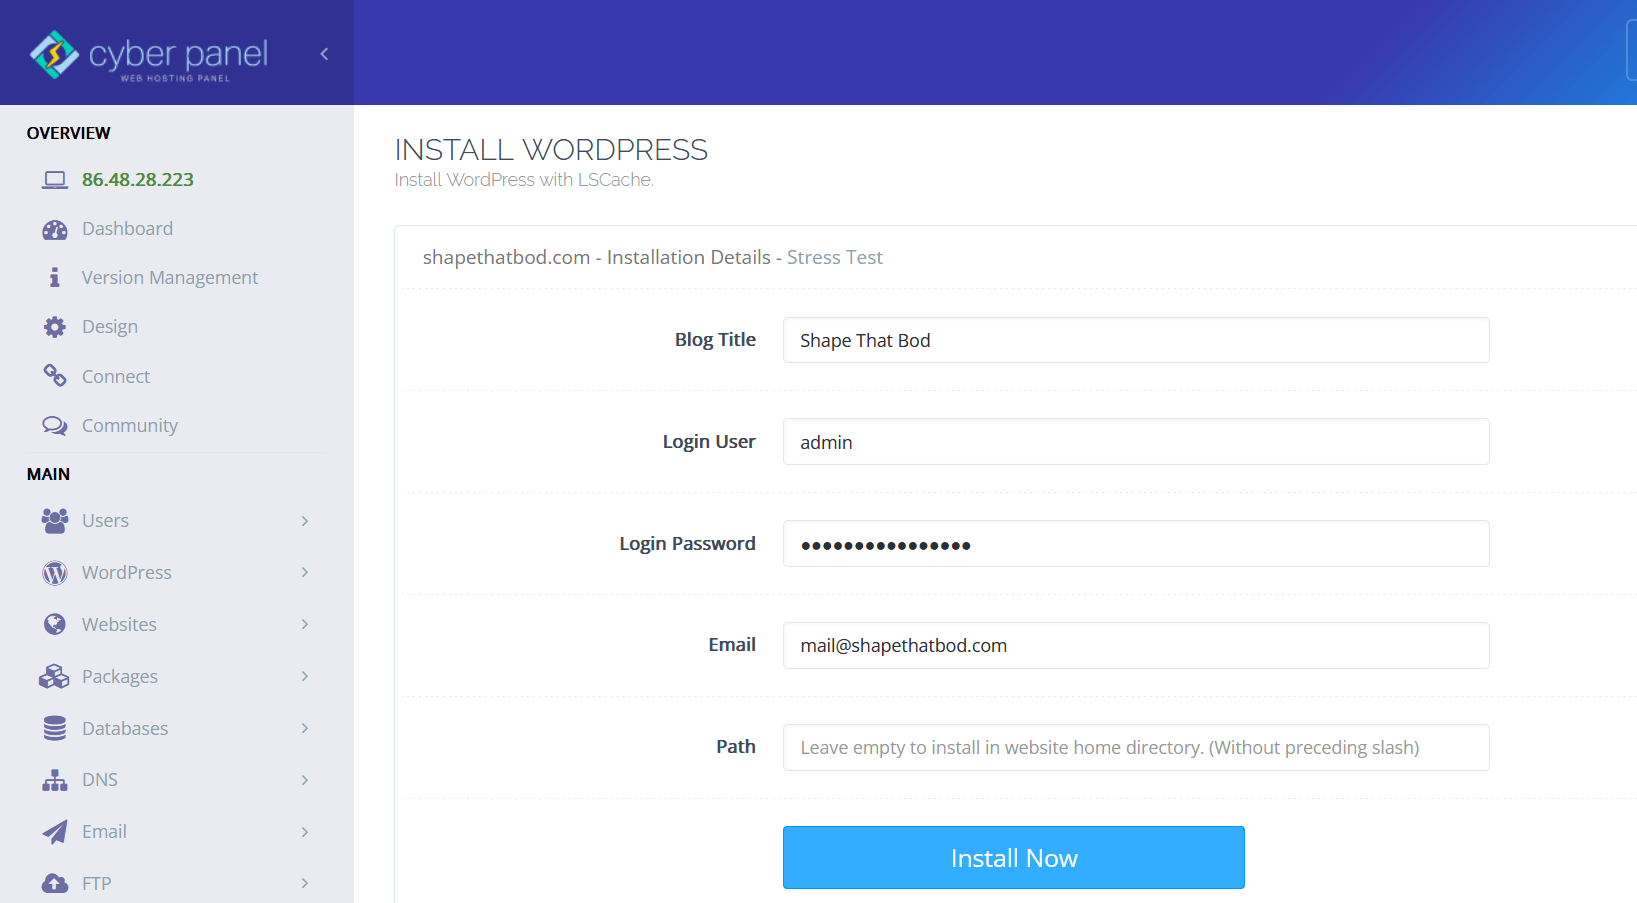
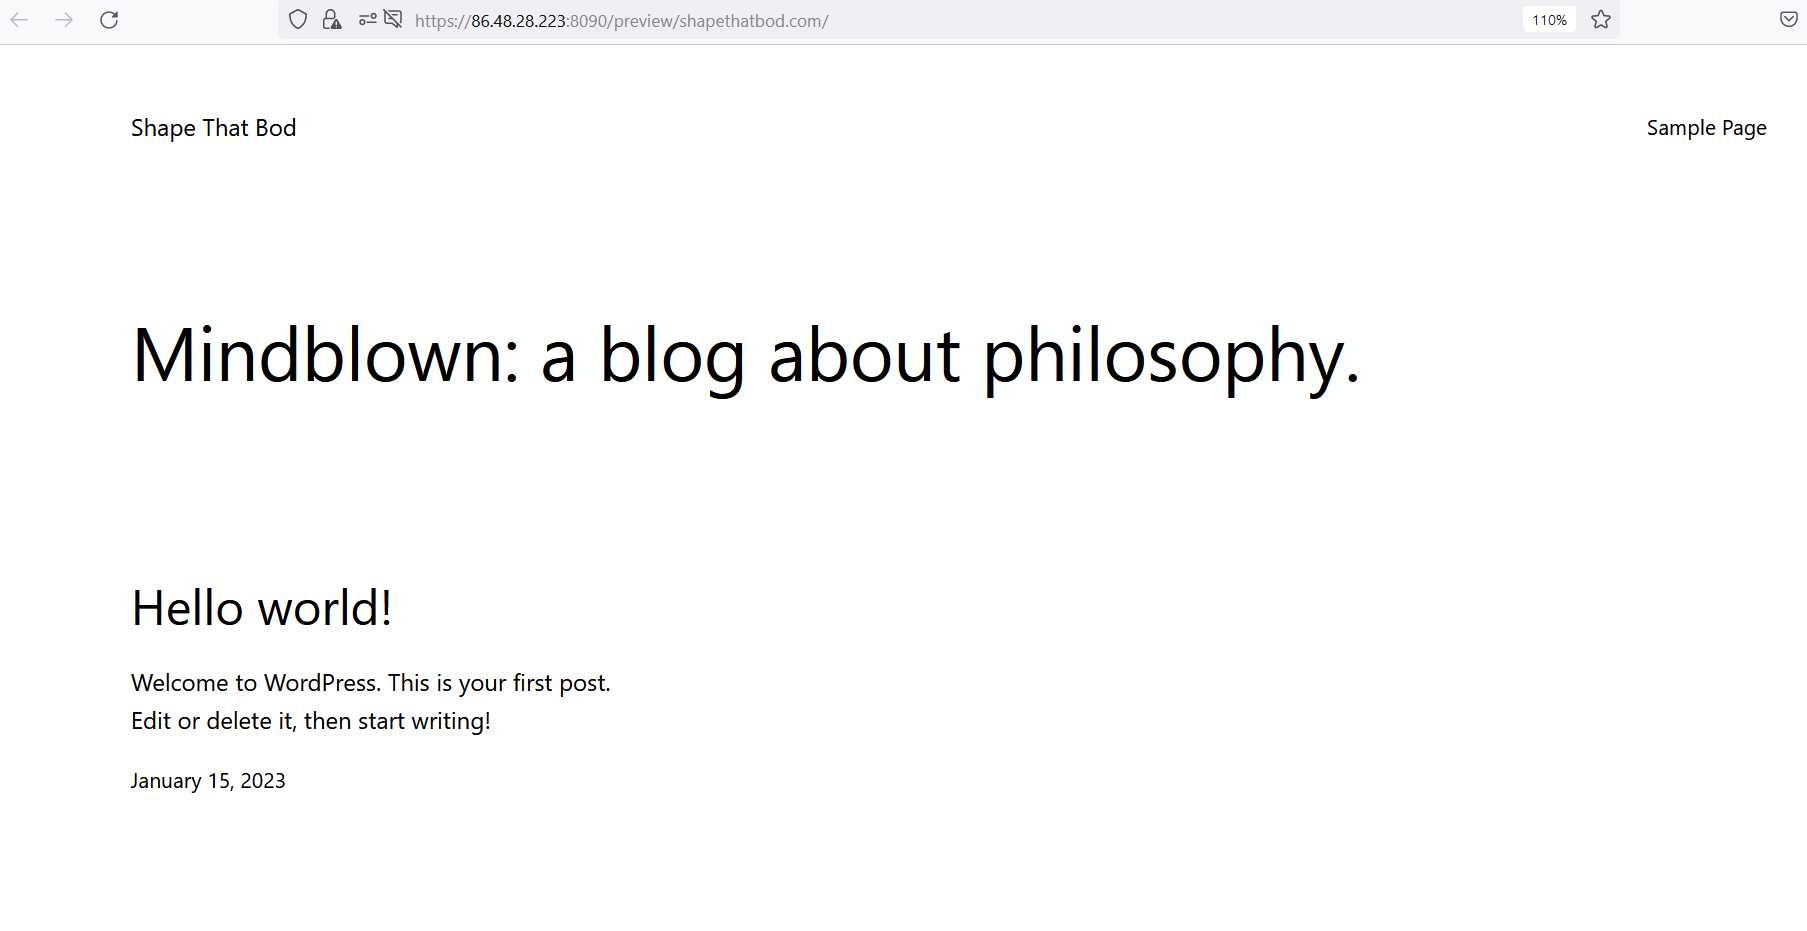
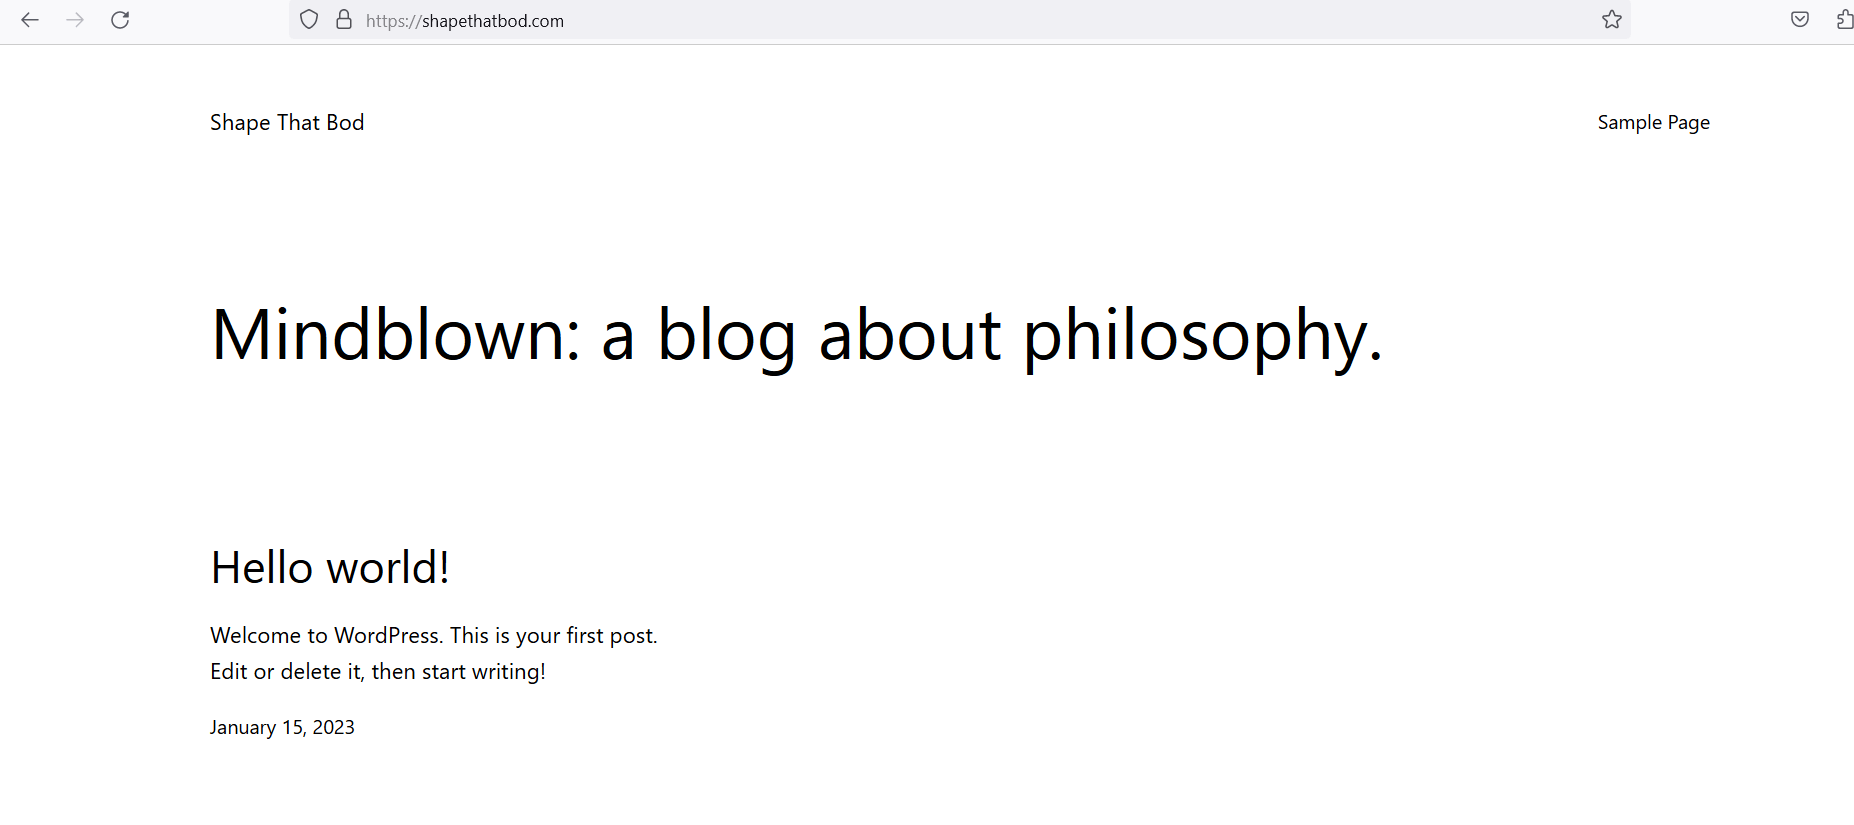
Go to Websites > List Website > Preview to check if you’ve successfully installed WordPress.

- We’ve successfully installed WordPress.
Step 5. Point Your Domain to Your CyberPanel IP Address
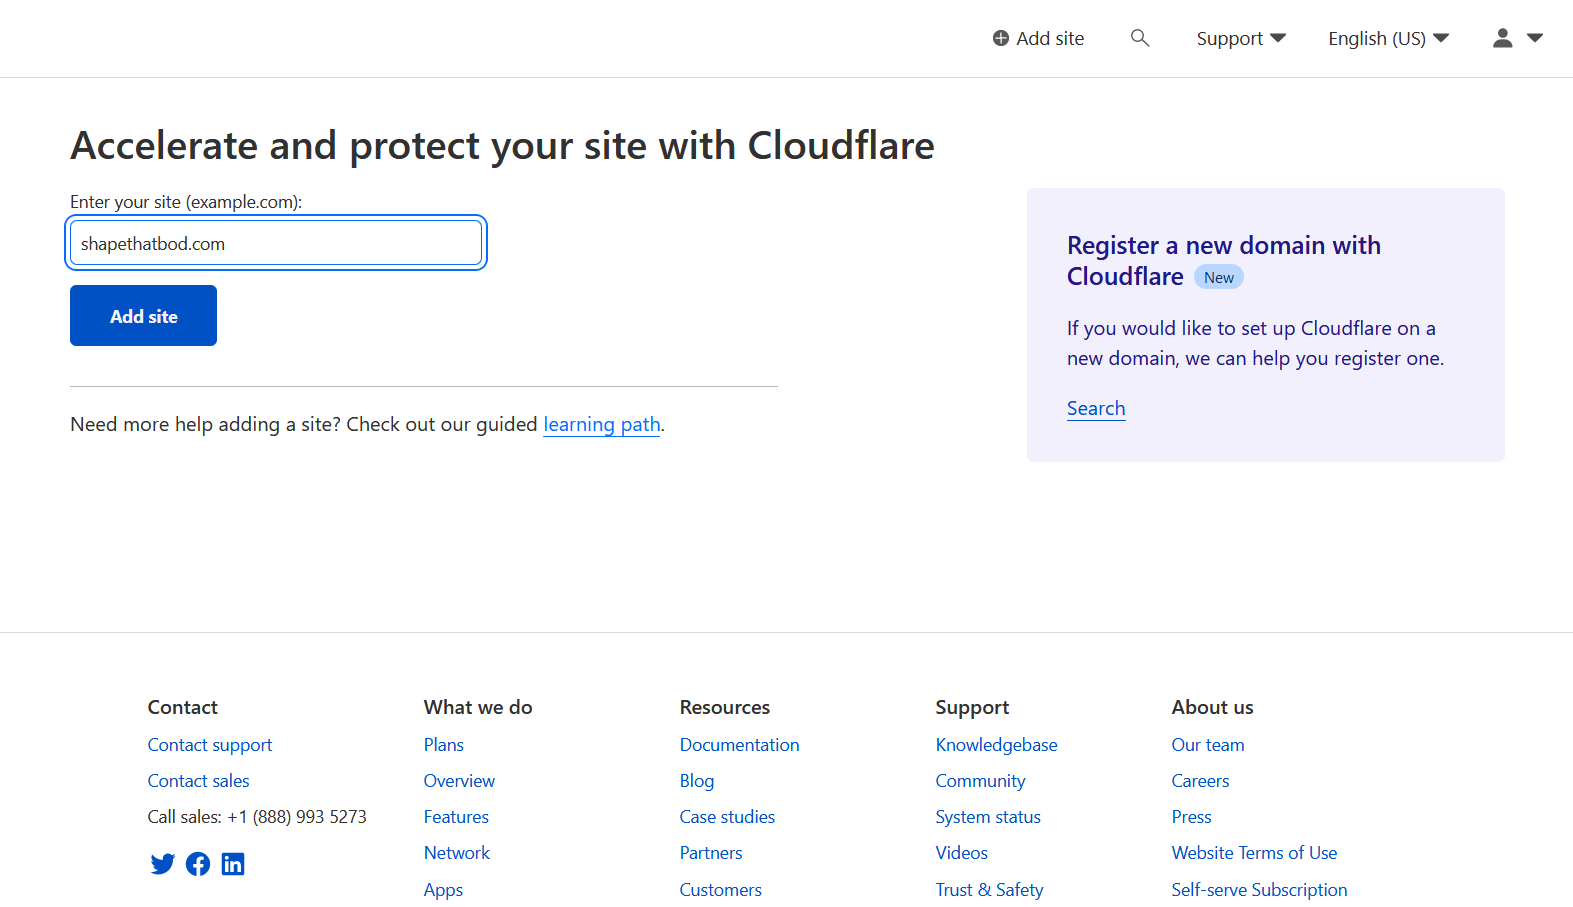
So finally, we’ll just need to point your domain to your host to make it accessible. To do that, we’ll use a free Cloudflare account.
Go to Cloudflare and select Add website. Then scroll down and choose Free plan.
Replace the IP address to your server’s IP address. Then click continue and save.
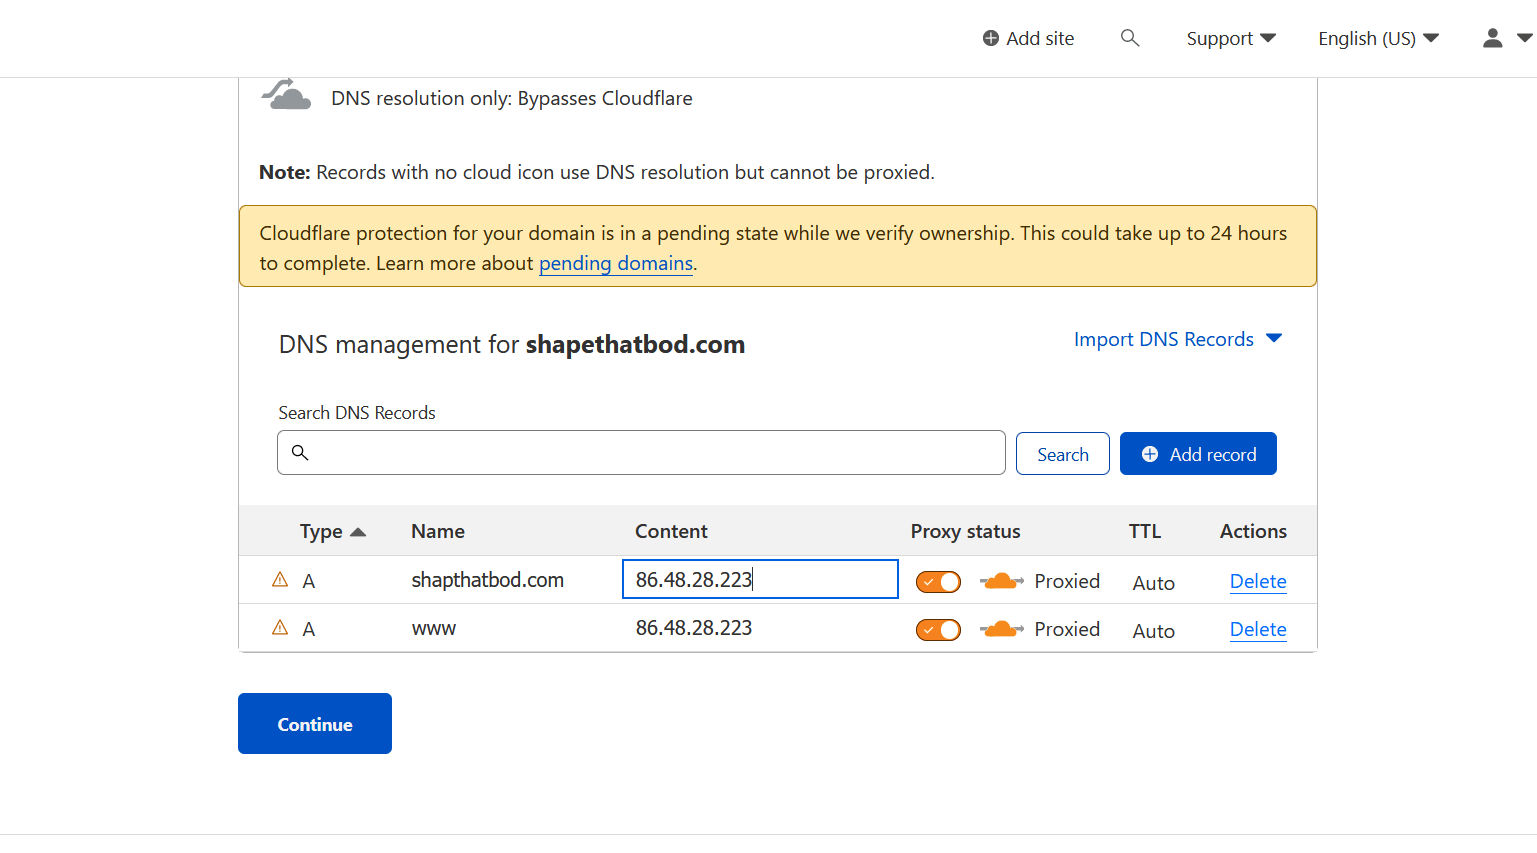 Add the Cloudflare’s nameservers to your domain.
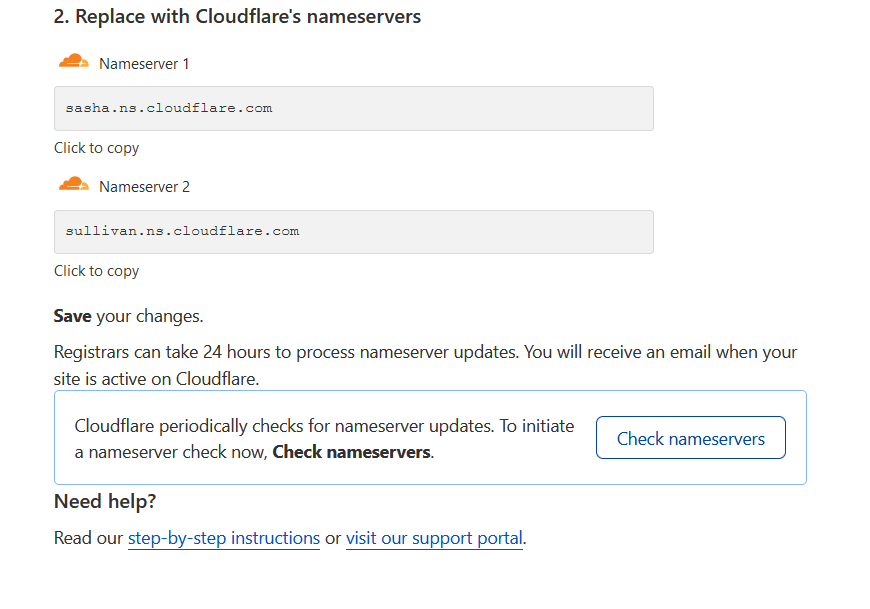
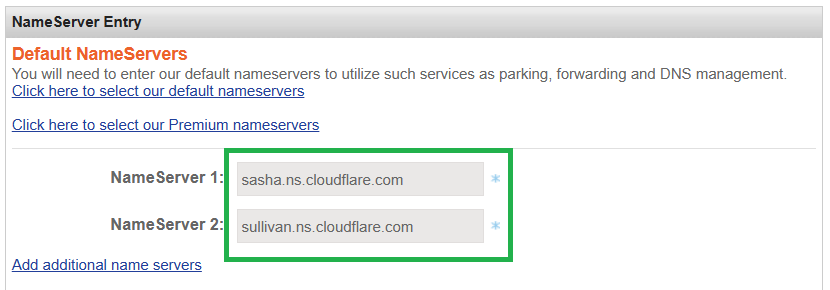
Go to your domain registrar and change your domain nameserver to Cloudflare’s nameserver.
Wait for 24 hours for the DNS to fully propagate. Once it propagates, you can access your website through your domain.
What’s the Difference Between OpenLiteSpeed and LiteSpeed Enterprise?
OpenLiteSpeed and LiteSpeed Enterprise are both web server software products developed by LiteSpeed Technologies.
Cost: OpenLiteSpeed is an open-source, free web server software, while LiteSpeed Enterprise is a commercial, paid product. However, you can use the free starter license of LiteSpeed Enterprise restricted to a single domain and a maximum of 2GB RAM.
Features: LiteSpeed Enterprise includes additional features and capabilities not found in OpenLiteSpeed, such as advanced load balancing, optimized PHP processing, and server-level caching.
Support: LiteSpeed Enterprise provides commercial support and regular software updates, while OpenLiteSpeed relies on community support.
Performance: LiteSpeed Enterprise is designed for high-performance, high-traffic websites and is optimized for speed and efficiency. OpenLiteSpeed is also fast, but may not be able to handle the same level of traffic as LiteSpeed Enterprise.
Conclusion
In conclusion, installing CyberPanel and WordPress on a Contabo VPS running Ubuntu 20.04 is a straightforward process that can greatly enhance the functionality and performance of your web server.
With the powerful control panel provided by CyberPanel and the user-friendly interface of WordPress, you now have a robust and scalable web hosting solution at your disposal.
By following the steps outlined in this guide, you can quickly and easily set up your own web server and start building and managing your website with ease. Whether you’re a seasoned web developer or just starting out, CyberPanel and WordPress offer a powerful and flexible platform for creating and hosting your website.
Really Helpful for me. Please make an video about solution of email services .