How to Configure FTP in CyberPanel? In this blog, I’ll guide you through the process of configuring FTP in CyberPanel step-by-step, with a complete fix for Response: 530 Login authentication failed problem.
Say goodbye to frustrating FTP configuration problems and hello to a more efficient website management experience!
Let’s start the configuration!
How to Configure FTP in CyberPanel Properly
Basically, you need to have your website installed to create a new FTP account in CyberPanel. In this tutorial, we are using CyberPanel hosted on Contabo Cloud VPS running Ubuntu 22.04 LTS.
Step 1: Login to Your CyberPanel
Login as a user with administrative privileges or a user with Website Management or FTP Management access.
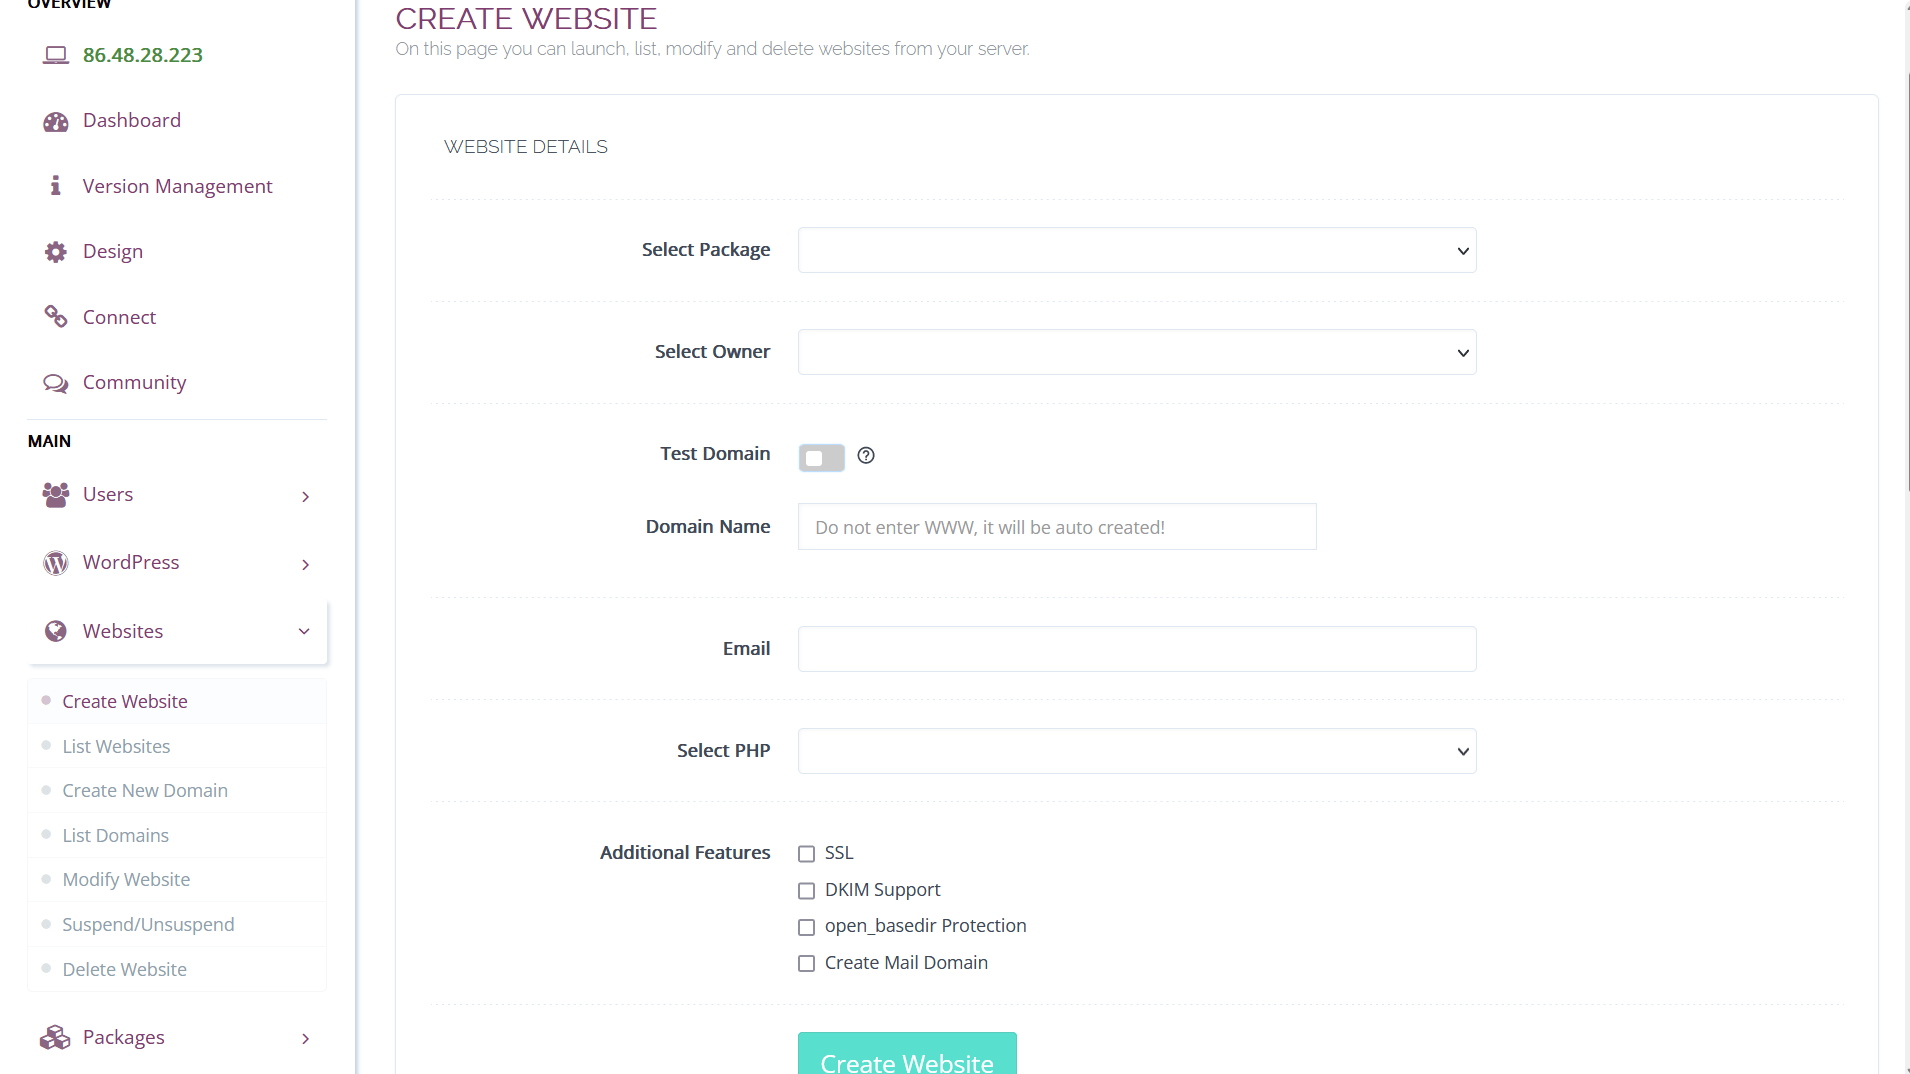
Step 2: Create a Website
Create a website first so we can create an FTP account. If you don’t know how to create a website yet on CyberPanel, check out this guide.
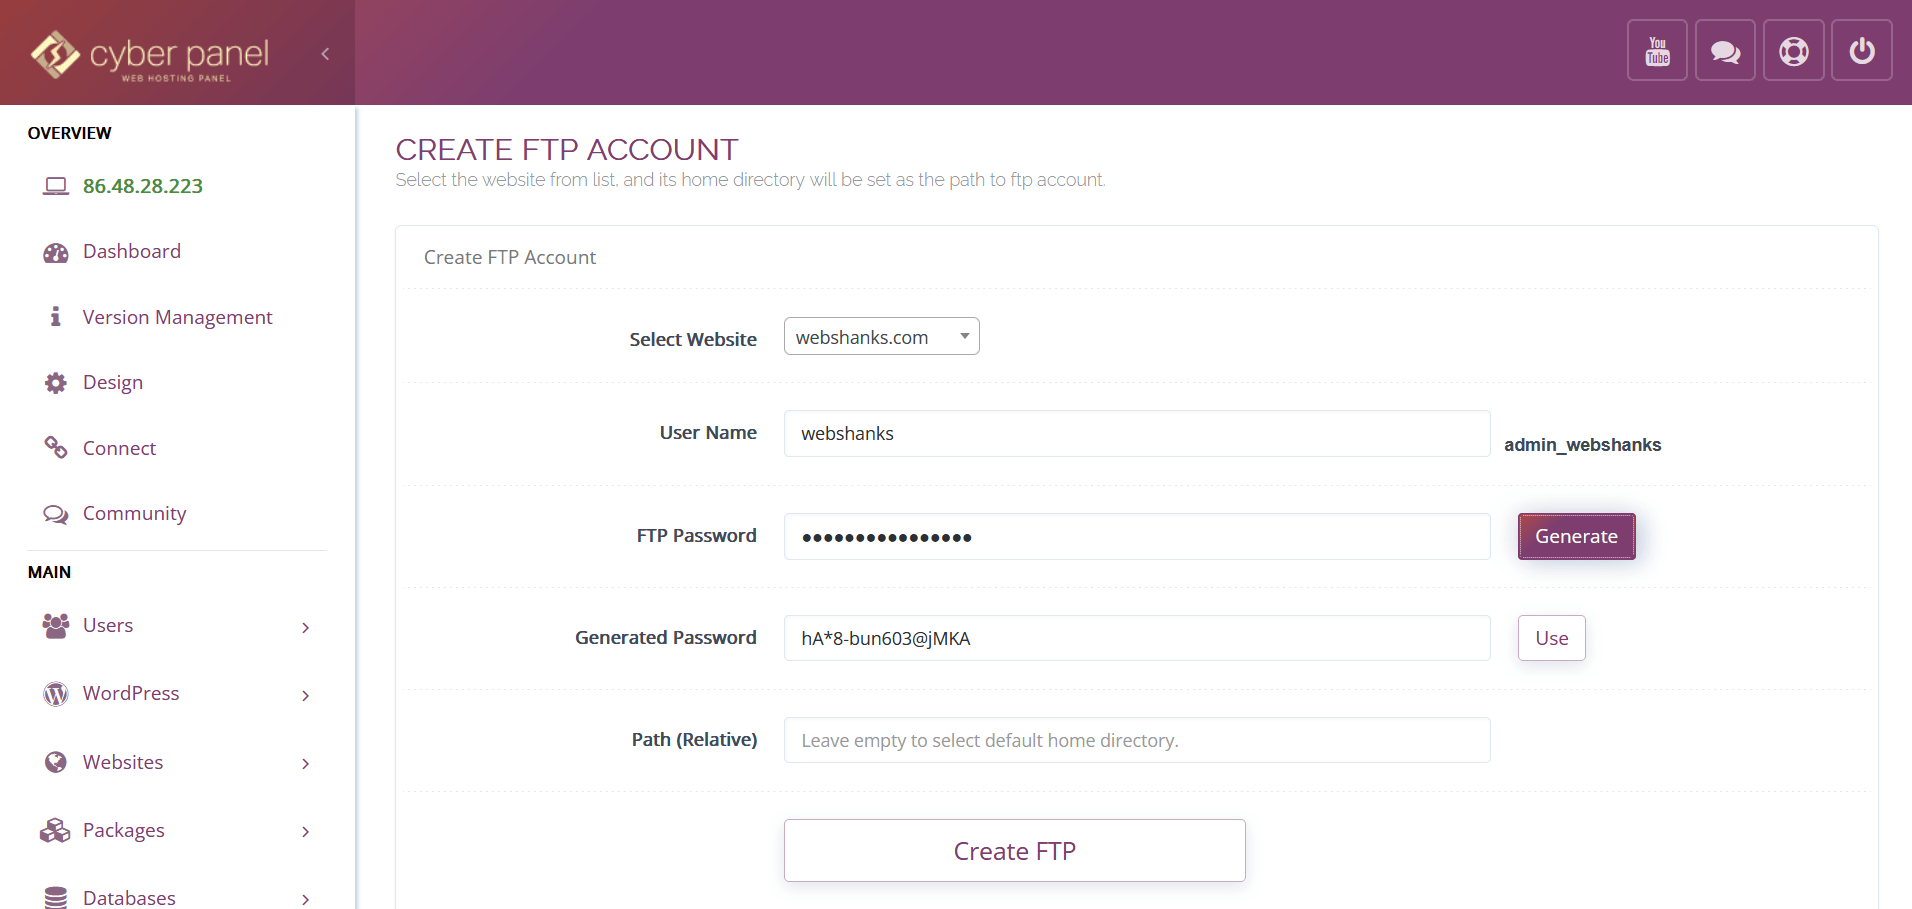
Step 3: Create an FTP Account
Next we’ll create an FTP account. On the left side menu go to FTP > Create FTP. Fill in the required fields and click Create FTP.
Step 4: Login to Your Server Via SSH
Login as root. Here we are using a PuTTy to access our server hosted on Contabo.

Once you are logged in to your server via SSH, write the following command and press enter:
nano /usr/local/CyberCP/plogical/ftpUtilities.py file
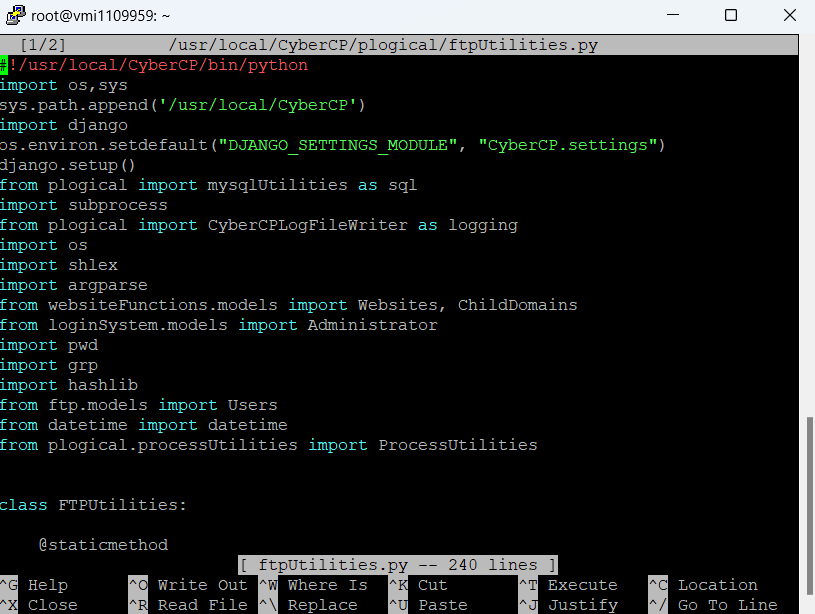
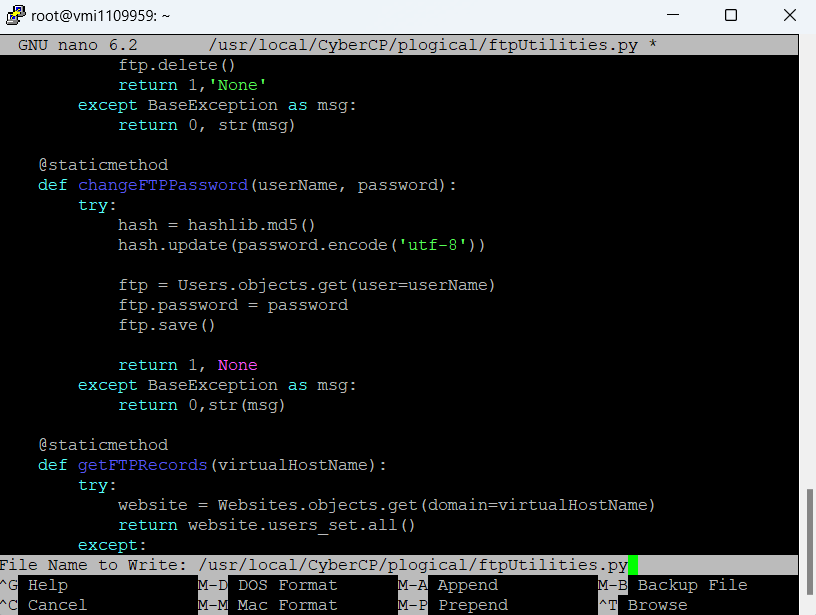
Find ftp.password = hash.hexdigest() and replace it with ftp.password = password. To do that click CTRL + W (For Windows).
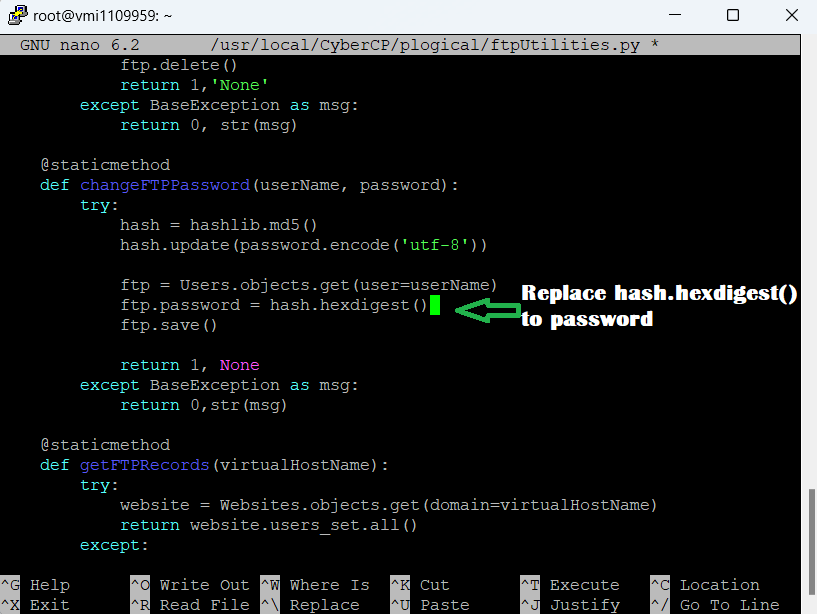
After replacing click CTRL + X to exit. Then choose Y to save changes and hit Enter.
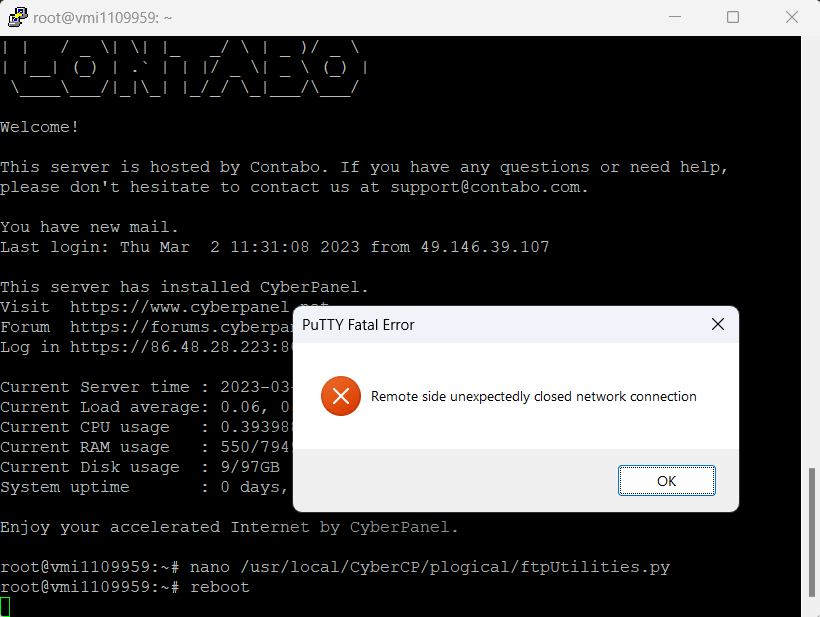
Then reboot your server.
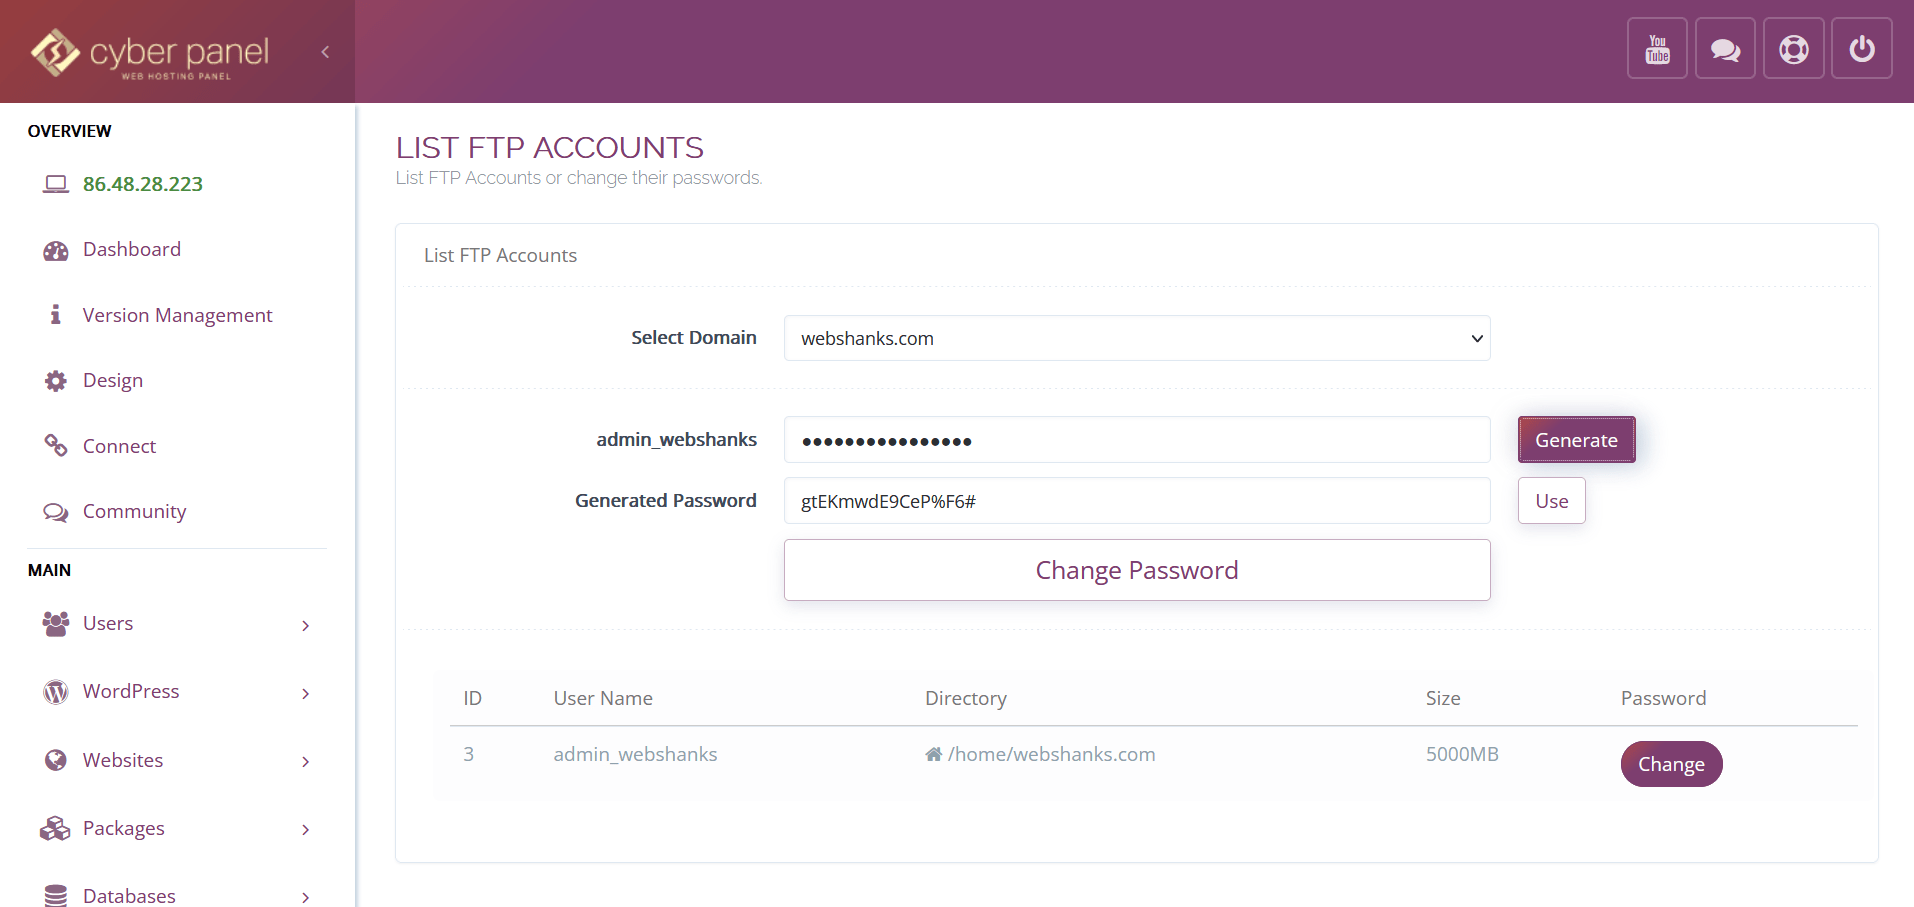
Step 5: Reset FTP Password in CyberPanel
Go back to your CyberPanel and reset your FTP password. Go to FTP > List FTP and choose the website to reset the FTP password.
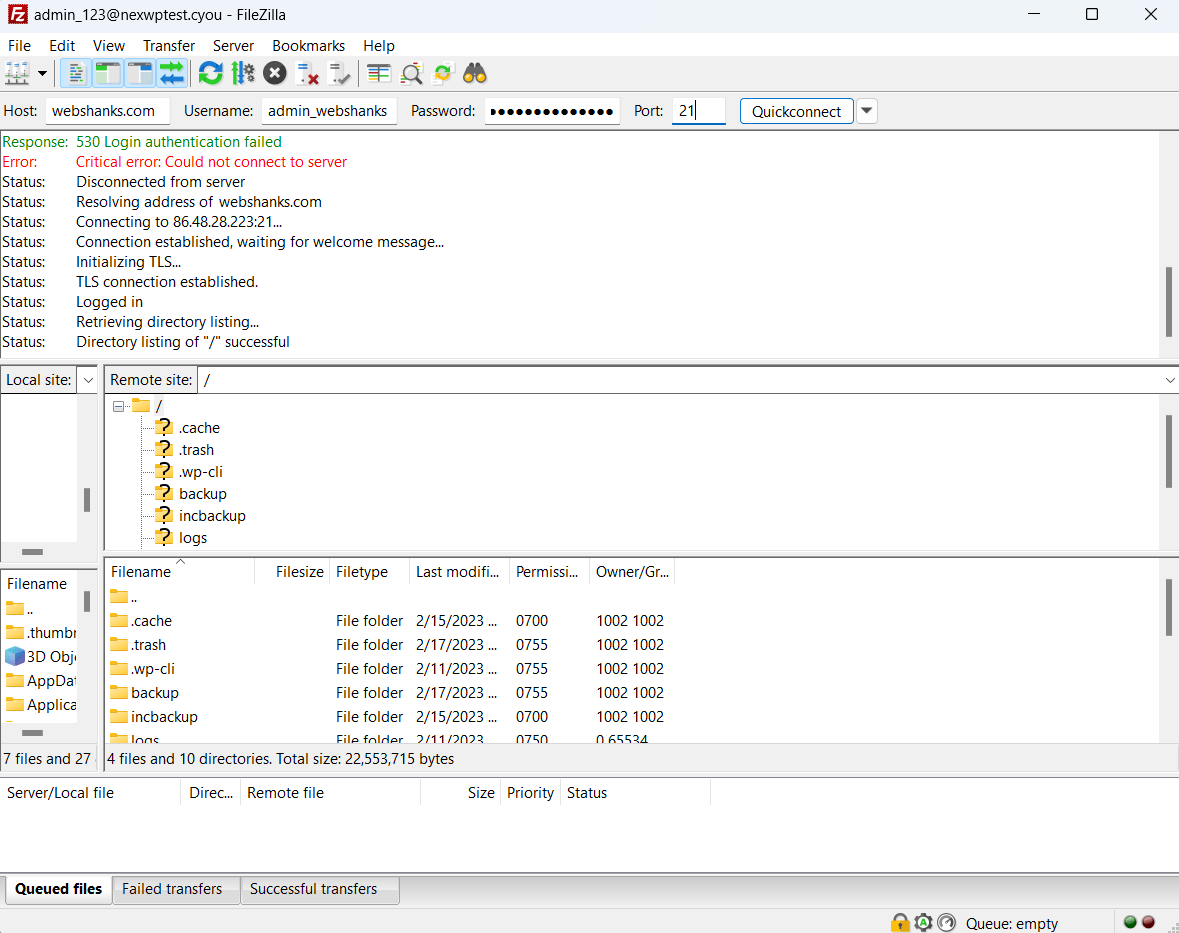
Step 6: Login Using an FTP client FileZilla
Open your FTP client. I’m using FileZilla to connect to my FTP account. You can connect on port 21.
Finally, we have properly configured the FTP in CyberPanel! So this is how to configure FTP in CyberPanel.
Troubleshooting I’ve Tried
Unlike other commercial web control panels, CyberPanel isn’t that perfect. One of those few bugs is accessing FTP.
So these are some troubleshoots I’ve tried to no avail I still face the same problem – Response: 530 Login authentication failed.
1. Changed FTP client. – I’ve been using FileZilla my whole life and I couldn’t afford to try other FTP clients. But when I encountered this CyberPanel issue, I tried WinSCP but still facing the issue.
2. Changed a better password with few characters but it didn’t work.
3. Disabled the Firewall in CyberPanel – problem still unsolved.
4. Disabled Pure FTPD – naah!
The only solution I could find is Step 4. CyberPanel could be using a more secure password which I believe it can only be used using SFTP protocol. However, at the moment, CyberPanel can’t be accessed via a secure protocol at port 22.
That’s why for the moment, we can only use the normal encryption FTP. I hope they’ll fix this issue. A lot more to be done with CyberPanel developments.
YouTube Version
Conclusion
In this blog, we have provided a complete fix for setting up FTP in CyberPanel. By following the steps outlined in this guide, you can avoid Response: 530 Login authentication failed and ensure a smooth and secure transfer of your files.
Remember to always use a strong password and enable TLS encryption to protect your data during transfer. Also, make sure to test your FTP connection regularly to ensure that it is working correctly.
If you have questions, please free to comment them down below.
I hope you learned something from this tutorial. See you!