
 Control Web Panel (CWP) is a robust and user-friendly web hosting control panel that simplifies server management tasks. If you’re looking to install WordPress on a server using Control Web Panel, follow this step-by-step guide for a seamless experience.
Prerequisites
Before you begin, ensure that you have:
- Control Web Panel installed: Make sure CWP is installed and configured on your server.
- Server Requirements: Confirm that your server meets the minimum requirements for running WordPress. Use RackNerd or Knownhost VPS.
Step 1: Log in to Control Web Panel
Access the Control Web Panel by entering the server’s IP address or domain name followed by the port number (default is 2031) in your web browser.
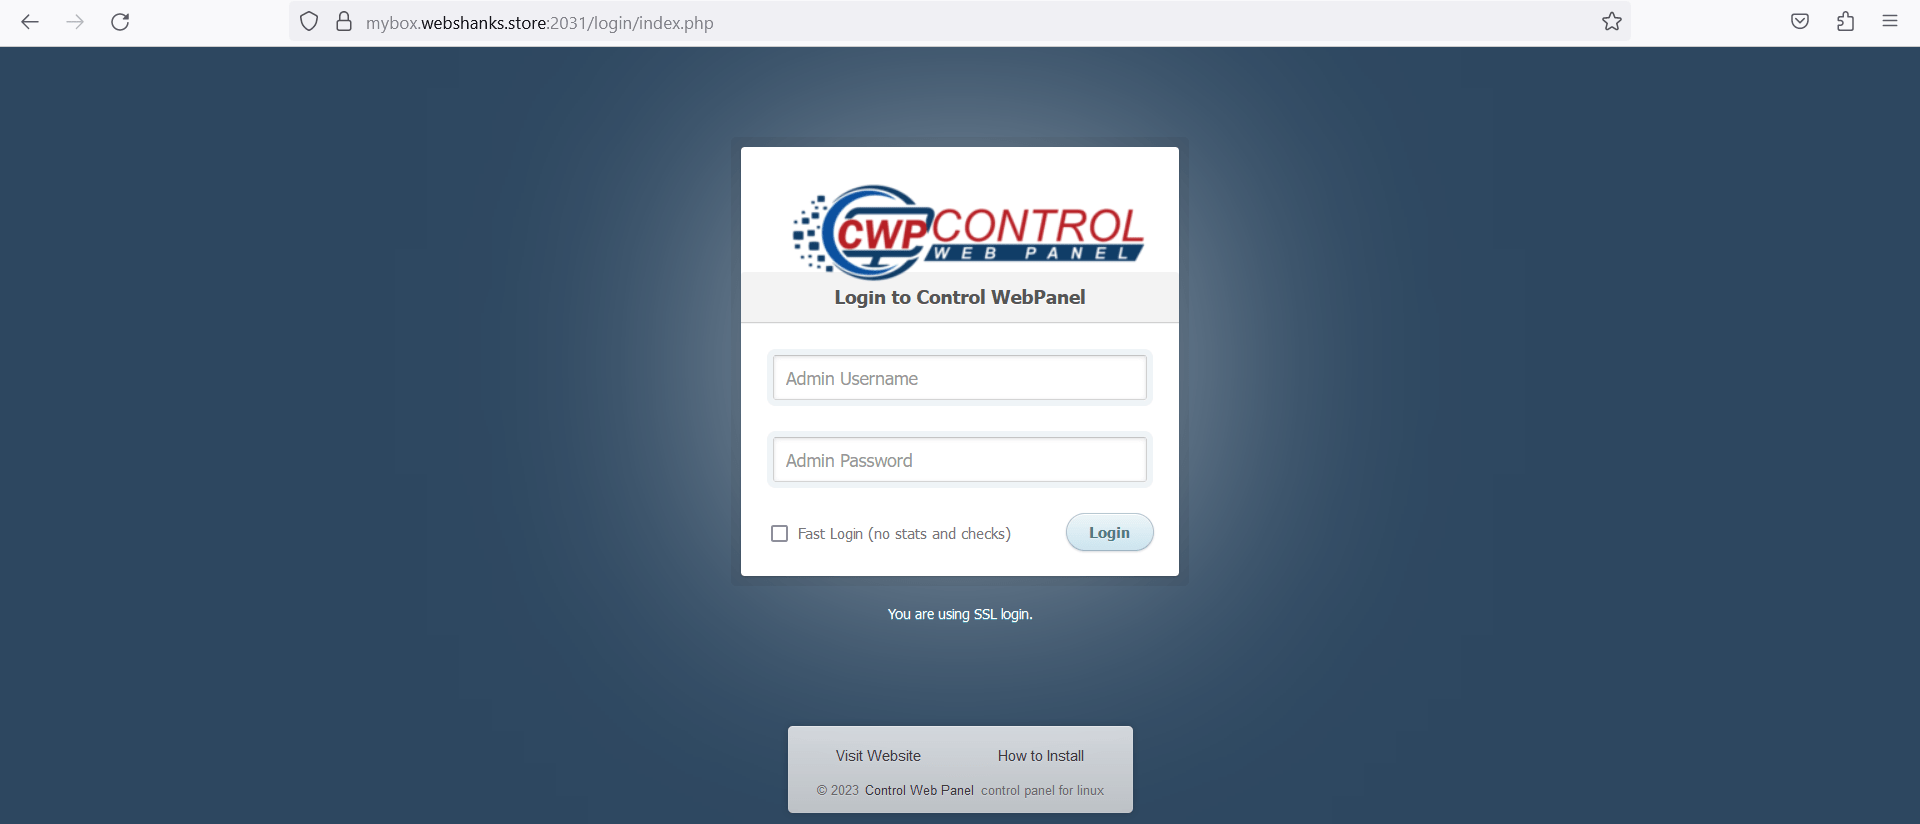
Enter your username and password to log in.
Step 2: Create a New Account
Navigate to User Accounts in the CWP dashboard.
Click on New Account.
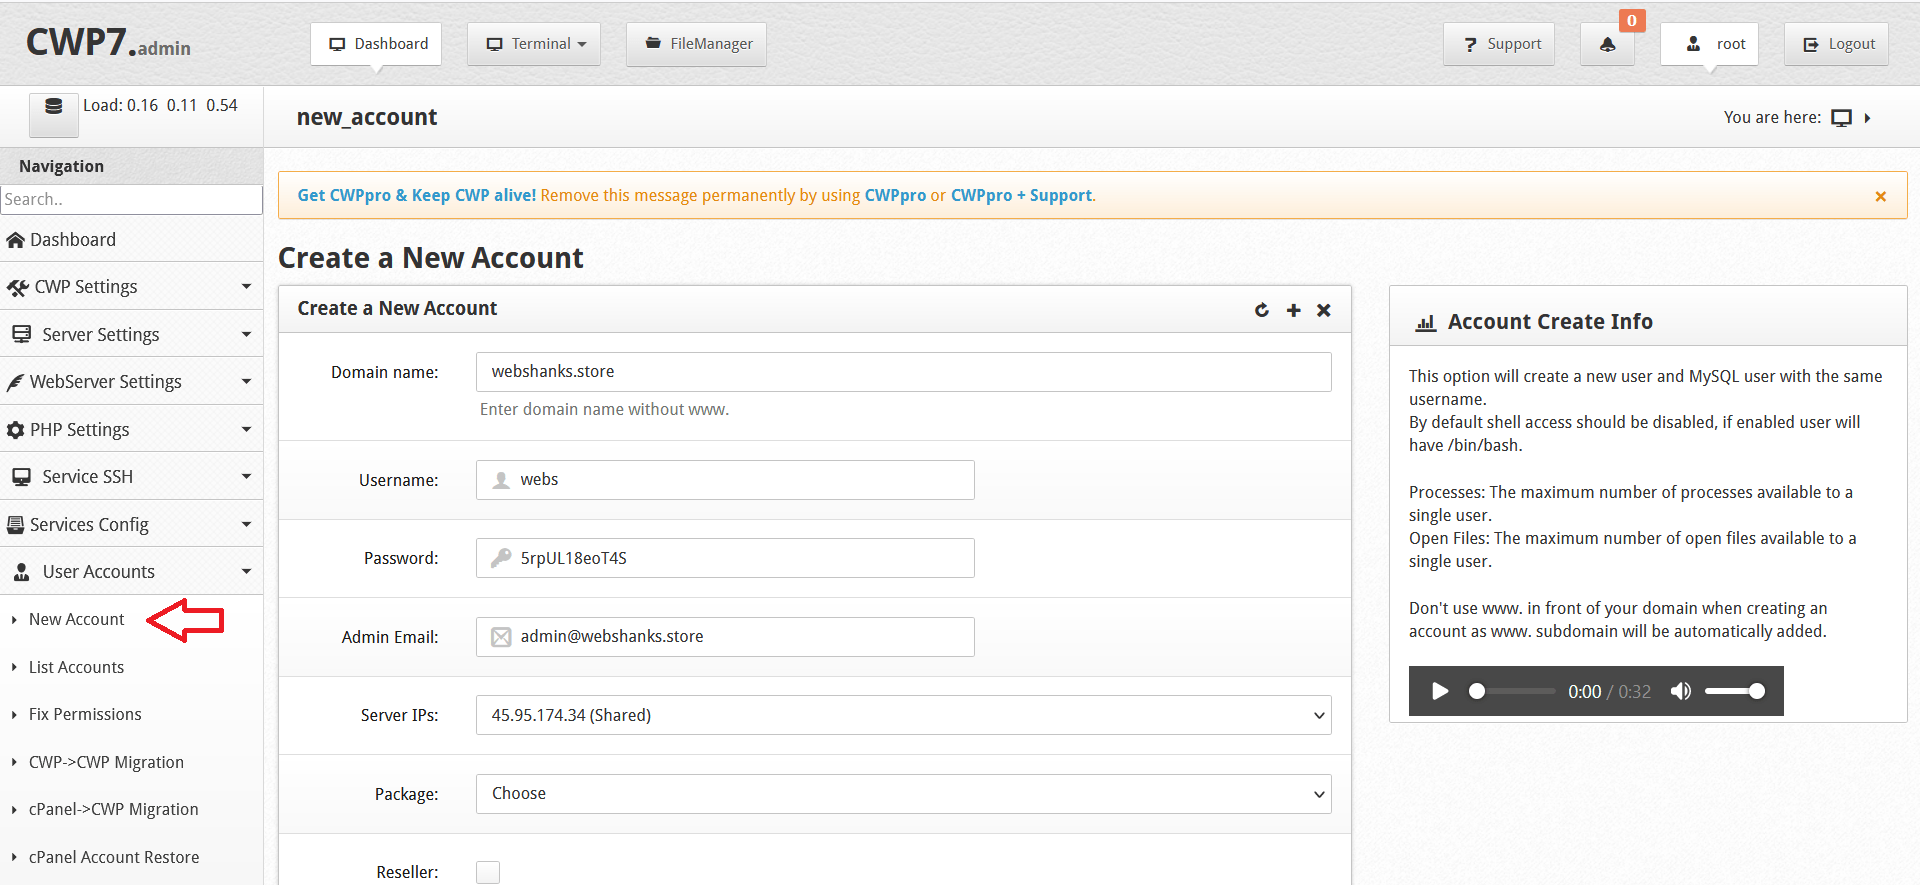
Fill in the required information, including domain, username, password, and email address.
Set the package to your desired configuration.
Step 3: Choose Web Server
Go to WebServer Settings on the the left menu and select Select WebServers.
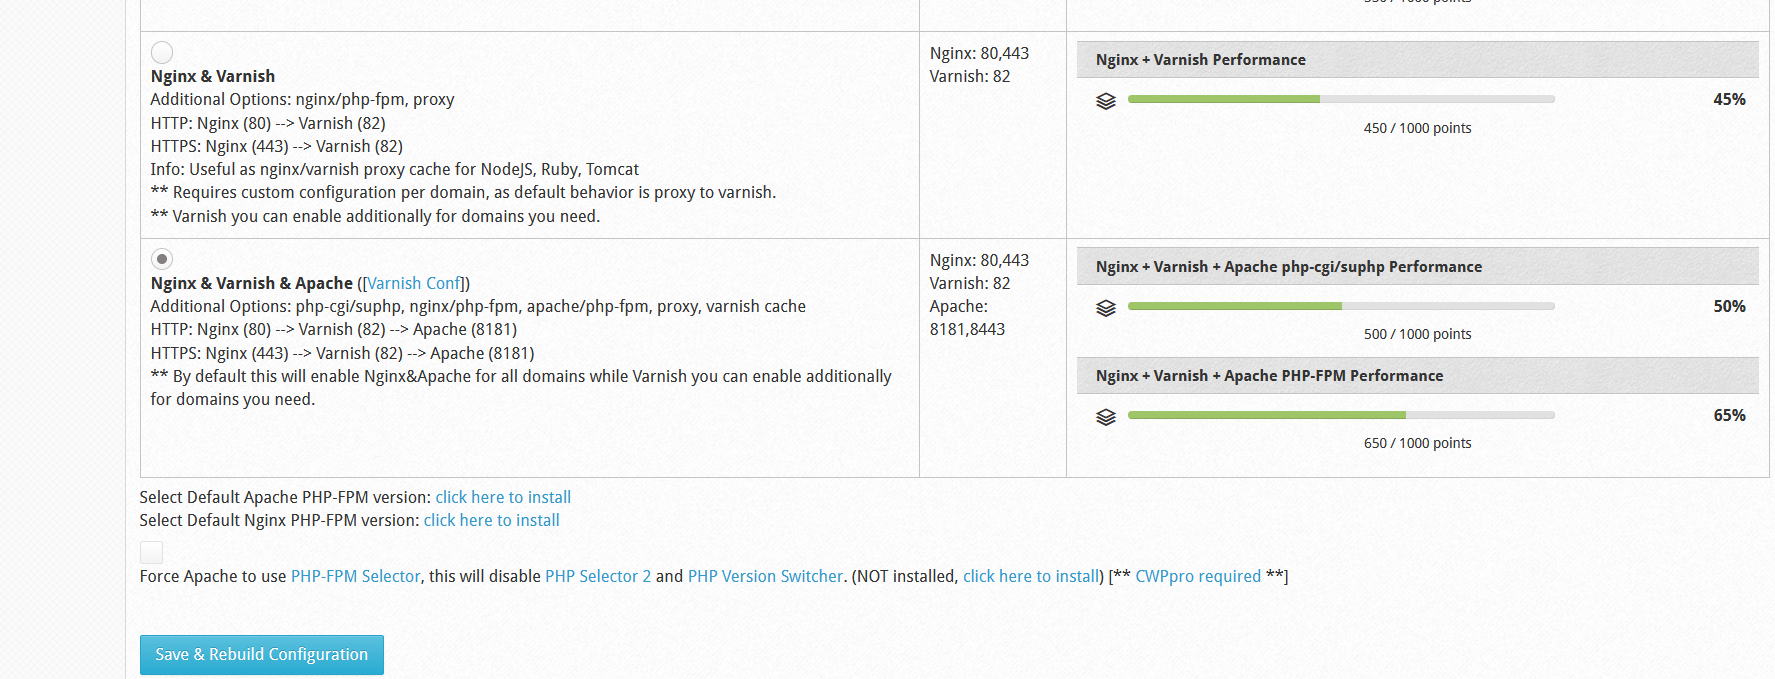
I’ll be choosing Nginx & Varnish & Apache.
Step 4: Select PHP Version
Go to PHP Settings and choose PHP Version Switcher.

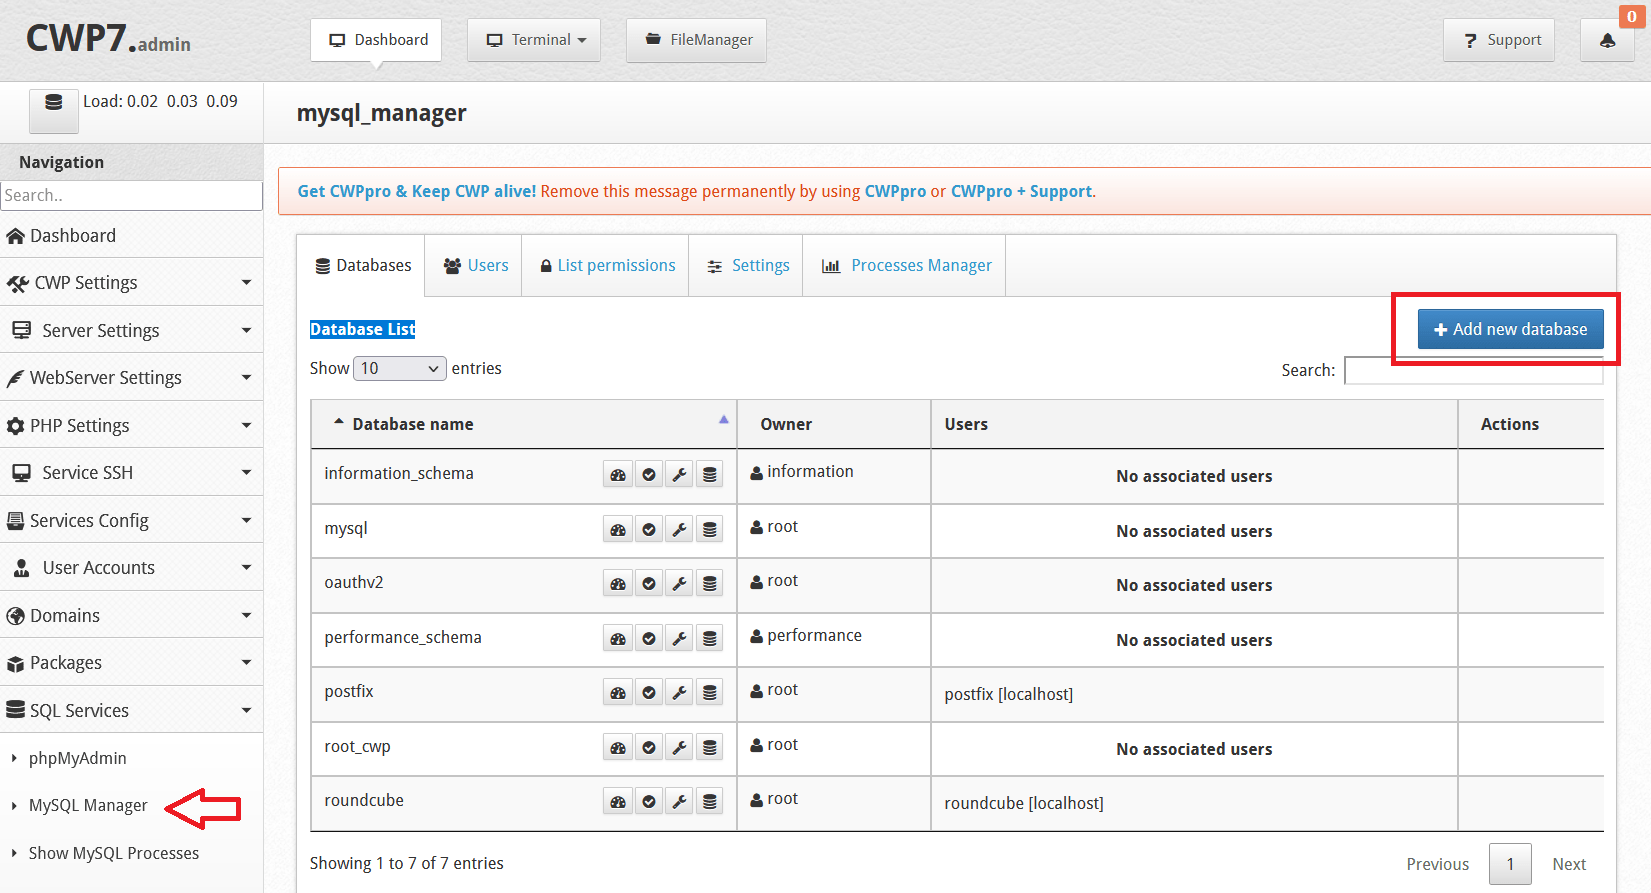
Step 5: Create a Database
Next, we’ll need a database for our WordPress. Go to SQL Services. Your database format will be username_dbname. For example webs_wordpressdb.
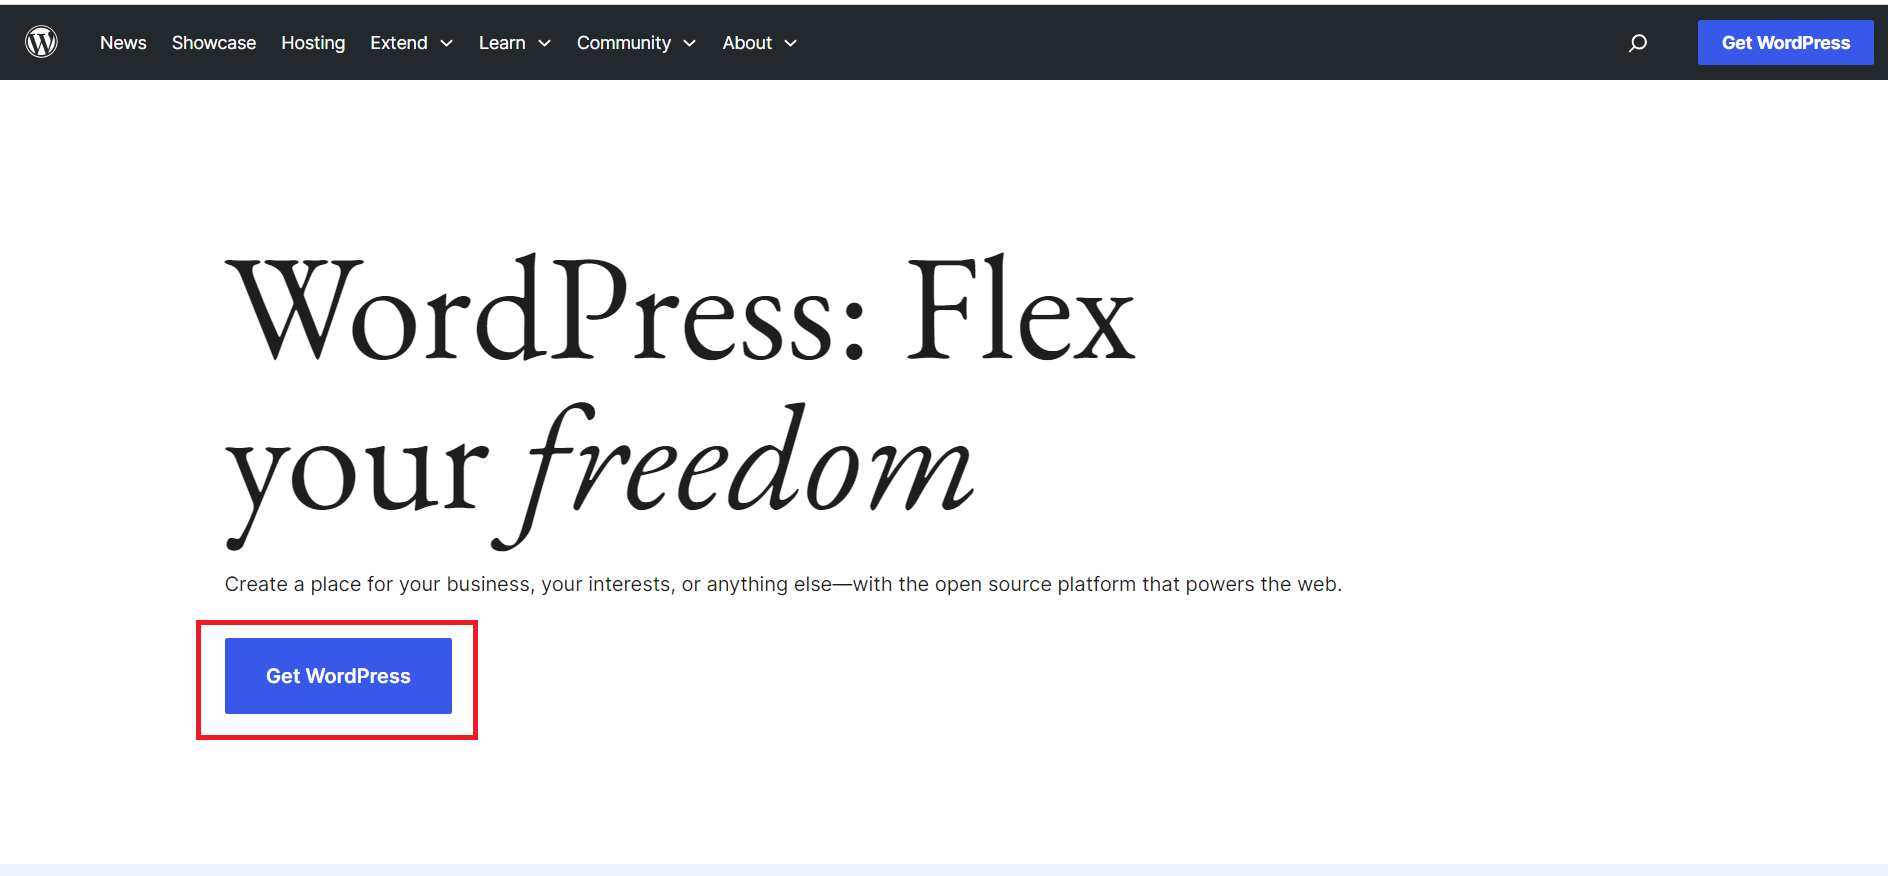
Step 6: Install WordPress
Download the latest version of WordPress CMS on their official website.
Next, go to FileManager on the top menu.
Next, go to home > select your website folder > public_html. Upload the WordPress file.
Once the file is uploaded, decompress it.Then move the contents of the wordpress folder to the main public_html folder.
You can now delete the wordpress folder.
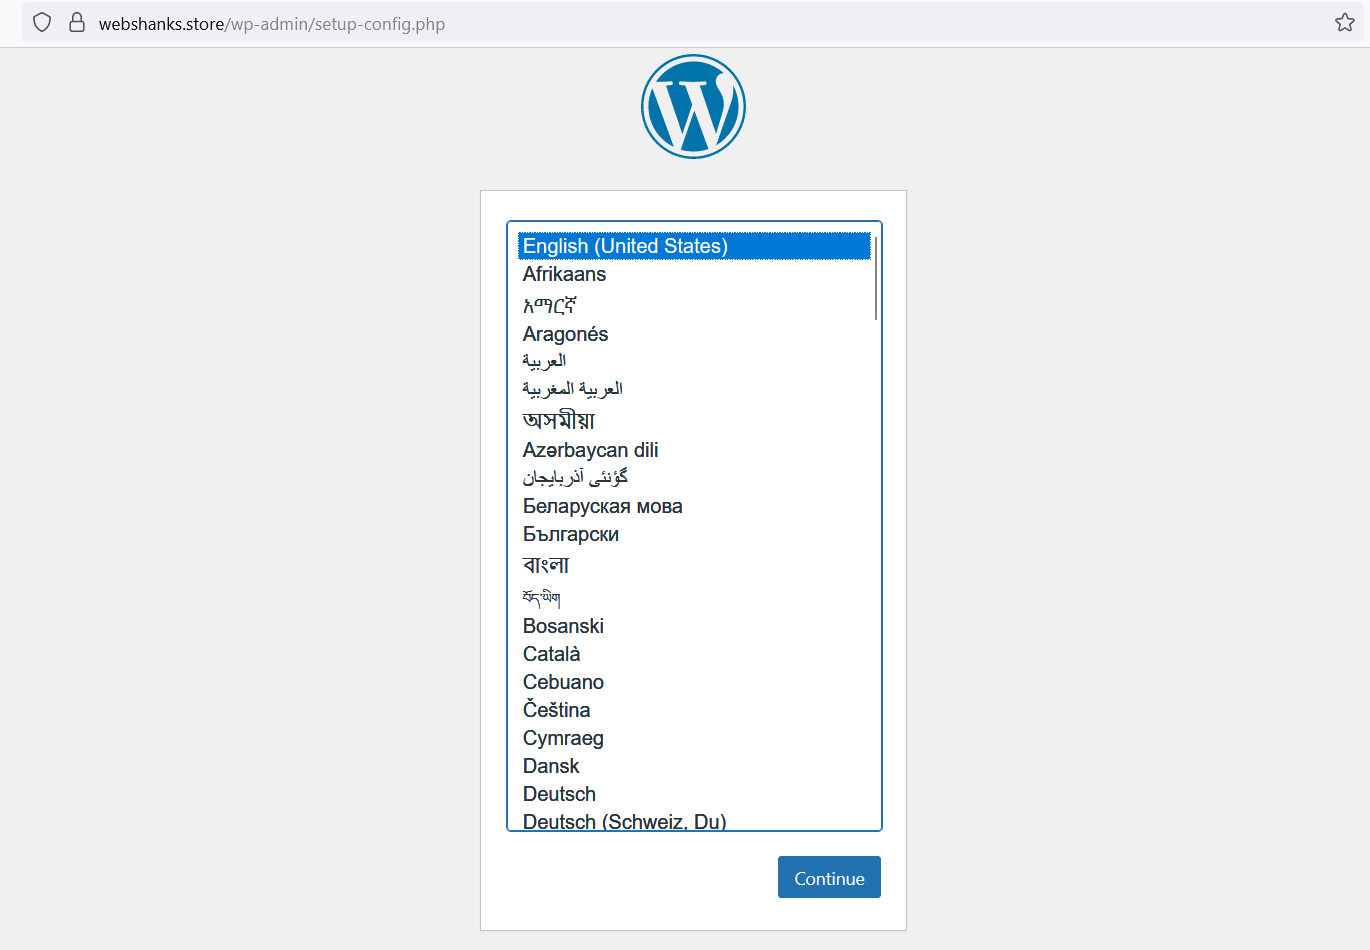
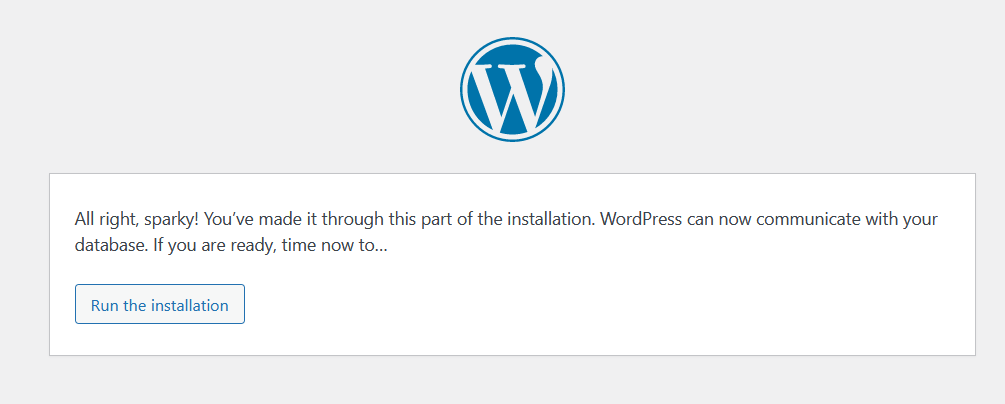
Finally, access your website and install WordPress.
Note: if you happen to get an Forbidden You don’t have permission to access this resource, you need to add a rule or turn off mod security for your domain.
Click Let’s go!
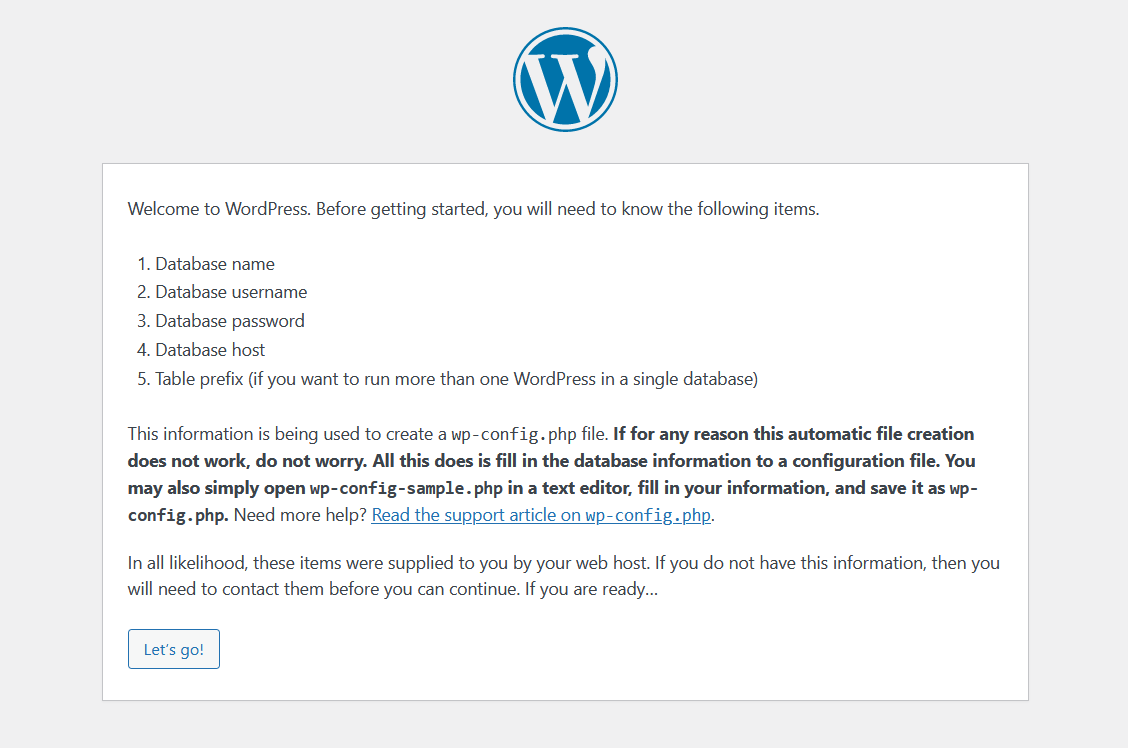
- Database Name: Your database name.
- Username: Your username created while adding a domain.
- Password: Your password while adding a domain.
- Database host: localhost
- Table prefix: wp_

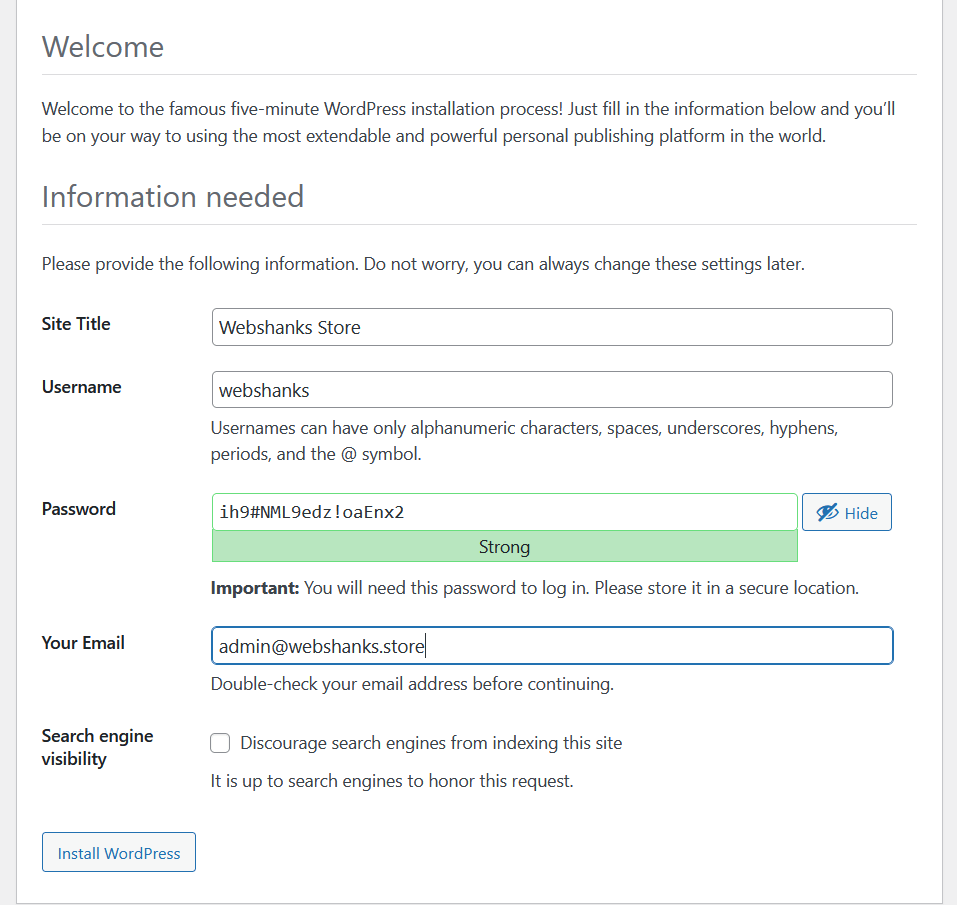
Then run the installation.
Fill up the necessary details for your WordPress website.
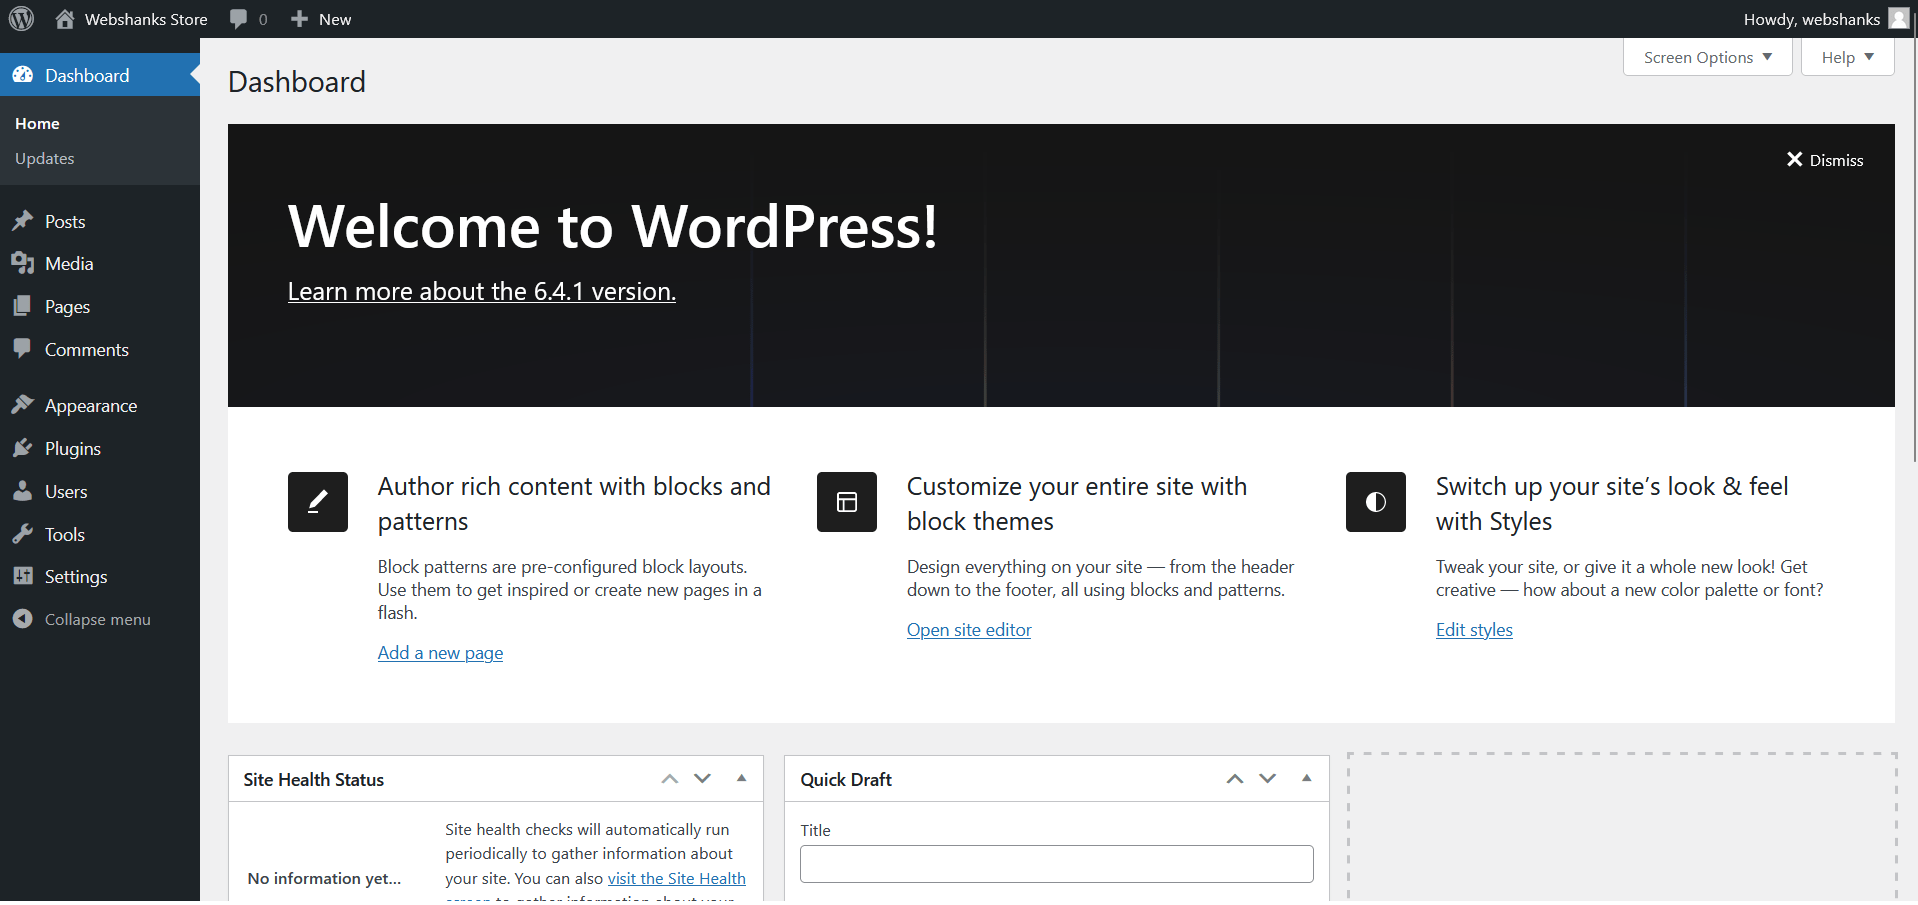
Finally you’re running a WordPress website!
Frequently Asked Questions (FAQs)
1. Why choose Control Web Panel over cPanel?
Control Web Panel offers several advantages, including:
- Cost: CWP is open-source and free, making it a cost-effective alternative to cPanel.
- Ease of Use: CWP provides an intuitive and user-friendly interface, making server management accessible even for beginners.
- Resource Efficiency: CWP is designed to be resource-efficient, ensuring optimal performance on your server.
- Security: With regular updates and a focus on security, CWP provides a secure environment for hosting.
2. Can I install WordPress manually on CWP?
Yes, you can install WordPress manually on CWP by downloading the WordPress installation package from the official website, uploading it to your server, and configuring the necessary settings.
However, using Softaculous Apps Installer in CWP simplifies the process and is recommended for most users.
3. Is Control Web Panel suitable for large-scale hosting?
Control Web Panel is suitable for a range of hosting scenarios, from small websites to larger-scale hosting environments. However, for enterprise-level hosting with extensive features and support, some users may prefer commercial control panels like cPanel.
Conclusion
By following this guide, you can effortlessly install WordPress on Control Web Panel. CWP provides a reliable and efficient hosting environment, making it a compelling alternative to other control panels like cPanel.
If you have any questions or encounter issues during the installation process, refer to the FAQs or consult the Control Web Panel documentation for additional support.