 Setting up your own email server can feel intimidating, but Mail-in-a-Box (MIAB) makes the process surprisingly straightforward. When paired with a reliable VPS like EUGameHost and proper DNS configuration via Cloudflare, you can run a fully functional email server capable of sending and receiving emails securely.
In this guide, you’ll learn step by step how to install Mail-in-a-Box on an EUGameHost VPS and configure Cloudflare correctly to avoid common email delivery issues.
What Is Mail-in-a-Box?
Mail-in-a-Box is an open-source mail server solution that bundles everything needed to run email securely, including:
- Postfix (SMTP)
- Dovecot (IMAP)
- Spam filtering
- DKIM, SPF, and DMARC
- Automatic SSL via Let’s Encrypt
- A simple web-based admin panel
It’s ideal for personal use, small businesses, and internal email systems.
Prerequisites
Before starting, make sure you have the following:
- A EUGameHost VPS or other VPS with an open port 25
- Ubuntu 22.04 LTS installed
- A domain name (Buy on Namecheap)
- A Cloudflare account
How to Make an Email Server With Mail-in-a-Box with Cloudflare on EUGameHost VPS
Step 1: Buy a VPS on EUGameHost
Deploy a new VPS from EUGameHost with these recommended specs:
-
Operating System: Ubuntu 22.04 LTS
-
RAM: 4 GB minimum
-
IPv4 Address: Required
Once deployed, take note of your server’s IP address and root login credentials.
Don’t know how to setup EUGameHost VPS? Watch the video on YouTube.
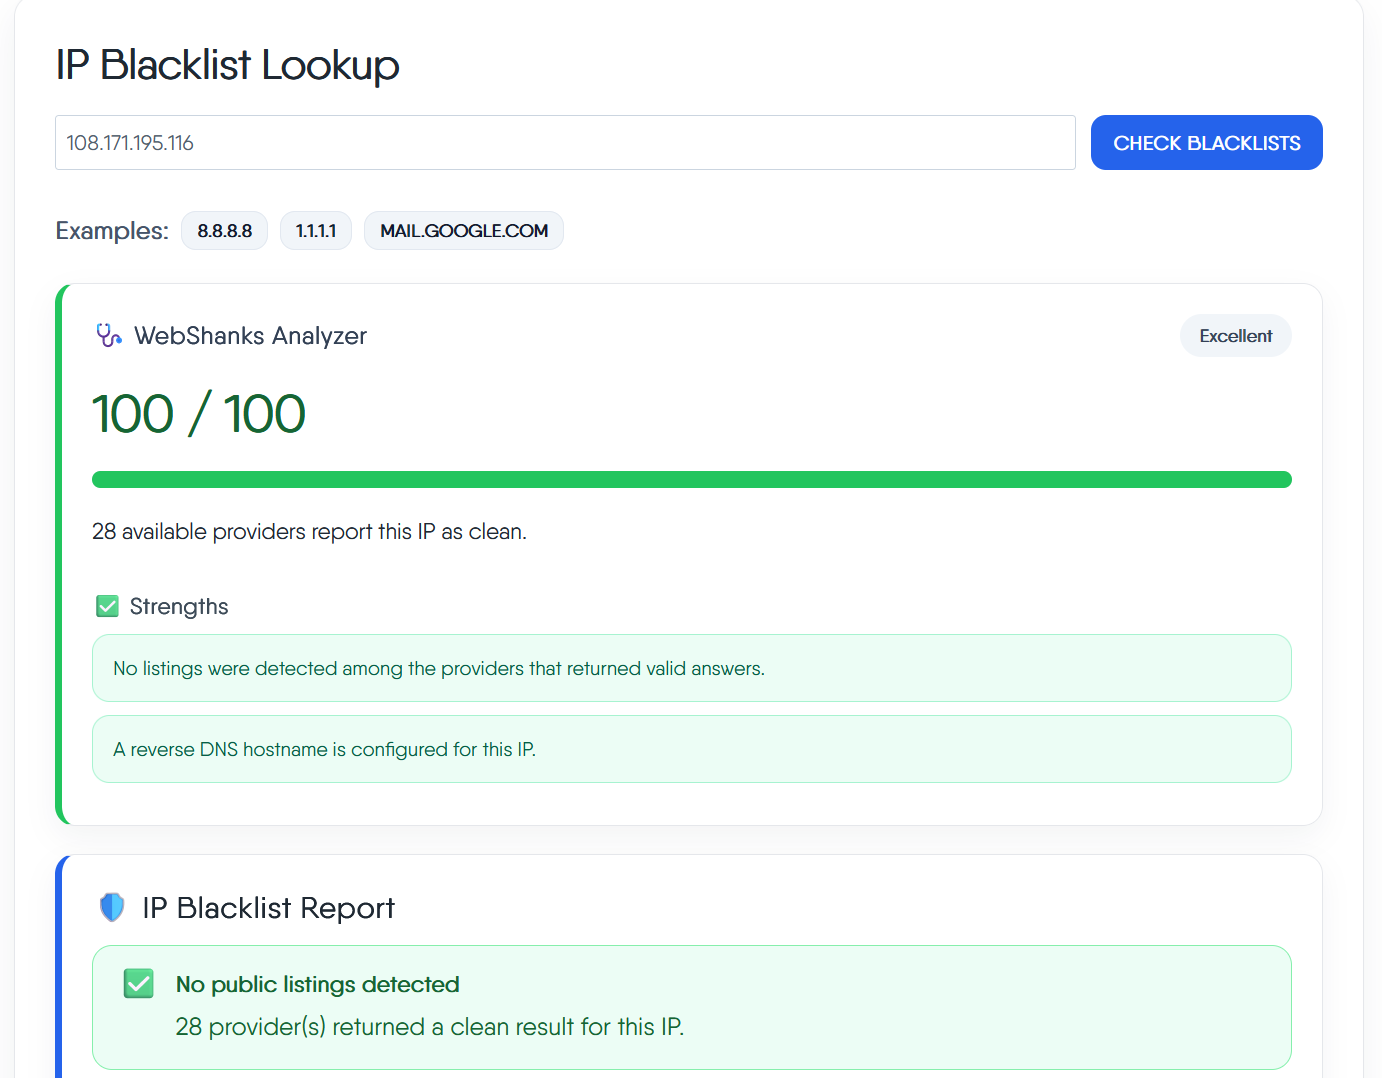
You can check your IP for blacklist on our Blacklist Checker.
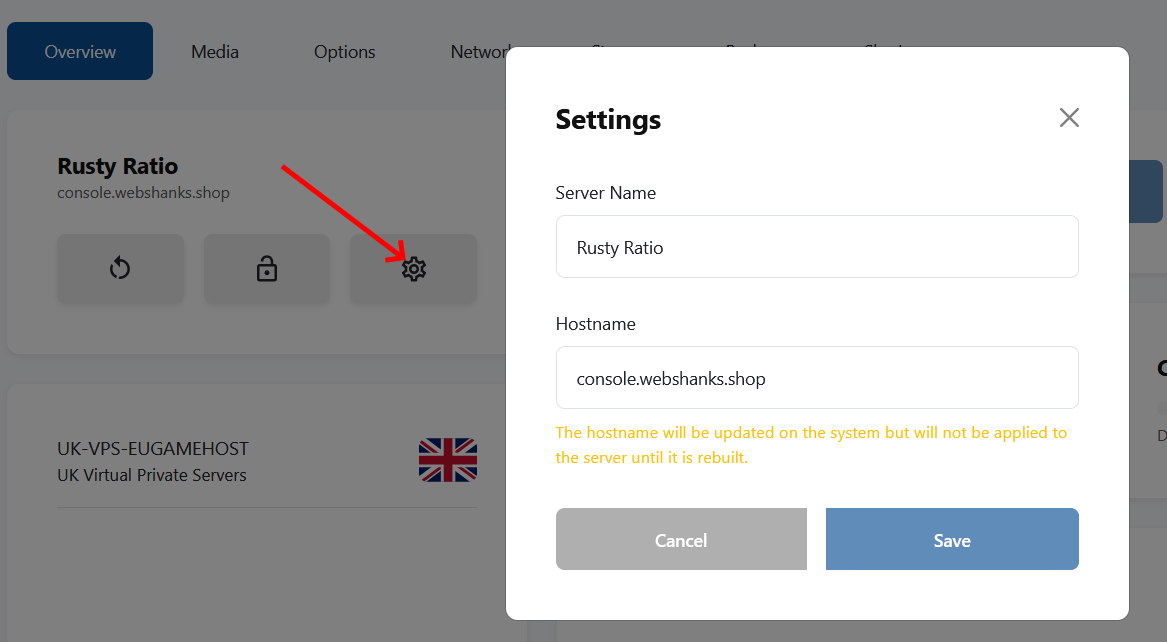
Step 2: Set the Server Hostname and rDNS
Mail-in-a-Box requires a fully qualified domain name (FQDN).
Example:
mail.webshanks.store
From your dashboard, simply click the gear icon as shown in the image and set your hostname.
 You can also set your hostname via the command line.
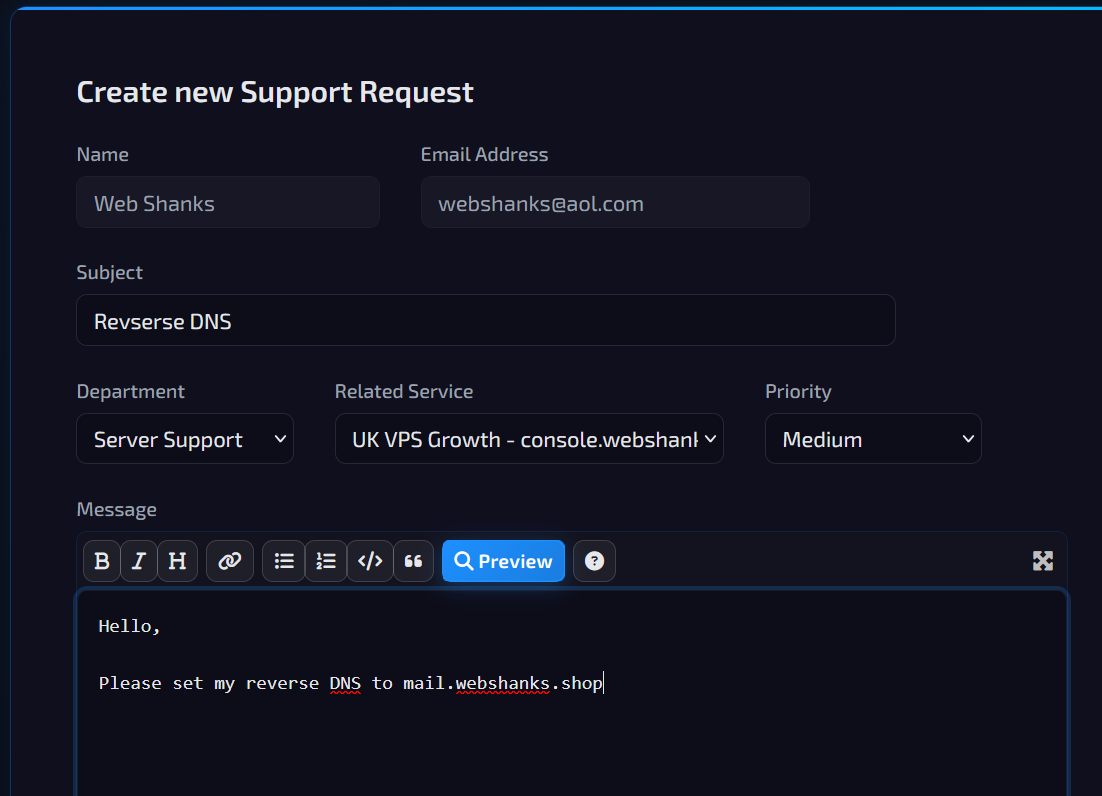
Then set your reverse DNS. Go to their support and ask them to set rDNS for you.
Step 3: Configure Cloudflare DNS Records
Log in to Cloudflare → DNS for your domain.
Set your DNS as follows:
| Record Type | Name | Content | Priority | TTL |
| A | YourServerIP | Auto | ||
| A | webshanks.store | YourServerIP | Auto | |
| AAAA | YourServerIPv6 | Auto | ||
| AAAA | webshanks.store | YourServerIPv6 | Auto | |
| NS | webshanks.store | ns1.mail.webshanks.store | ||
| NS | webshanks.store | ns2.mail.webshanks.store | ||
| MX | webshanks.store | mail.webshanks.store | 10 | Auto |
| TXT | _dmarc | v=DMARC1; p=quarantine; pct=100 | Auto | |
| TXT | webshanks.store | v=spf1 a mx ip4:yourIPv4 ip6:yourIPv6 ~all | Auto |
Note⚠️: Mail servers must not be proxied through Cloudflare.
Step 4: Install Mail-in-a-Box
Use an SSH client like Bitvise to connect to your VPS.
Update your system:
sudo apt update && sudo apt upgrade -y
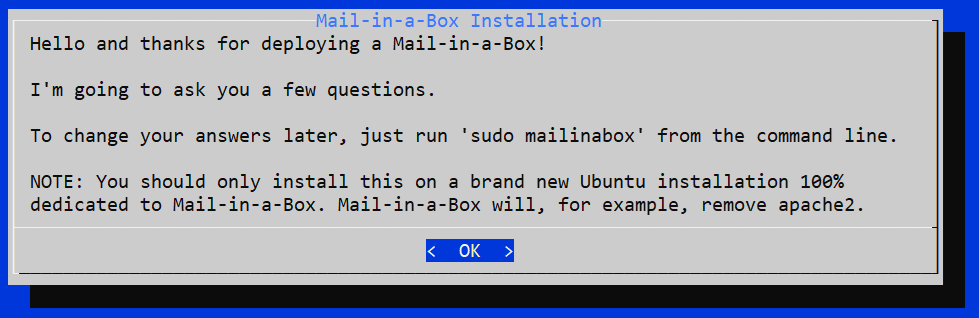
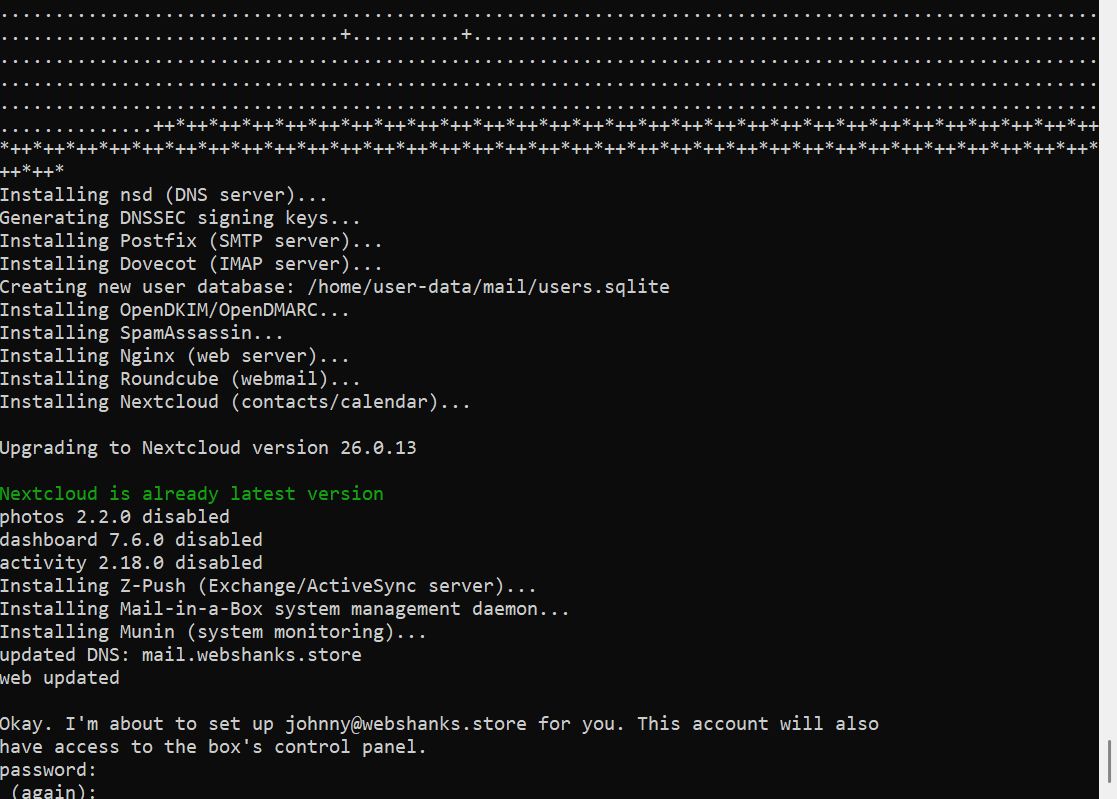
Run the Mail-in-a-Box installer:
curl -s https://mailinabox.email/setup.sh | sudo -E bash
During installation, you will:
- Set the admin email address
- Confirm your primary domain
- Enable Let’s Encrypt SSL
The installer automatically configures email services, security, and DNS checks.
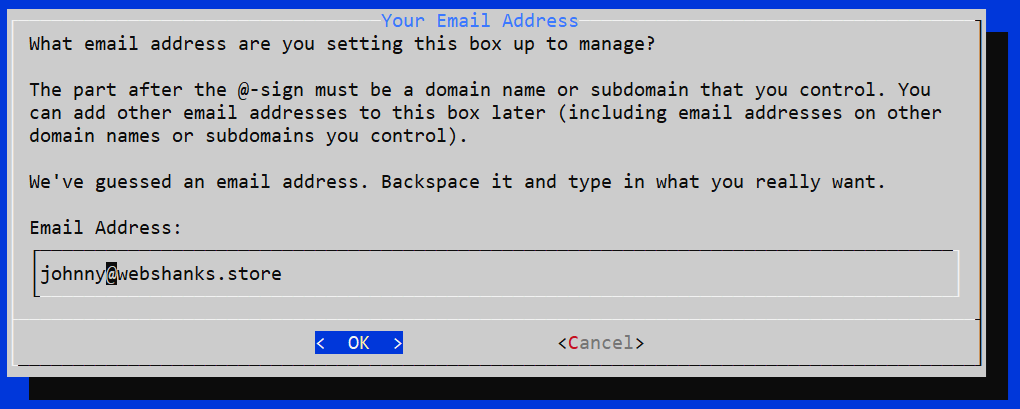
Set an email address:
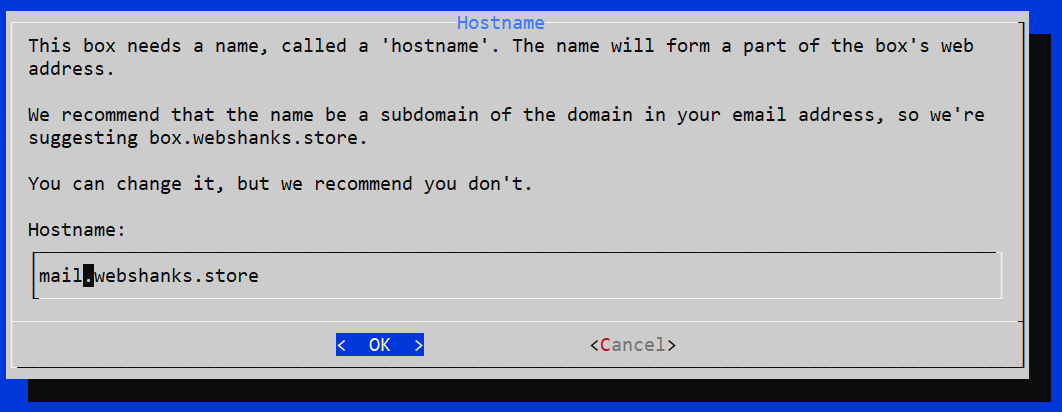
Set the hostname:
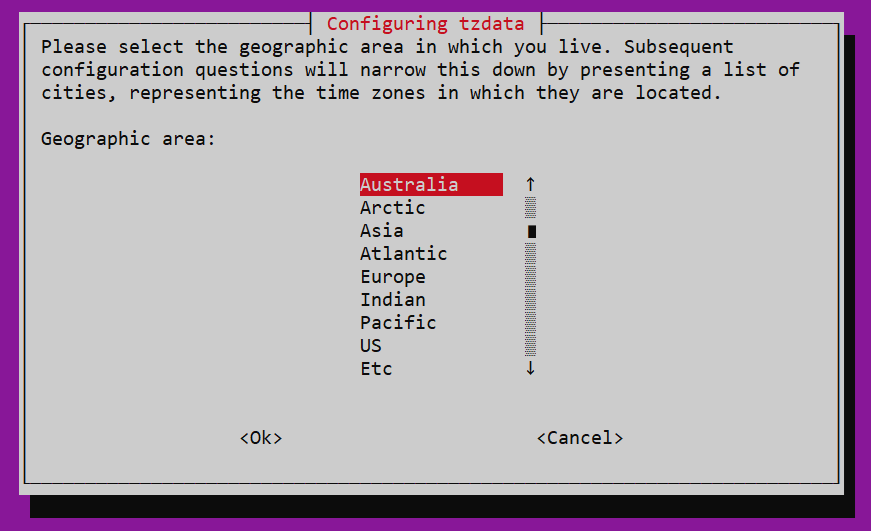
Choose your timezone:
Set email password:
The installation is complete!
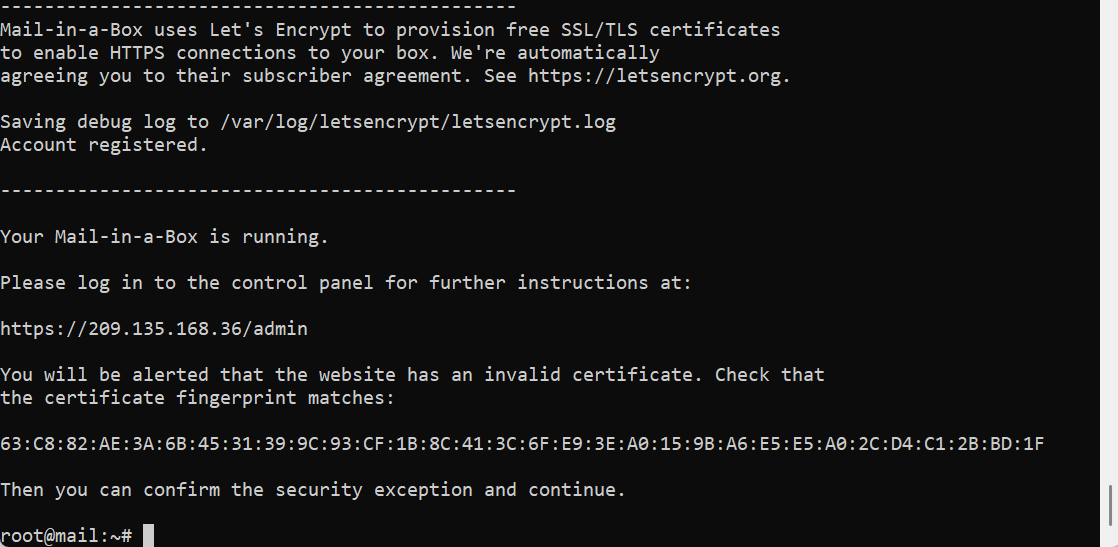
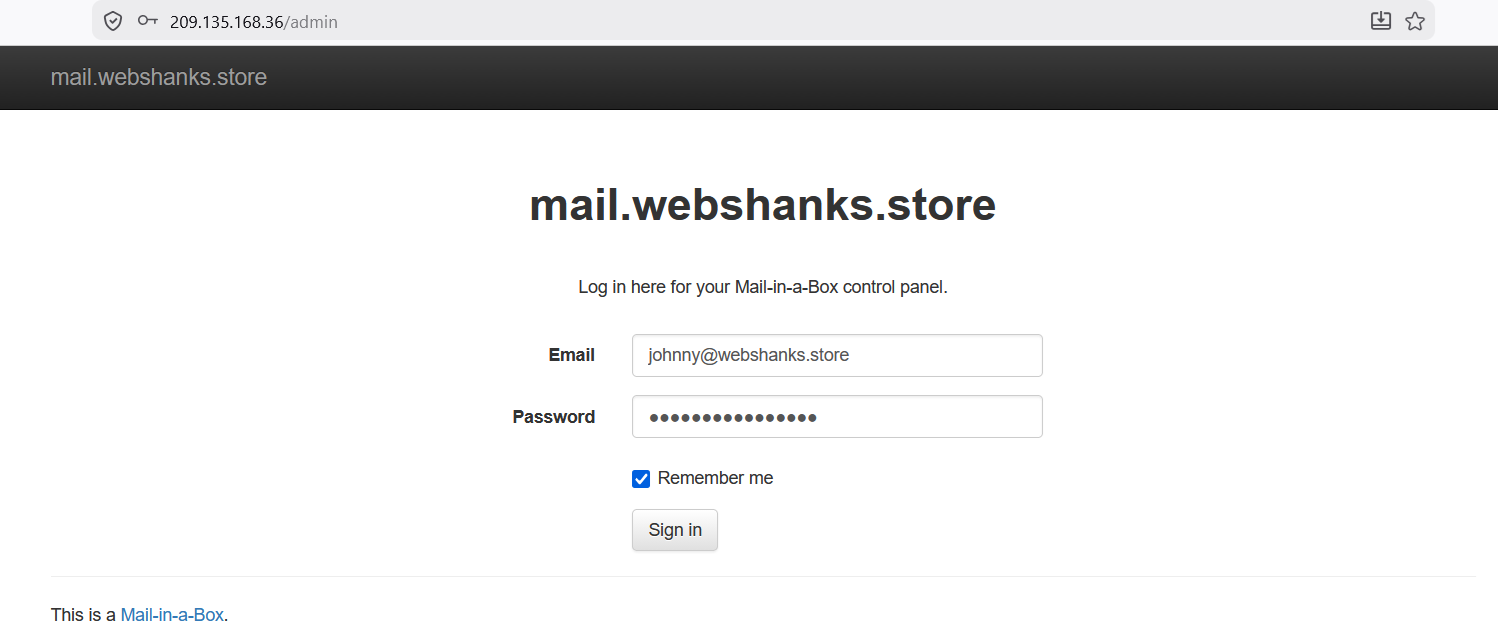
Step 5: Access the Admin Panel
Once installation completes, open:
https://yourserverIP/admin
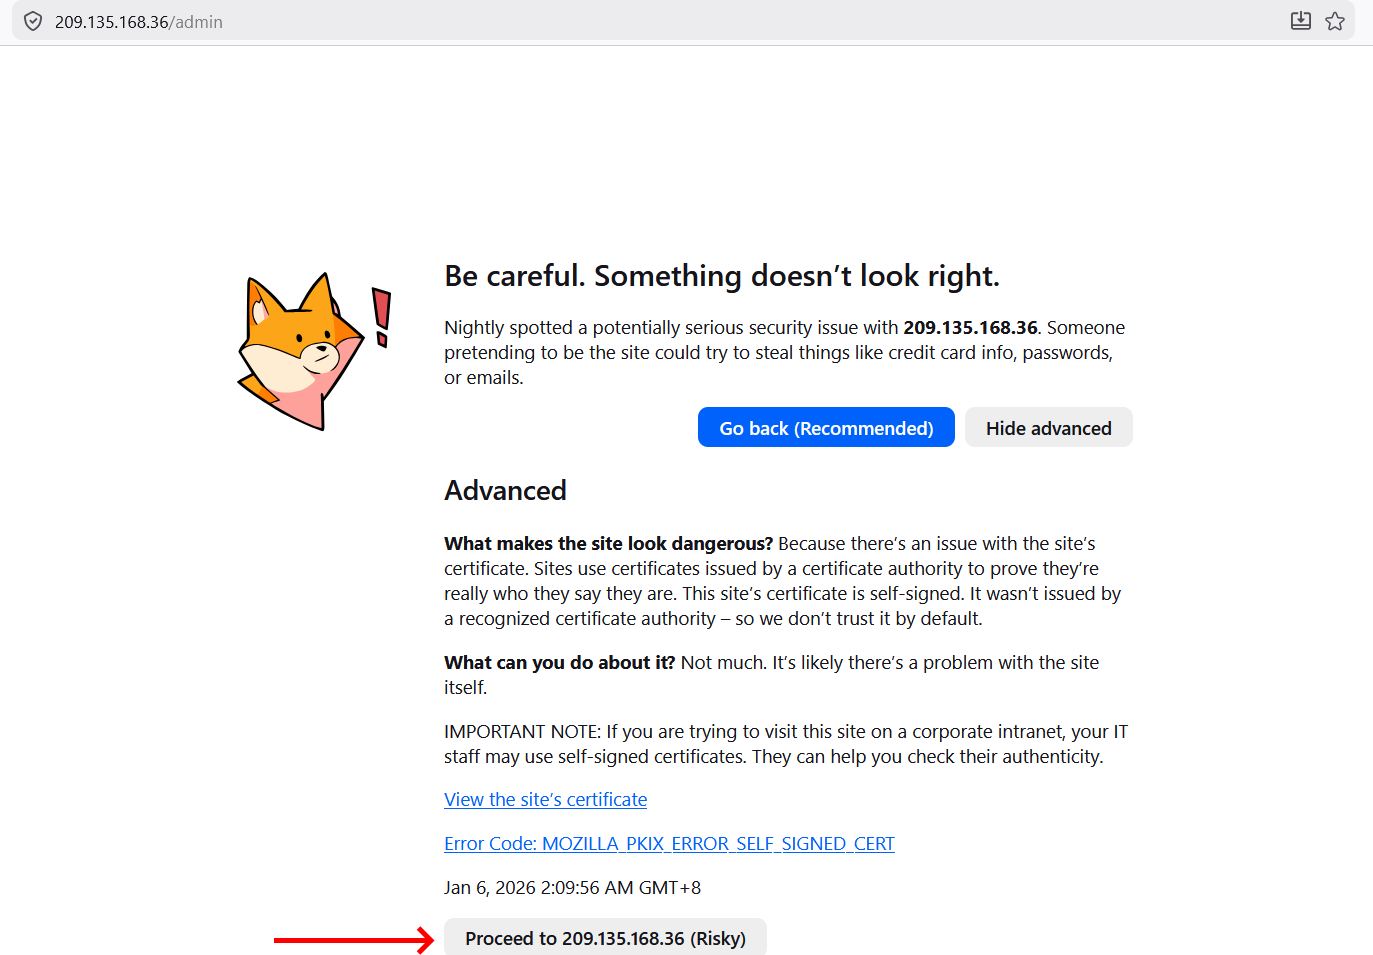
You will be alerted that the website has an invalid certificate. Check that the certificate fingerprint matches:
You can confirm the security exception and continue.
Log in using your admin email and password you created during installation.
We will install a certificate to access our MIAB securely. Go to System > TLS (SSL) Certificates and click Provision.
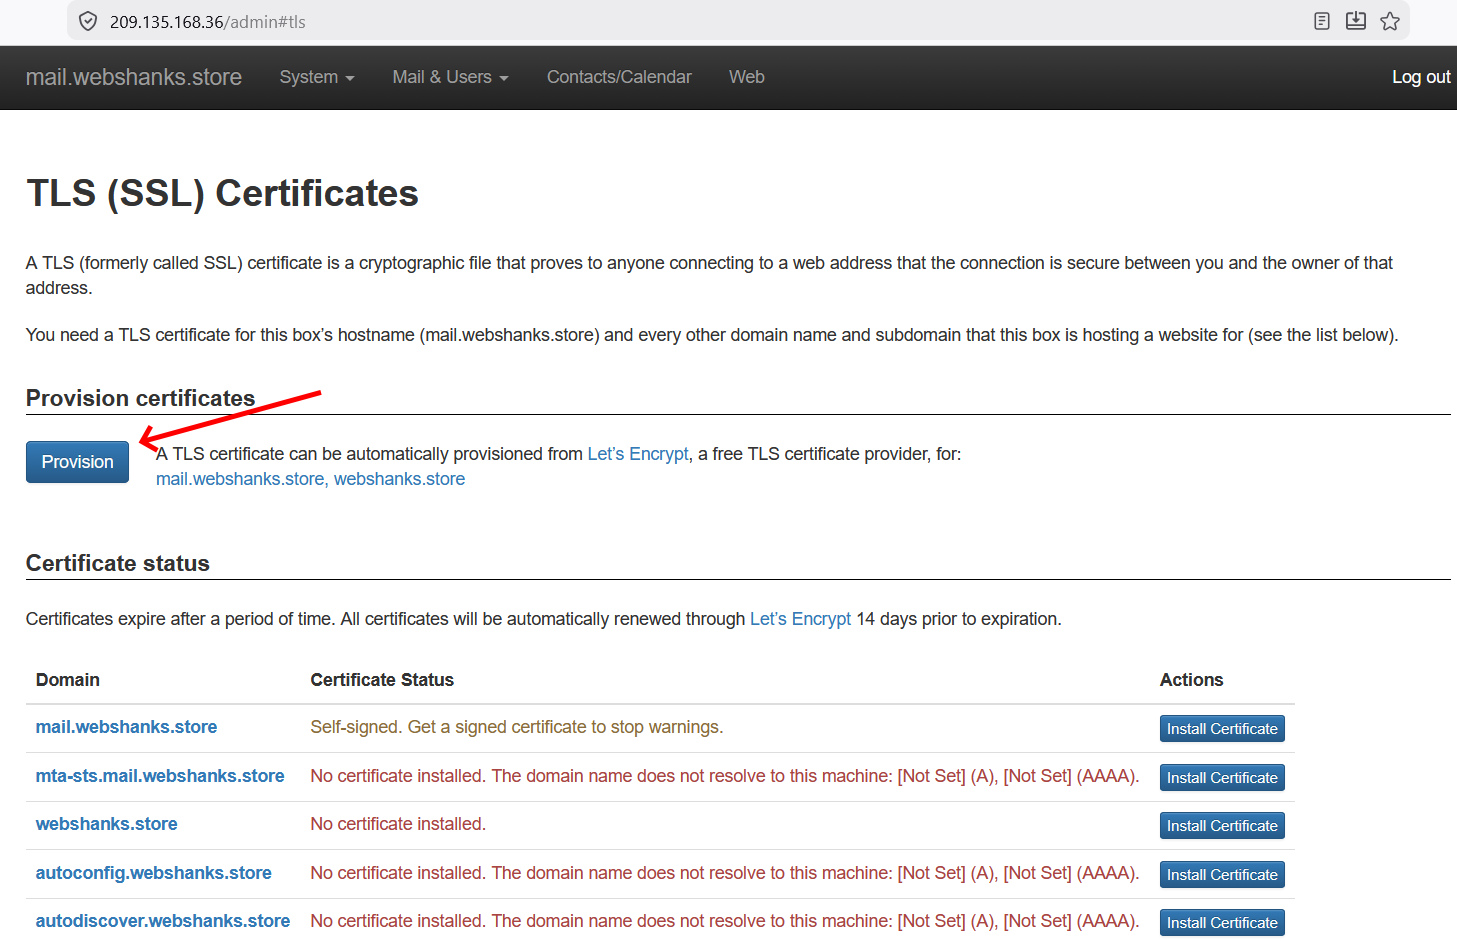
If the hostname is not issued a certificate, just click Provision again and refresh your browser.
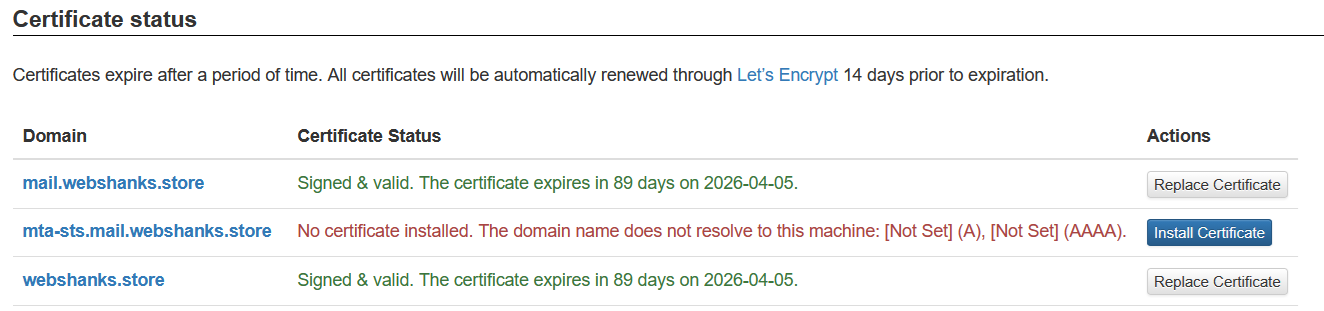
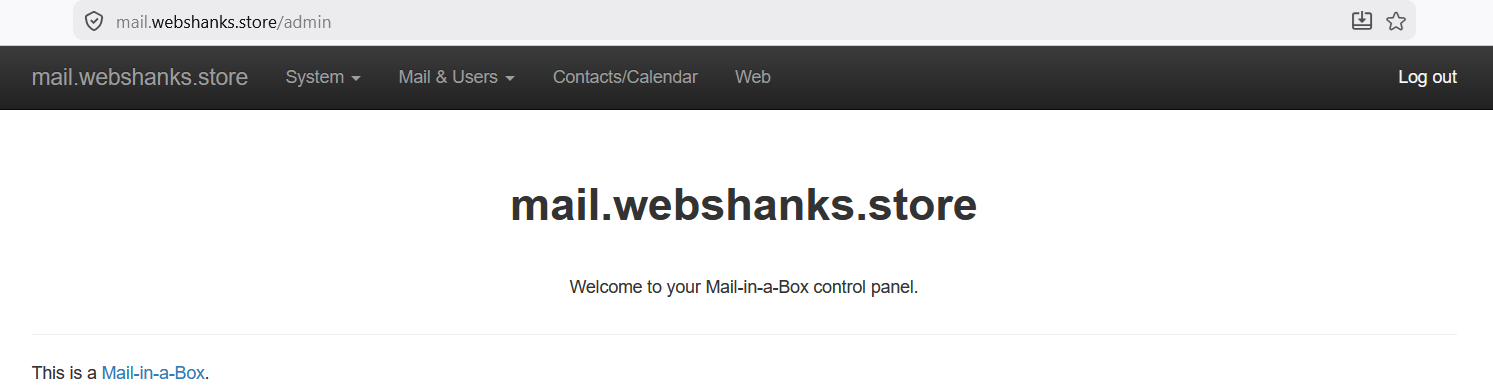
Now you can access your MIAB securely!
Step 6: Add Missing DNS Records from MIAB
In the admin panel, navigate to System > External DNS, then find mail._domainkey.yourdomain.com.
Mail-in-a-Box will display all required DNS records, including:
- DKIM
- DMARC
- Additional SPF entries
Copy and paste these records into Cloudflare DNS exactly as shown in the example below:
v=DKIM1; h=sha256; k=rsa; s=email; p=MIIBIjANBgkqhkiG9w0BAQEFAAOCAQ8AMIIBCgKCAQEAp8jgLbzoQzE2mhGeCLy7zdWP6+0ToOo/GvpGT3sVlLsDFxyAV3aMYbzfJ0Lo7/WvUPAc3+vZmXpQKfYasMYkYBsiW7be7MKkCp+Ot1wnLjJn1kgJJlQSB9hW/Lo3FMgJka1yolITXdF3Gc9WCsdv1ZC/DUTRbH2x8ziTkDcSkp5SiSxnk3fDdmRYQmk86BAEkThmQLXoLPSLhfIQH4VTtL7LlMvjMdZzXE+g6Fl7WY3SYmw7LVdFh+5PgDefjbunInXPwY5oOHcm5N8VFFmPWfGVl1julnjzOxzPqLWNVR9braXUZAW4NkuhLdFWGCunjuuwf8GvvyYiJLM2D8BPDwIDAQAB
Make sure all mail-related records remain DNS only.
Then check your DKIM, SPF and DMARC if they are configured correctly using our Tools.
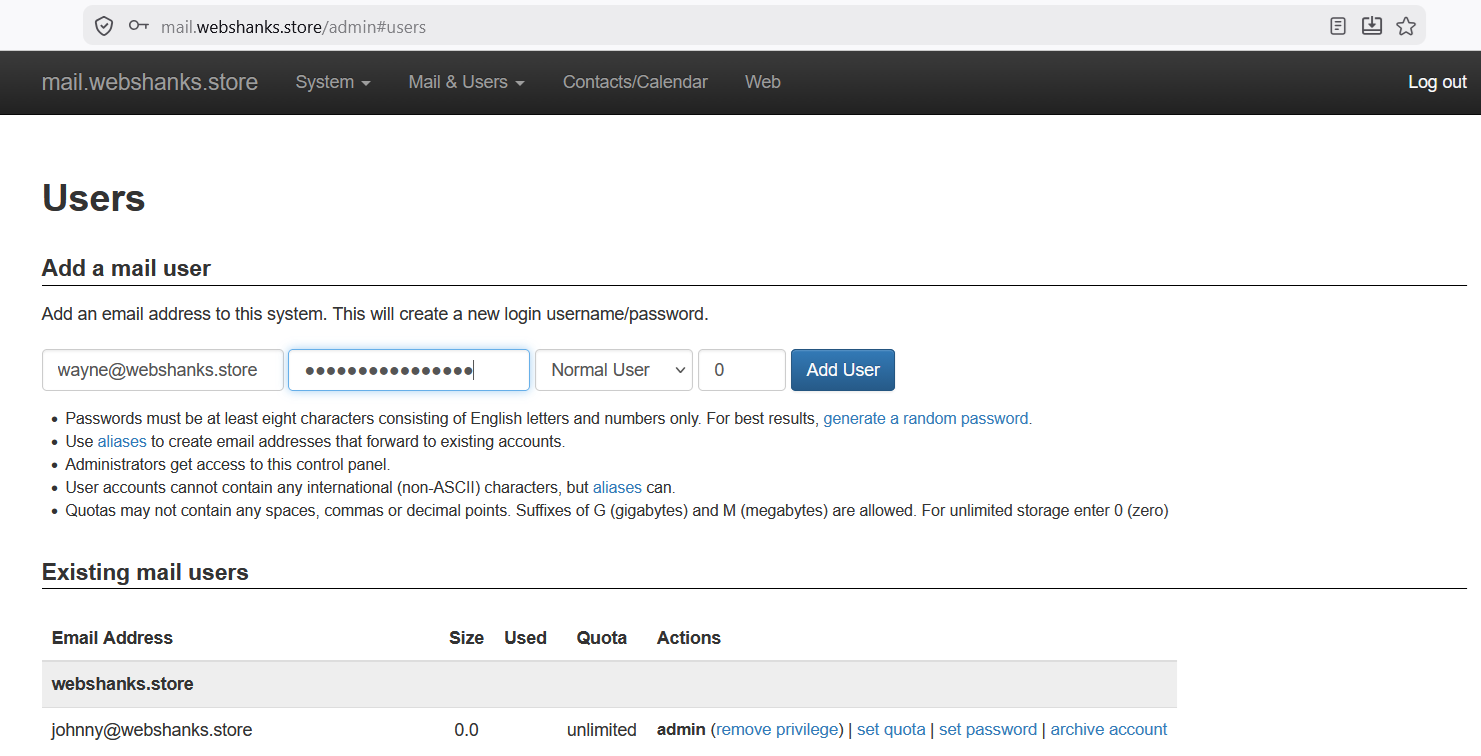
Step 7: Create Email Accounts
In the Mail-in-a-Box admin panel:
Go to Mail & Users > Users
Create your email addresses, for example:
Step 8: Test Email Sending and Receiving
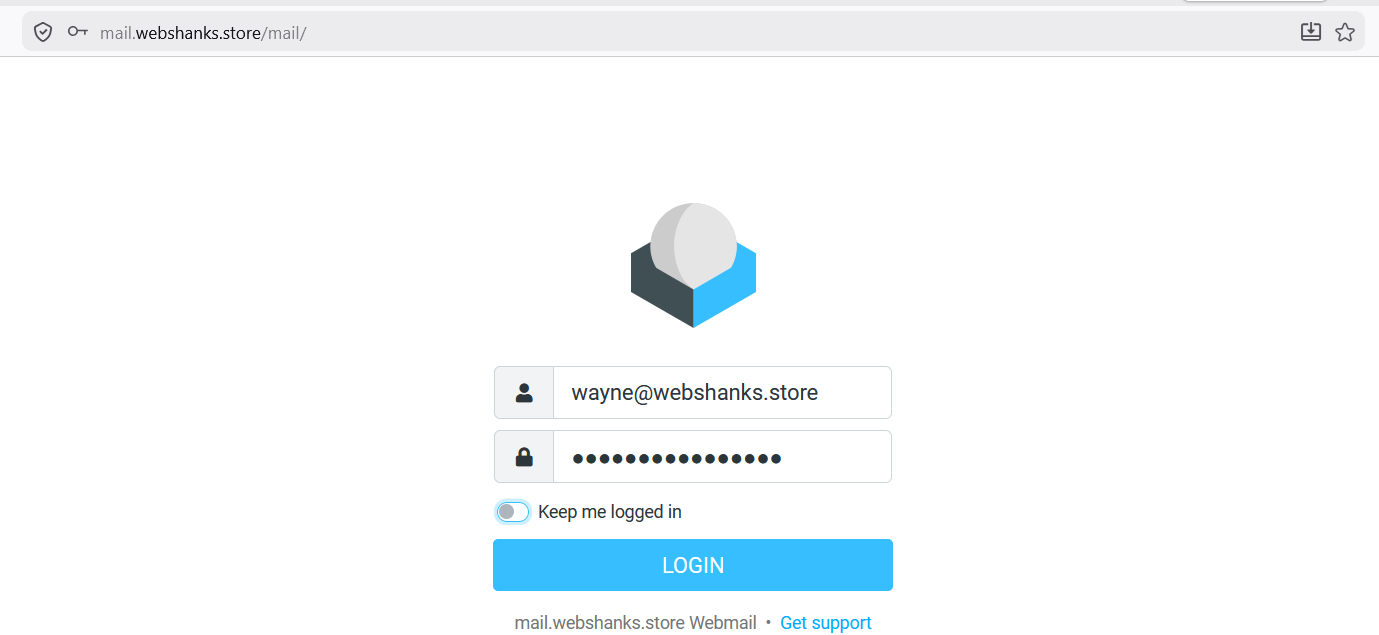
Now access your webmail via https://mail.webshanks.store/mail and be sure to use your own domain.
Login using the email address you created.
Let’s test it on Mail-tester.

We’ve got a 10/10 score! That’s perfect!
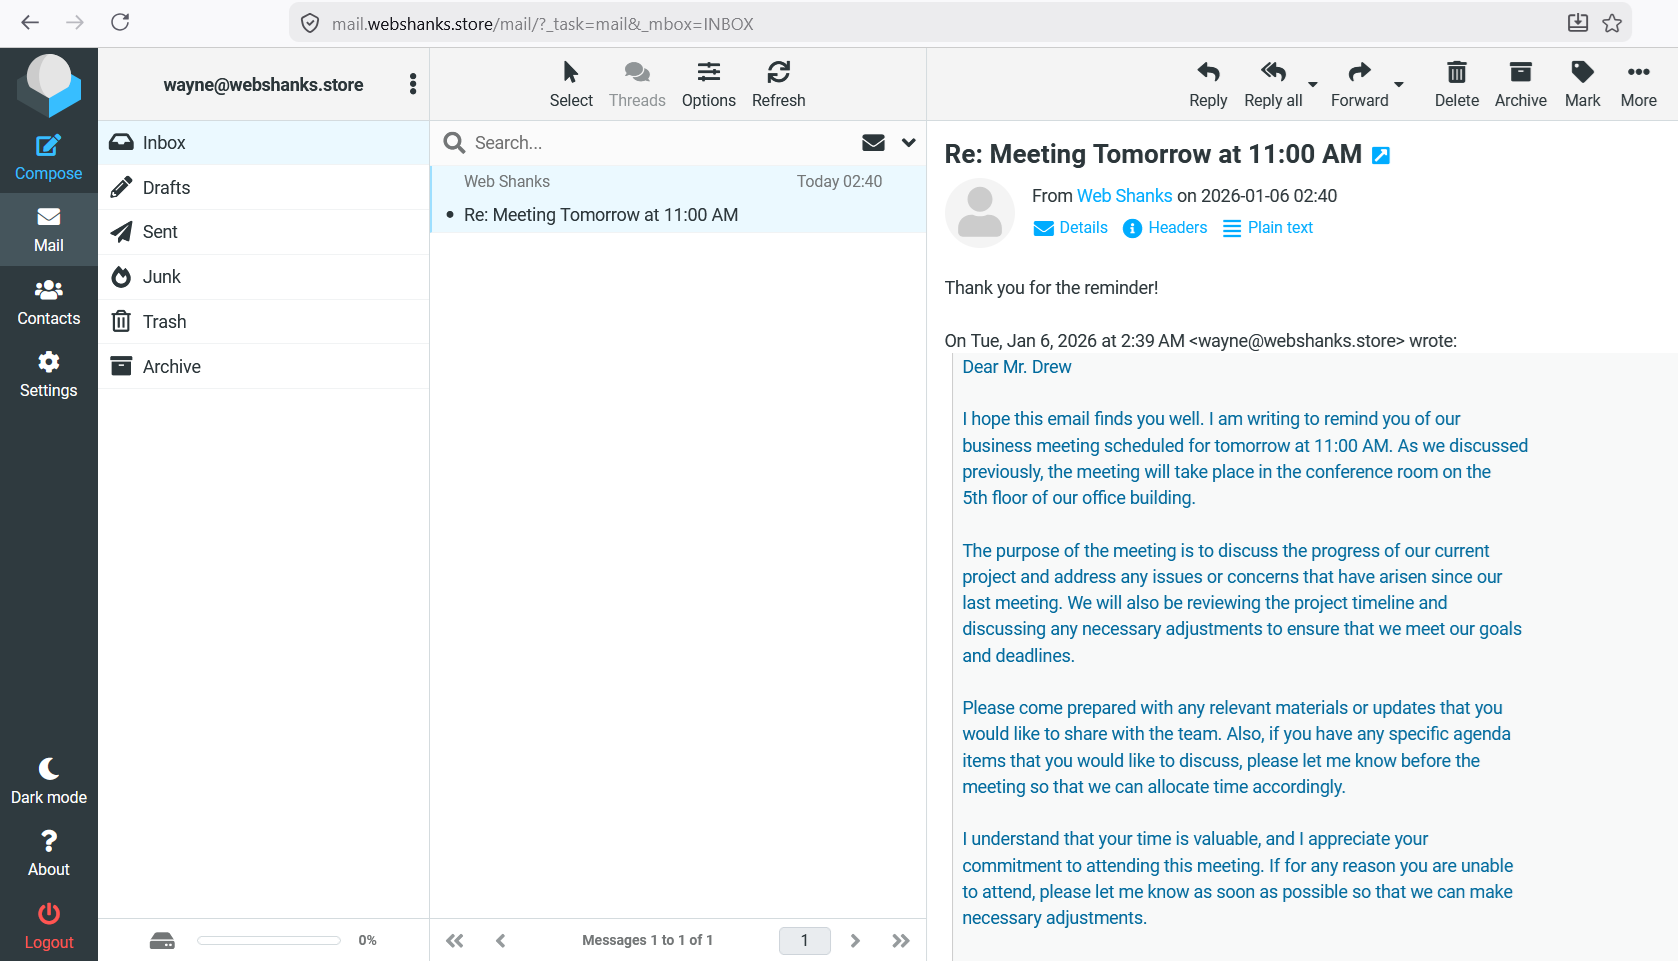
Let’s test on Google.
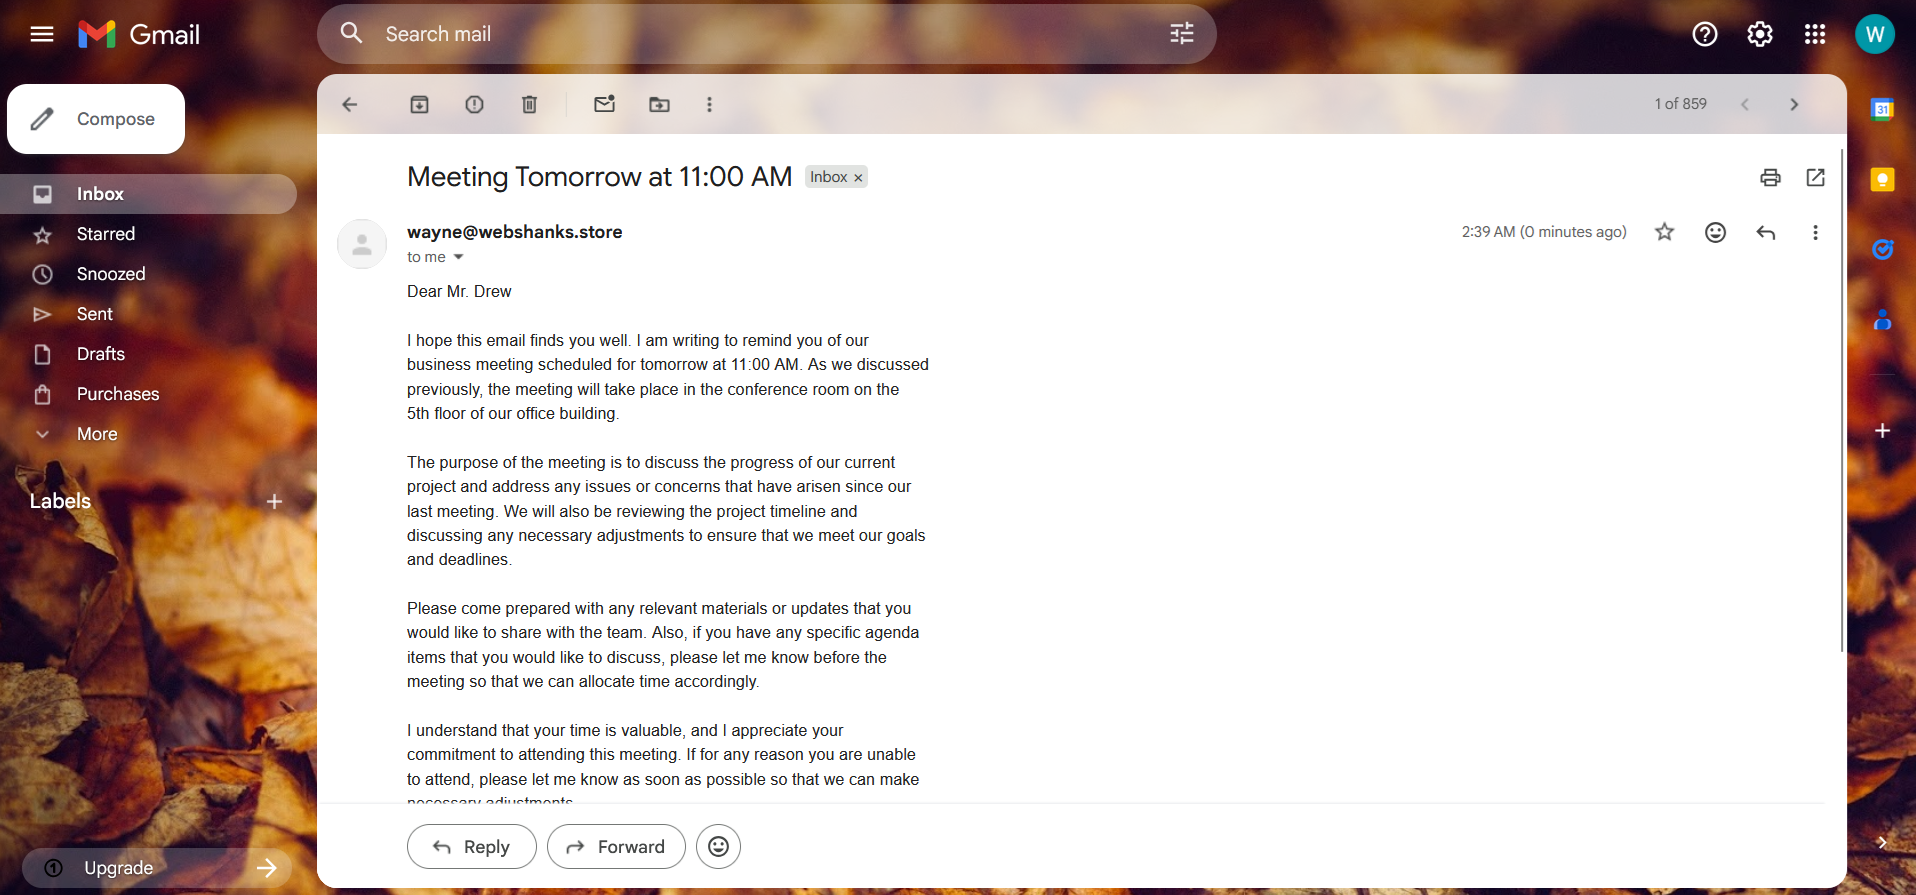
Email reply received on our MIAB!
Step 9: Configure Email Clients
IMAP Settings:
Server: mail.yourdomain.com
Port: 993
Encryption: SSL/TLS
SMTP Settings:
Server: mail.yourdomain.com
Port: 587
Encryption: STARTTLS
Authentication: Required
These settings work with Gmail, Outlook, Thunderbird, and Apple Mail.
Common Problems and Solutions
Emails Going to Spam
- Ensure rDNS is configured
- Verify SPF, DKIM, and DMARC
- Confirm Cloudflare proxy is disabled
Cannot Receive Emails
- Check MX record
- Confirm port 25 is open
How to Warm Up Your Mail-in-a-Box Email Server (Very Important)
Even if your Mail-in-a-Box setup is technically perfect, sending emails immediately at full volume can cause messages to land in spam. New IP addresses and domains need to build sender reputation over time — this process is called email warm-up.
Skipping this step is one of the most common mistakes with self-hosted mail servers.
Why Email Warm-Up Matters
Email providers like Gmail and Outlook monitor:
- Sending volume
- Sending consistency
- Engagement (opens and replies)
- Spam complaints
A sudden spike in email volume from a brand-new server is a red flag.
Warming up your server helps:
- Build trust with inbox providers
- Improve inbox placement
- Reduce spam filtering
Recommended Warm-Up Schedule
Start slowly and increase gradually.
Week 1
- Send 5–10 emails per day
- Send only to real, known recipients
- Ask recipients to reply
Week 2
- Increase to 15–30 emails per day
- Maintain consistent sending times
- Continue replies and conversations
Week 3
- Increase to 40–60 emails per day
- Mix short replies and new messages
Week 4+
- Gradually scale to your normal usage
- Avoid sudden spikes
📌 Consistency is more important than volume.
Best Practices During Warm-Up
✔ Send emails manually or via trusted clients
✔ Avoid bulk or automated sending
✔ Keep messages short and conversational
✔ Encourage replies (“Let me know what you think”)
✔ Monitor spam folder placement
❌ Do NOT send mass newsletters
❌ Do NOT use cold email tools
❌ Do NOT send identical messages repeatedly
Final Thoughts
Mail-in-a-Box is an excellent solution for secure, low-volume email hosting. With proper DNS configuration and reverse DNS, it delivers reliable inbox placement for personal and business use.
If your goal is cold email or bulk outreach, consider solutions like Mailcow paired with outreach tools instead.