 If you’re new to VPS hosting and looking for a free, lightweight alternative to cPanel, OLS Panel (OpenLiteSpeed Control Panel) is an excellent choice. It is designed to work seamlessly with the OpenLiteSpeed web server, offering great performance, built-in WordPress support, and free SSL.
This guide is written specifically for beginners. Every step explains what you are doing, why it matters, and what to expect, so you don’t feel lost along the way.
What is OLS Panel?
OLS Panel is a web-based control panel that lets you manage websites, domains, databases, PHP versions, SSL certificates, and WordPress without using complicated command-line commands.
Think of it as:
- cPanel, but free
- Optimized for speed and performance
- Built specifically for OpenLiteSpeed
It’s ideal for:
- WordPress websites
- Small business sites
- Developers learning VPS hosting
- Anyone who wants control without monthly panel fees
Prerequisites (What You Need Before Starting)
Before installing OLS Panel, make sure you have the following:
- A VPS (Virtual Private Server) like EUGameHost or UltaHost
- Root SSH Access
- A Domain Name
How to Install OLS Panel with Domain and SSL on Ubuntu VPS
Step 1: Get a VPS from EUGameHost
Before anything else, you need a server to install OLS Panel on.
In this tutorial, I will be using an affordable VPS on EUGameHost. Choose Ubuntu 24.04 as your operating system.
If you’re still exploring VPS options, you may also want to check out our guides on cheap VPS options and budget-friendly $1 VPS providers.
Step 2: Buy a Domain from Namecheap
A domain is the web address people type to visit your website (for example: yourdomain.com).
Go to Namecheap and register your own domain name.

Step 3: Connect to Your VPS via SSH
SSH allows you to securely control your server using text commands.
On Windows, you can use:
- Windows Terminal
- PowerShell
- PuTTY
In this tutorial, we will use Bitvise – it’s 100% free. If you don’t know how to connect to your server via ssh, read this guide.

Once logged in, update the server:
sudo apt update && sudo apt upgrade -y
This ensures your system has the latest security patches.
Step 4: Install OLS Panel
Instead of manually installing dozens of components, OLS Panel provides an automatic installer.
Run this command:
bash <(curl -fsSL https://olspanel.com/install.sh || wget -qO- https://olspanel.com/install.sh)
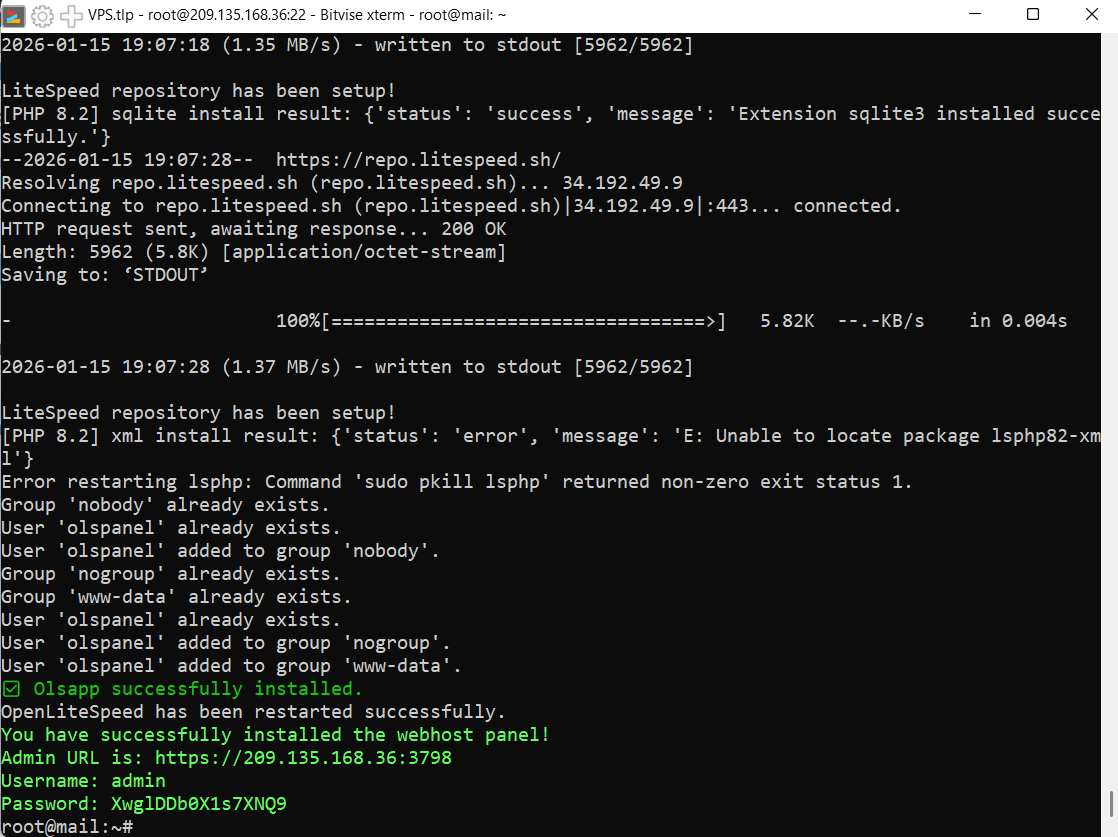
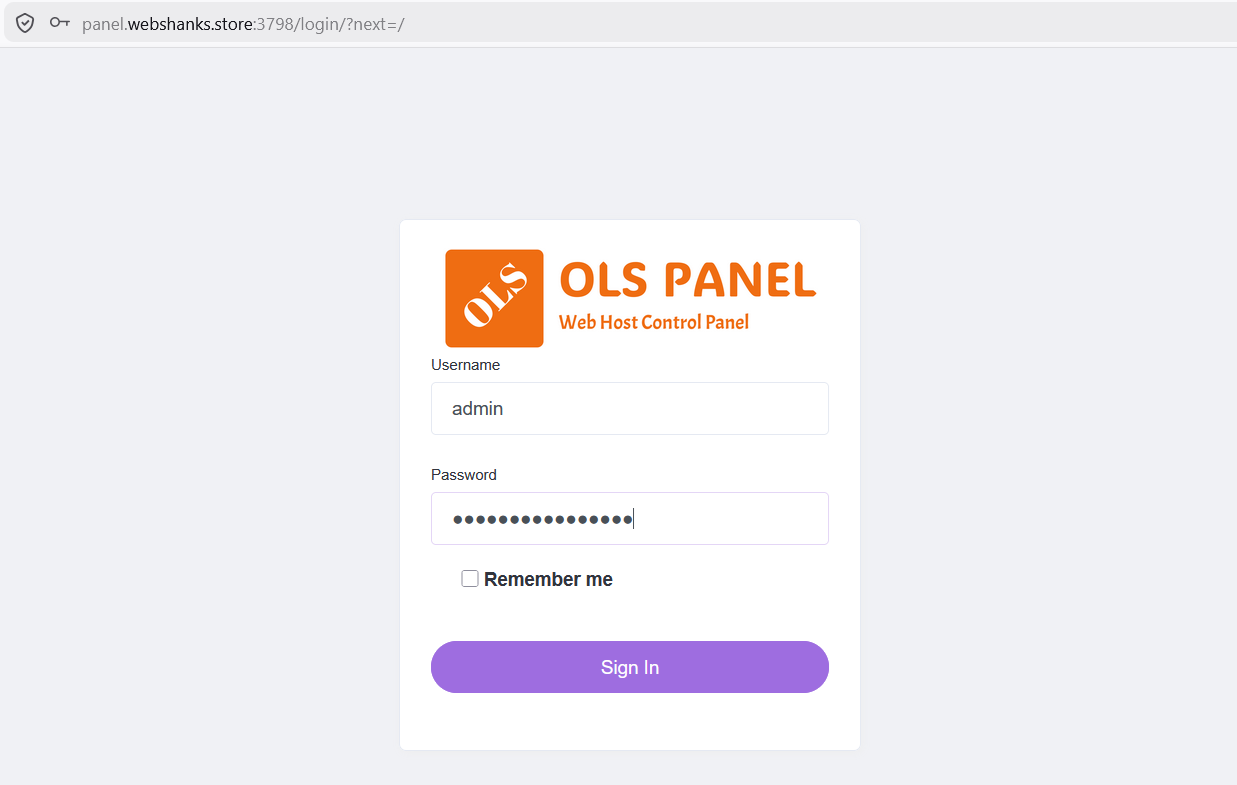
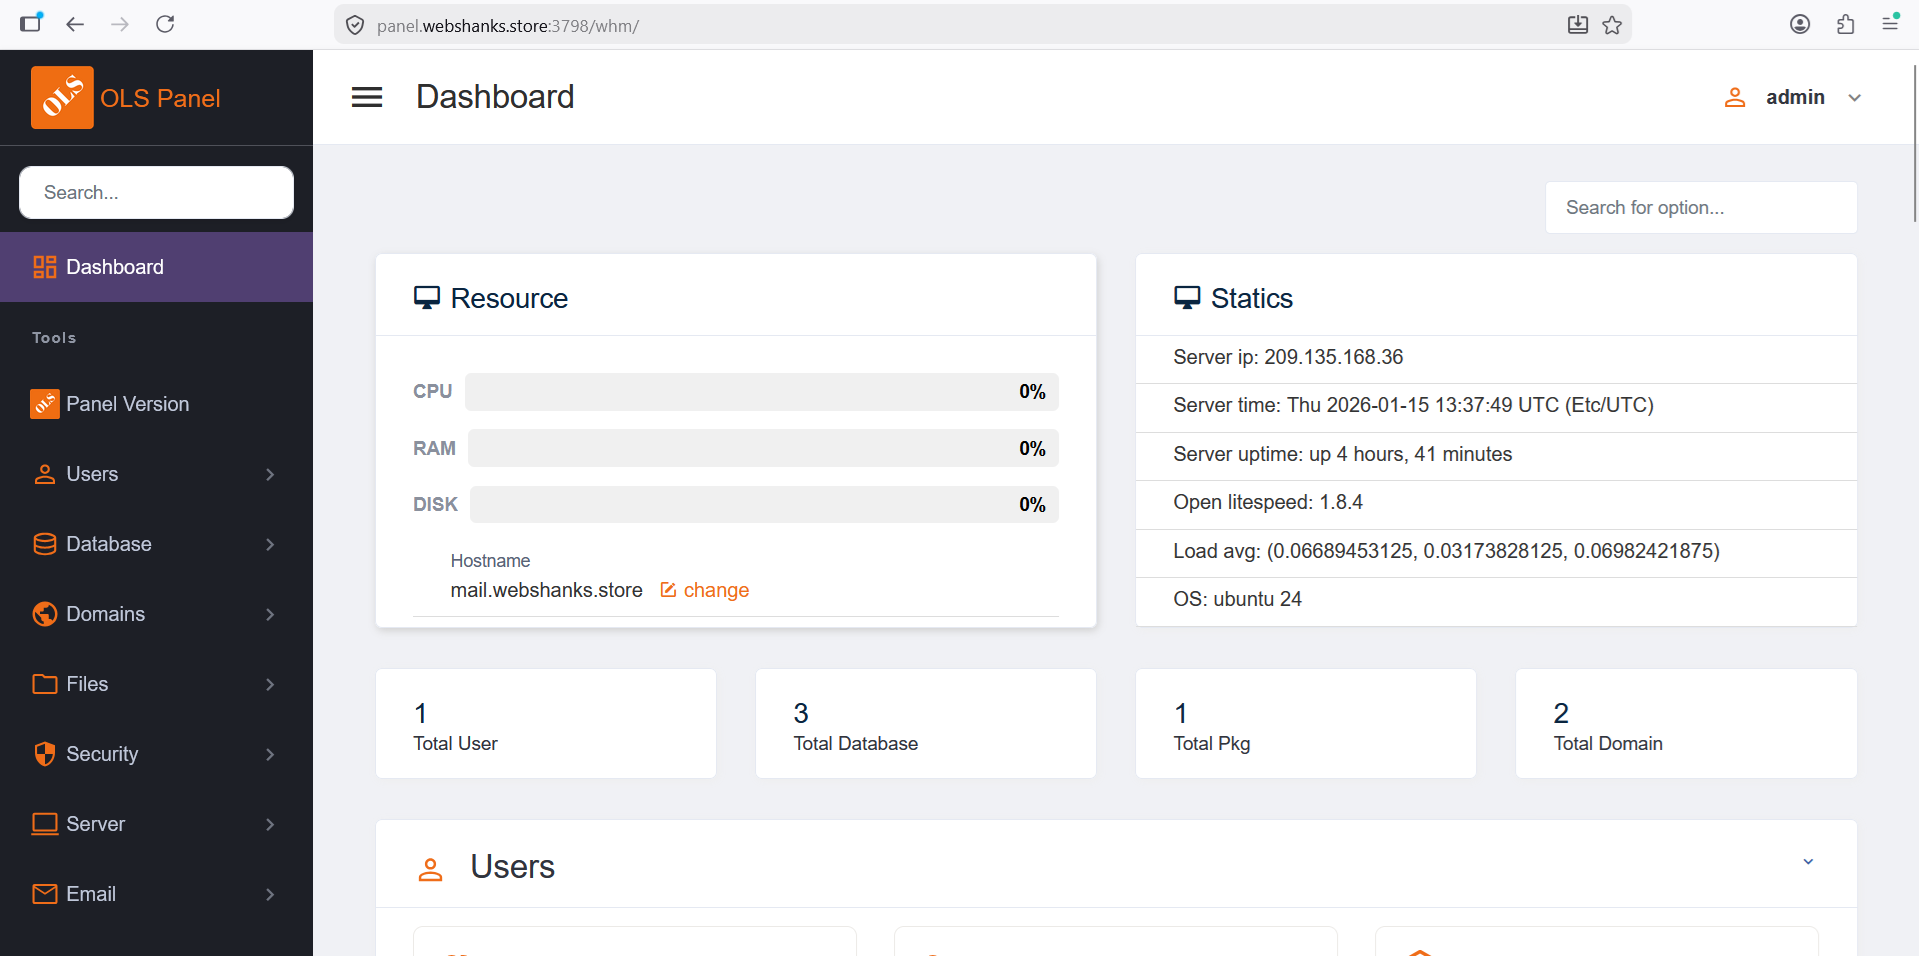
Step 5: Access OLS Panel Dashboard
Open your browser and visit the admin URL.
Use the Username and Password provided.

Welcome to your OLS Panel dashboard!

Step 6: Point Your Domain to the VPS (DNS Setup)
Before SSL can work, your domain must point to your server’s IP address.
Log in to your domain registrar (Namecheap, GoDaddy, Cloudflare, etc.) and add these DNS records:
| Type | Name | Value |
|---|---|---|
| A | @ | your_server_ip |
| A | panel | your_server_ip |
What This Means
- @ = root domain (yourdomain.com)
- panel = subdomain
DNS changes may take a few minutes (or up to 24 hours).
You can test it using:
ping yourdomain.com
Or use DNSchecker.org.
If it shows your server IP, DNS is working.
Step 7: Add Subdomain and SSL
Now that your domain points to the server, it’s time to create the domain.
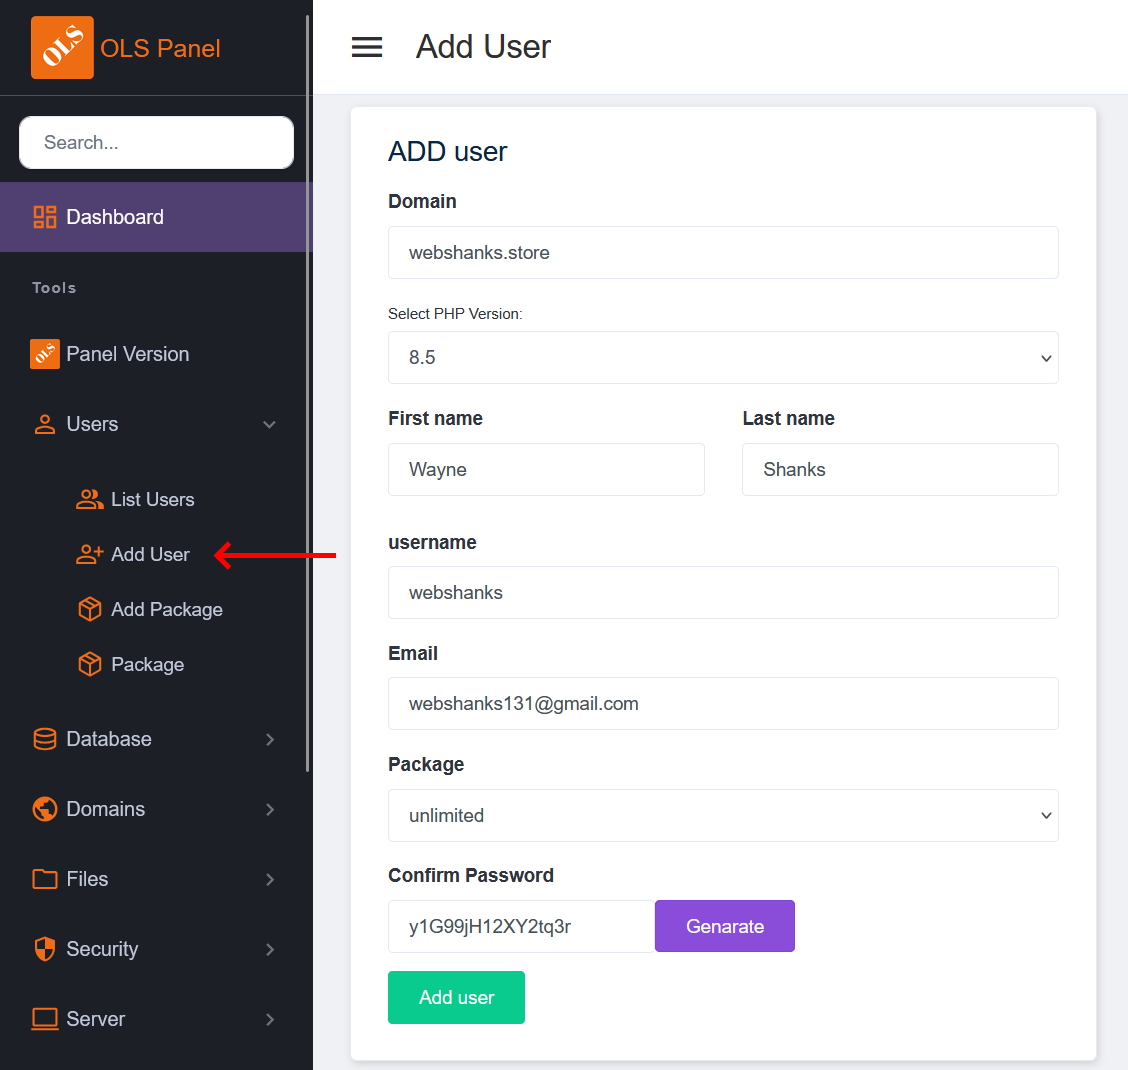
First, let’s create a user.
Go to Users > Add Users.
Fill in the necessary details.
Next, we will add a subdomain.
Go to Domains > Add Domain.

Once added, go to Dashboard > Panel SSL.
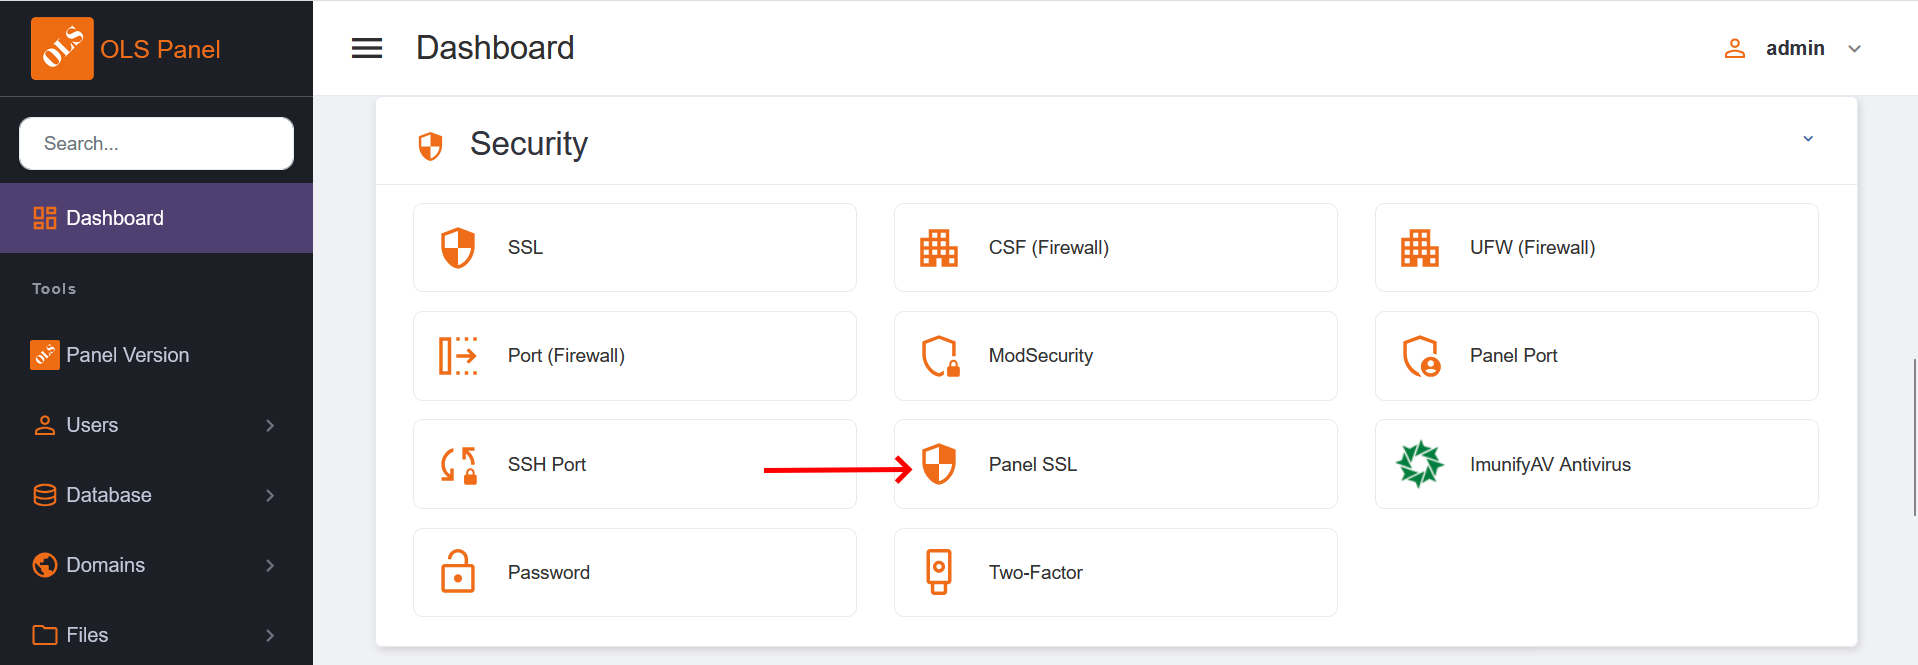
Then choose the subdomain you created.
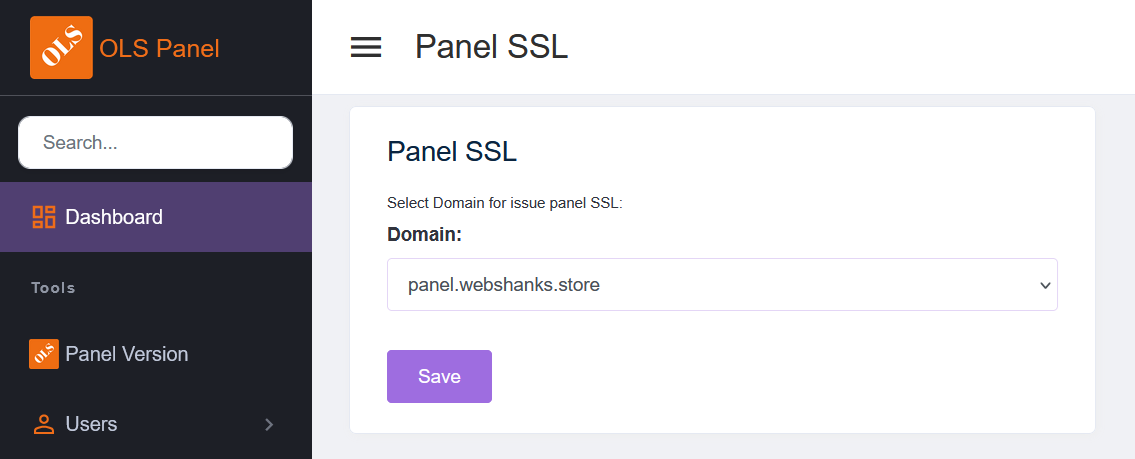
Once you add the subdomain, you will be redirected to the login page with SSL.
Common Beginner Issues and Fixes
Website Not Loading
- Check DNS propagation
- Ensure port 80/443 is open
- SSL Fails to Issue
Domain not pointing to the server
- Port 80 blocked
Panel Access Issues
- Firewall blocking port 3798
Final Thoughts
OLS Panel is one of the best free control panels for VPS beginners. It removes complexity while giving you professional-level hosting performance.
Once you’re comfortable, you can:
- Host multiple domains
- Add email services
- Tune OpenLiteSpeed for performance
If you want a fast, secure, and cost-effective hosting setup, OLS Panel is a solid choice.