 VitoDeploy is a self-hosted server deployment panel similar to Laravel Forge, designed to help you manage servers, deploy applications, and automate tasks—all from your own infrastructure.
In this guide, you’ll learn how to install VitoDeploy on a fresh Ubuntu server, configure basic requirements, and access the dashboard.
What is VitoDeploy?
VitoDeploy is a self-hosted server deployment and management panel designed as an open-source alternative to services like Laravel Forge or Ploi.
It allows you to:
- Deploy applications from Git repositories
- Manage multiple servers via SSH
- Configure environment variables
- Set up cron jobs and queues
- Work seamlessly with Docker-based deployments
Because it is self-hosted, you maintain full control over your infrastructure—no monthly SaaS fees and no vendor lock-in.
Requirements
Before you begin, make sure you have:
How to Install VitoDeploy on a VPS with Domain + SSL
Step 1. Get a VPS like DartNode or UltaHost
Since this tutorial is self-hosting, we will use a VPS like DartNode or UltaHost.
Watch these tutorials on how to setup DartNode or UltaHost VPS. You can also follow this guide.
Step 2: Connect to Your VPS via SSH
We will be using a free SSH client to connect to our server.
Download and install Bitvise.

If you’re new to SSH, this beginner’s guide may help
Step 3: Update the Server
Update packages and install basic tools:
sudo apt update && sudo apt upgrade -y
sudo apt install -y curl wget unzip git
Step 4: Install VitoDeploy
This single command installs and configures VitoDeploy on your VPS (no Docker needed):
bash <(curl -Ls https://raw.githubusercontent.com/vitodeploy/vito/3.x/scripts/install.sh)
✔️ Run as root
✔️ The installer will prompt you for:
- APP_URL – IP or domain to access VitoDeploy
- Admin Email — email you’ll use to log in
- Admin Password — password for the admin account
(You can provide them via environment variables ADMIN_EMAIL and ADMIN_PASSWORD if you prefer scripting.)
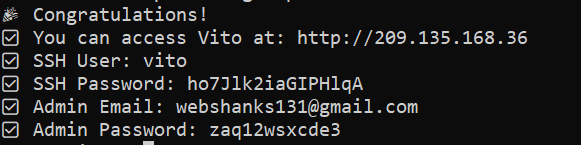
Wait — the installer can take several minutes to complete. When it finishes, you’ll see something like:
Step 5: Access VitoDeploy via IP
After installation completes:
Open a browser
Visit: http://your_server_ip
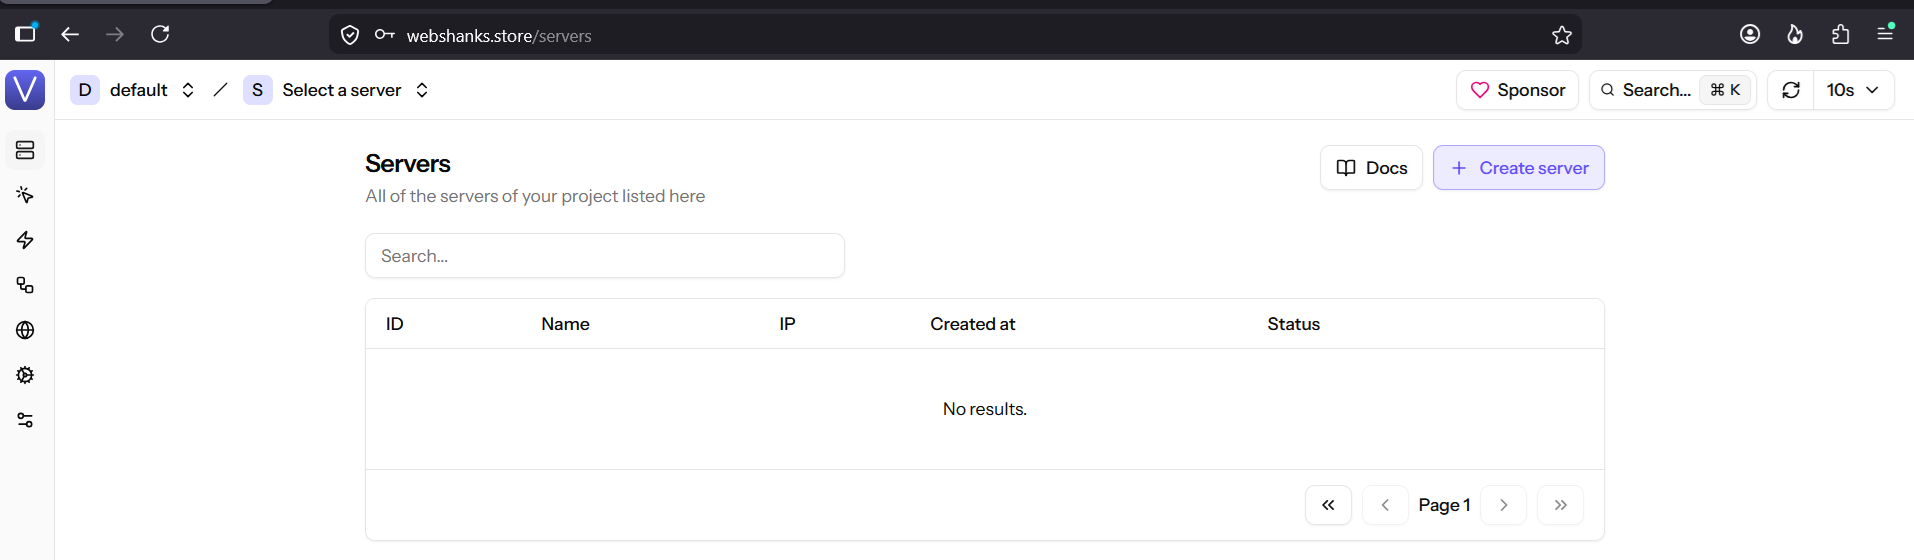
You should see the VitoDeploy dashboard.
Step 6: Point Your Domain to the Server
To secure your VitoDeploy installation with SSL, first point your domain to your VPS.
1. Go to your DNS provider
2. Create an A record:
- Name: deploy.yourdomain.com
- Value: your server’s public IP
Wait a few minutes for DNS propagation.
Step 7: Secure with HTTPS (SSL)
Open vito with an editor on your terminal like nano:
sudo nano /etc/nginx/sites-available/vito
Find:
server_name _
Then add your domain after _.
server_name _ webshanks.store
Restart the webserver:
sudo service nginx restart
Check if it is running:
sudo service nginx status
It should show something like this:
● nginx.service - A high performance web server and a reverse proxy server
Loaded: loaded (/usr/lib/systemd/system/nginx.service; enabled; preset: enabled)
Active: active (running) since Tue 2026-01-13 18:13:18 UTC; 6s ago
Docs: man:nginx(8)
Process: 44493 ExecStartPre=/usr/sbin/nginx -t -q -g daemon on; master_process on; (code=exited>
Process: 44495 ExecStart=/usr/sbin/nginx -g daemon on; master_process on; (code=exited, status=>
Main PID: 44496 (nginx)
Tasks: 3 (limit: 4658)
Memory: 2.4M (peak: 2.8M)
CPU: 8ms
CGroup: /system.slice/nginx.service
├─44496 "nginx: master process /usr/sbin/nginx -g daemon on; master_process on;"
├─44497 "nginx: worker process"
└─44498 "nginx: worker process"
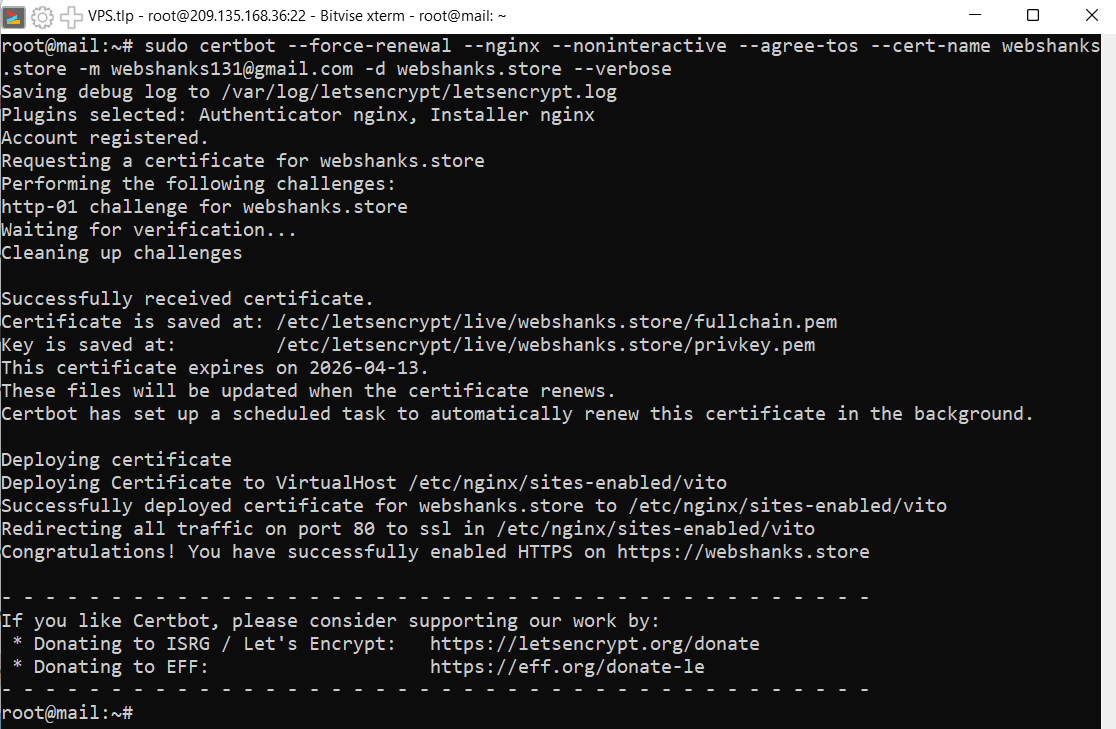
Then we will get SSL.
This obtains and installs a free SSL certificate (Let’s Encrypt).
sudo certbot --force-renewal --nginx --noninteractive --agree-tos --cert-name YOUR_DOMAIN -m YOUR_EMAIL -d YOUR_DOMAIN --verbose
- YOUR_DOMAIN – your domain name
- YOUR_EMAIL – an existing email
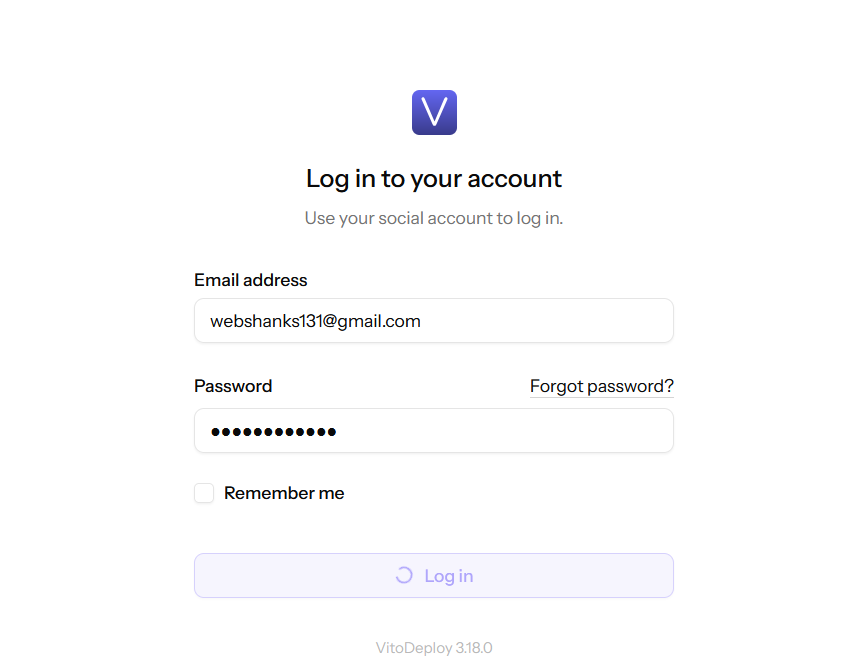
Step 8: Access VitoDeploy via Domain
Now open your browser and go to your domain.
✔ You’ll see the secured login page
✔ Log in using the admin credentials you created in Step 5
Common Tips & Troubleshooting
Server Not Accessible?
- Ensure your provider allows traffic on ports 80 and 443
- Check your VPS firewall (UFW / iptables)
Domain Isn’t Showing?
- DNS propagation may take time
- Verify the A record points to your IP
SSL Errors?
- Ensure DNS is correct before requesting a certificate
- Cloudflare users should disable proxy (orange cloud) while obtaining SSL
What You Can Do Next
- Once installed and secured:
- Add more servers via SSH
- Configure deployments from GitHub/GitLab
- Set up apps, cron jobs, tasks
- Monitor deployments & logs
Final Thoughts
VitoDeploy is a powerful self-hosted alternative to Laravel Forge, giving you full control without monthly SaaS fees. If you’re already comfortable with VPS and Docker, it’s an excellent tool for managing production servers.
After setting up the server, how do we add the servers we will deploy to? Do we need a different server? If the different server is on the same home network, I can’t access the sites we deployed because the VitoDeploy web server uses ports 80 and 443.
Did you deploy it on a homelab? Did you enable ports 80 and 443?
Yes, I set it up at home, assigned ports 80 and 443 to Vito’s web panel, and enabled access.
Then I installed another Ubuntu server and added it to Vito. When I create a site on that server, it naturally accesses the Vito interface. Both servers use ports 80 and 443.