 Setting up a Virtual Private Server (VPS) on DartNode is straightforward, just like UltaHost or Contabo. It allows you to host websites, applications, or other projects.
This guide will walk you through each step, from purchasing the VPS to configuring it for your needs.
You need:
- A DartNode account. If you don’t have one, you can sign up here.
- Basic knowledge of SSH and Linux commands.
- An SSH client such as PuTTY or Bitvise.
- A registered domain name, if applicable.
How to Buy and Setup DartNode VPS
Step 1: Purchase a DartNode VPS Plan
Navigate to the DartNode VPS Plans page and choose a plan that fits your requirements. Consider the number of resources you need, such as CPU cores, RAM, and disk space.
For faster and better performance, choose 4GB RAM or more.

Step 2: Configure your VPS
Add your hostname, choose the operating system you want to install, and click Continue.

Then choose if you want to add DDoS protection and Cloud backups. I suggest you add DDoS for another layer of protection for your server.

Register an account.
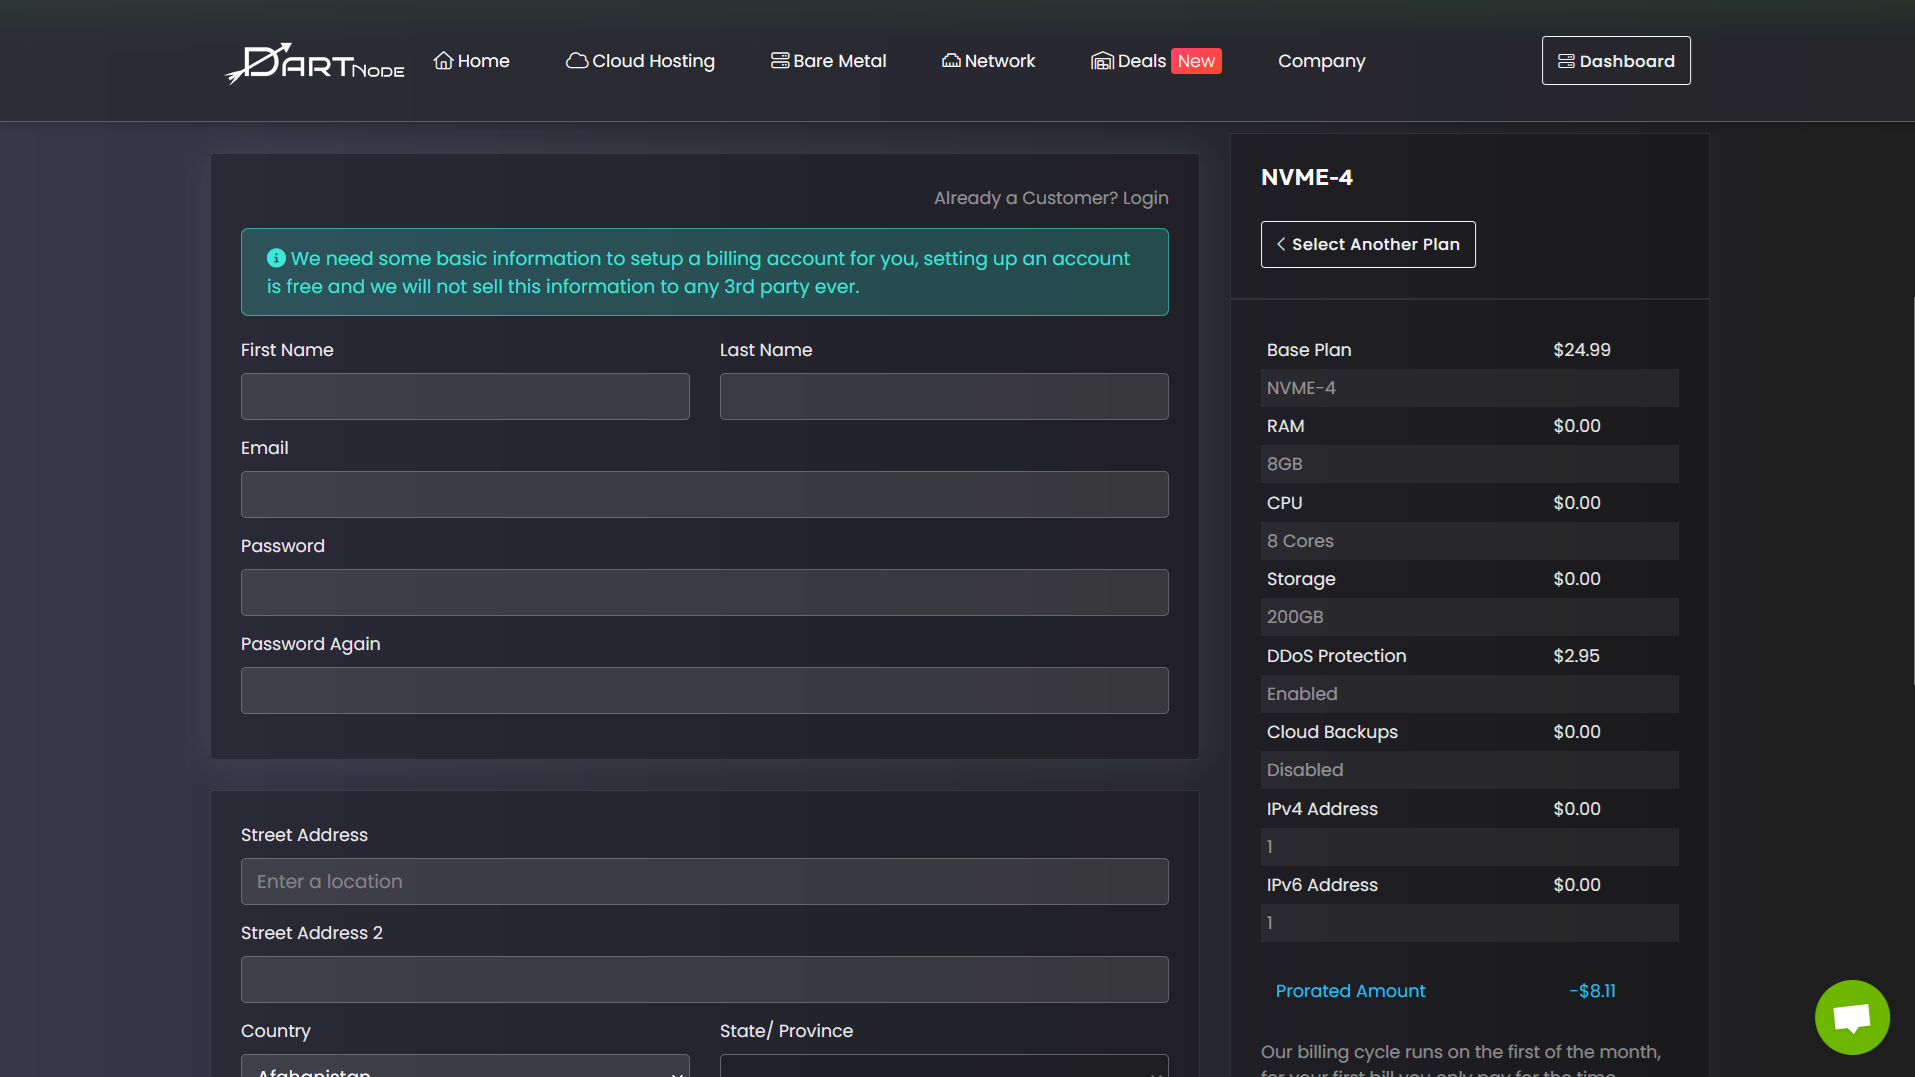
If everything’s okay, click Order Now.
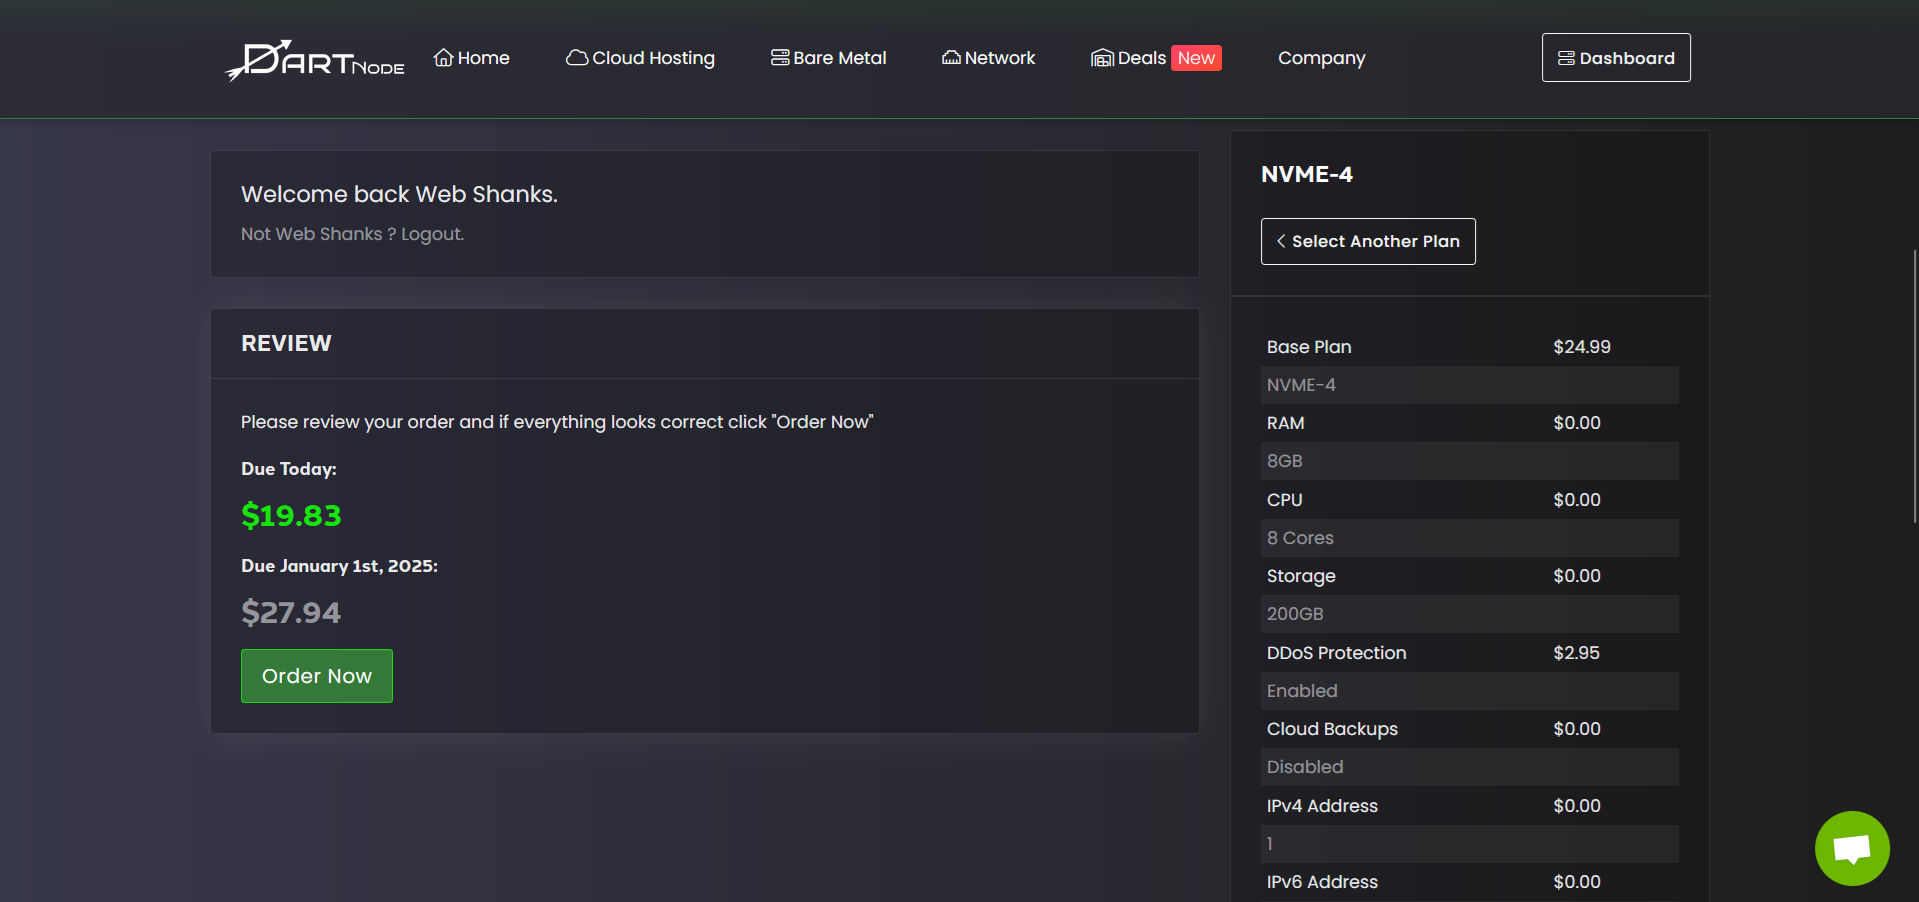
Choose what payment method you would like to pay for your VPS.

Step 3: Access Your VPS
After purchasing your VPS, DartNode will send your server credentials to your registered email.

Open your SSH client and log in using the IP address, username, and password provided.
You can use Bitvise or PuTTy to connect to your server via SSH.
Step 4: Update the Server
Run the following commands to update your server packages:
sudo apt update && sudo apt upgrade -y
What’s Next?
Configure SSH Access
Enhance security by configuring SSH access:
- Generate SSH keys on your local machine. Follow our guide on SSH key generation.
- Add your public key to the VPS:
echo "your-public-key" >> ~/.ssh/authorized_keys - Disable root login and password authentication in the SSH configuration file:
sudo nano /etc/ssh/sshd_configUpdate:
PermitRootLogin no
PasswordAuthentication no - Restart the SSH service:
sudo systemctl restart ssh
Install a Control Panel
Installing a control panel can simplify server management. I recommend Virtualmin or CyberPanel. Follow our detailed guides to set them up.
Deploy Applications
You’re now ready to deploy websites, applications, or email servers on your VPS. Start with our guide on creating a mail server or hosting multiple websites on one server.
Server Performance Test
This is the result of my server with 6GB RAM.

For GeekBench 6 result, check here: https://browser.geekbench.com/v6/cpu/9331018
Conclusion
Congratulations! You’ve successfully set up a VPS on DartNode. Continue optimizing your server and explore our other VPS tutorials to make the most of your setup.
If you encounter any issues, feel free to leave a comment below.