 Stalwart Email Server is a lightweight, secure, and efficient email server solution ideal for hosting personal or business email services.
In this guide, I’ll walk you through the requirements, setup process, configuration, FAQs, troubleshooting, and more to help you successfully deploy the Stalwart Email Server.
Requirements
Before getting started, ensure you have the following:
- A VPS or dedicated server with open port 25 like EUGameHost.
- A domain name registered on Namecheap.
- Basic Linux knowledge.
How to Setup and Configure Free Stalwart Email Server
Step 1: Order a VPS from EUGameHost
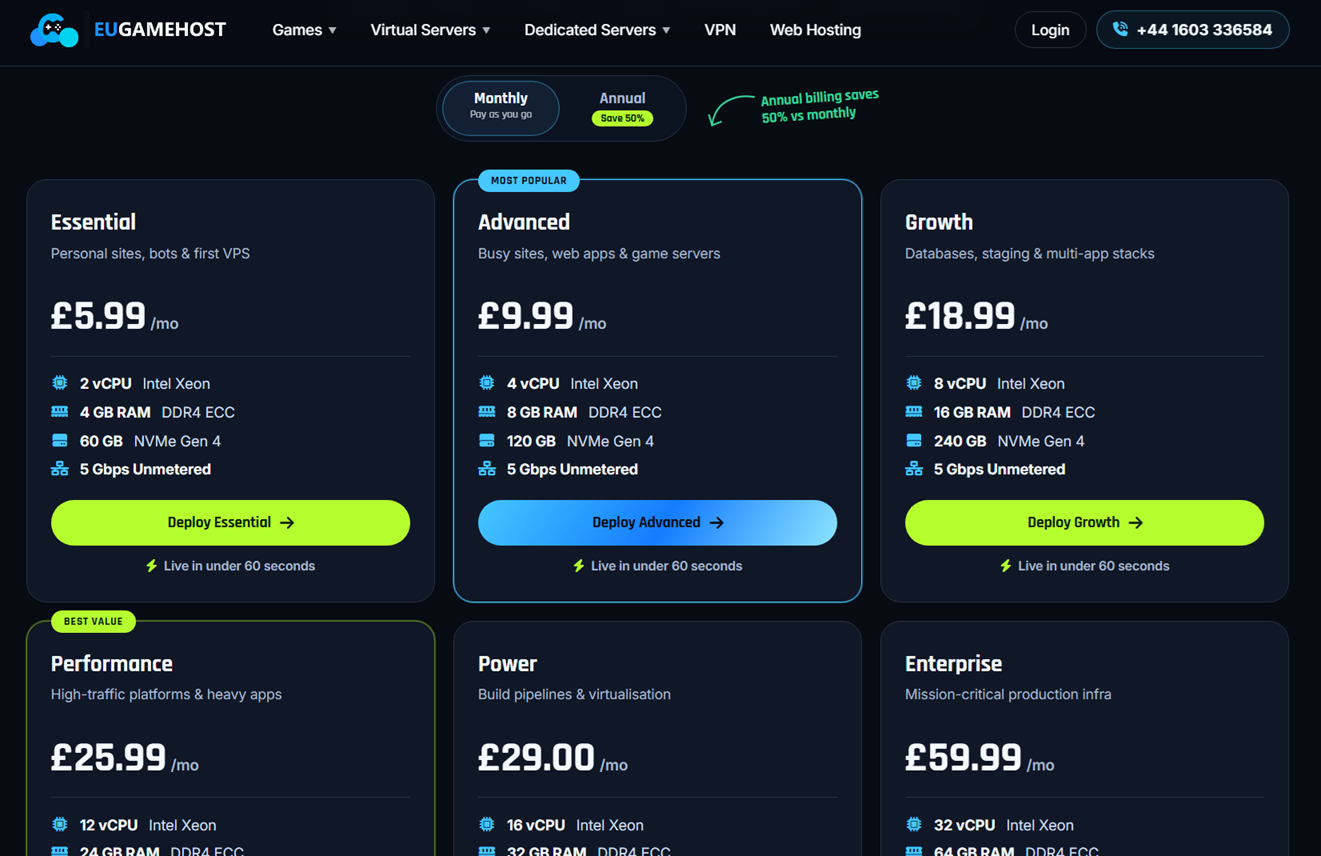
Visit EUGameHost website.
Choose Ubuntu 24.04 LTS as your operating system and complete the purchase process.
For detailed setup, be sure to follow this guide.
Step 2: Get a domain
Register a domain from your preferred domain registrar. I recommend Namecheap.

Step 3. Connect to your server.
Use Bitvise or PuTTY to connect to your server.

Then update your server by running the command.
sudo apt update && sudo apt upgrade -y
Step 4: Setup rDNS and Initial DNS Records
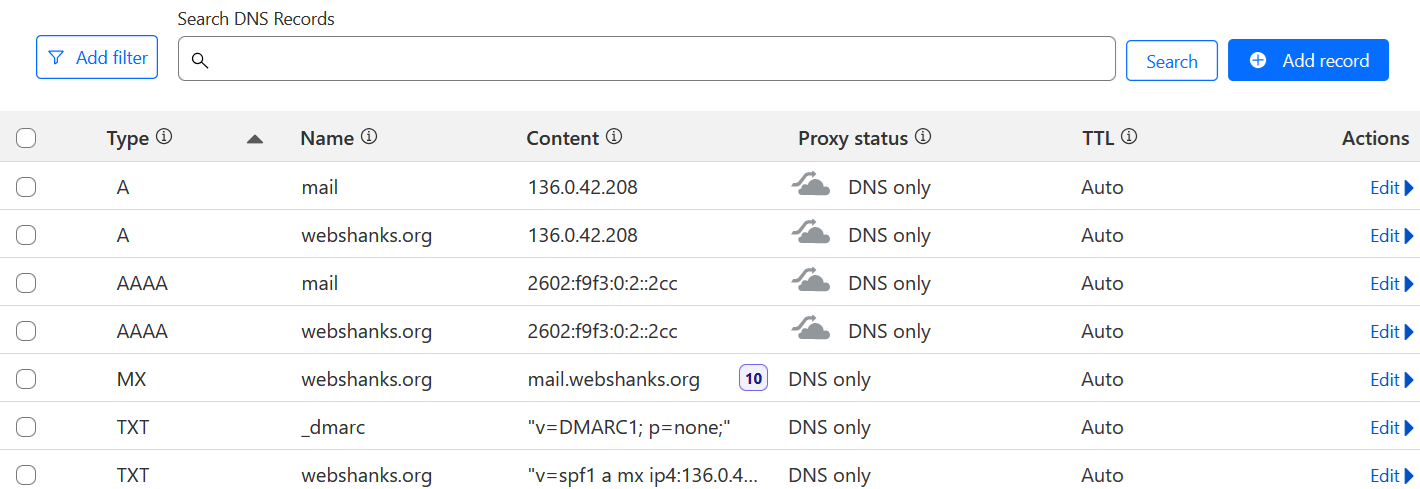
Now it’s time to map our DNS.
| Record Type | Name | Content | Priority | TTL |
| A | webshanks.org | YourServerIP | Auto | |
| A | YourServerIP | Auto | ||
| MX | webshanks.org | mail.webshanks.org | 10 | Auto |
| TXT | _dmarc | v=DMARC1; p=none; | Auto | |
| TXT | webshanks.org | v=spf1 a mx ip4:181.214.152.68 ip6:181.214.152.68 ~all | Auto |
For this tutorial, I connected my Cloudflare to Namecheap.
If you have IPv6, include an AAAA record for your domain and subdomain ‘mail’.
For setting up rDNS, you need to contact their support. They will handle PTR records manually.
Step 5: Install and Configure Stalwart Email Server
We need to create a directory for our Stalwart first.
Run the command.
sudo mkdir -p /opt/stalwart-mail
Then let’s install Stalwart.
cd /opt/stalwart-mail
curl --proto '=https' --tlsv1.2 -sSf https://get.stalw.art/install.sh -o install.sh
sudo sh install.sh /opt/stalwart-mail/install
Using the credentials provided, login to your Stalwart.
$ sudo sh install.sh
✅ Configuration file written to /opt/stalwart-mail/etc/config.toml
🔑 Your administrator account is 'admin' with password 'Q23hok36E'.
🎉 Installation complete! Continue the setup at http://mail.webshanks.org:8080/login

Then be sure to check Settings > Server > Network if your hostname is correct.

We will add our domain to Management > Directory > Domains.

Then view DNS records so that we can add our DKIM to our DNS records.

Add this DKIM to your DNS provider to complete our authentication.

Next, we will enable TLS so that we can access our hostname as well as to connect to clients securely.
Go to Settings > Server > TLS > ACME Providers.

The restart Stalwart.
sudo systemctl restart stalwart-mail
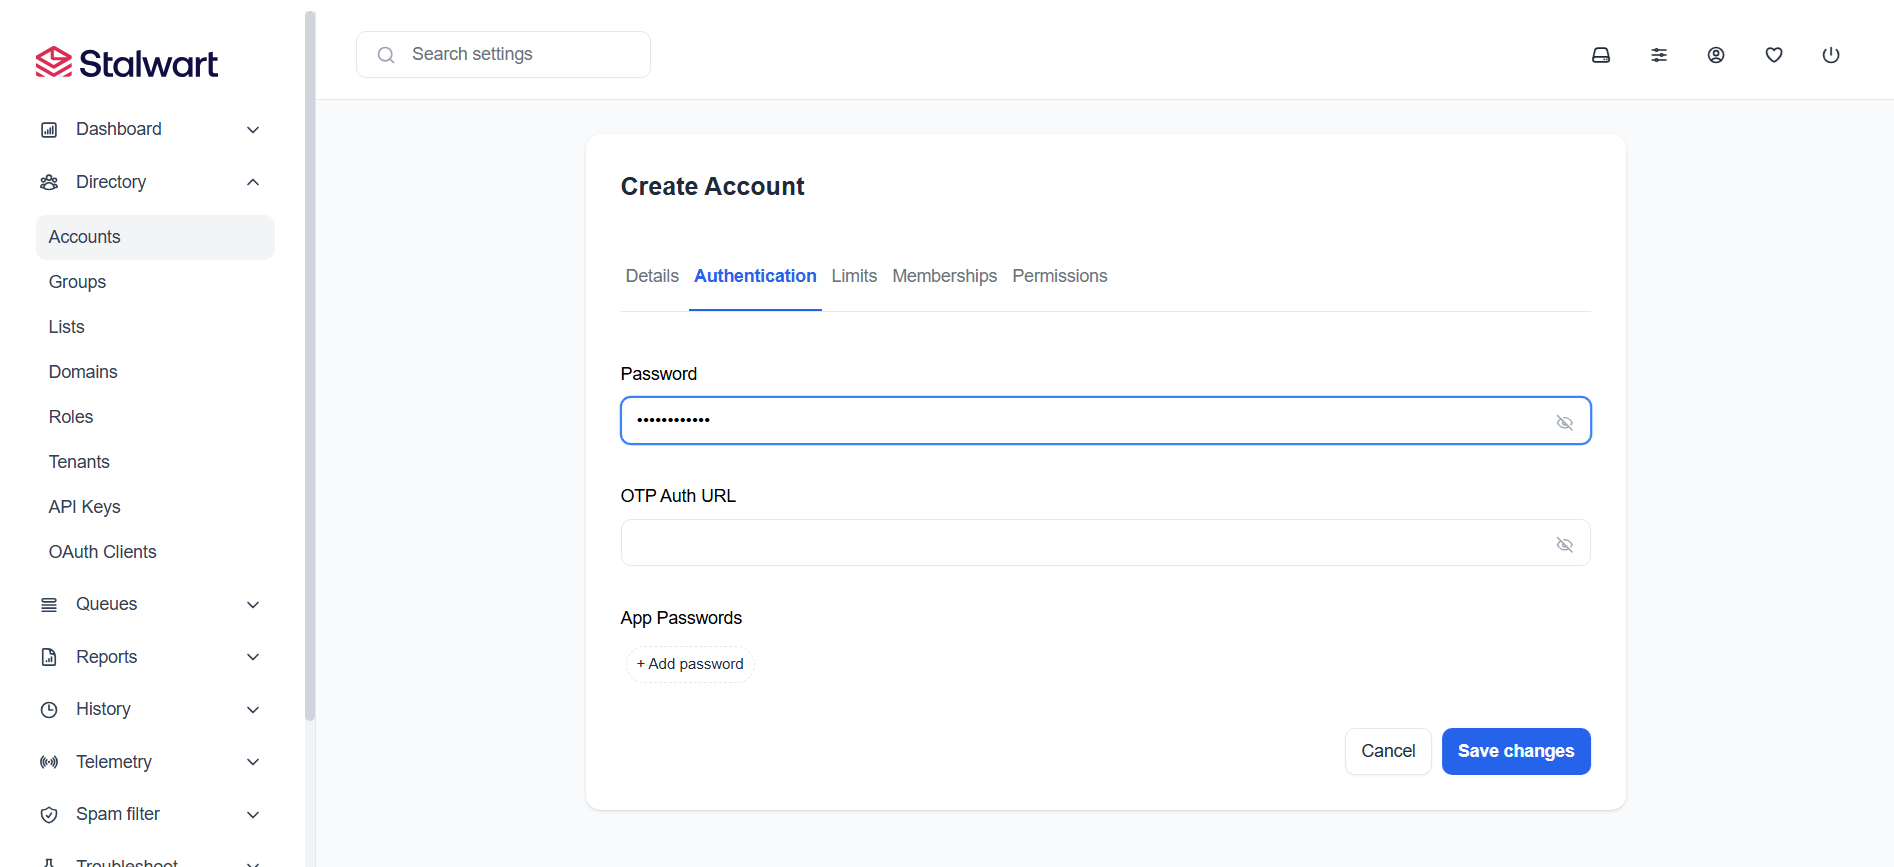
Finally, we will add an email account.
Go to Management > Directory > Accounts.

Be sure to add a password.
Step 6: Connect to Thunderbird
Stalwart doesn’t have a webmail so we need to use an external email client. Thunderbird comes in handy.
Just enter your email and password and it will automatically fetch the SMTP and IMAP details.

If you can’t login using port 587, enable override TLS options. Go to Settings > Server > Listeners > Edit Port 587 and toggle Override TLS options on.

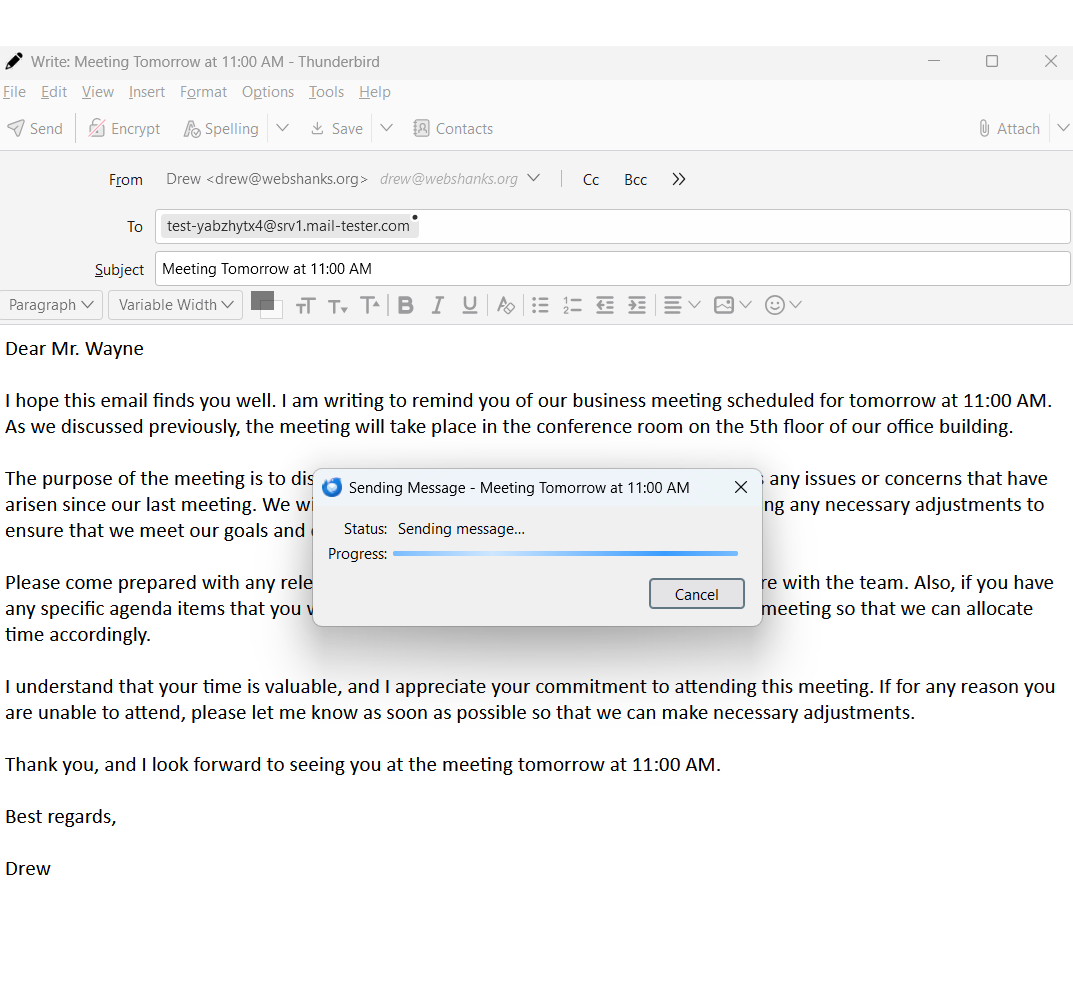
Step 7: Test Email deliverability
Now that we have connected our Stalwart to Thunderbird, let’s test our email.
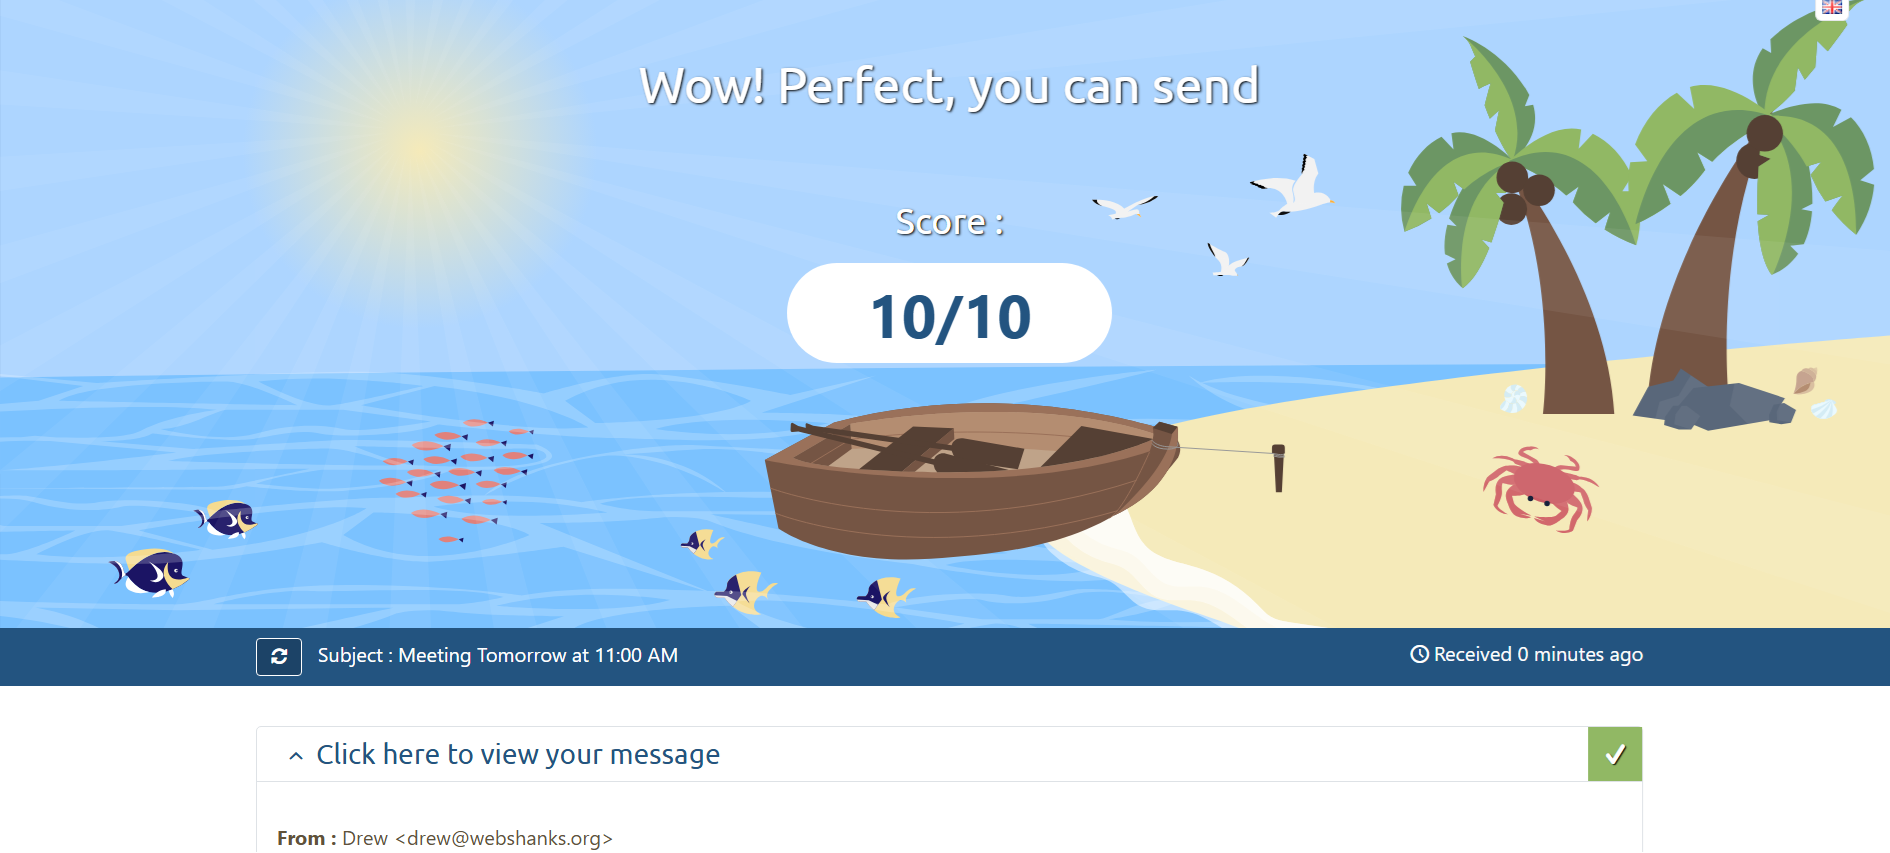
Go to Mail-Tester.
I will send a test email.
We got a 10/10 score on Mail-Tester!
Finally, we’ll try to send it to Gmail and ProtonMail.
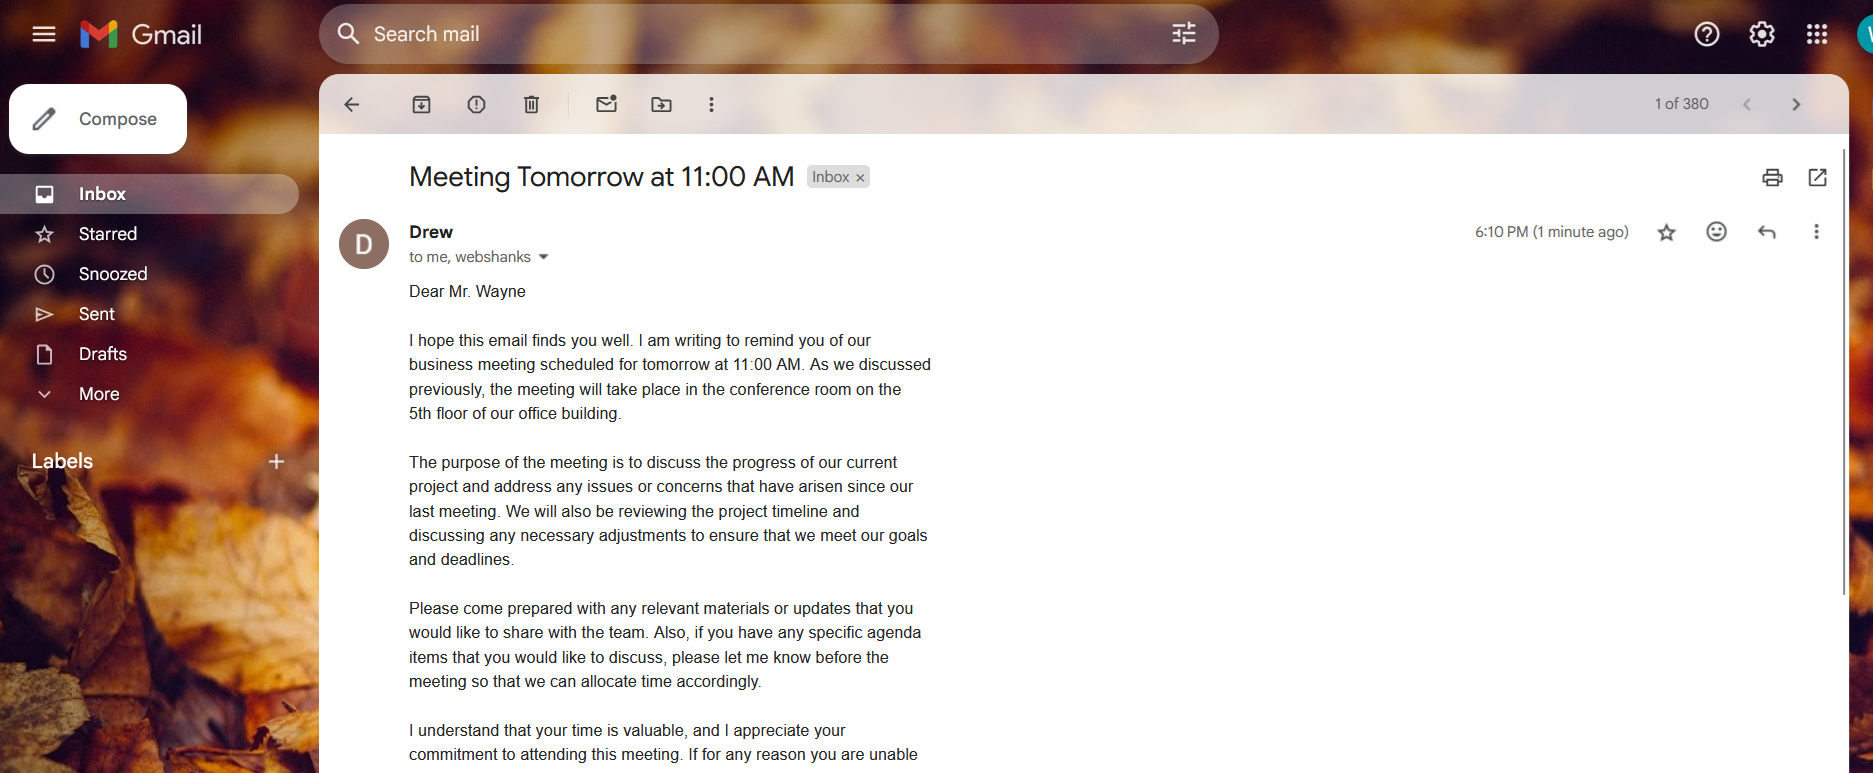
We received the email!
Frequently Asked Questions
Is EUGameHost suitable for email servers?
Yes, EUGameHost VPS servers come with unblocked port 25 and clean IP addresses, making them suitable for email servers.
How do I warm up my email server IP?
Follow our detailed guide on IP and Domain Warmup to warm up your email server properly.
How can I monitor email delivery?
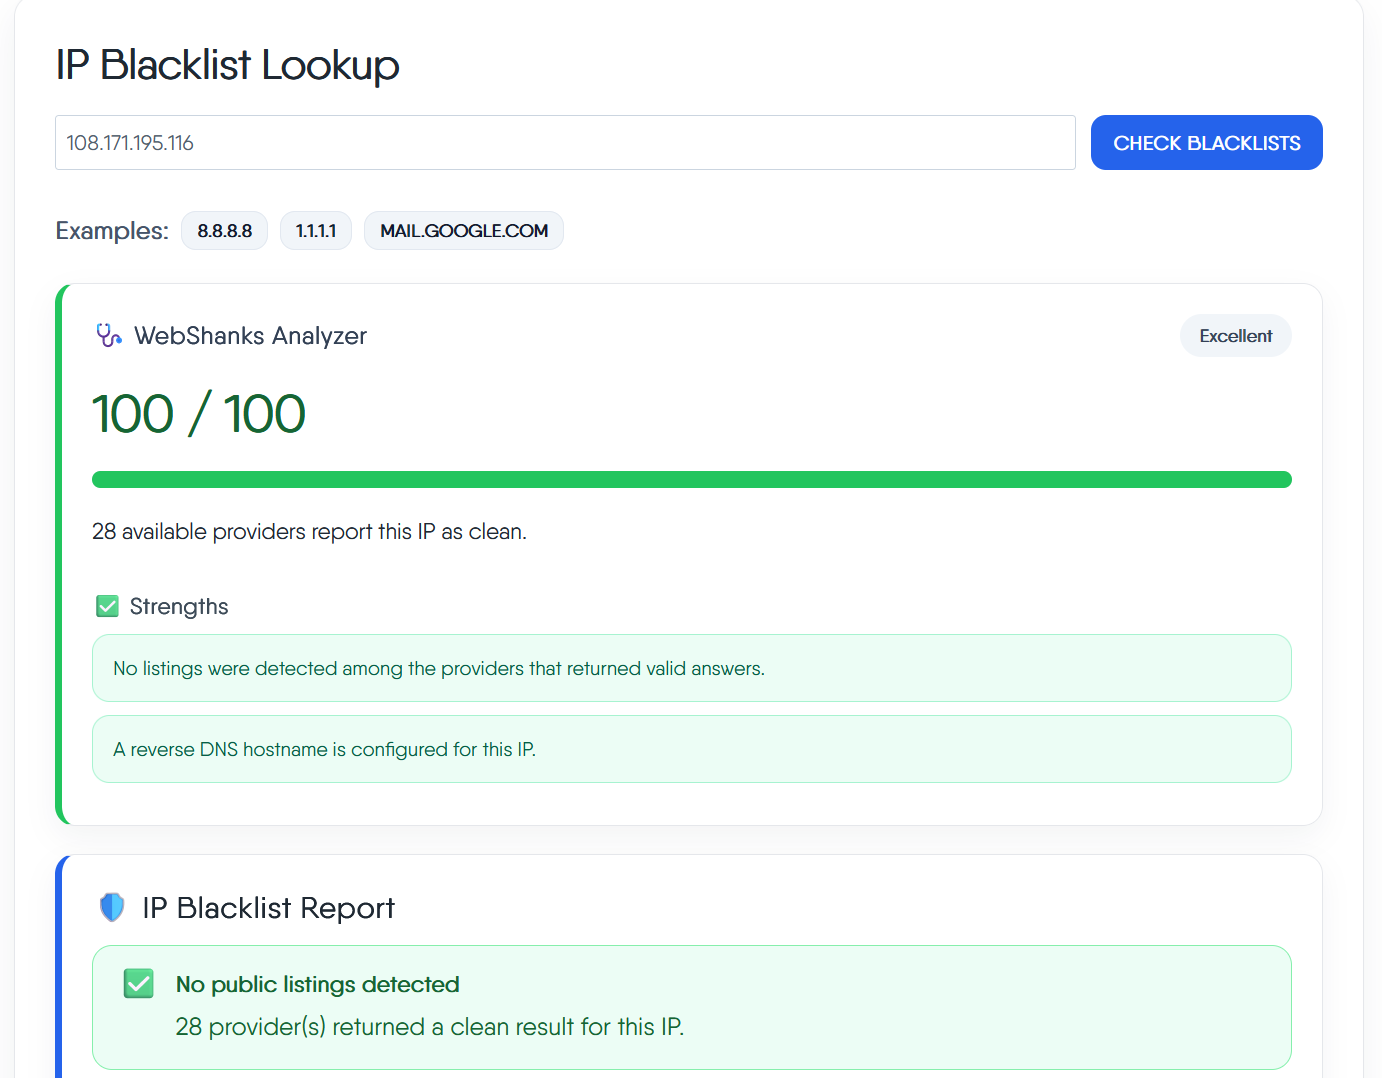
Monitor your mail logs and use external tools like mail-tester.com to check your email server’s reputation and delivery performance.
Troubleshooting
Issue 1: Emails are marked as spam.
- Verify that your SPF, DKIM, and DMARC records are correctly configured. Use our free email tools.
- Use tools like Mail Tester to check email deliverability.
- Don’t send spammy-looking emails like click here for free Bitcoin or free gambling sites.
Issue 2: Unable to connect to the server.
- Ensure ports 25, 465, and 993/995 are open in your firewall. You can check if a port is open or closed using our free tool.
- Restart the service and check the logs.
Issue 3: Emails are not being sent.
- Check if your SMTP port is blocked by your VPS provider.
- Use an SMTP relay service like SendGrid if required.
Conclusion
Stalwart Email Server is a fantastic option for a lightweight and reliable email server solution. By following this guide, you can configure and maintain a secure email service for personal or business use. If you encounter issues, revisit the troubleshooting section or refer to our related guides for more insights.
hi. i can log in with thunderbird but can not log in with outlook.
could you please make a tutorial on how to log in with outlook.
Hello, how do you connect to http://yourserver.org:8080/login all web browser doesn’t accept anymore to connect to non https, I try on a win 11 & mac osx sequoia !
The recommended directory nowadays is /opt/stalwart