 Coolify is a modern, open-source self-hosted alternative to Heroku and similar platforms. This guide will walk you through installing Coolify on a DatabaseMart VPS running Ubuntu 24.04 LTS.
System Requirements
Before starting the installation, ensure your VPS meets these minimum requirements:
- Ubuntu 24.04 LTS installed on DatabaseMart
- 2 Core CPU
- 2 GB RAM (I recommend 4 GB for better performance)
- Port 22 is open for SSH access
Prerequisites
- A registered domain name.
- Basic knowledge of the Linux command line
How to Install Coolify on DatabaseMart VPS Running Ubuntu 24.04 LTS
Step 1: Get a VPS on DatabaseMart
Get a Linux VPS server on Databasemart. Be sure to choose Ubuntu 24.04 LTS as your operating system.
Step 2: Initial Server Setup
First, connect to your VPS via SSH:
ssh root@your_server_ip
Use PuTTy or Bitivise to connect to your server. Check this guide out on how to connect to your Linux server via SSH.
Update your system packages:
sudo apt update && sudo apt upgrade -y
Step 3: Install Coolify
Run the installation script. We will install this using the quick method.
curl -fsSL https://cdn.coollabs.io/coolify/install.sh | bash
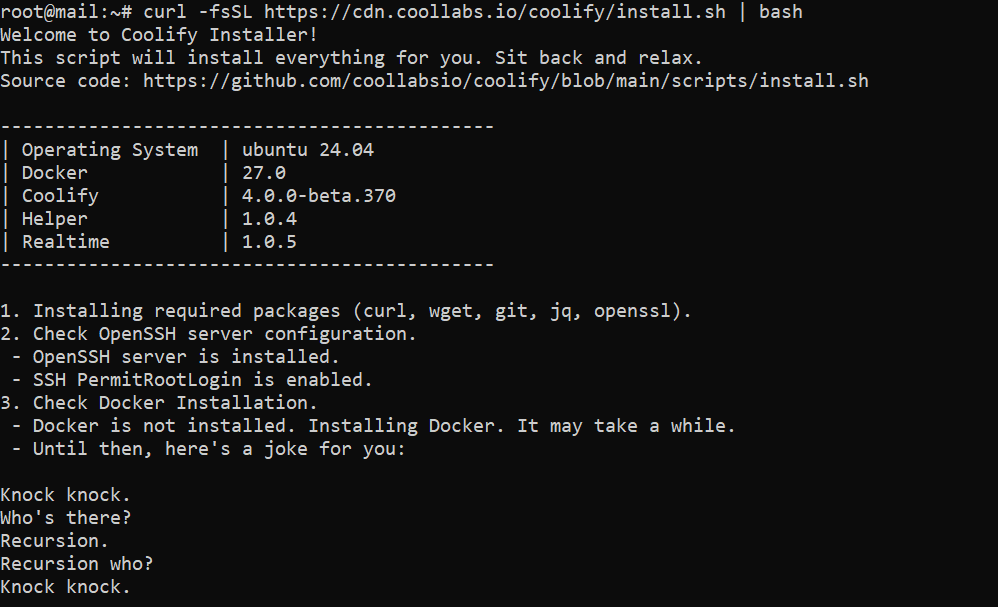
Wait for a few minutes and grab some coffee or tea.
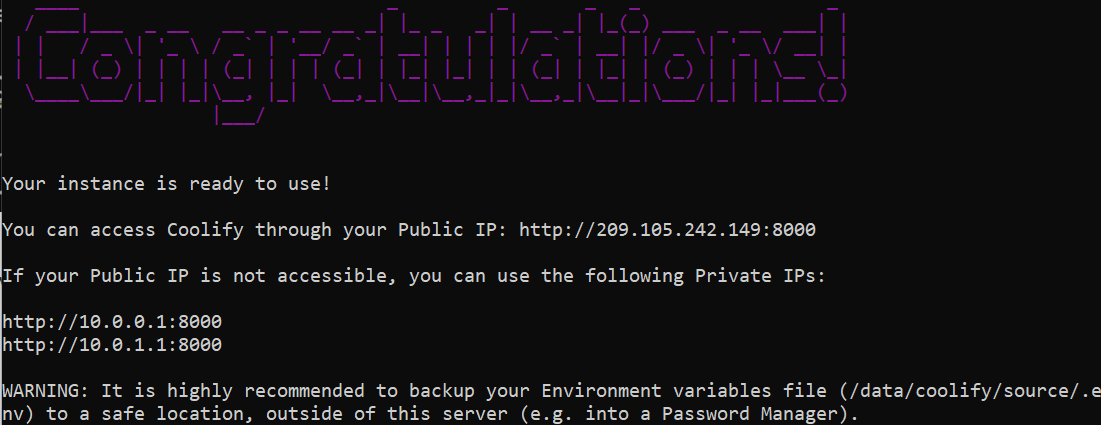
Step 4: Access Coolify
To access your newly installed Coolify, go to http://yourIP:8000
Then create an account.


Step 5: Onboarding
Complete the initial setup.

Do you want to deploy your resources to your Localhost or to a Remote Server?
Choose Remote Server.

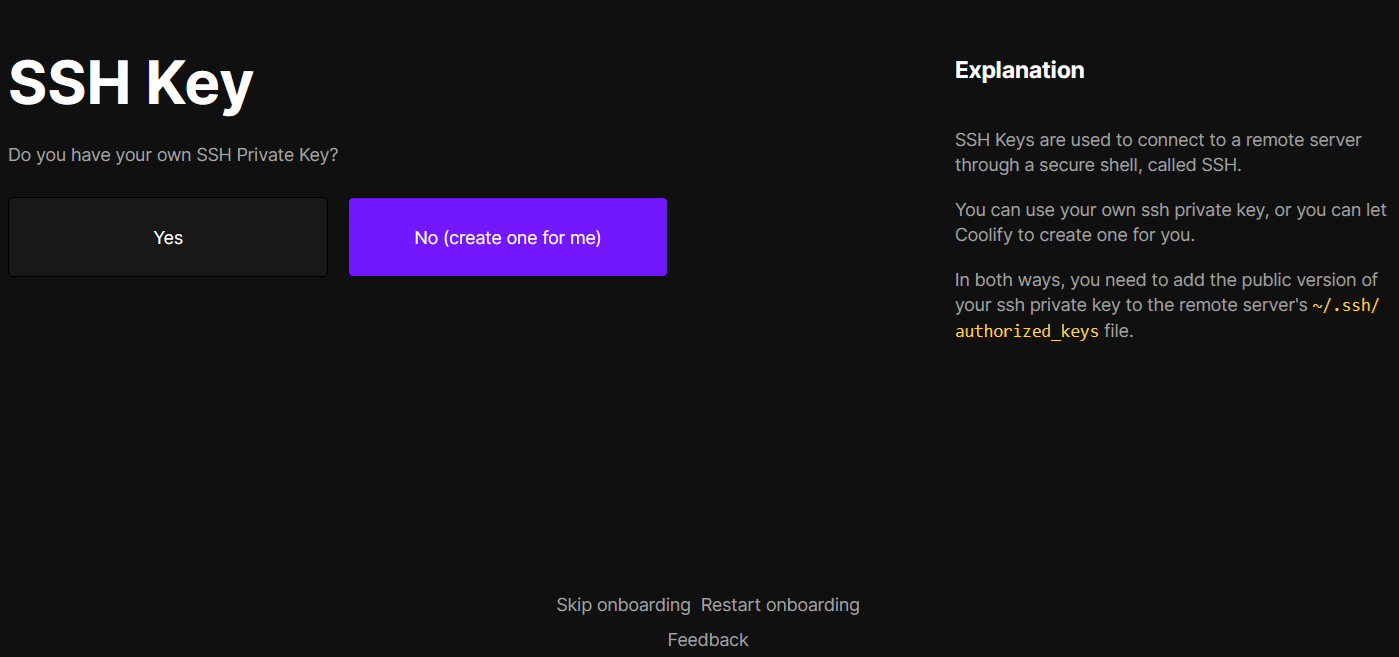
Do you have your own SSH Private Key?
If you have your SSH key, choose Yes. If you don’t have one, choose No (create one for me).
Edit ~/.ssh/authorized_keys to add the public key. Once added, click save. For more info about SSH keys, check my guide on generating SSH keys using Bitvise and PuTTY.

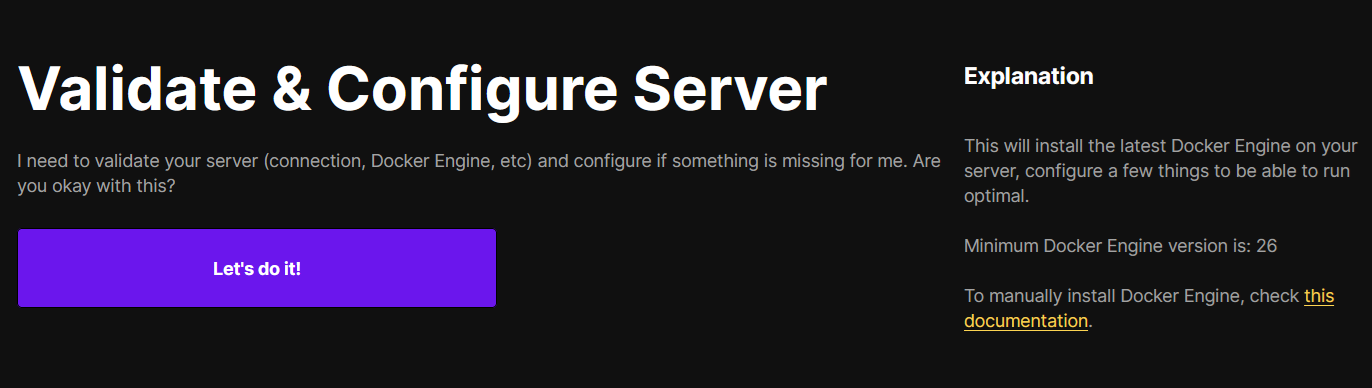
Let’s create our server!

Validate your server.
Create a new project.

Welcome to Coolify Dashboard!

Step 6: Set Fully Qualified Domain
It’s not recommended to access your Coolify with an IP address. We will setup a fully qualified domain to access our Coolify with SSL.
First, let’s add an A record for our sub domain.
Go to your domain registrar and setup an A record pointing to your server IP address. Wait for the DNS to propagate.

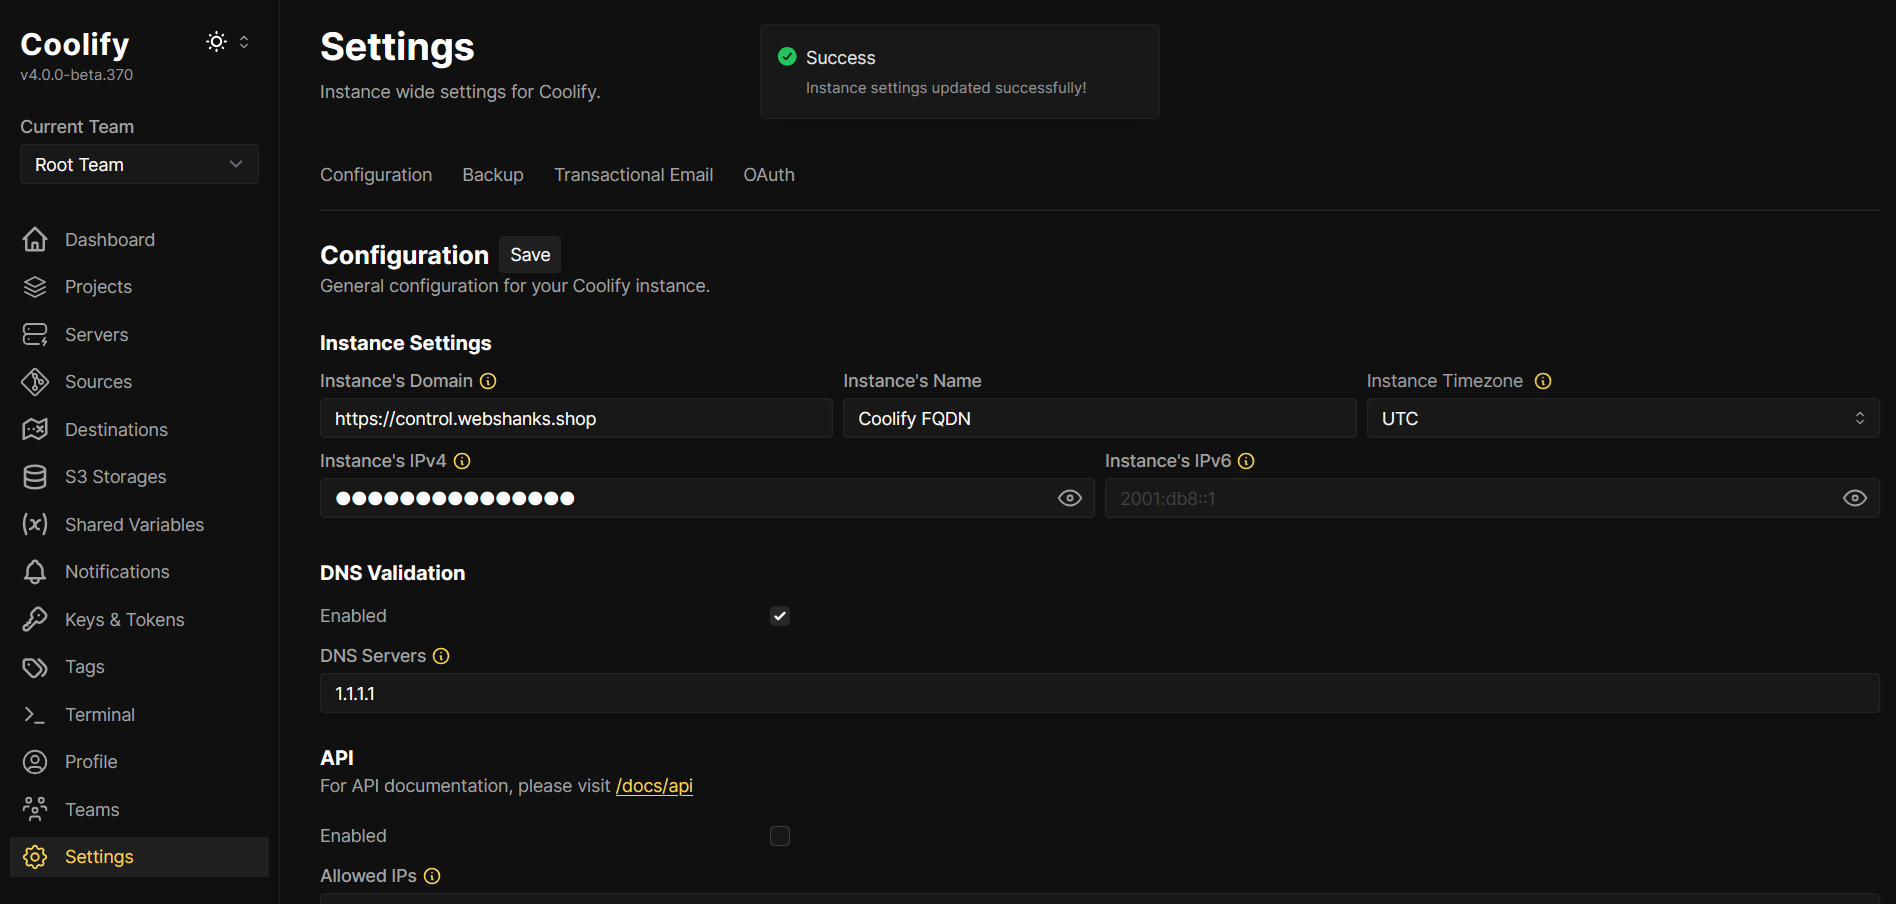
Then from your Coolify’s dashboard, go to Settings and set your domain instance. Be sure to include https:// and then click Save.
Tip: For enhanced security, consider disabling IPv6 on Ubuntu if you’re not using it. You can also setup 2FA.
Now, you can access your Coolify securely!

What’s Next?
With Coolify, you can deploy as many applications via Git, Docker, or the available services listed.

Related Guides:
Conclusion
Your Coolify installation should now be running on your DatabaseMart VPS. You can start deploying applications, databases, and services through the Coolify dashboard.
Remember to:
- Regularly backup your data
- Keep the system updated
- Monitor resource usage
- Review logs for any issues
- Set up monitoring and alerting
For additional configuration options and advanced features, consult the official Coolify documentation.