 If you’re considering hosting a website, setting up an email server, or running applications, a Virtual Private Server (VPS) is a flexible and scalable solution.
In this guide, I’ll walk through the entire process of setting up a VPS on 1Gbits, a global VPS provider with data centers in over 20 locations.
How to Buy and Set Up 1Gbits VPS
Step 1: Go to 1Gbits and Choose a VPS Plan

To begin, explore the VPS plans offered by 1Gbits. These range from entry-level setups to high-performance configurations, so you’ll find one suited to your needs.
Evaluate plans based on factors like CPU, RAM, and bandwidth.
For instance, a basic server might work for simple website hosting, while applications with heavy traffic may require more robust specs. I always get 2GB RAM if I buy a VPS.
For this setup, I’m going to get VPS Hosting 2.
Step 2: Select an Operating System/Location/Addons

Once you’ve chosen a plan, select your preferred operating system. 1Gbits offers a variety of OS options, including popular Linux distributions like Ubuntu, Debian, and CentOS, as well as Windows Server options.
If you’re unsure, Ubuntu is generally a user-friendly choice with broad compatibility.
For location, the rule of thumb is to choose the nearest to you.
You can also explore additional addons that 1Gbits provides, such as Control Panel or Fully Managed Support.
Step 3: Checkout and Payment Methods
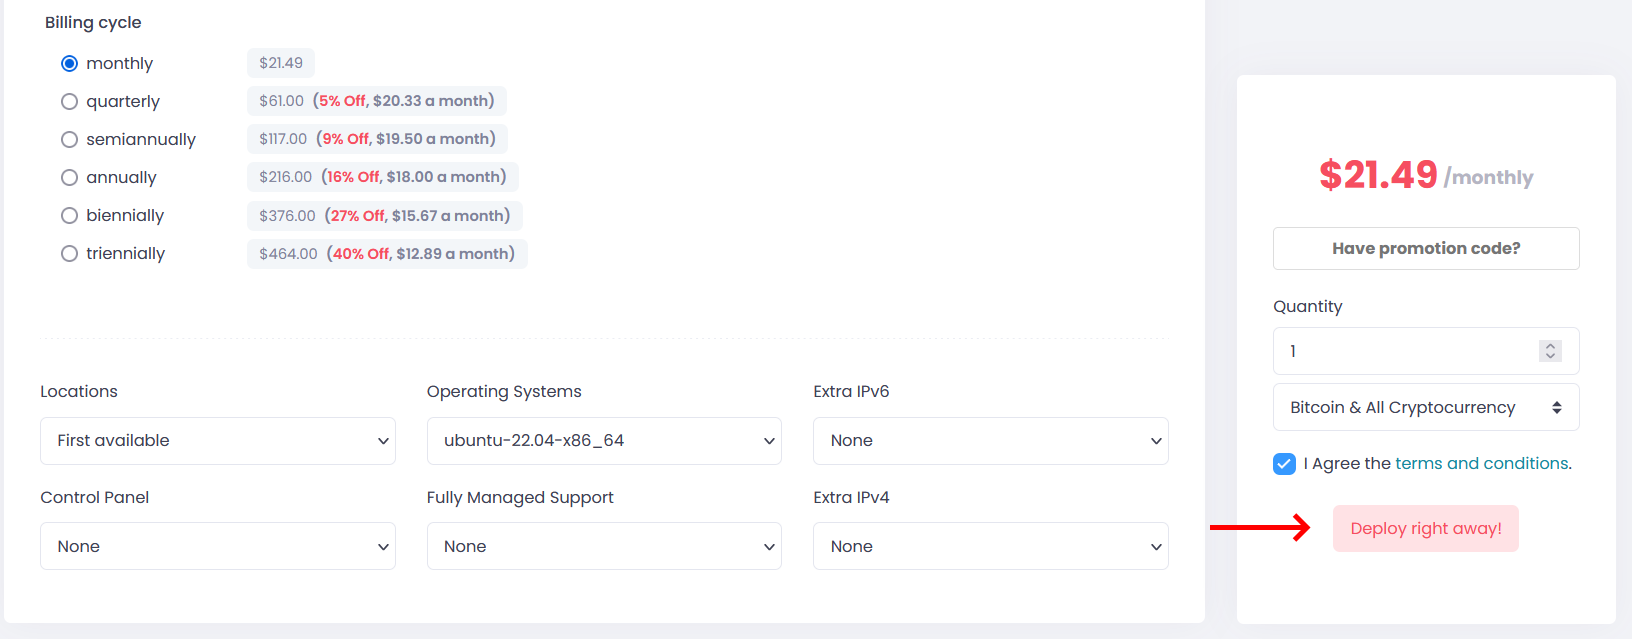
At checkout, you’ll confirm your selected plan and OS. 1Gbits supports several payment methods, allowing flexibility based on your preferences. Accepted payment methods include:
- PayPal
- Perfect Money
- Cryptocurrency (Bitcoin, Ethereum)
- WebMoney
Then click Deploy right away! after everything’s done.
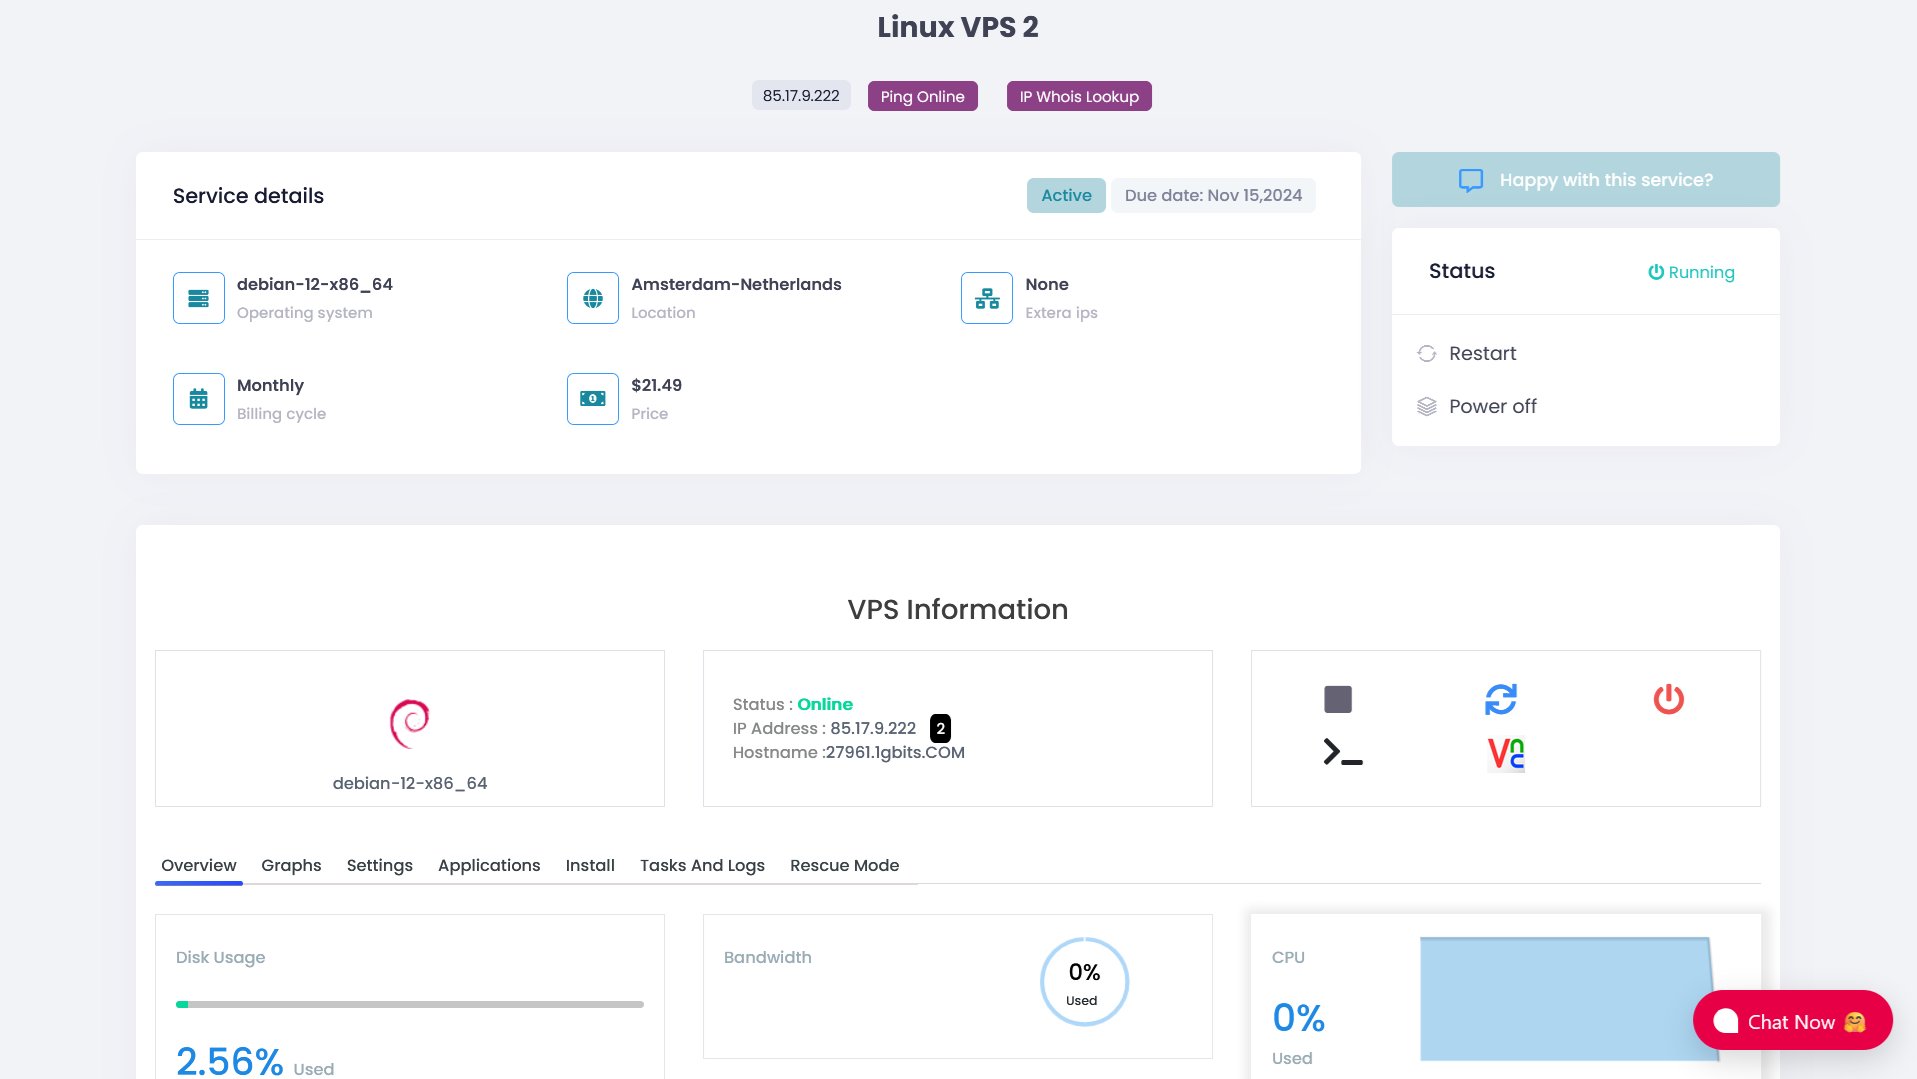
Once payment is confirmed, you’ll receive the VPS access details, including IP address and login credentials.
Step 4: Connect to the VPS
With your VPS details ready, it’s time to connect. For Linux systems, use SSH to establish a secure connection:
ssh root@your_vps_ip
For more detailed instructions on establishing an SSH connection, check out our guide on SSH from Windows to Linux.
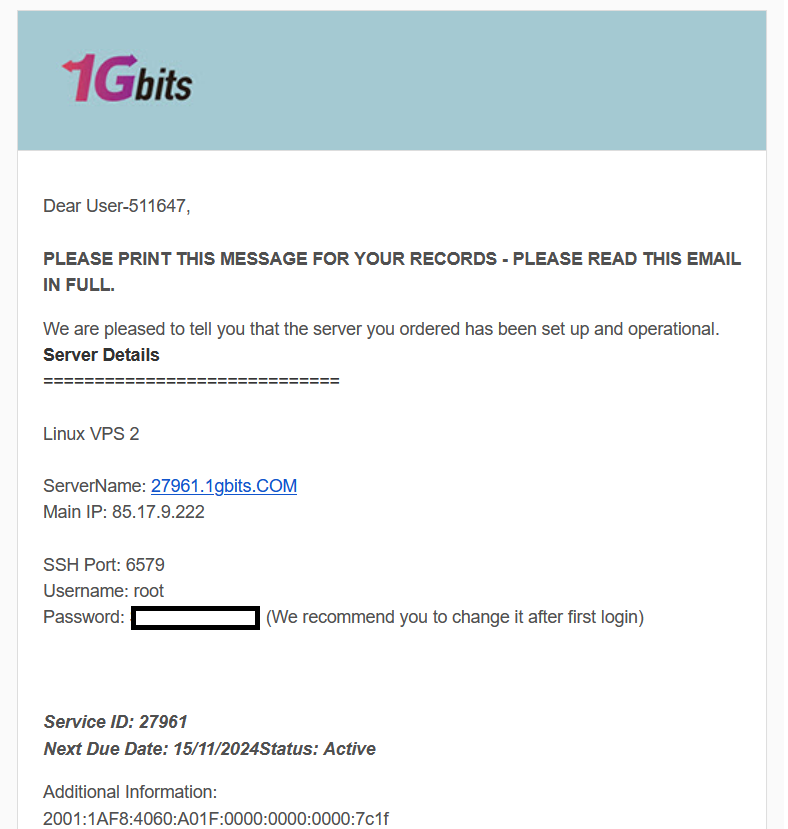
All details for connecting to your VPS are sent to your email.
Here’s a screenshot of the login credentials I received in my email.
Step 5: Test the VPS
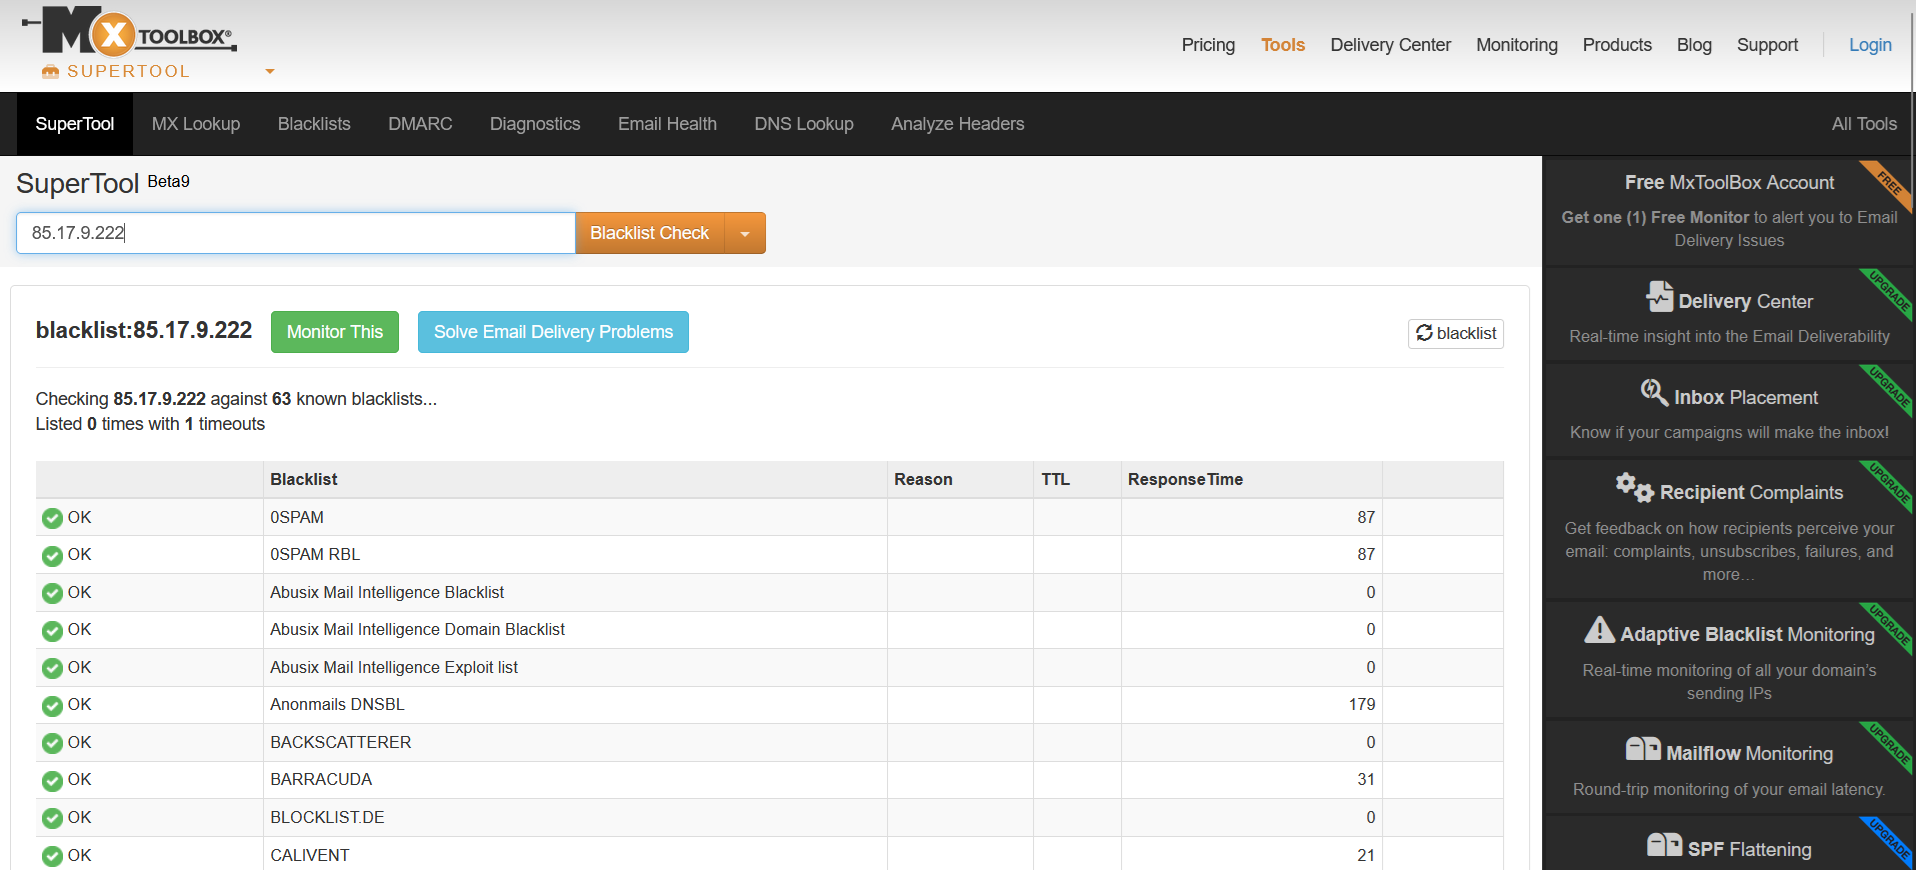
After connecting, test your VPS to ensure it’s functioning correctly. Start by checking IP blacklist check, basic connectivity, and if you’ve installed any software, verify its functionality.
Using MXToolBox for blacklist check, my IP is…
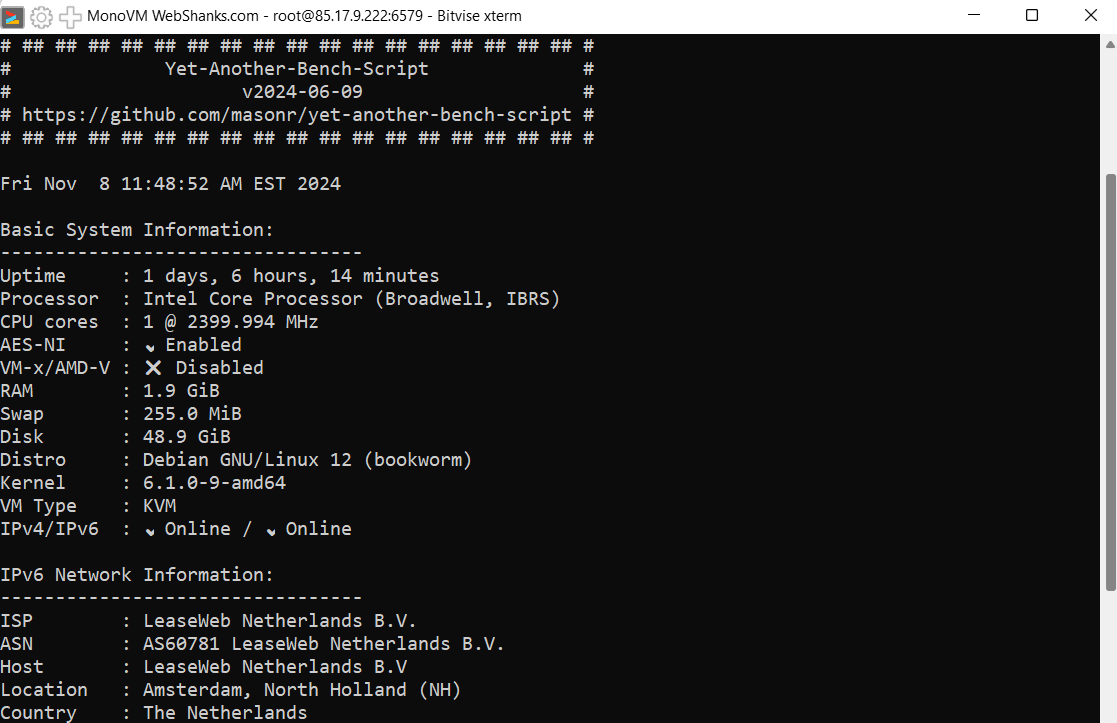
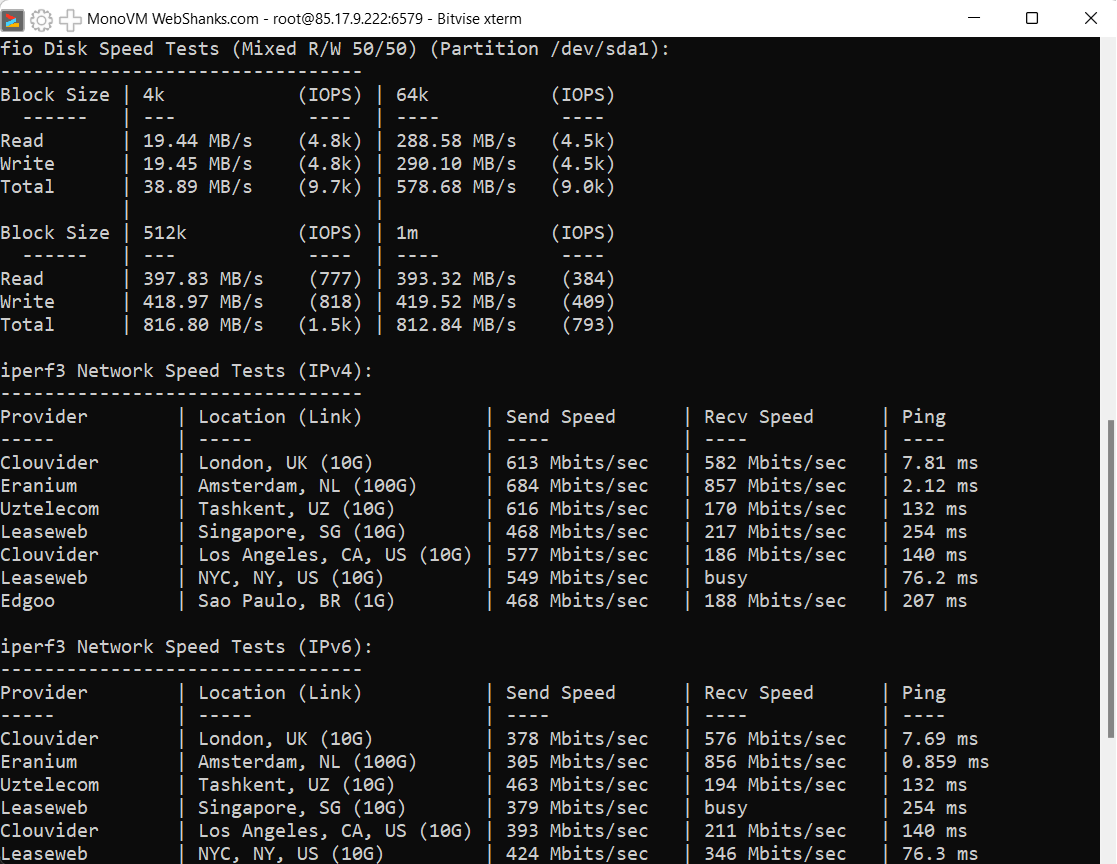
Now let’s test using YABS!

Geekbench test result: https://browser.geekbench.com/v6/cpu/8721311
Step 6: Maintain the VPS Ongoing
To keep your VPS running smoothly, establish a regular maintenance routine. This may include:
- Updating OS and installed software to the latest versions.
- Setting up backups for data security.
- Monitoring performance metrics like CPU, RAM, and bandwidth usage.
Additionally, consider installing monitoring software to receive alerts if your server experiences any unusual activity or usage spikes.
FAQs
Can I change the OS after the VPS is set up?
Yes, 1Gbits allows reinstallation of the OS if needed, though you may lose all existing data.
How do I upgrade my plan if I need more resources?
Contact 1Gbits support to upgrade your VPS without downtime, depending on availability and compatibility.
What security features does 1Gbits offer?
1Gbits provides DDoS protection, regular OS updates, and customizable firewall rules to keep your server secure.
Conclusion
Setting up a VPS on 1Gbits provides the flexibility and power required for various applications, from hosting to development.
Following this guide will enable you to set up, test, and maintain your VPS effectively.
Regularly monitor and update your VPS for optimal performance and security.