 Setting up your own WordPress site on a powerful server can feel like a big task, but with the right tools, it turns into a smooth ride. Imagine running multiple blogs or e-commerce stores on the newest Windows Server 2025 without the hassle of shared hosting limits.
That’s where aaPanel steps in—a free control panel that makes managing your Windows setup easy. This guide picks up after you’ve provisioned your Windows Server 2025 instance, say on a provider like Contabo.
We’ll jump straight into connecting to your server and building a full WordPress environment. By the end, you’ll have a secure, self-hosted site ready to go.
Key Takeaways
-
How to prepare Windows Server 2025 for WordPress hosting.
-
Steps to secure and configure websites with aaPanel.
-
Setting up WordPress and managing multiple sites on one server.
What You’ll Need
- A Windows dedicated or VPS
- Domain on Namecheap
How to Self-Host Multiple WordPress Sites on Windows Server 2025 with aaPanel
Step 1. Get a Windows VPS or Dedicated Server
We will use Contabo VPS in this tutorial.
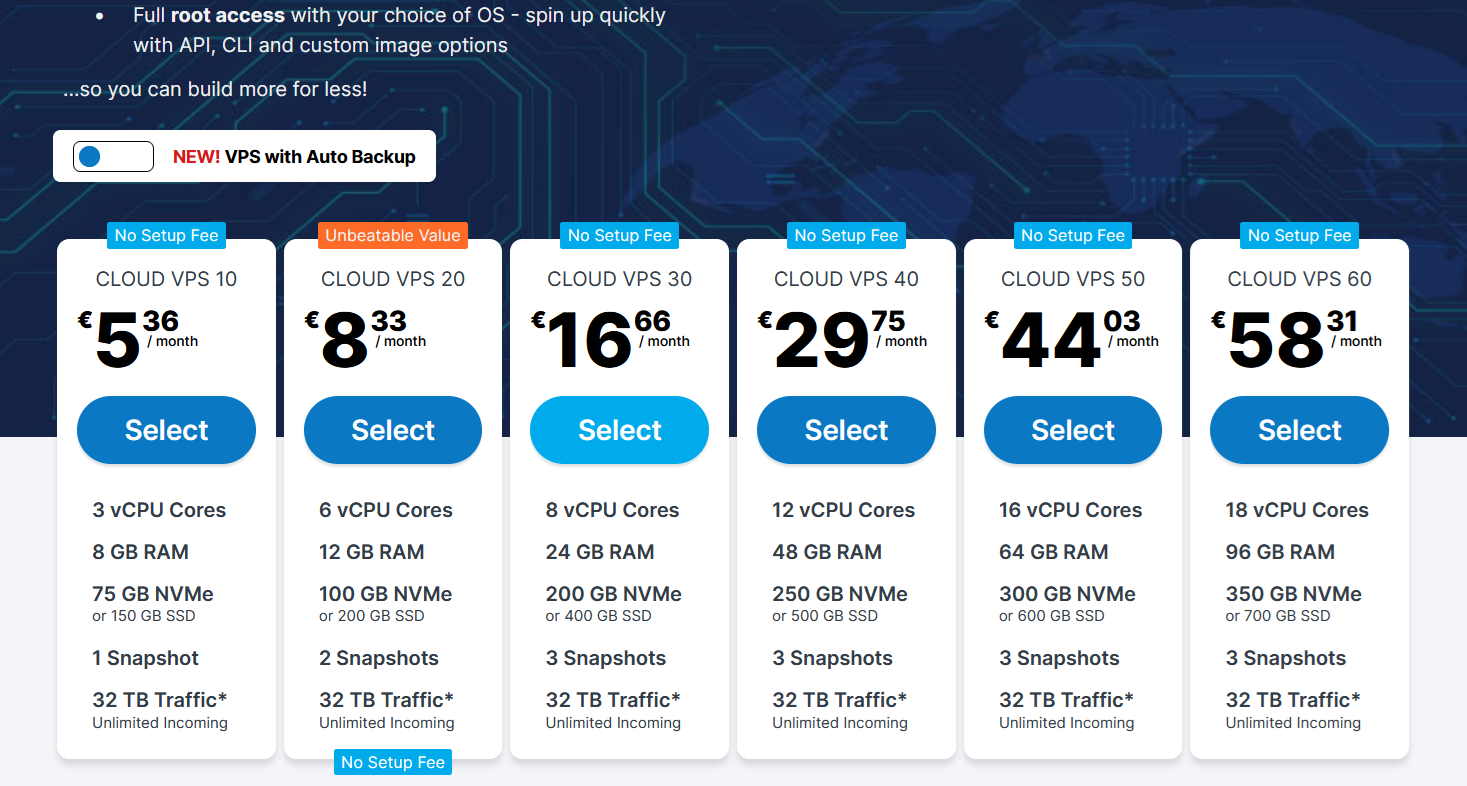
Follow this guide if you don’t know how to setup Contabo Windows VPS.
Step 2: Connect to Windows Server 2025 Using Remote Desktop
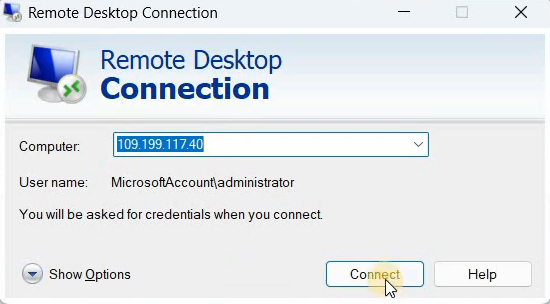
First, you need to reach your server from your local machine. Log into your hosting control panel and grab the server’s IP address. Open the Remote Desktop Connection app on your Windows computer—search for it in the start menu if it’s not pinned.
Paste that IP into the field and hit connect. When it asks for your password, type it in and confirm. You might see a certificate warning; just click yes to proceed.
Once connected, you’ll land on the server’s desktop screen. This remote access lets you control everything as if you were sitting right there. Keep your credentials handy for future logins to avoid mix-ups.
Step 3. Getting aaPanel and Running the Installer
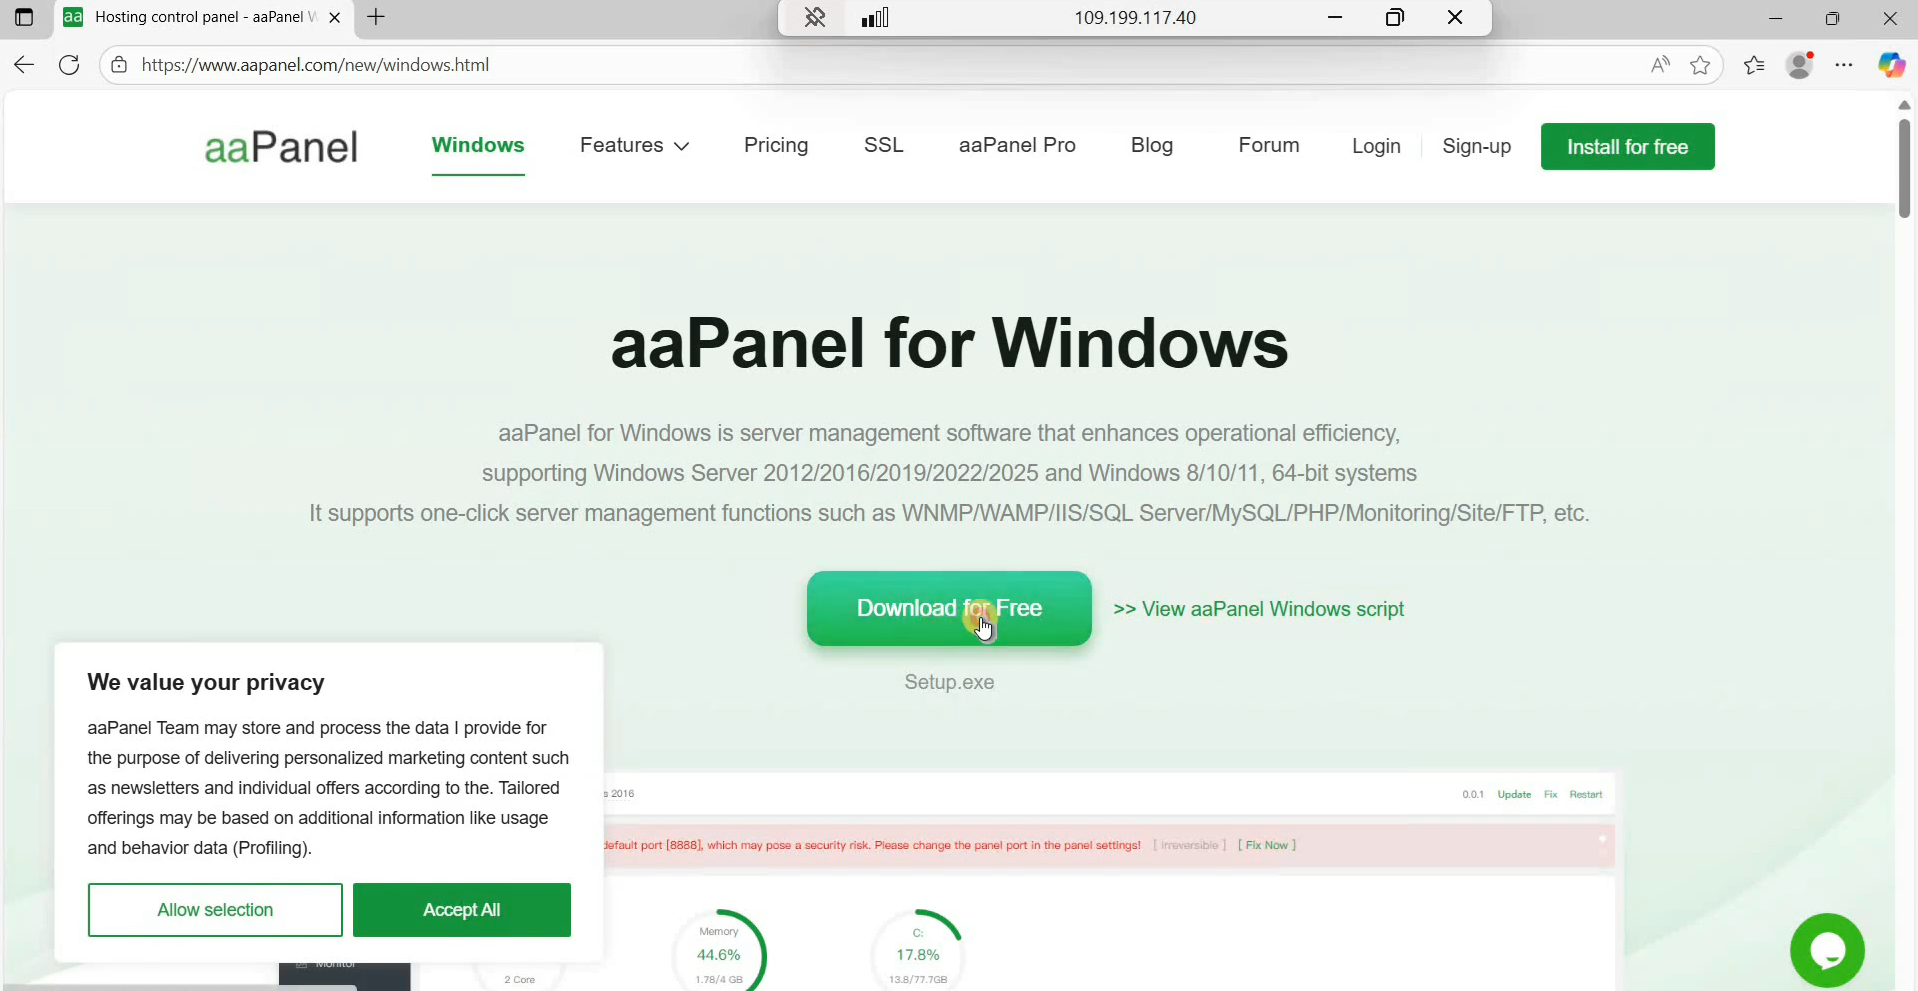
Open a browser and go to the aaPanel website. Download the free installer.
Save the file to your downloads folder. Double-click setup.exe to start the installer. Choose the one-click installation option—it’s the fastest way to get things rolling.
The wizard will handle the basics, so sit back for a minute as it sets up. This tool turns your bare server into a web hosting hub without deep coding knowledge. Expect the process to wrap up in under five minutes on a standard setup.
Step 4. First Login and Accessing the aaPanel Dashboard
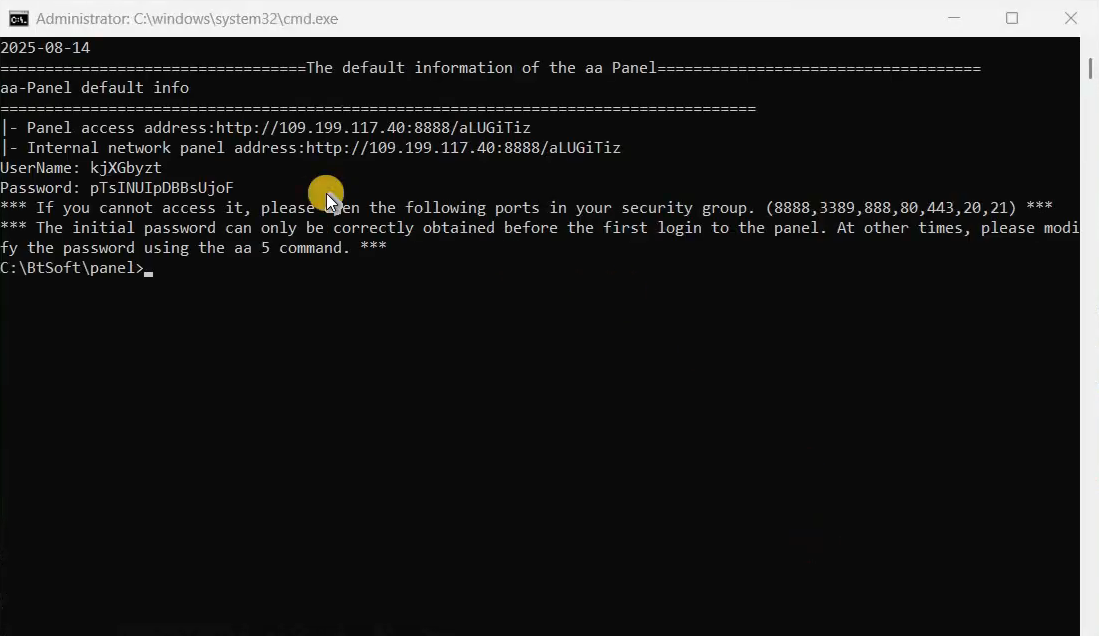
Open a browser on your local computer and enter the IP address with port 8888 along with the security token. Use the username and password provided by the panel to log in.
Switch to your local computer for quicker access—open that link in your browser there.
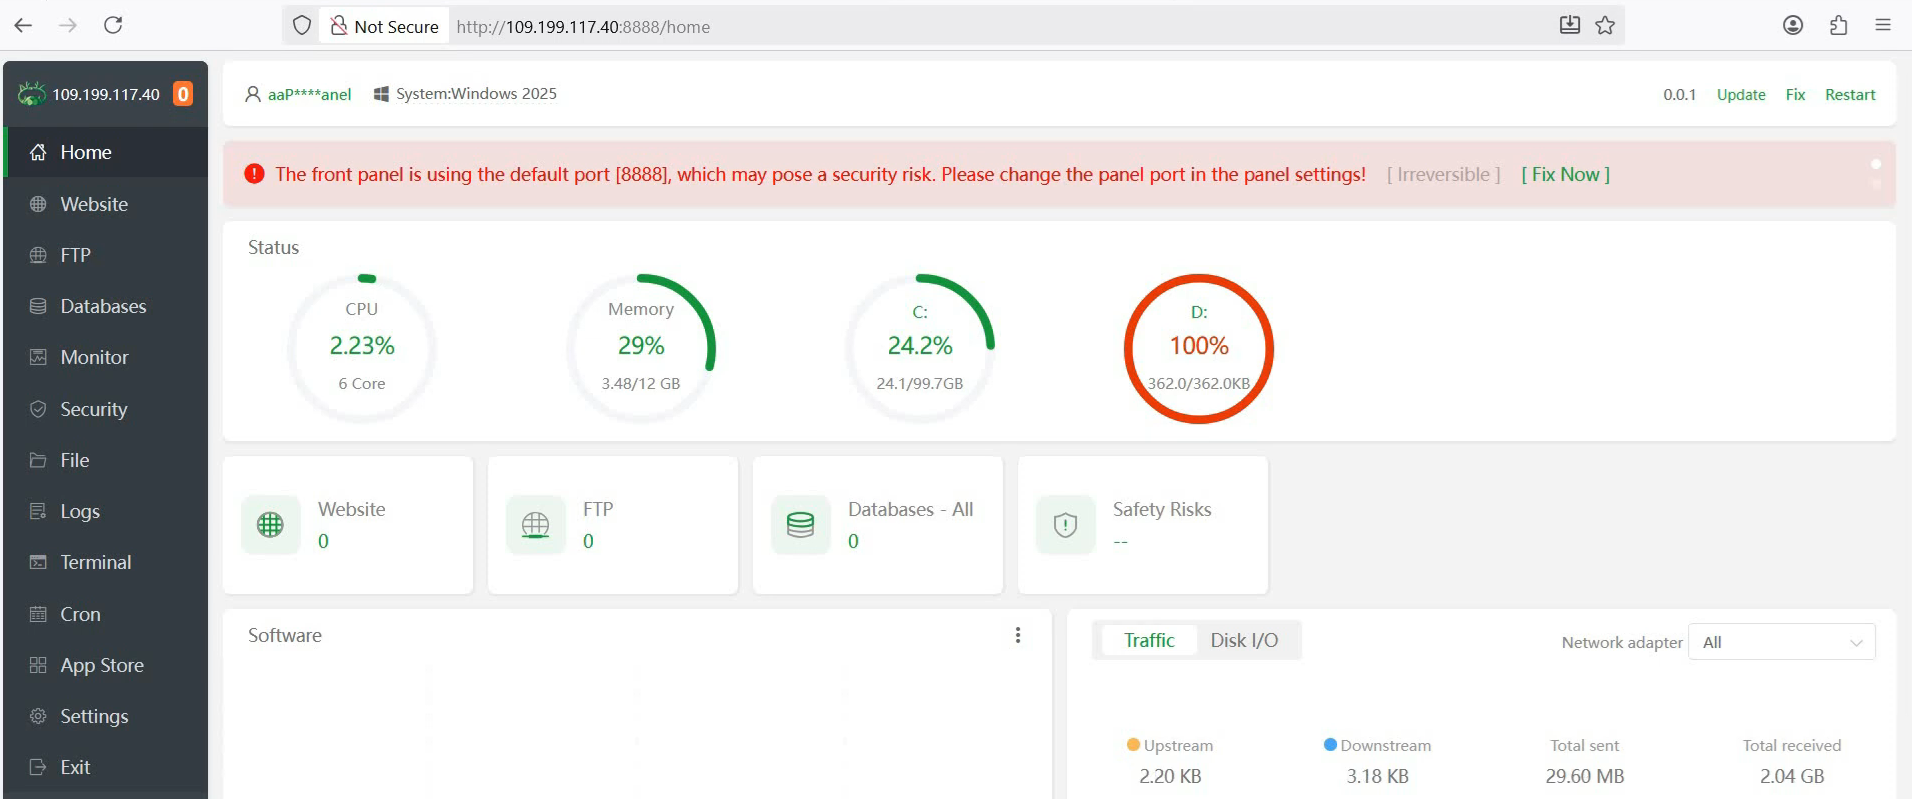
Enter the username and password shown during setup. Hit login, and you’ll see the clean aaPanel dashboard.
From here, everything feels organized, with tabs for apps, sites, and settings. This step unlocks full control over your Windows Server 2025 data center environment.
Step 5. Core Application Stack Installation via aaPanel App Store
Installing Essential Server Management Tools
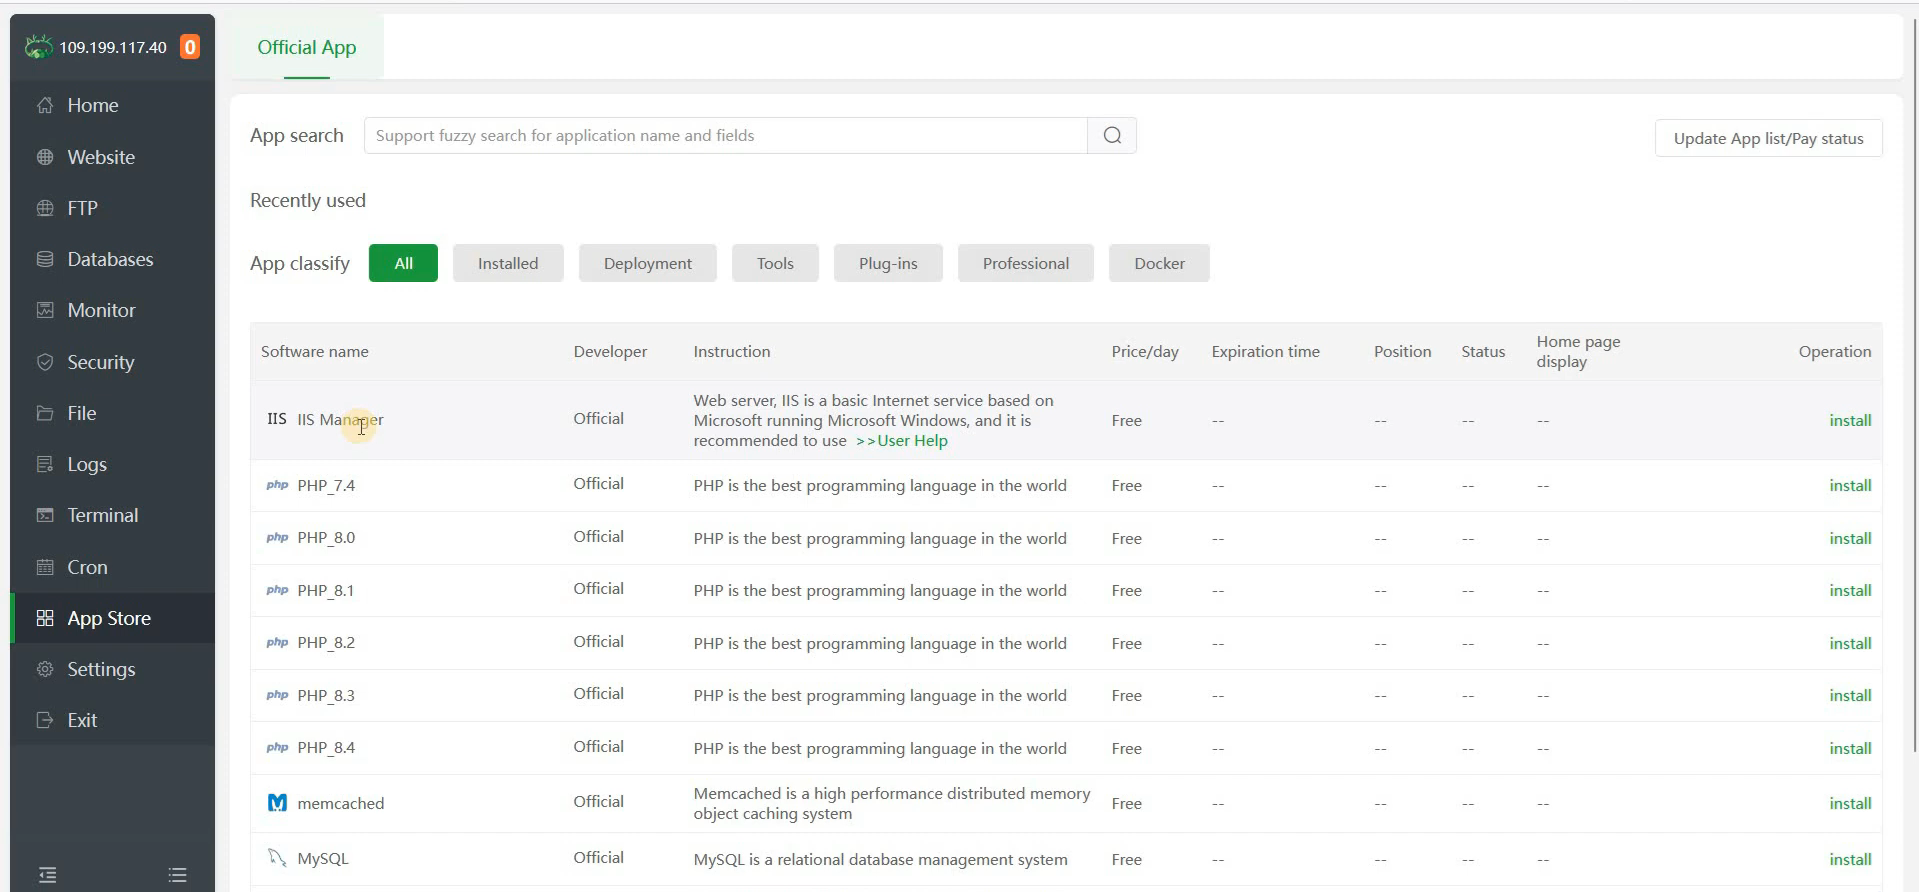
With the dashboard open, head to the App Store section. Search for and install the IIS Manager—it’s key for handling web requests on Windows. Click the install button, and let it download and set up automatically.
Why IIS? It works hand-in-hand with aaPanel to serve your sites smoothly. Once done, you can tweak server settings right from the panel. This tool ensures your WordPress runs without hitches on the Windows infrastructure.
Configuring the Necessary Runtime Environment (PHP and MySQL)
Next, build the backbone for WordPress. In the App Store, pick PHP 8.4—it’s the latest stable version that boosts site speed. Install it with one click, and watch the progress bar fill up.
Then, grab MySQL 8.0 for your database needs. This combo powers dynamic content like blog posts and user logins. After installation, test by restarting services in the panel. PHP 8.4 handles modern themes better, cutting load times by up to 20% in many cases.
For extra speed, add the Redis extension. Go to settings, find PHP 8.4 extensions, and install Redis. It caches data, so your site feels snappier. Skip this if you’re just starting, but it’s a smart add-on for busy sites.
Setting Up Database and File Transfer Prerequisites
Don’t forget tools for managing data. Install PHPMyAdmin from the App Store—it’s a web-based way to view and edit databases. Also, enable the FTP service for easy file uploads.
FTP lets you transfer big files securely from your computer. Test the connection with a sample file to confirm it works. These steps prepare your server for WordPress without any surprises later. With everything in place, your stack is ready for site creation.
Step 6. Creating the First Website Host and Security Configuration
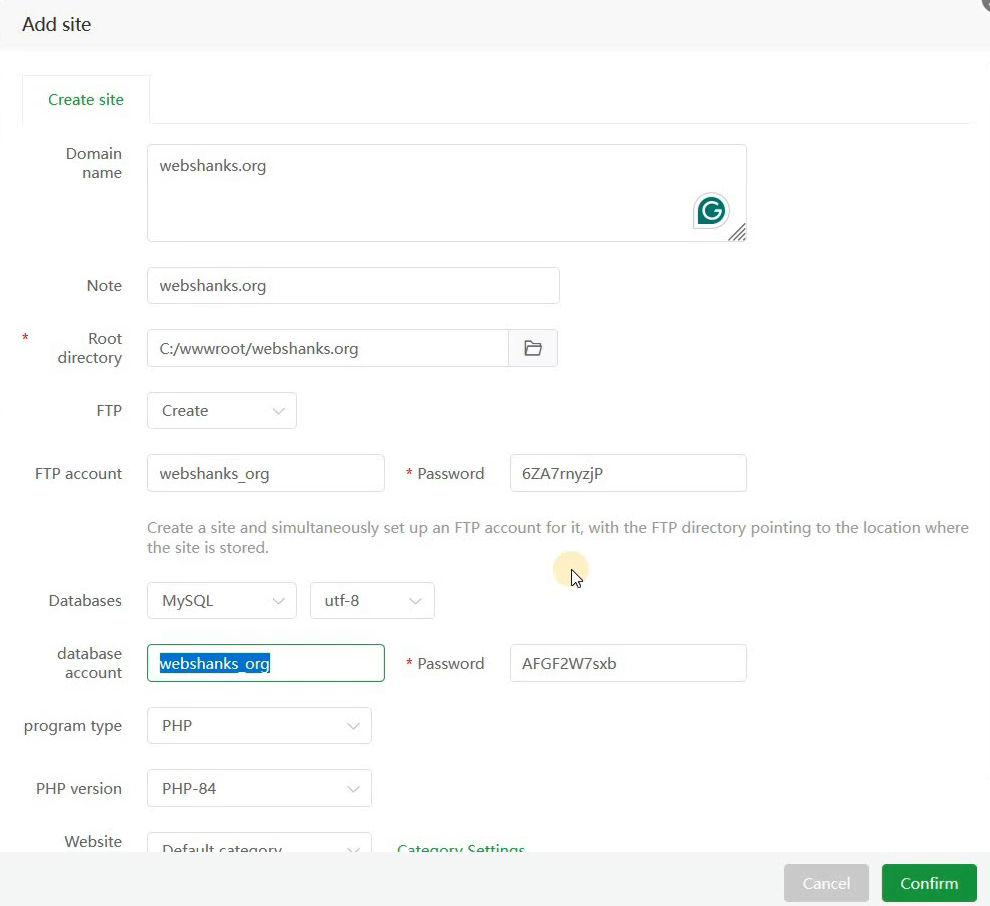
Time to add your first site. In aaPanel, go to the Website tab and click Add Site. Enter your domain, like webshanks.org, and check the boxes for creating an FTP account and MySQL database.
aaPanel spits out credentials—database name, user, and password. Copy them to a secure note app right away. You’ll need these for WordPress setup. This automated process saves hours compared to manual config. For the root path, it defaults to something like webshanks.org—perfect for your files.
Configuring the Site Program Settings
Under the Program type tab, select PHP as the runtime. Choose version 8.4 to match what we installed earlier. This ensures compatibility and top performance for your WordPress install.
Hit confirm, and the site goes live in the panel. Use the one-click copy button for quick access to paths and details. If you spot any errors, double-check the PHP assignment—it’s crucial for scripts to run right.
Implementing SSL with Let’s Encrypt
Security comes next. Before SSL, point your domain’s A record to the server’s IP in your DNS provider, like Cloudflare. This tells the internet where to find your site.
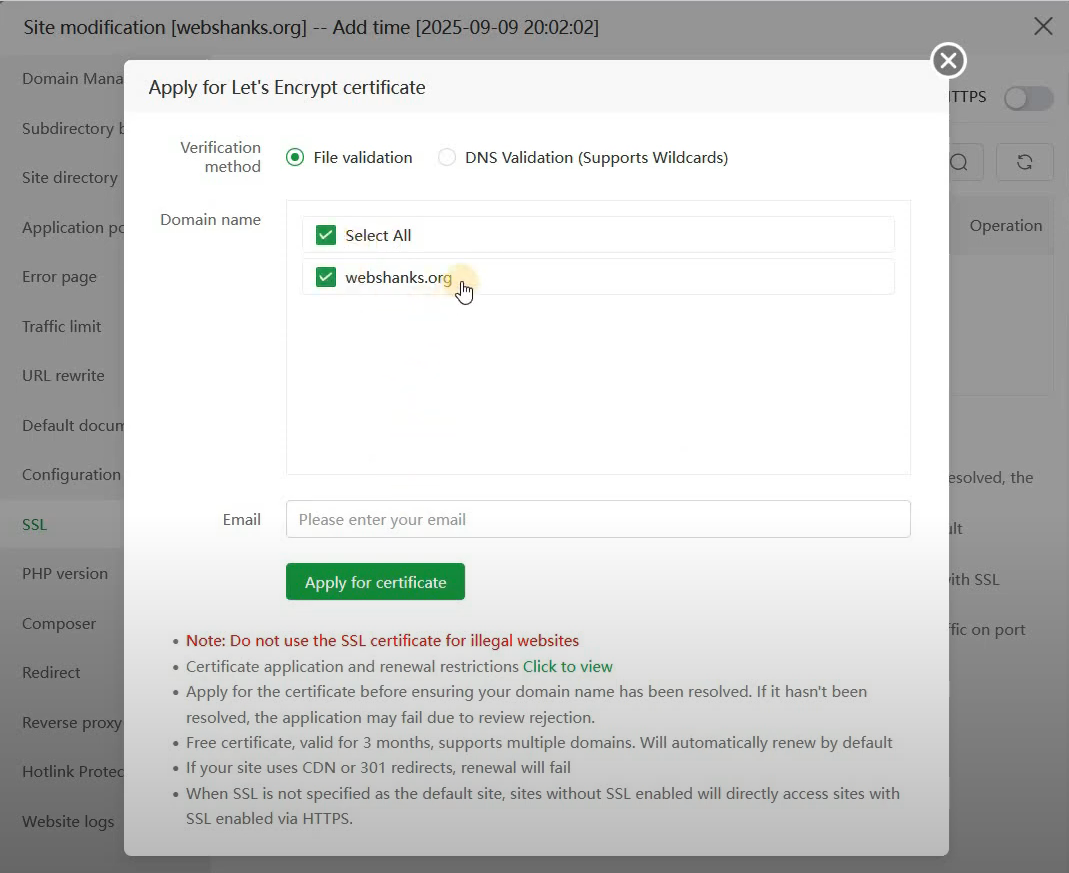
Back in aaPanel, go to SSL for your site. Pick Let’s Encrypt and enter your email for notifications. Click apply—the certificate issues in seconds if DNS is set. Then, enable Force HTTPS to redirect all traffic securely. Now, your site shows that green lock icon, building trust with visitors from day one.
Step 7. Manual WordPress Installation on the Windows Server Host
Downloading and Uploading WordPress Core Files
Grab the fresh WordPress files from wordpress.org. Click the download link for the latest zip—it’s free and includes everything you need.
In aaPanel, navigate to your site’s root directory using the File Manager. Upload the zip file there by selecting it and starting the transfer.
Wait for it to finish; larger files take a bit longer on slower connections. This method keeps things organized without needing extra software.
Extracting and Structuring the WordPress Directory
Once uploaded, extract the zip in the file manager. It creates a WordPress folder inside your site directory.
Open that folder, select all files, cut them, and paste directly into the main site root—like C:wwwroot/webshanks.org. Delete the empty WordPress subfolder and the zip file to clean up. Refresh the directory view. This structure lets WordPress run from the root, avoiding URL issues.
Running the Famous 5-Minute WordPress Installation
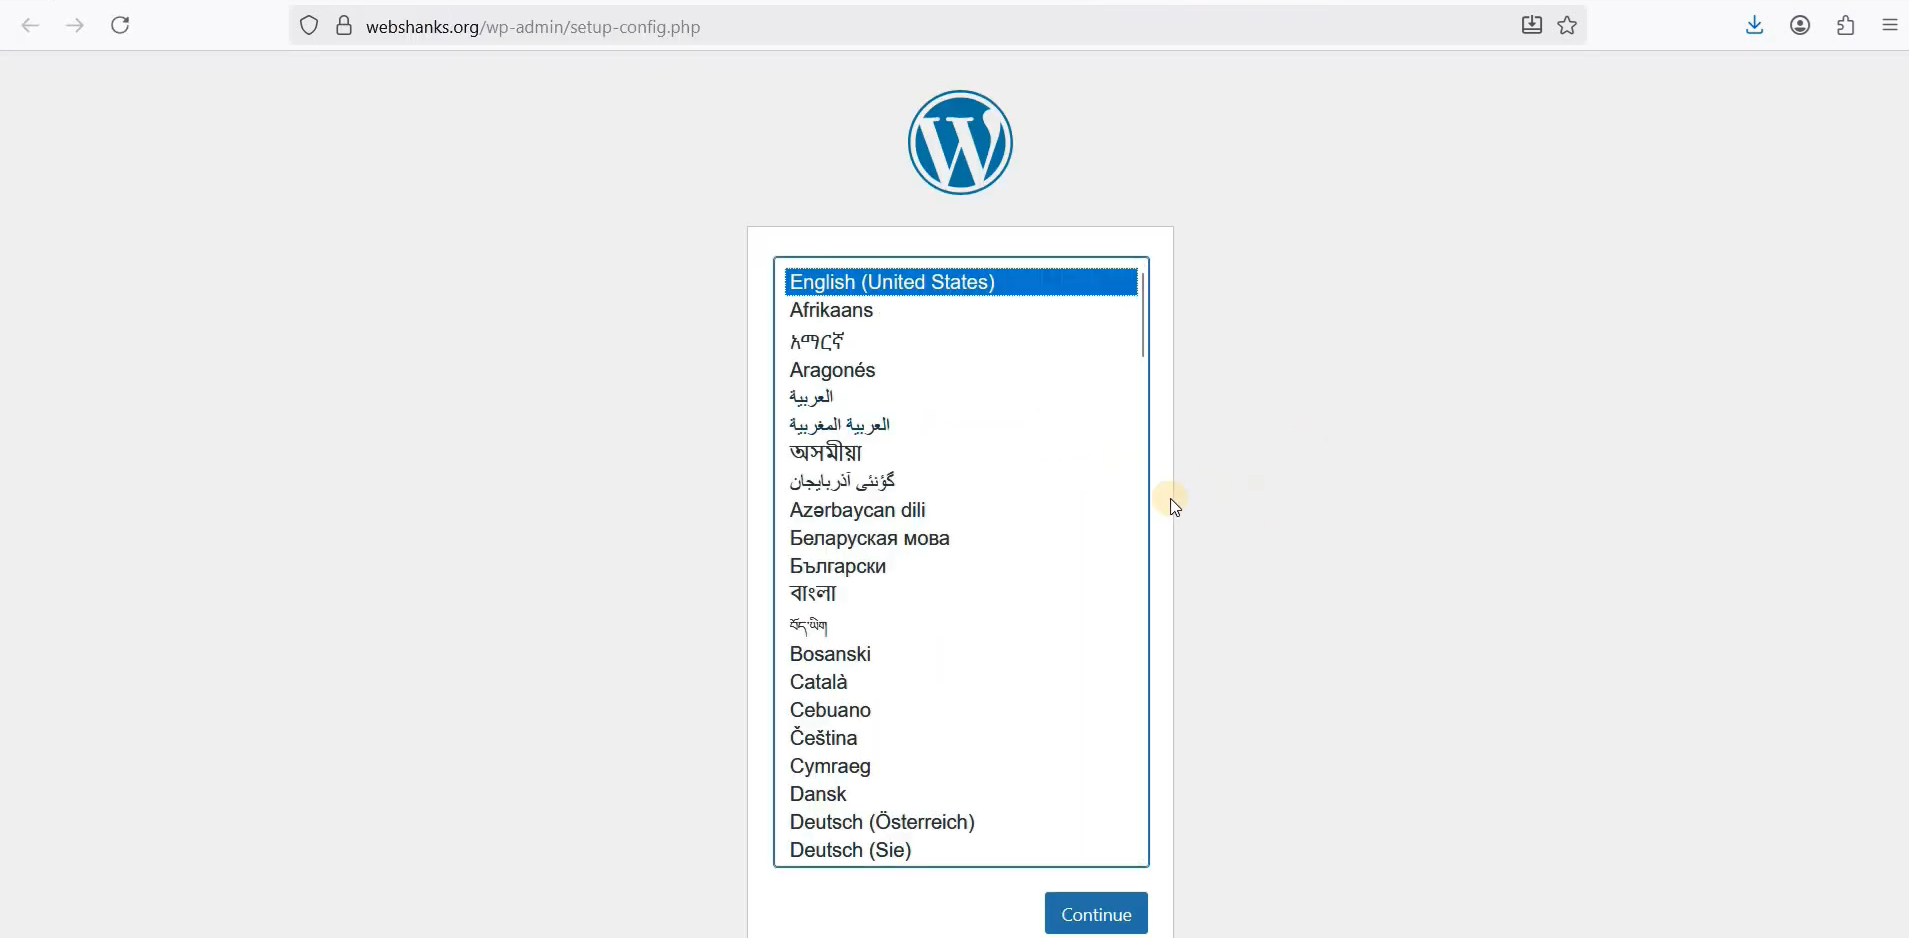
Open your browser and go to your domain. The WordPress setup screen appears—pick English and click Let’s Go.
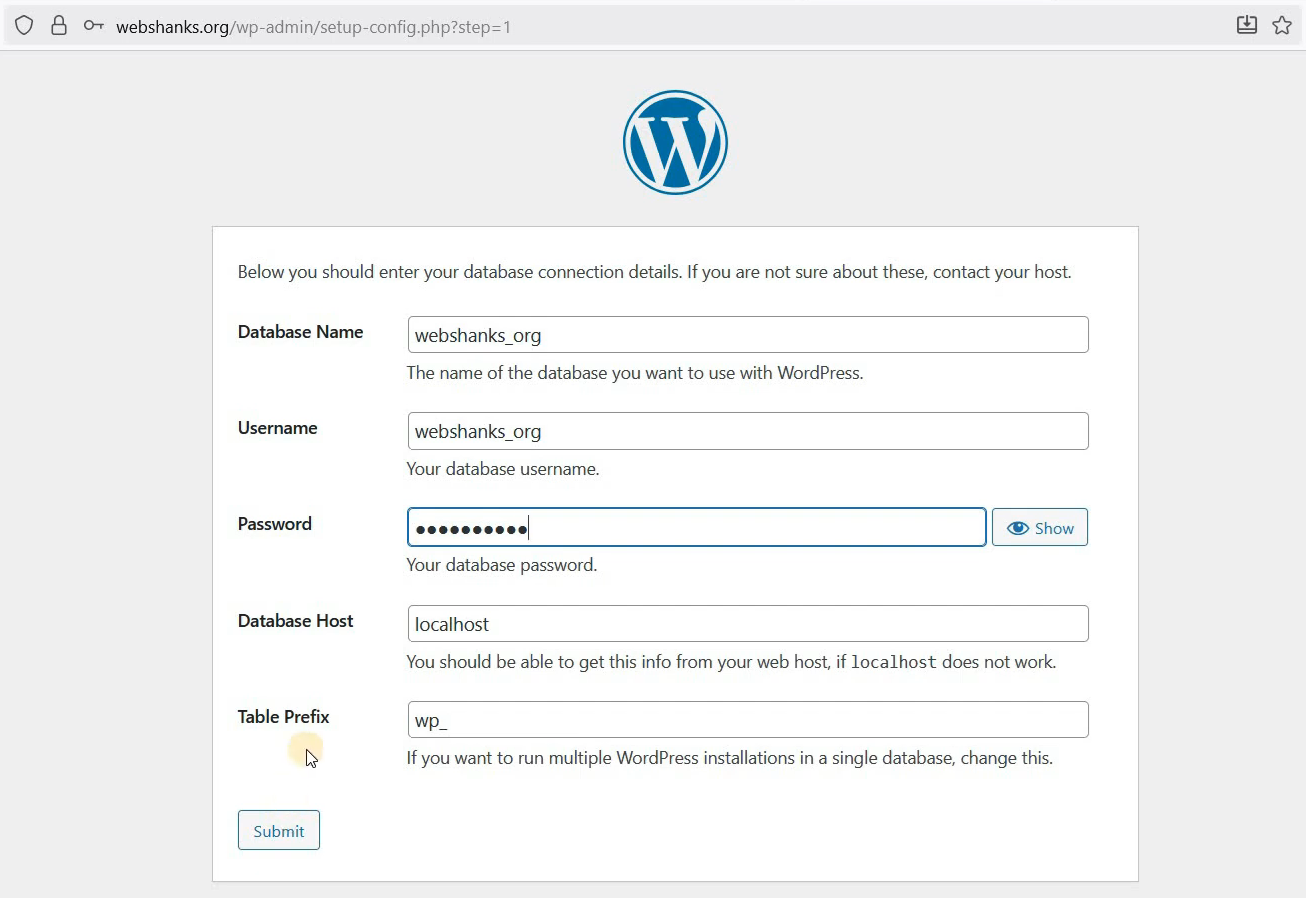
Enter the database details: name, user, and password from earlier. Submit, and it connects. Now, fill in your site title, like “My First WP on Windows Server 2025,” username, password, and email.
Hit Install WordPress. In moments, you’re at the login page—use your new admin credentials to enter the dashboard.
Watch this on YouTube
Verification and Scaling to Multiple Sites
Testing Functionality and Theme Installation
Log in to confirm everything works. Head to Appearance > Themes and search for something simple like Kadence. Install and activate it.
Use a pre-designed starter if available—click install, then launch. View your site; it should load with the new look. Add a plugin or two, like a contact form, to test further. This verifies your WordPress on Windows Server 2025 data center is fully operational.
The “Rinse and Repeat” Process for Additional Domains
Adding more sites is straightforward. For a second domain, say webshanks.net, or whatever domain name you have, repeat the Add Site steps—create FTP and database.
Set up the A record in DNS, apply Let’s Encrypt SSL, and force HTTPS. Upload and extract WordPress files the same way. Run the installer with the new database info. Tweak the site title and admin details. Soon, you will have two secure WordPress sites sharing the server.
Scale as needed; each addition takes less time once you’re familiar. Monitor resources in aaPanel to keep performance high.
Conclusion
You’ve now got the full blueprint for installing WordPress on Windows Server 2025 data center using aaPanel. From remote access to multi-site setups, this workflow cuts out the complexity of traditional hosting.
aaPanel stands out as a free, open-source option tailored for Windows, letting you self-host with ease.
Key wins include secure SSL, fast PHP setups, and scalable domains—all on robust infrastructure. Try it out on your server today, and watch your online presence grow. If questions pop up, drop them in the comments—happy hosting!