 Setting up a Virtual Private Server (VPS) on MonoVM is a smart choice for those needing affordable, dedicated resources for hosting websites, applications, or custom server environments.
In this guide, I will walk you through setting up a VPS on MonoVM. By following these steps, you’ll have your VPS running smoothly in no time.
How to Setup a VPS on MonoVM
Step 1: Getting Started with MonoVM
Visit the MonoVM website and choose your VPS plan.
Choose the VPS plan that best fits your needs. MonoVM offers various options based on the operating system, resources, and server location. This flexibility allows you to choose a VPS tailored to your specific requirements.

I’ll be choosing their Linux 2048MB Plan.
Step 2: Configure Your VPS

Operating System: Decide whether you need an Ubuntu, Debian, or Alma Linux, depending on the type of applications and software you plan to run.
Server Location: Choosing a server location close to your primary audience can improve loading times and latency. I’m choosing Amsterdam for this setup.
I don’t need a Fully Managed Service since I’m the one maintaining my server. For the Control Panel option, if you’re not familiar with self-hosting, you can choose cPanel or Plesk.
Step 3: Create an Account on MonoVM
Click on Create an Account fill in your personal information, and complete the verification process sent to your email.

Once your account is created and verified, log in to proceed to payment.
Step 4: Payment Option

MonoVM accepts major credit cards, cryptocurrencies, Perfect Money, NowPayments, WebMoney, TRY iyzico, and Wire Transfer.
Step 5: Accessing Your VPS
After purchasing a VPS, you’ll receive access credentials via email. Use these to connect to your server and start configuring.
You can also change your root password on your MonoVM dashboard.
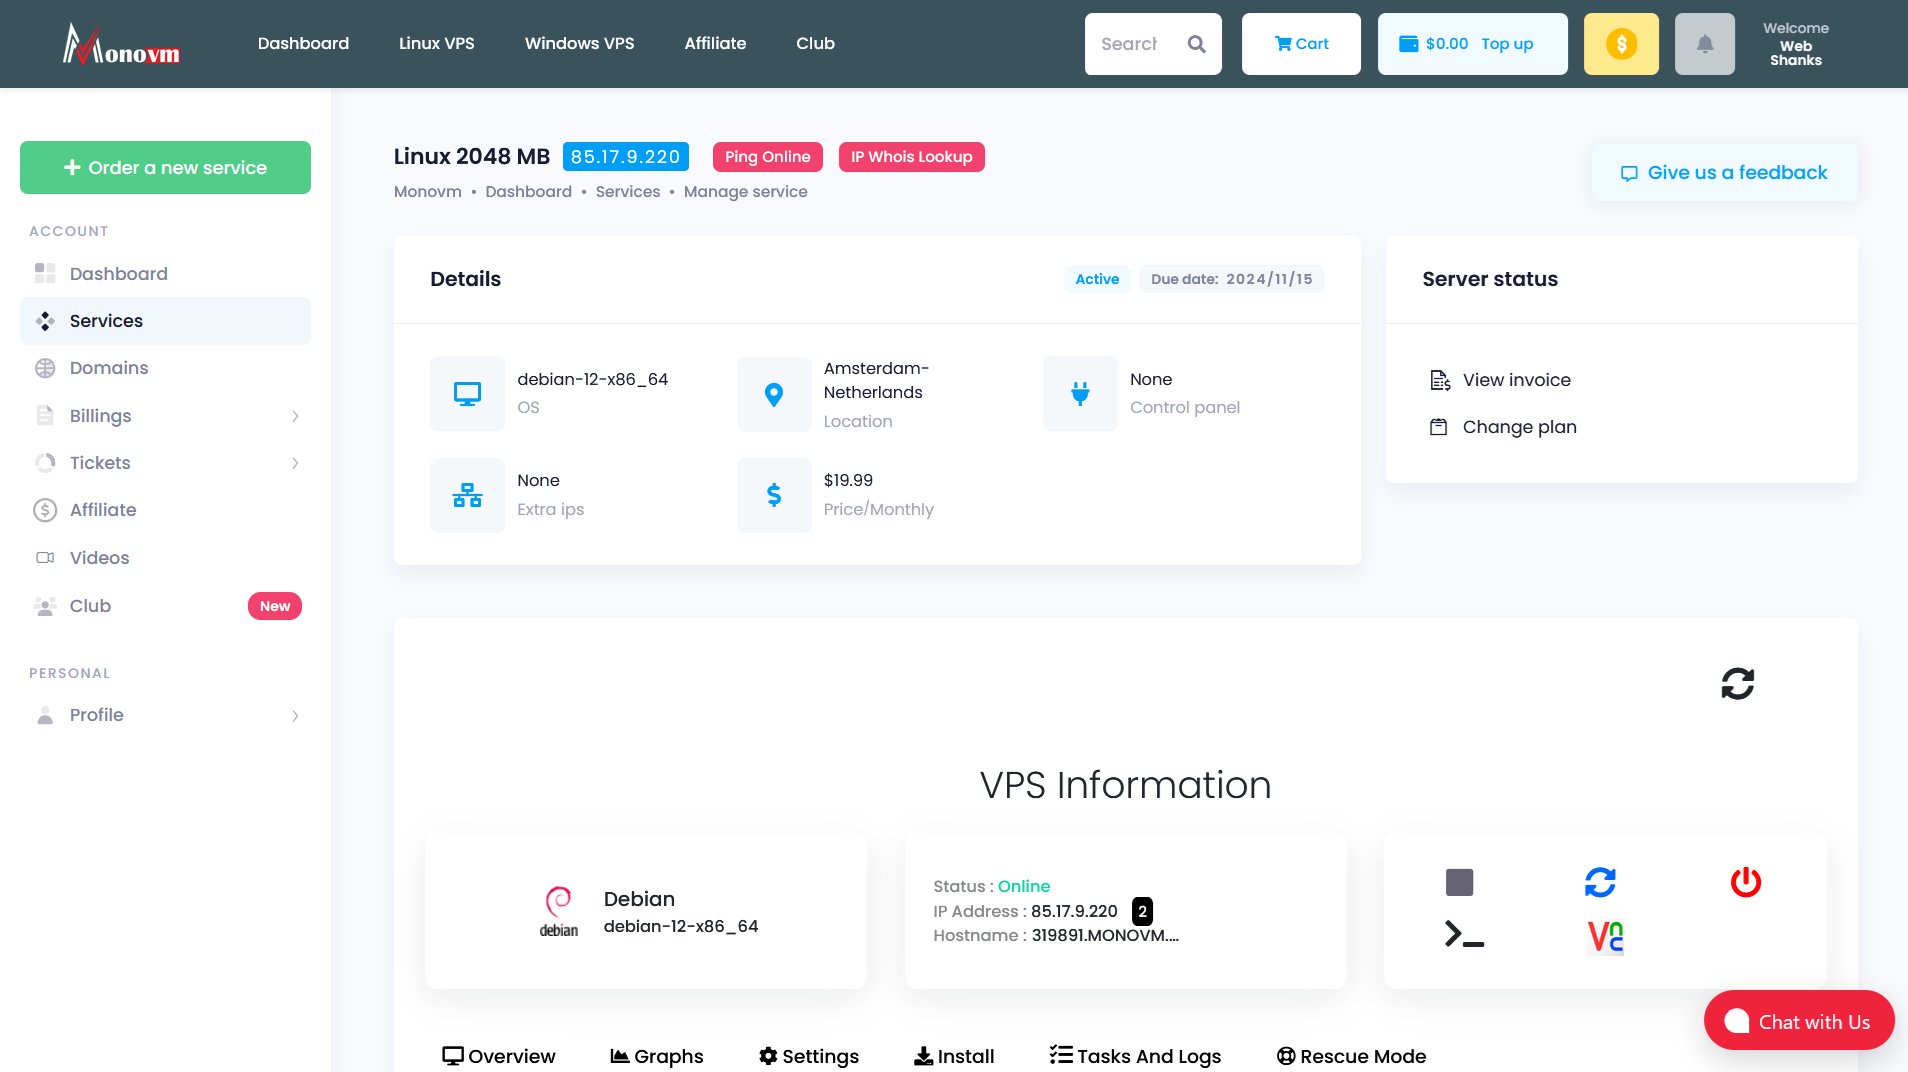
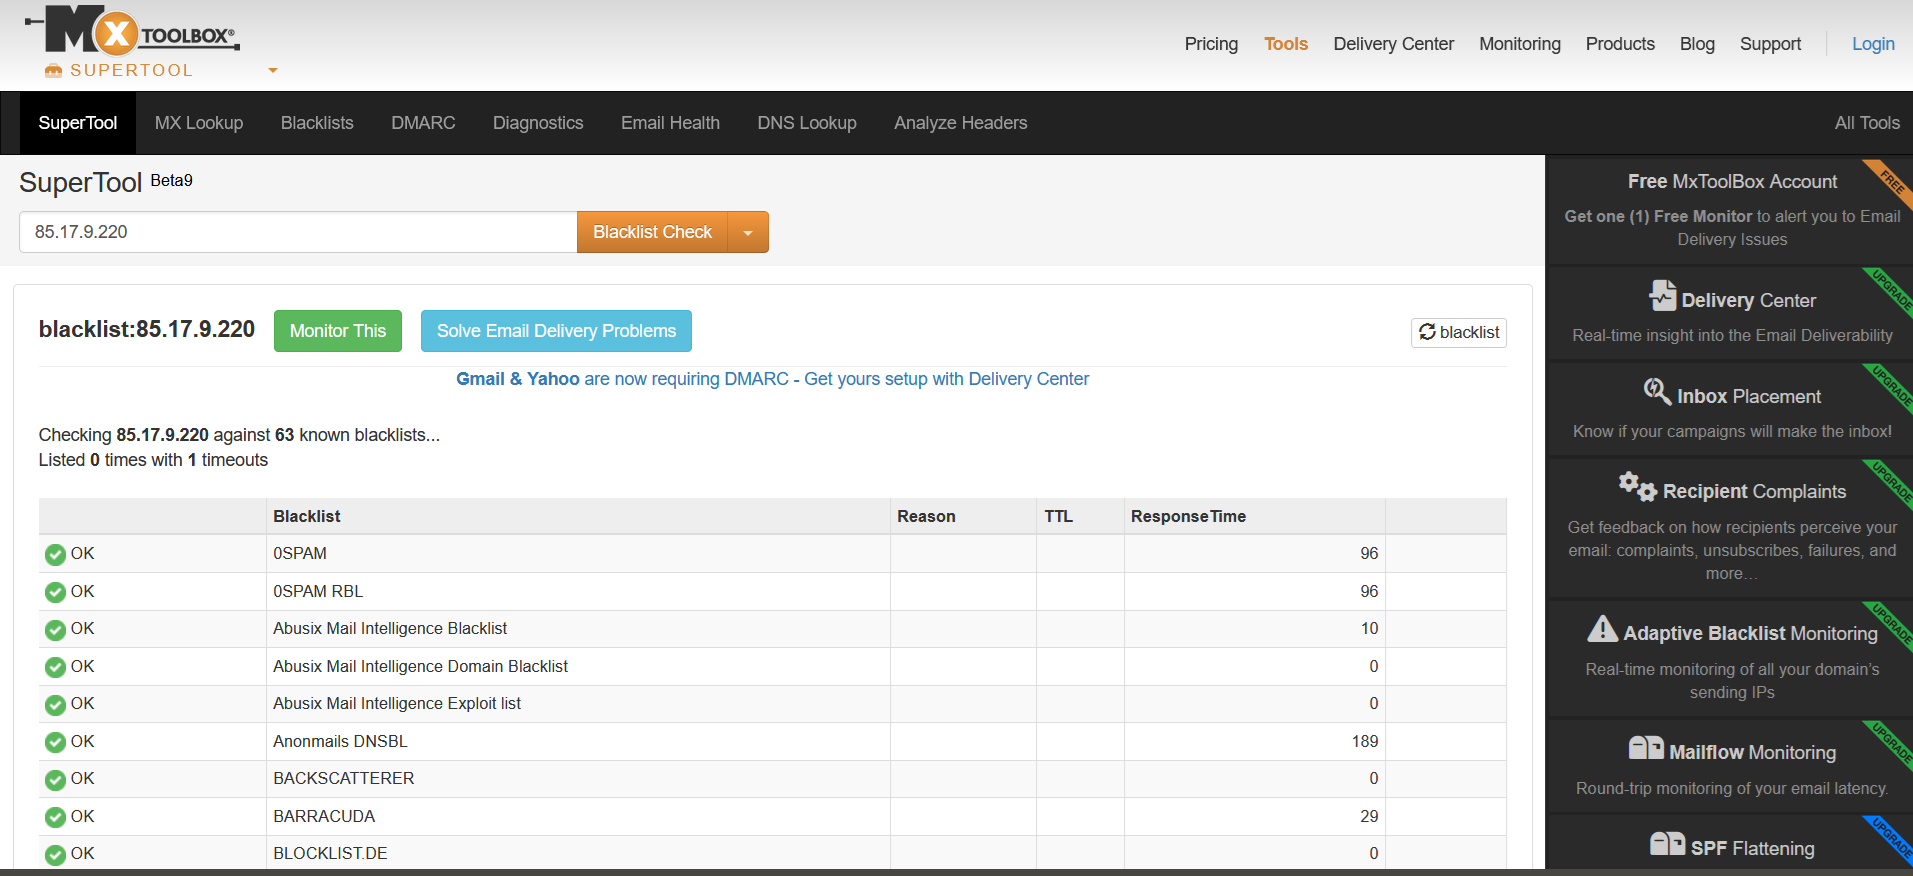
Once you receive your IPv4, be sure to check it for possible blacklist. You can use sites like MXToolBox for blacklist checks.
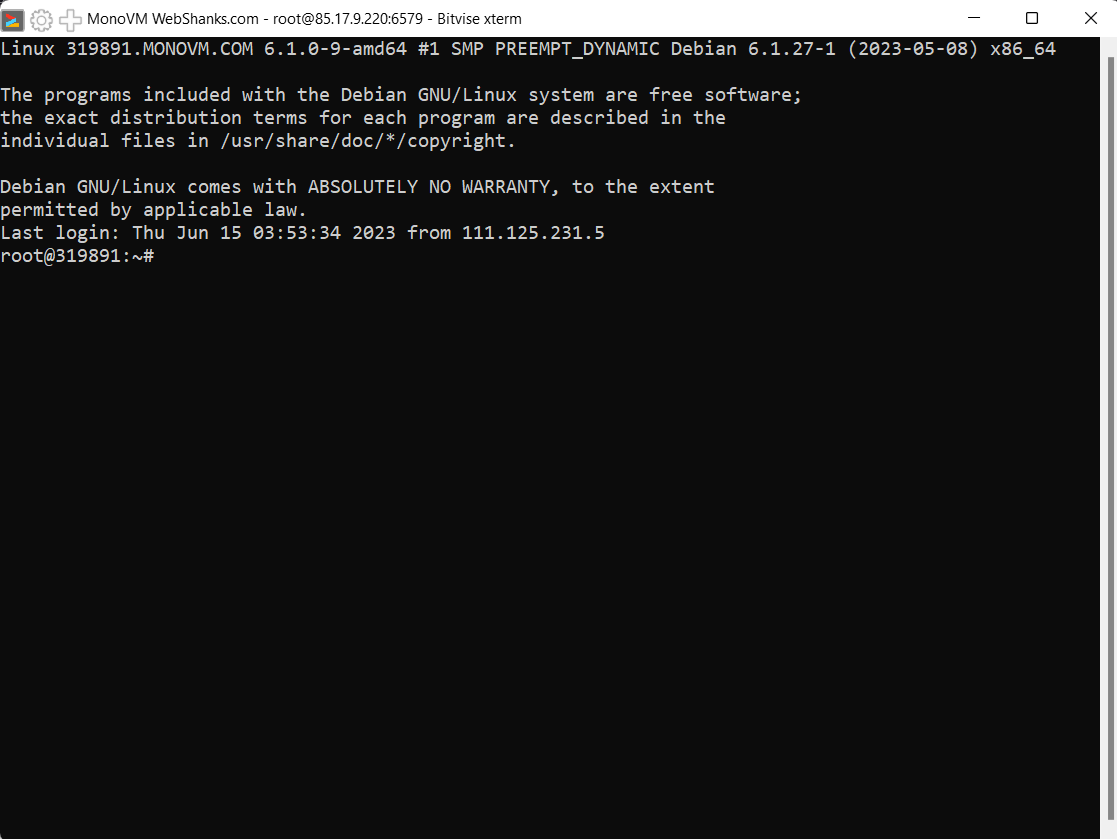
Now let’s access our VPS.
We will use a free SSH client called Bitvise to access our MonoVM VPS.

- Host: Your MonoVM IPv4 address
- Port: 6579
- Username: root
- Password: sent in your email
For advanced users, you can learn more about SSH access for Linux VPS in this guide on generating SSH keys on Windows.
Now you can install your favorite applications. If you want to install a self-hosted hosting panel, check out my Virtualmin guide.
Benchmarking
So now we have our MonoVM setup, let’s benchmark our VPS using Yet-Another-Bench-Script.


Geekbench 6 Benchmark Test:

More info: https://browser.geekbench.com/v6/cpu/8702616
Conclusion
Setting up a VPS on MonoVM is a straightforward process that provides flexible, affordable hosting.
With the right configuration and security practices, you can reliably run websites, applications, or other services.
Take the time to explore additional MonoVM resources to optimize your server environment. If you’re ready to explore more advanced setups, consider reading our guides on Hestia Control Panel setup and Mailcow integration with CloudPanel.