 In this guide, I will walk you through the process of setting up a free email server with RackNerd VPS and CyberPanel. With these tools, you can enjoy the benefits of a self-hosted email solution without breaking the bank.
In the vast landscape of email services, having your own email server offers unparalleled control and privacy.
Prerequisites
Before diving into the setup, ensure you have the following:
- RackNerd VPS Account: Sign up for a RackNerd VPS account. They offer reliable and affordable virtual private servers with open port 25. Be sure you have a root access.
- Domain Name: Have a domain name registered and ready to use. I can recommend Namecheap for registering your domain.
- Basic Linux Knowledge: Familiarize yourself with basic Linux commands. This guide assumes a basic understanding of using the terminal.
- Warmup services: You need to signup for a warmup service to build a reputation for your IP. My recommendations are Success.ai and WarmupInbox.
Setup Your Own Free Email Server with RackNerd VPS and CyberPanel
Note: This guide is based on a Linux environment. We’ll use a fresh install of AlmaLinux to install CyberPanel.
Step 1: Provisioning Your VPS
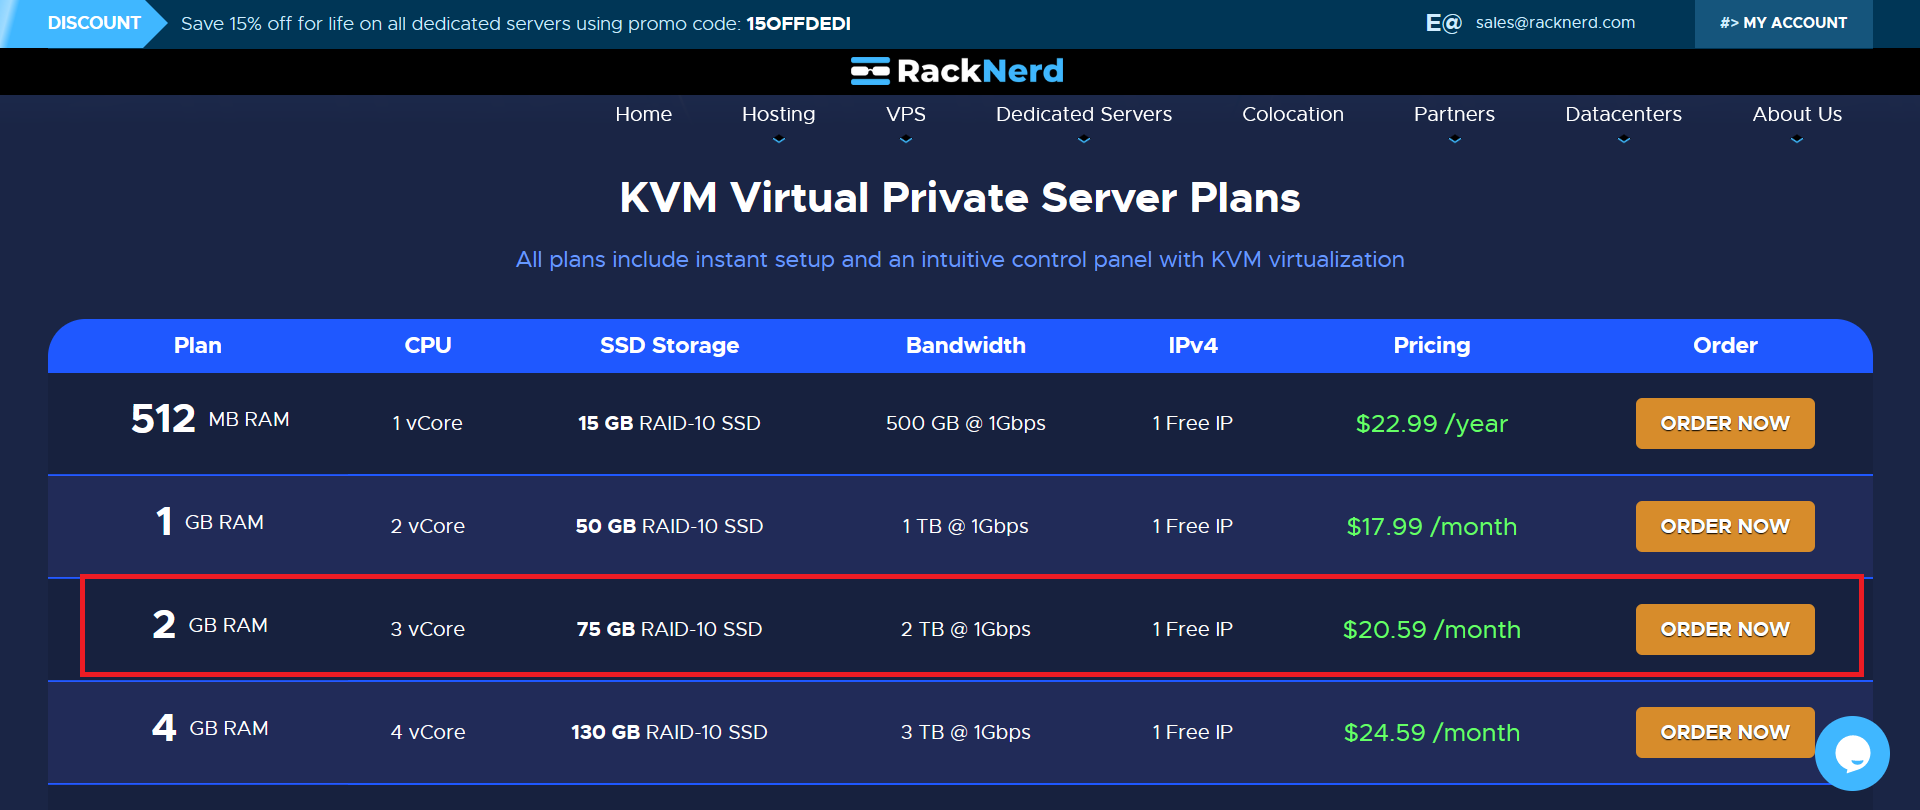
Create a RackNerd VPS account. For a detailed guide on how to setup RackNerd VPS, click here.
Choose your preferred server plan and location. Be sure to choose Los Angeles, Utah, or France for a free IPv6.
Choose AlmaLinux OS 8 as your operating system.
Once provisioned, you will receive an email with server details, including IP address, username, and password.
You need to contact RackNerd support to ask for an IPv6.
Step 2: Connect to Your VPS
By now you should have a running VPS.
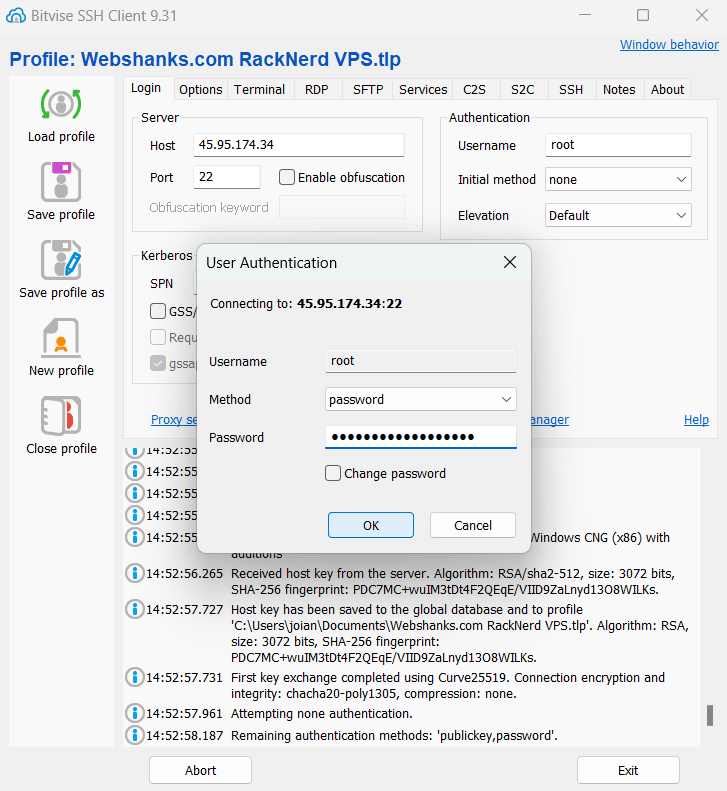
Using an SSH client, connect to your RackNerd VPS. You’ll receive connection details from RackNerd upon VPS activation.
We’ll be using Bitvise – a free SSH client.
Step 3: Setup Hostname, rDNS, and Initial DNS
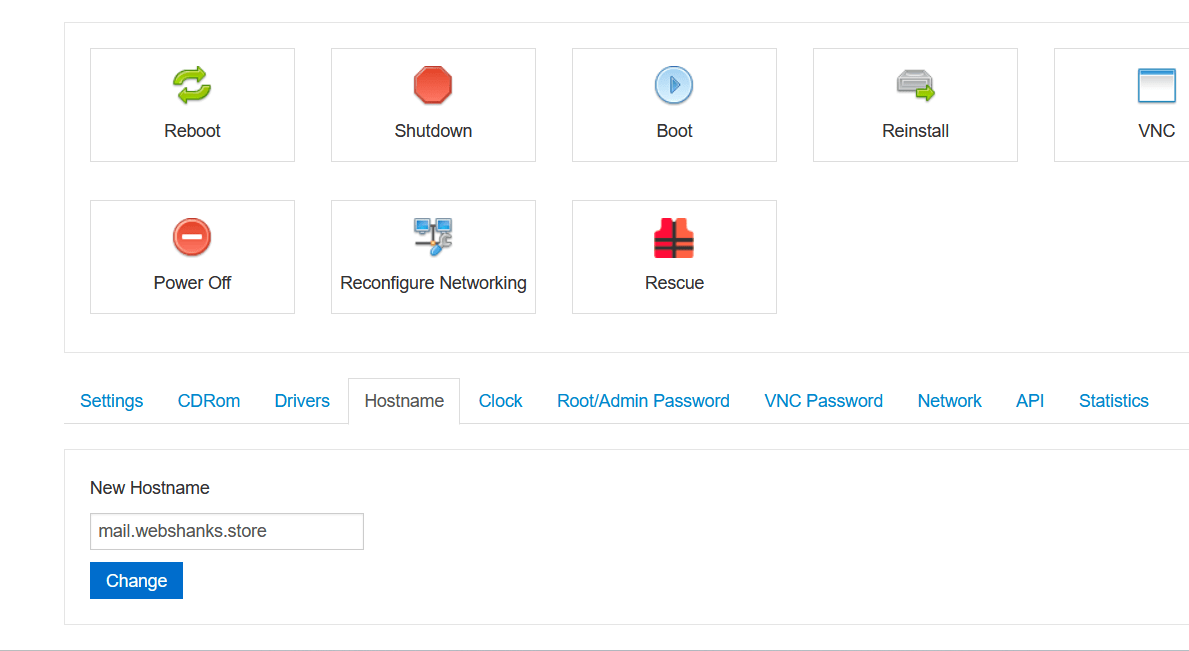
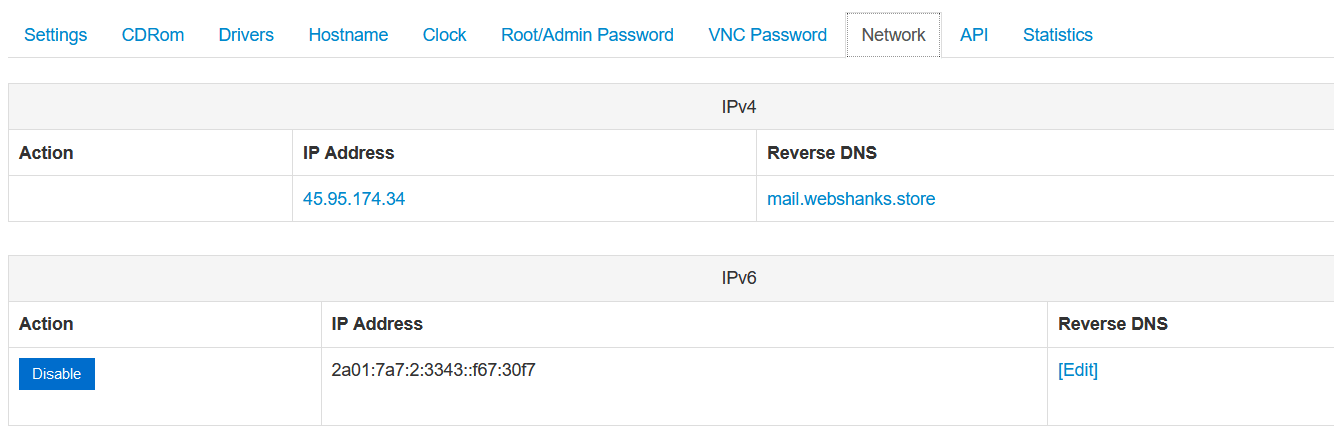
Login to your VPS and set your Hostname. I will set mine to mail.webshanks.store.
Go again to RackNerd support and ask them that you want your rDNS to be mail.webshanks.store for both IPv4 and IPv6.
Wait for at least 24 hours for the rDNS to propagate. You can check its propagation using this tool.
Next, we’ll go to Cloudflare and add a site.
Then add Cloudflare nameservers to Namecheap.

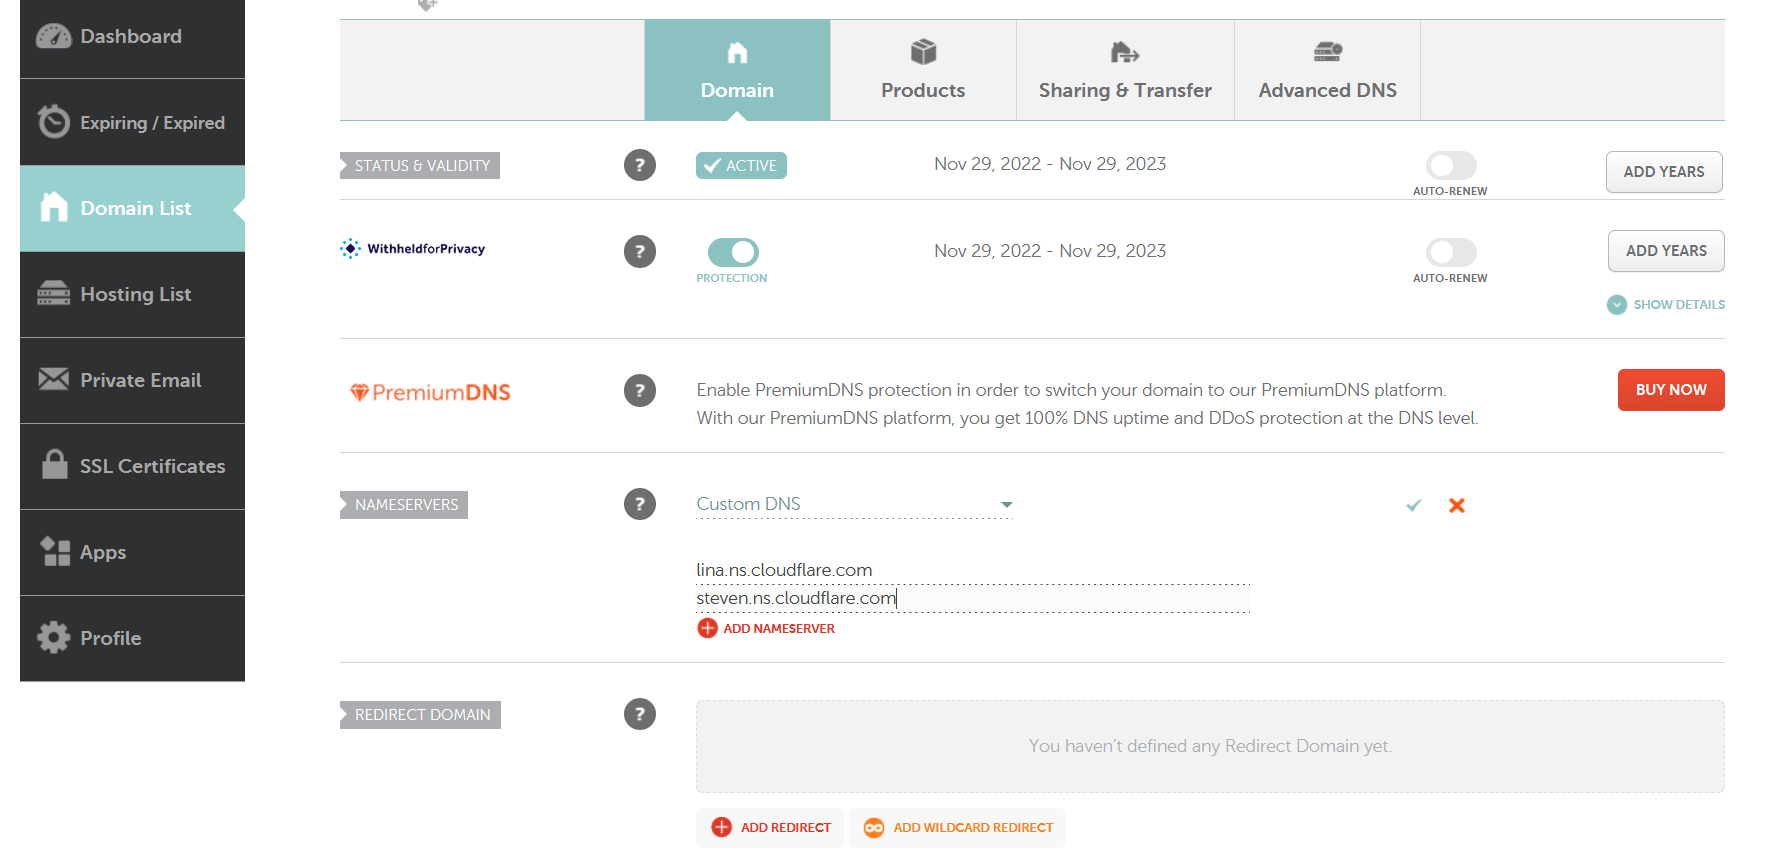
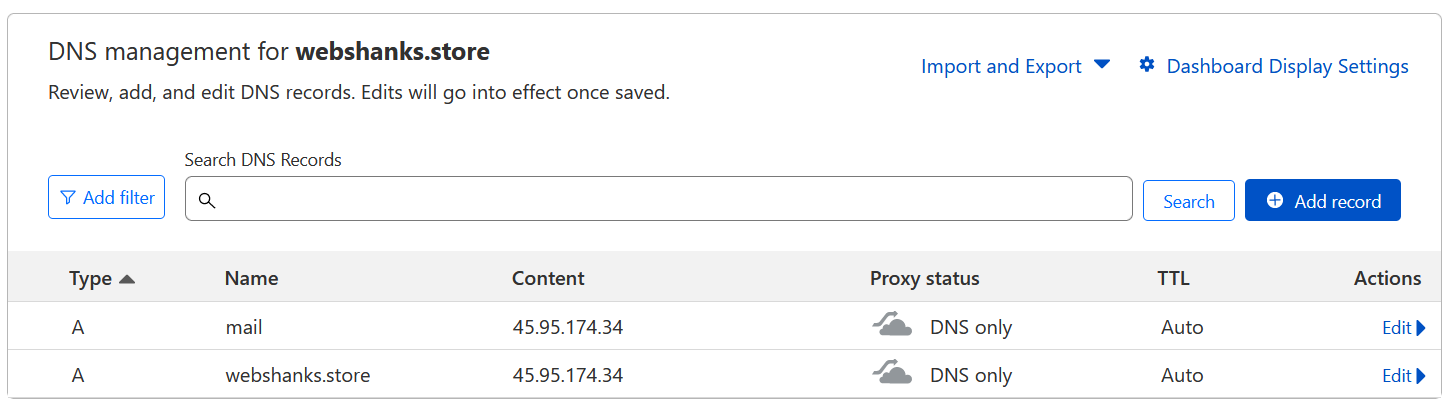
Add A records on Cloudflare for the Hostname and root domain. We’ll continue adding more DNS later on.
Step 4: Update System Packages and Enable IPv6
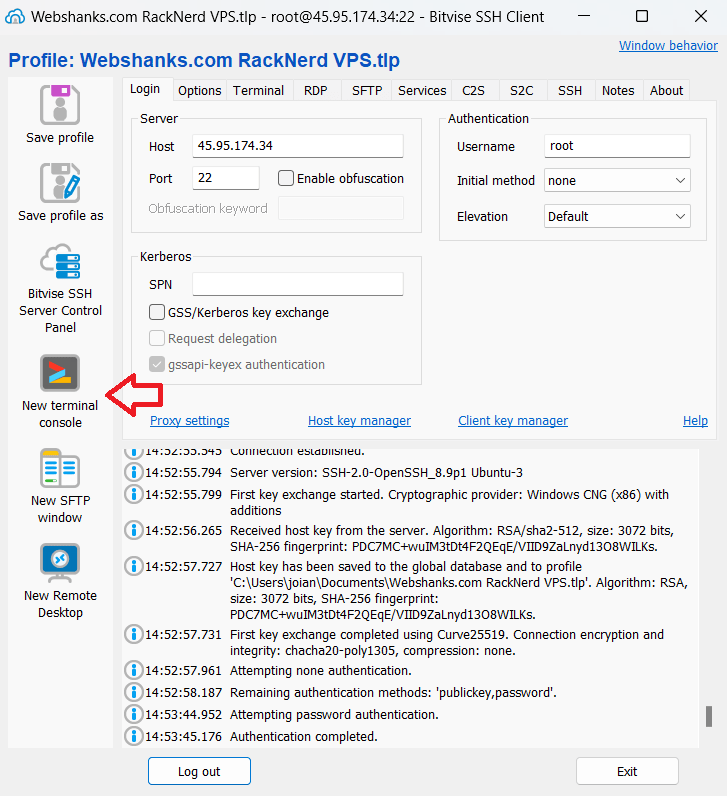
Ensure your system packages are up-to-date. Go back to the terminal console and run the following commands.
sudo yum check-update
sudo yum update
Go to nano /etc/sysctl.conf.
If nano editor is not installed, run the following command:
sudo dnf install nano -y
Change the value to 0 of the following lines:
net.ipv6.conf.all.disable_ipv6 = 0
net.ipv6.conf.default.disable_ipv6 = 0
net.ipv6.conf.lo.disable_ipv6 = 0
Add the following lines at the end of the file then reboot your server.
net.ipv6.conf.all.autoconf = 0
net.ipv6.conf.all.accept_ra = 0
net.ipv6.conf.eth0.autoconf = 0
net.ipv6.conf.eth0.accept_ra = 0
Step 5: Install CyberPanel
Use the following commands to install CyberPanel:
sh <(curl https://cyberpanel.net/install.sh || wget -O - https://cyberpanel.net/install.sh)

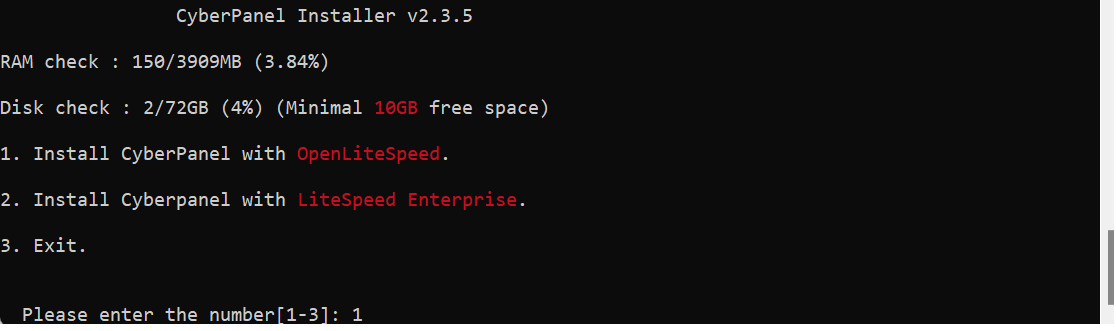
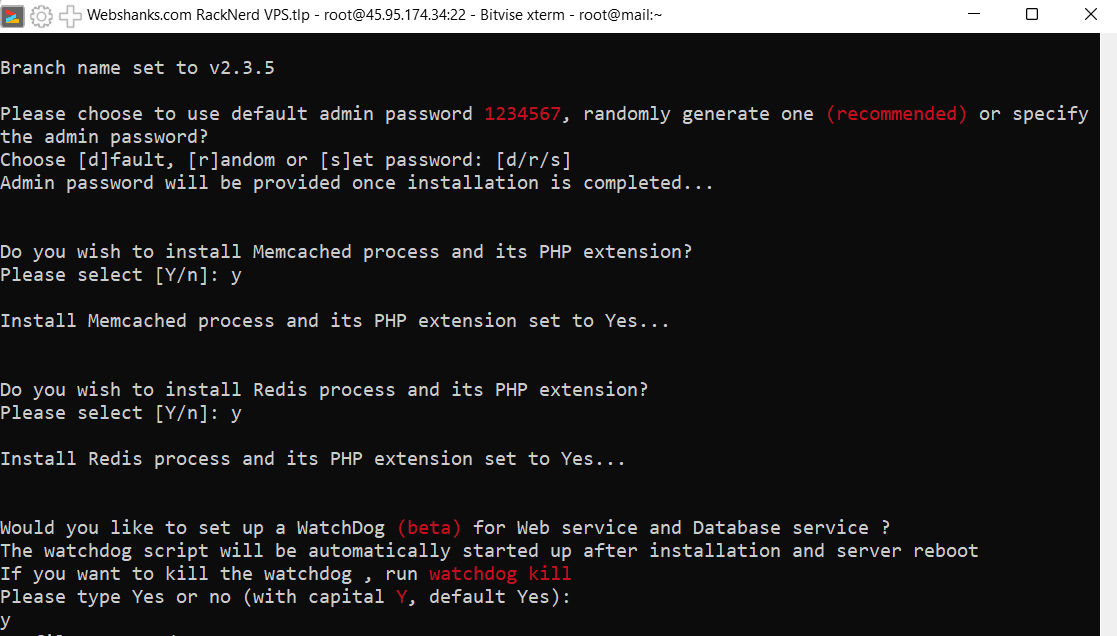
Follow the on-screen instructions. CyberPanel will be installed with OpenLiteSpeed as the web server.
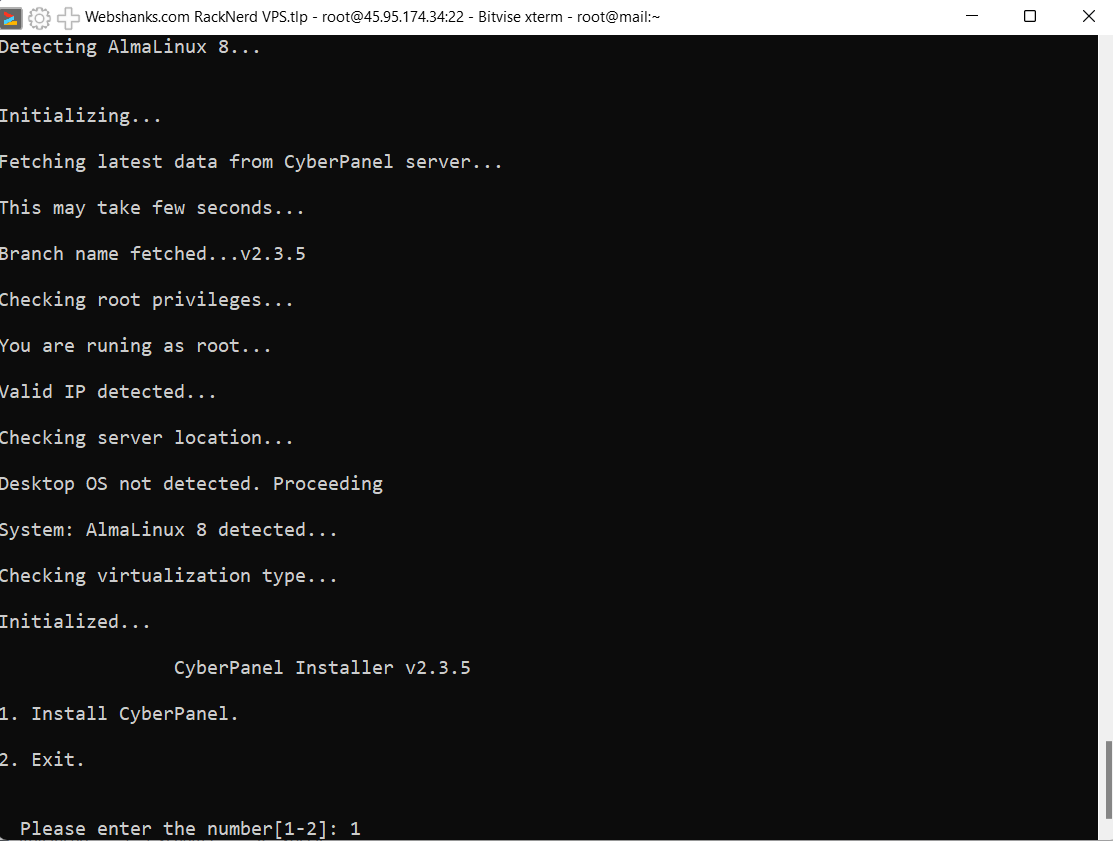
Install CyberPanel with OpenLiteSpeed. Choose 1.
Step 6: Access CyberPanel
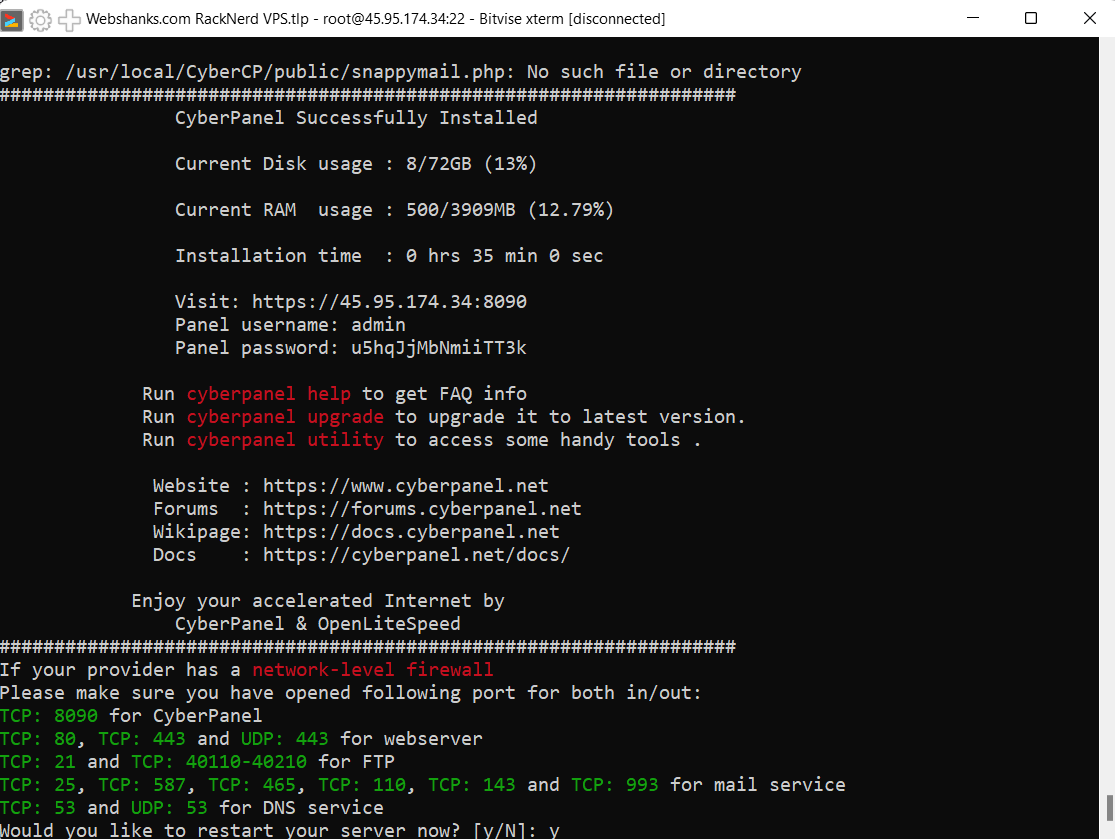
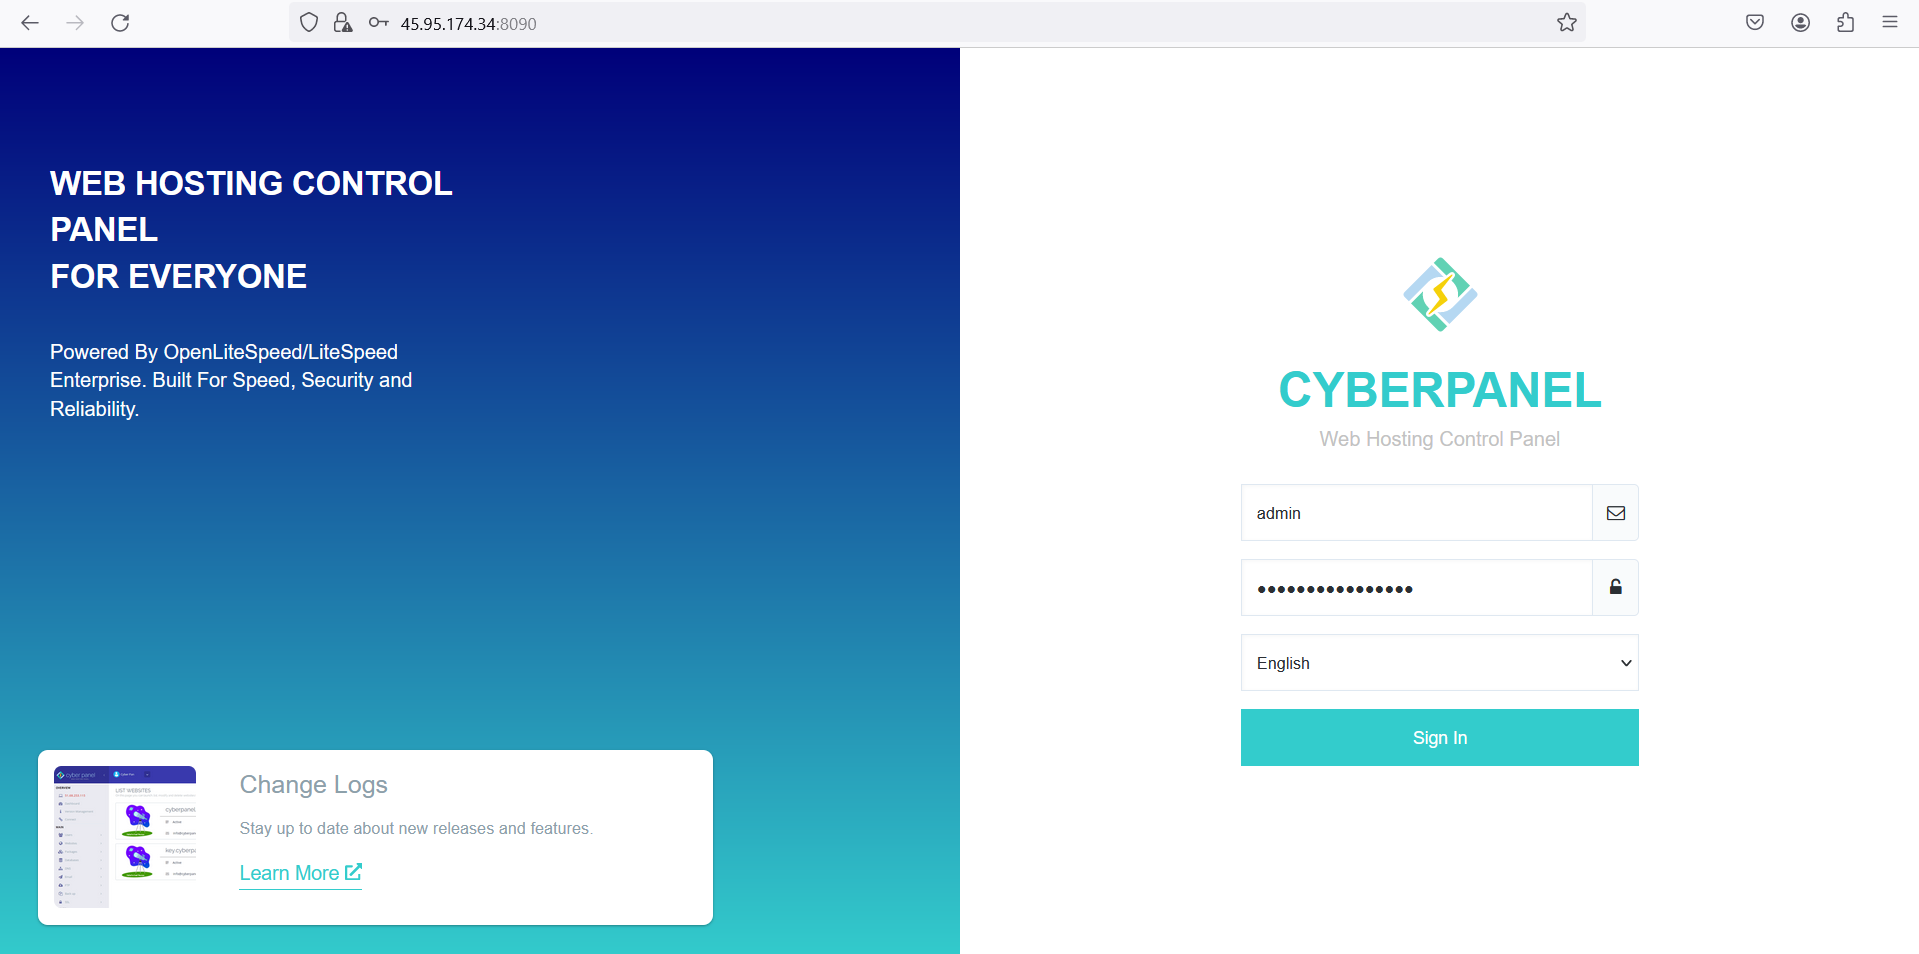
Open your web browser and navigate to https://your_server_ip:8090. Log in with the default credentials will be displayed after installation.
A security error will display Warning: Potential Security Risk Ahead. Just Click Advanced and Accept the Risk and Continue.
You will now be redirected to the CyberPanel login screen. Just enter the login credentials to proceed.
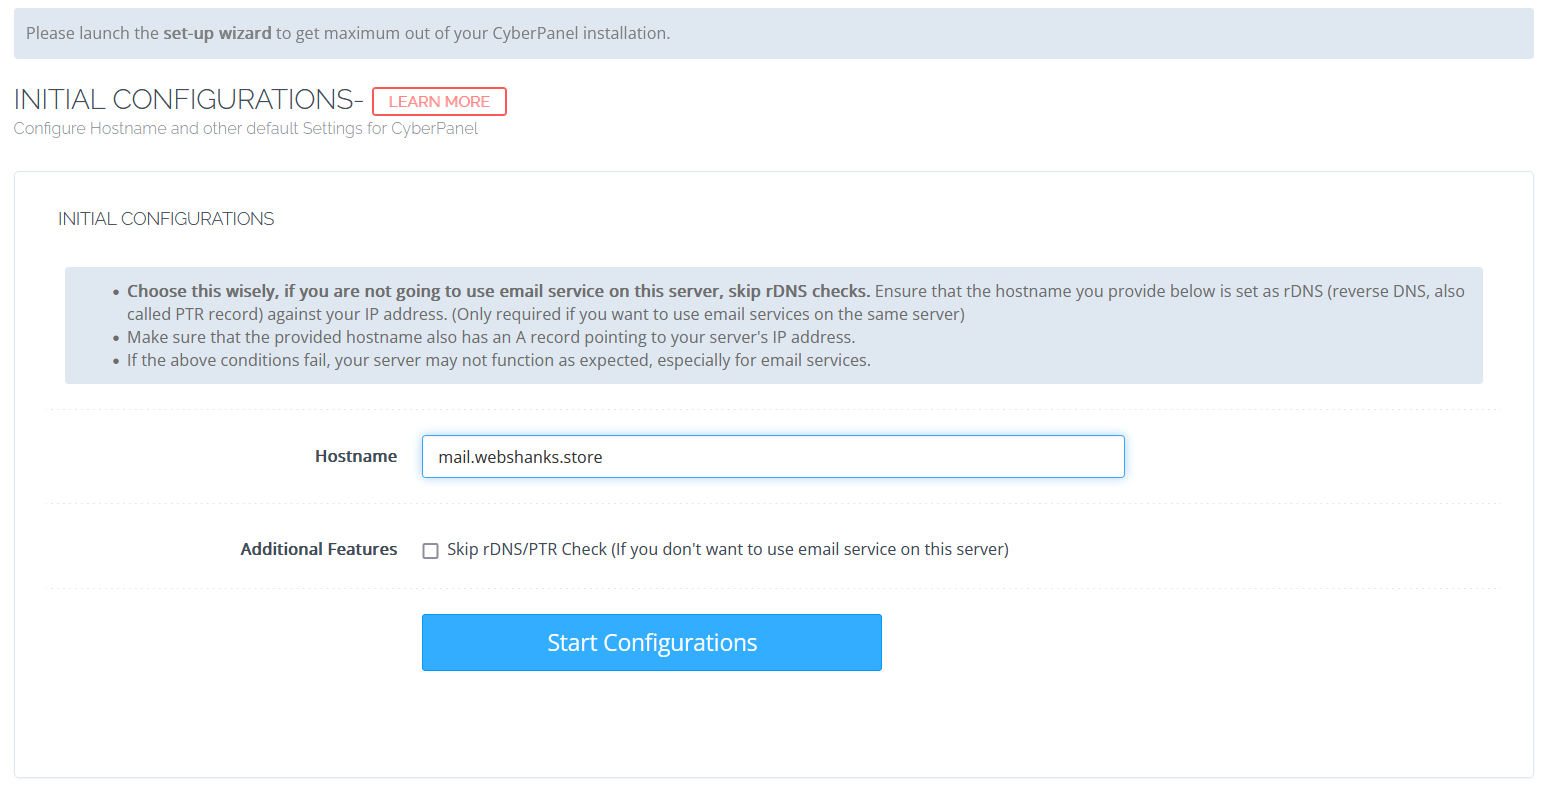
We will need to launch the setup wizard to finish the CyberPanel installation. Leave Configure Hostname and other default Settings for CyberPanel unchecked.
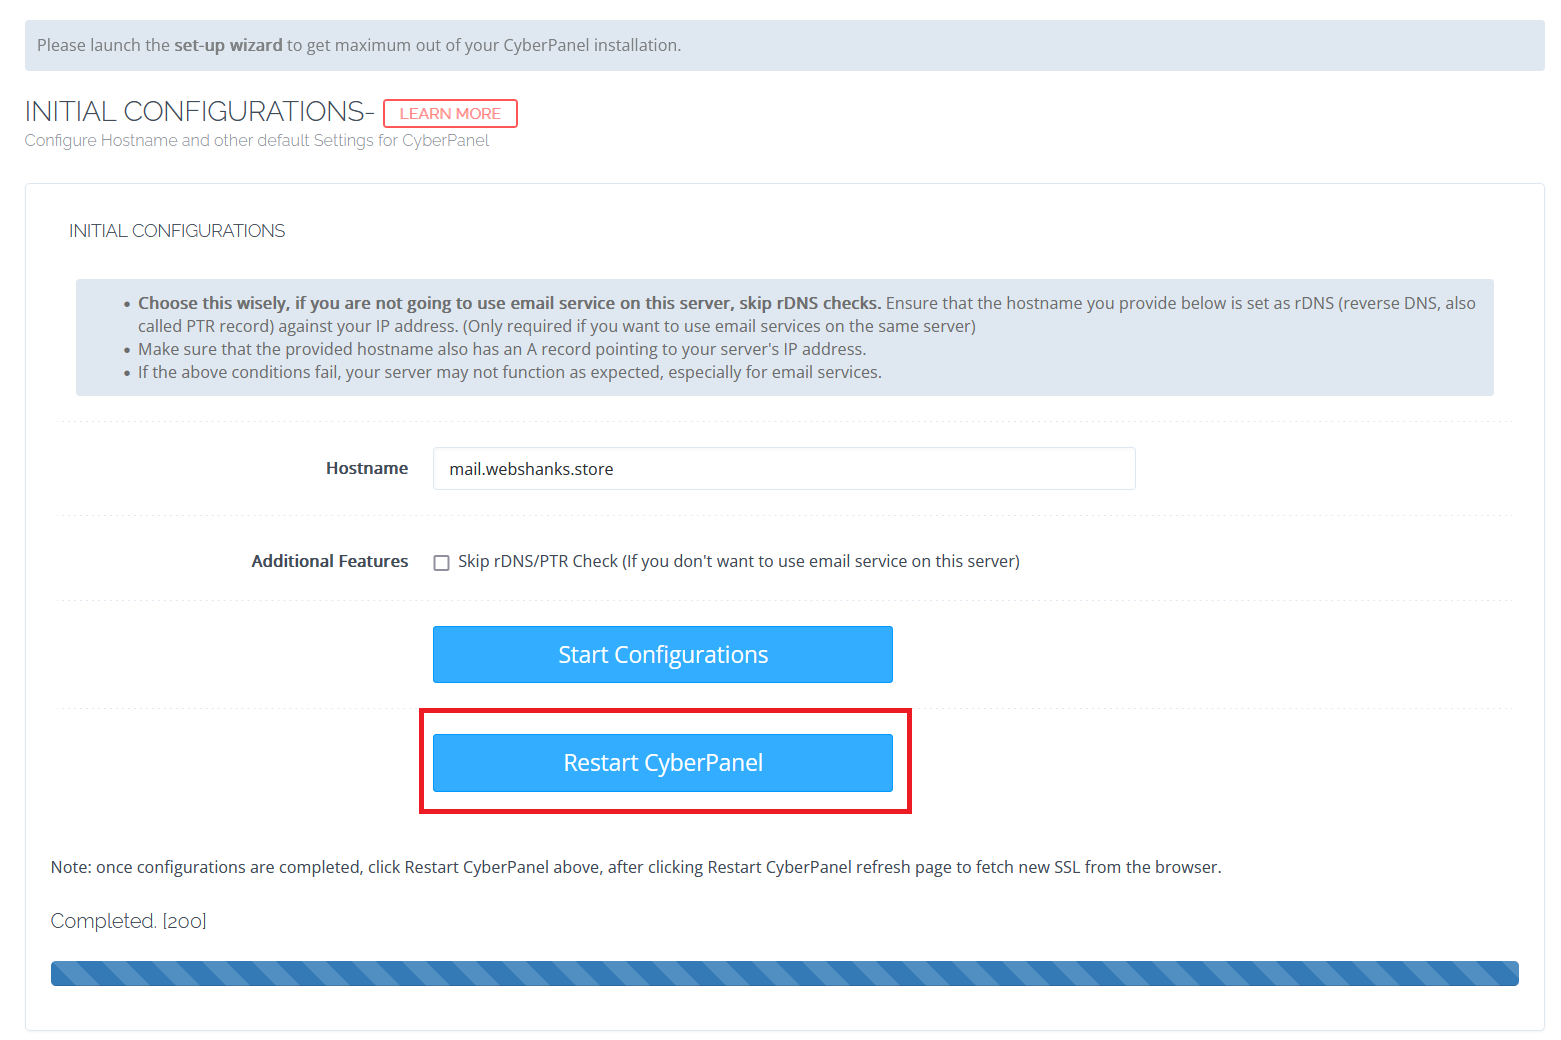
You should be able to get a Completed. [200]. Then restart CyberPanel.
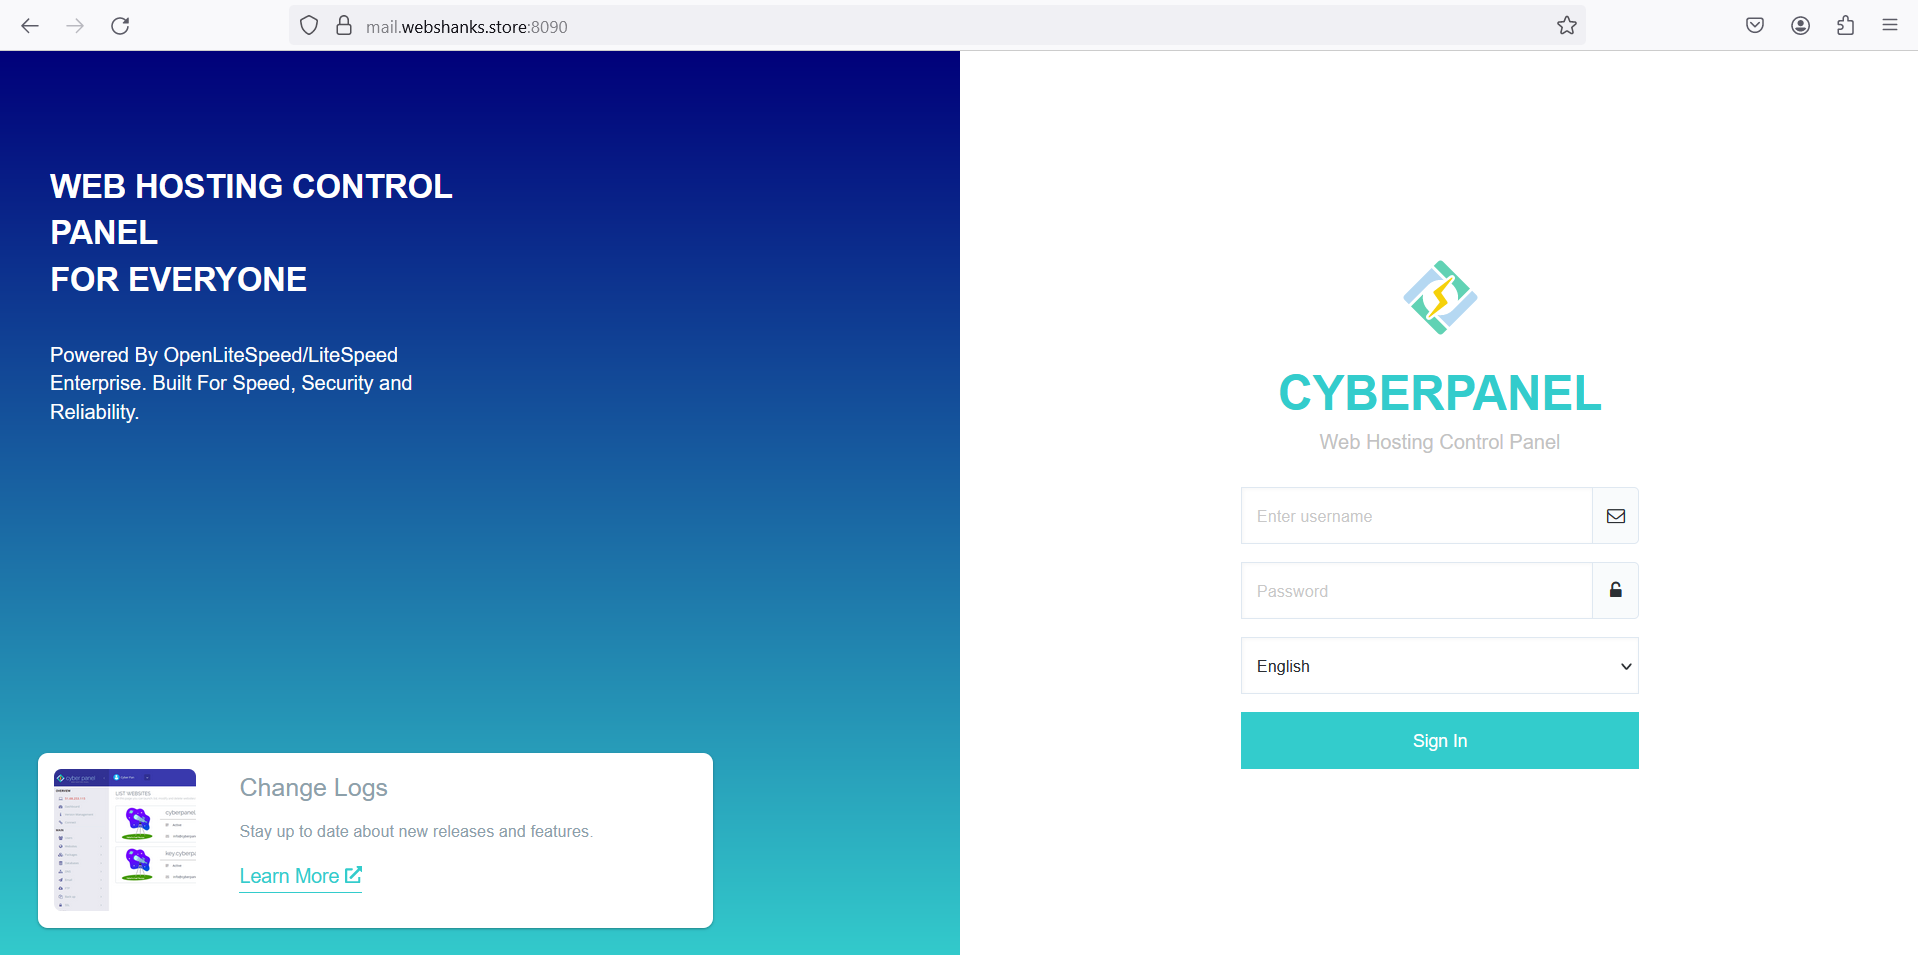
Now you can access CyberPanel with your hostname and port 8090. Login using https://mail.webshanks.store:8090 instead of the IP address.
Step 7: Setting Up Your Domain
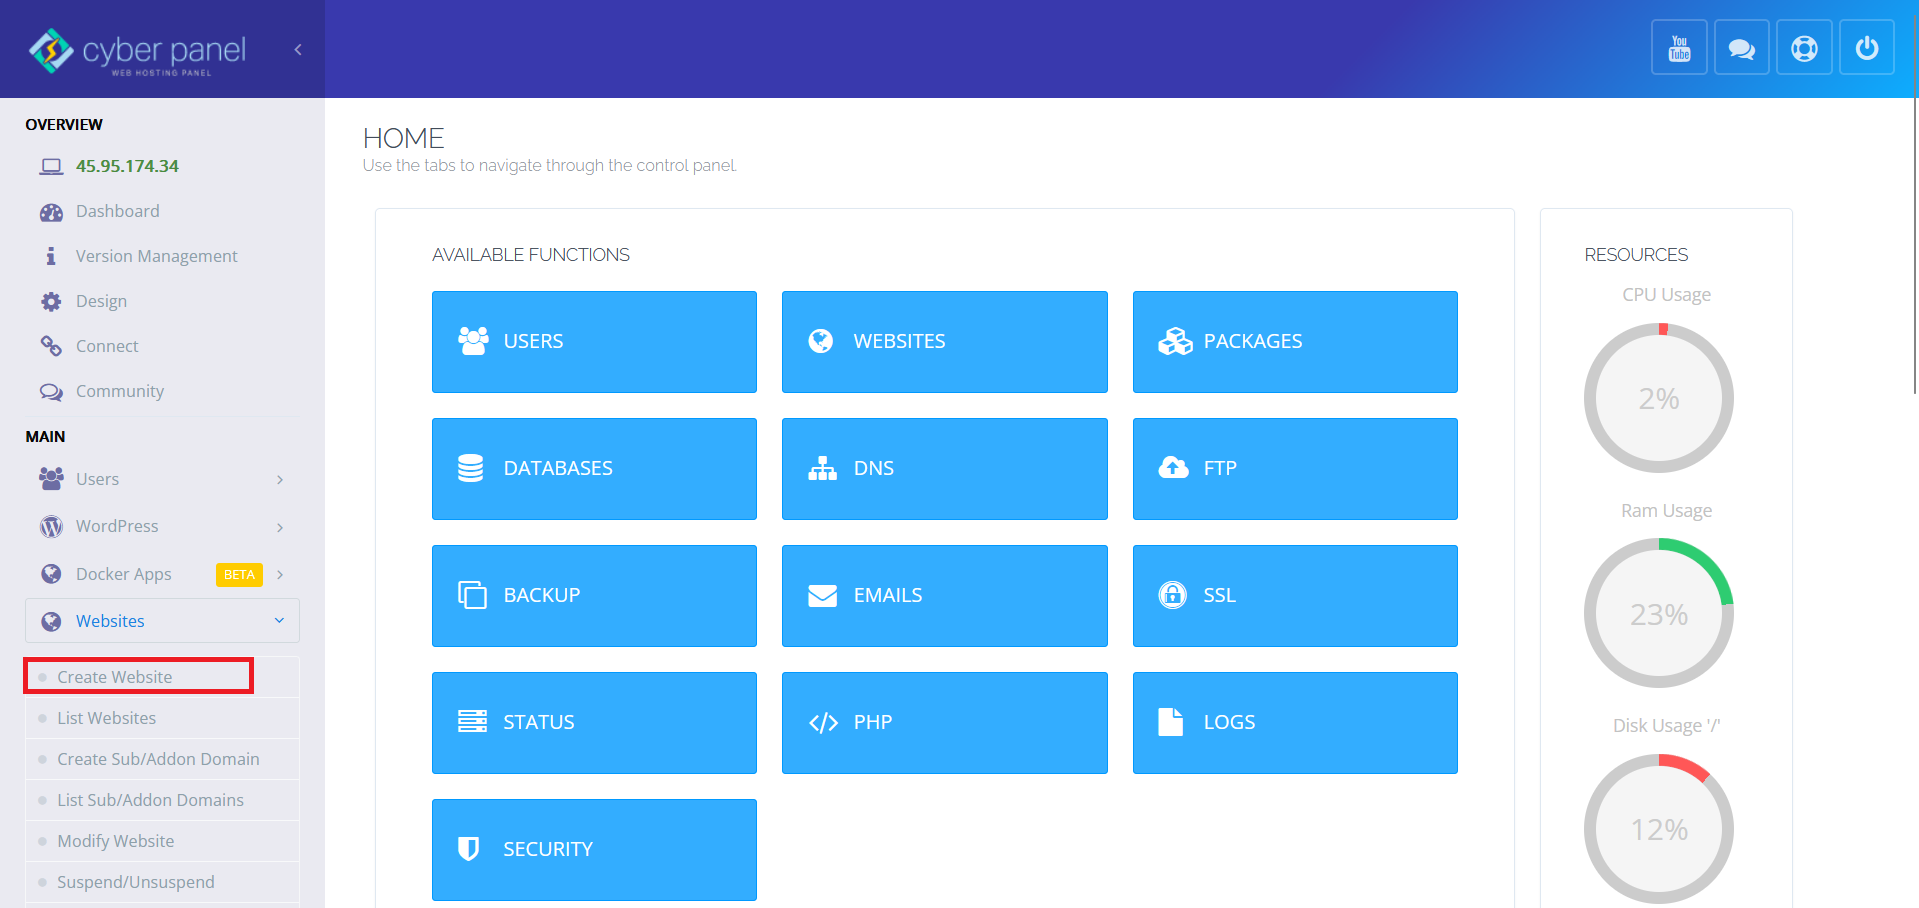
In CyberPanel, navigate to Websites and click Create Website.
Enter your domain name, choose a PHP version, and set your email preferences.
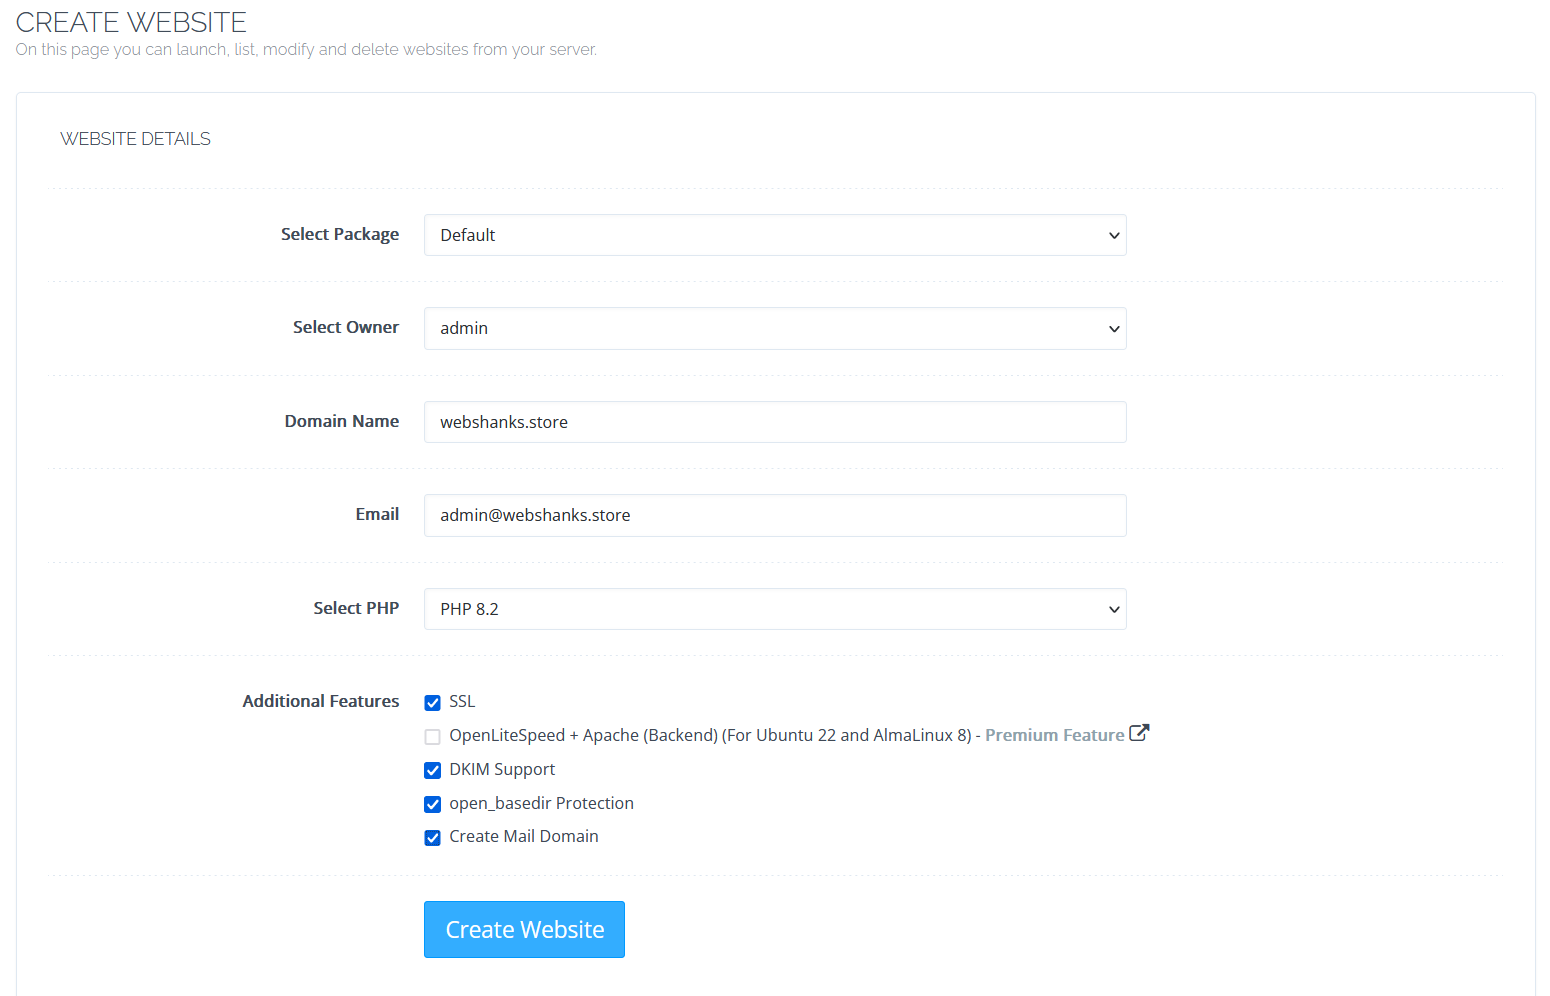
Be sure to check SSL, DKIM Support, open_basedir Protection, and Create Mail Domain.
Once it is successfully installed we’ll proceed to create email.
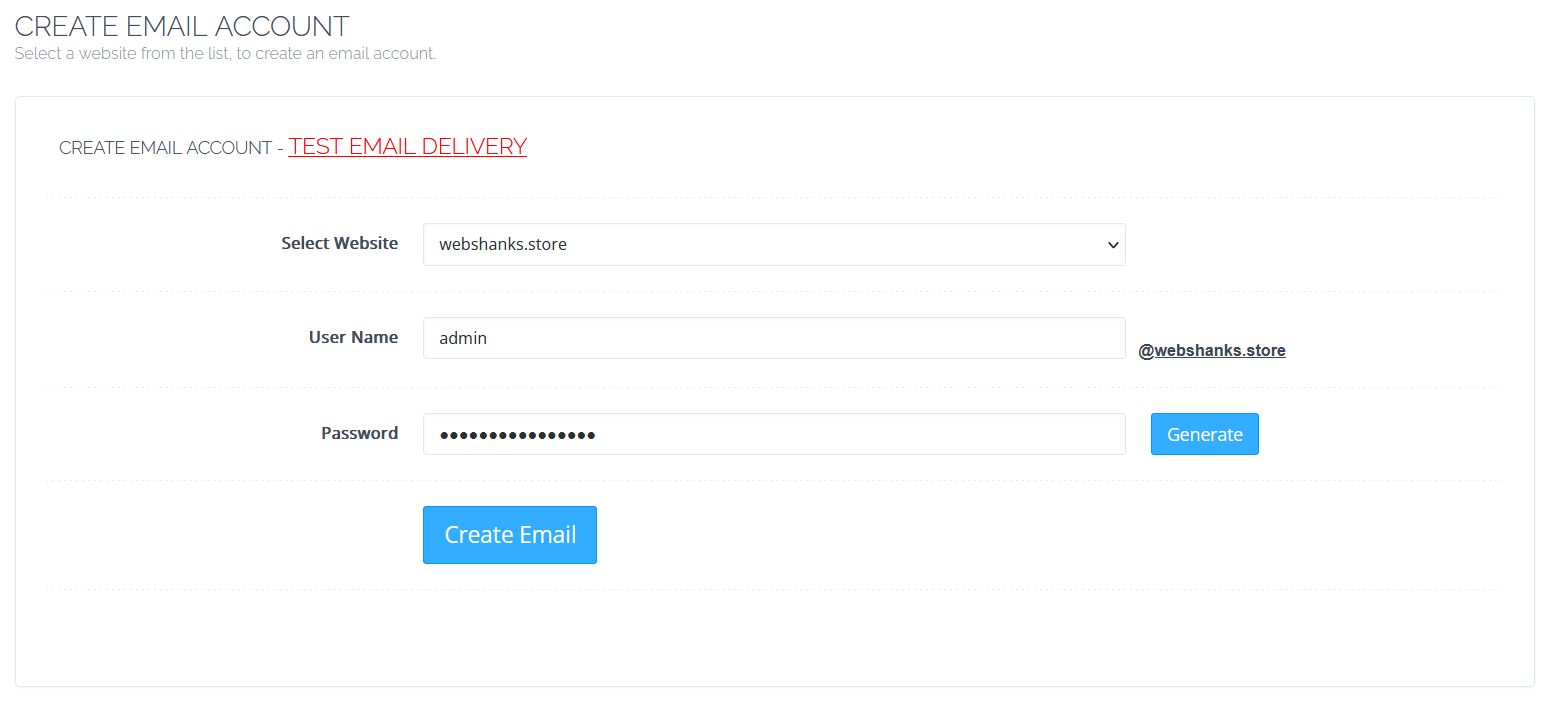
Step 8: Create an Email Account
In the CyberPanel left menu, navigate to Email > Add Email.
Enter the required details, including your domain and a strong password.
Click Create Email to generate your email account.
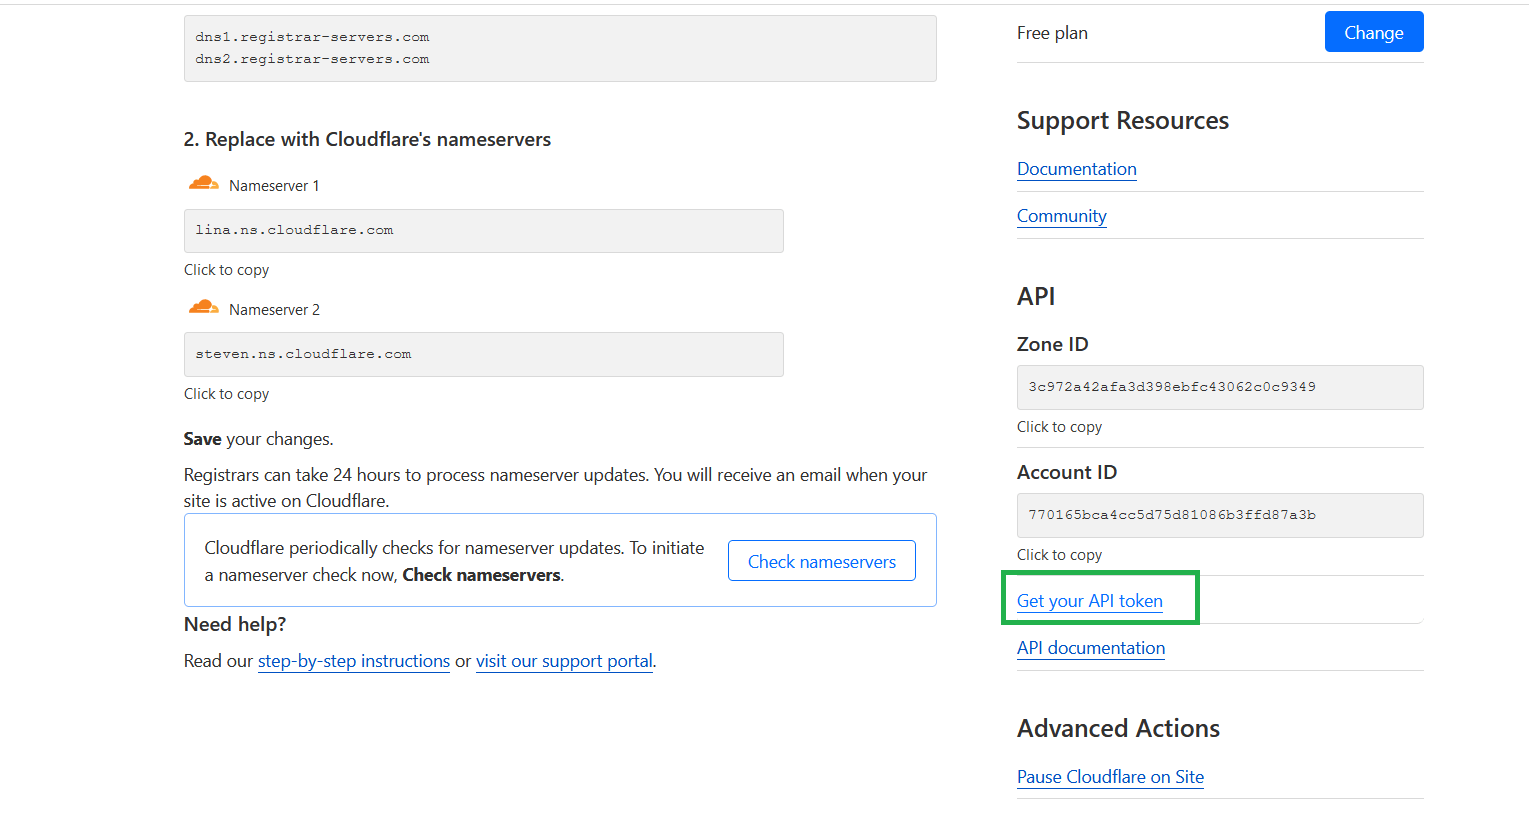
Step 9. Configure DNS Records
Go back to Cloudflare and access API tokens Overview > API Tokens. Be sure to use Global API Key.
From your CyberPanel dashboard navigate to DNS > Cloudflare and enter your Cloudflare email and API token.
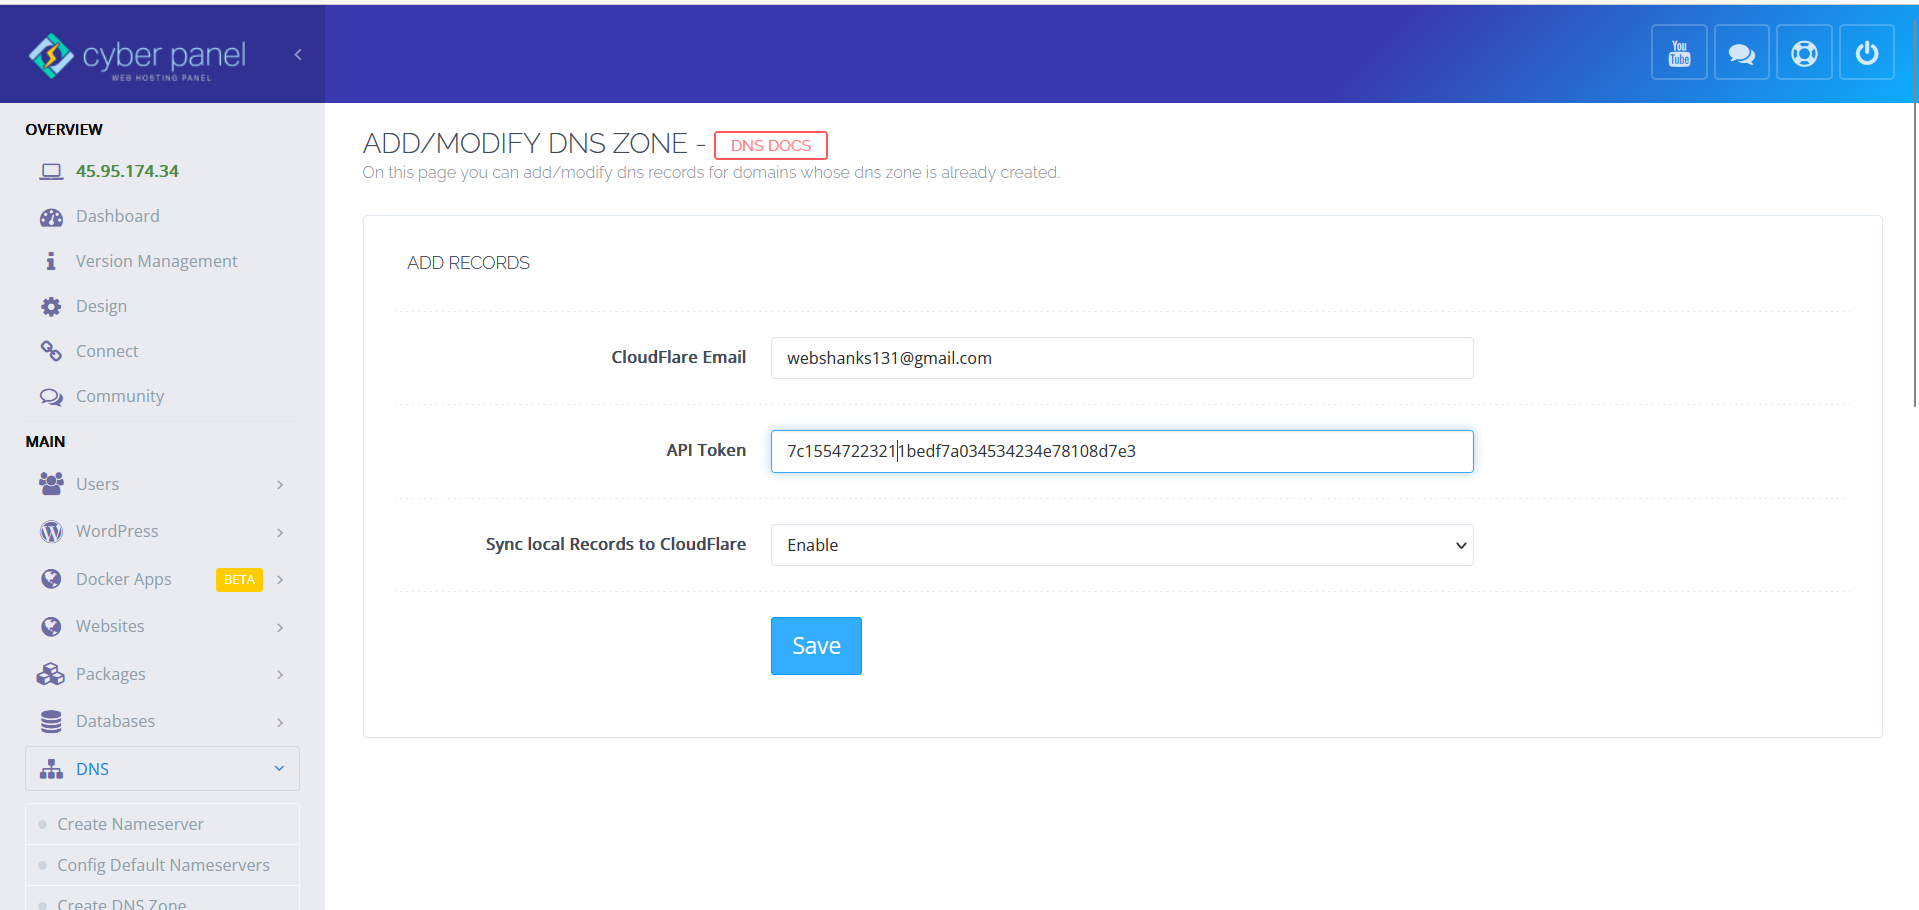
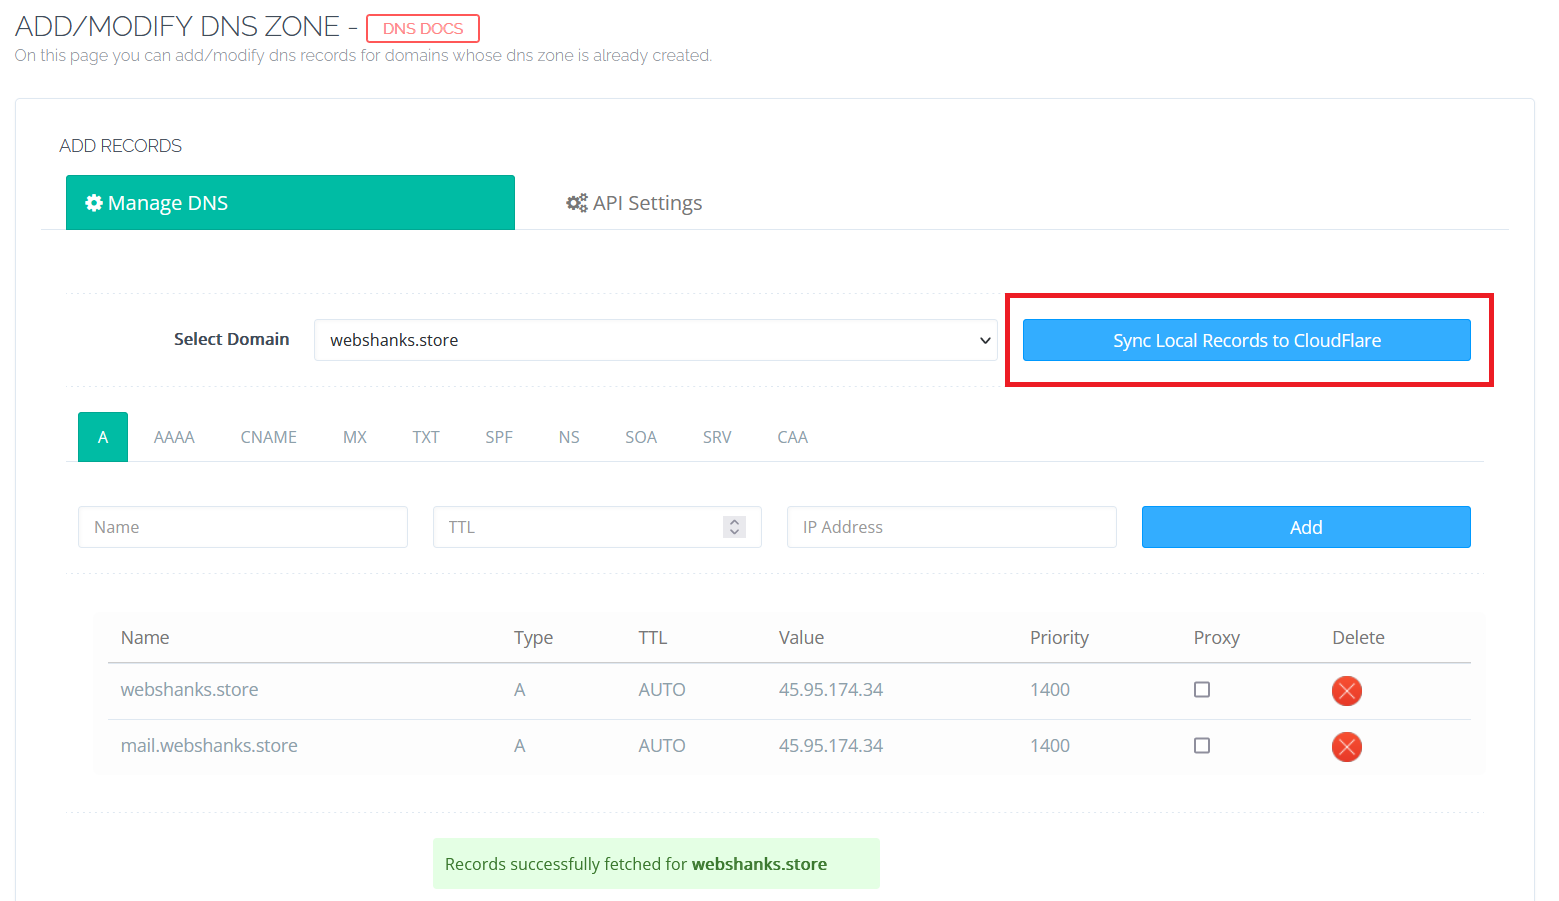
After you add the records, you’ll have the option to manage your domains. Choose the domain on the drop-down menu.
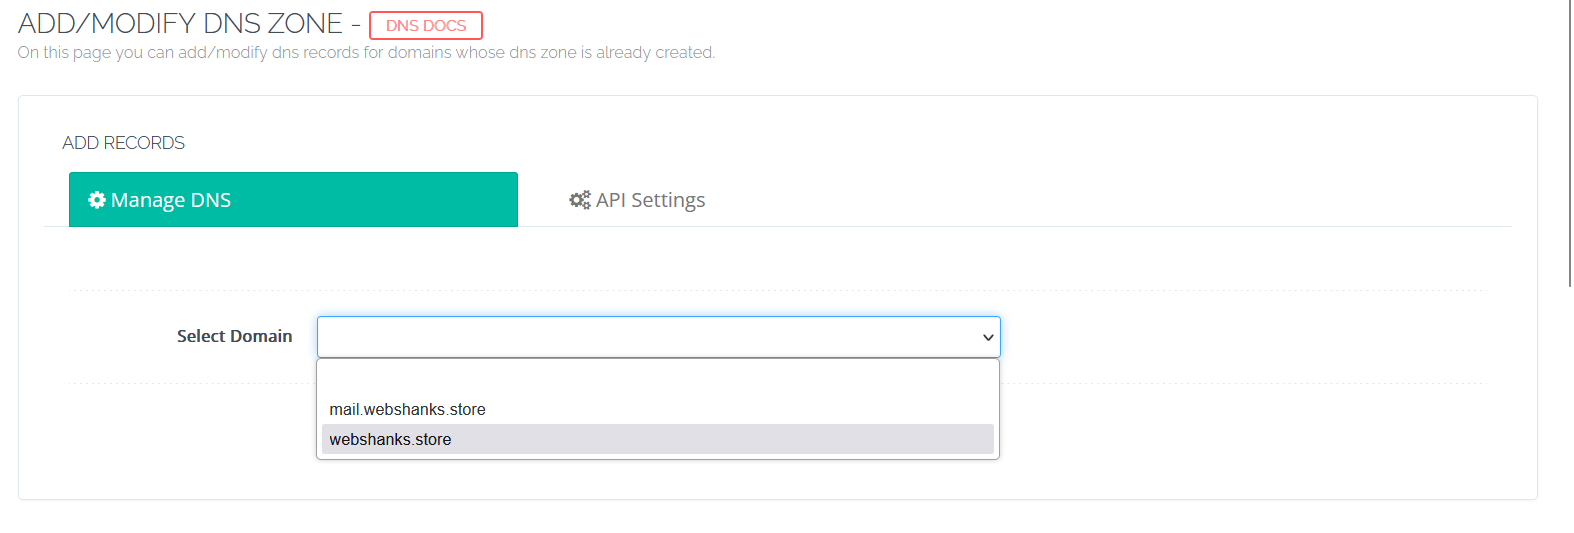
Then click Sync Local Records to Cloudflare.
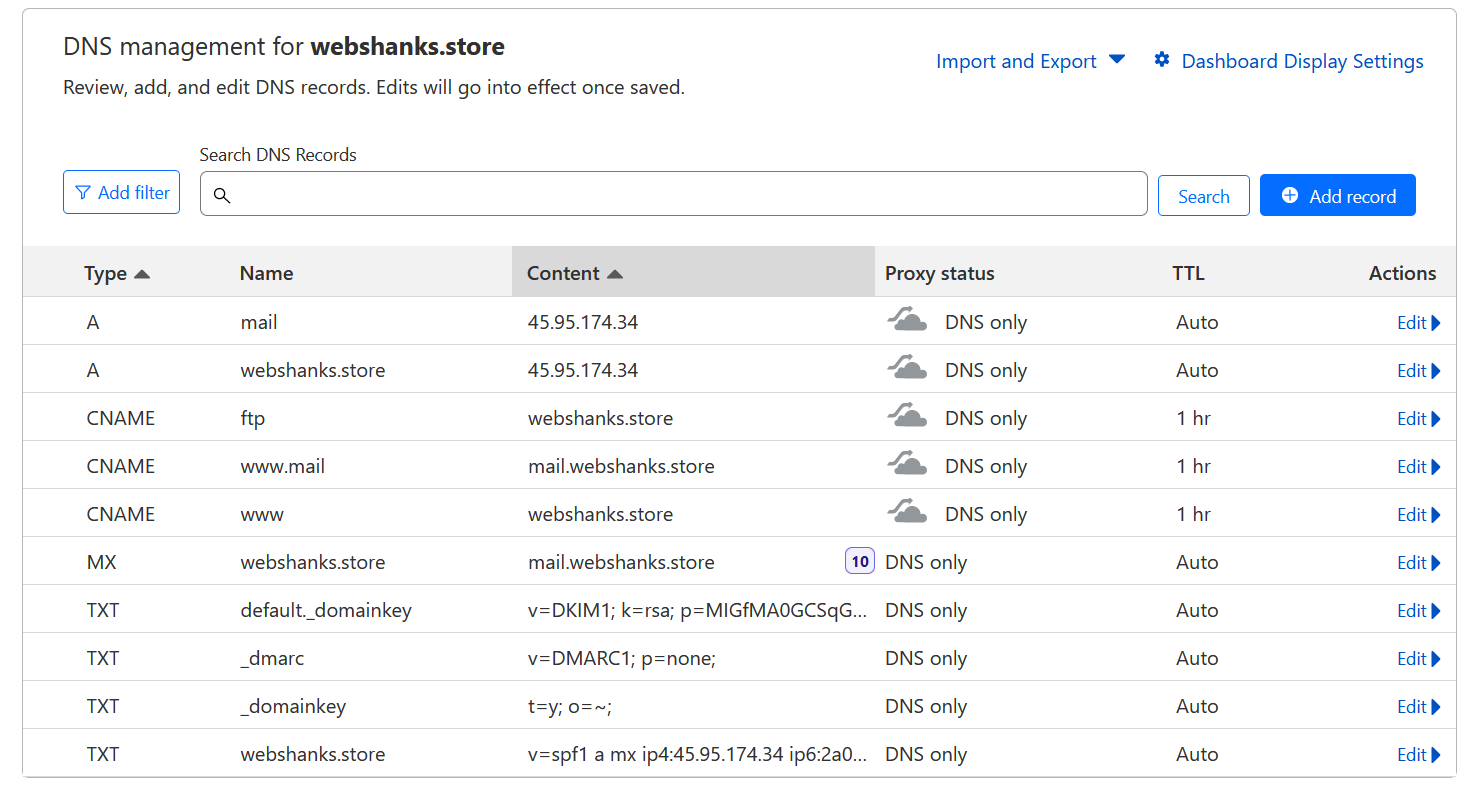
Now your final DNS records will look like this. But before we test, we will add our IPv6 to our SPF record.
Note: I’ve removed duplicated TXT records and changed the MX record from mail to @.
Step 10. Test Email Delivery
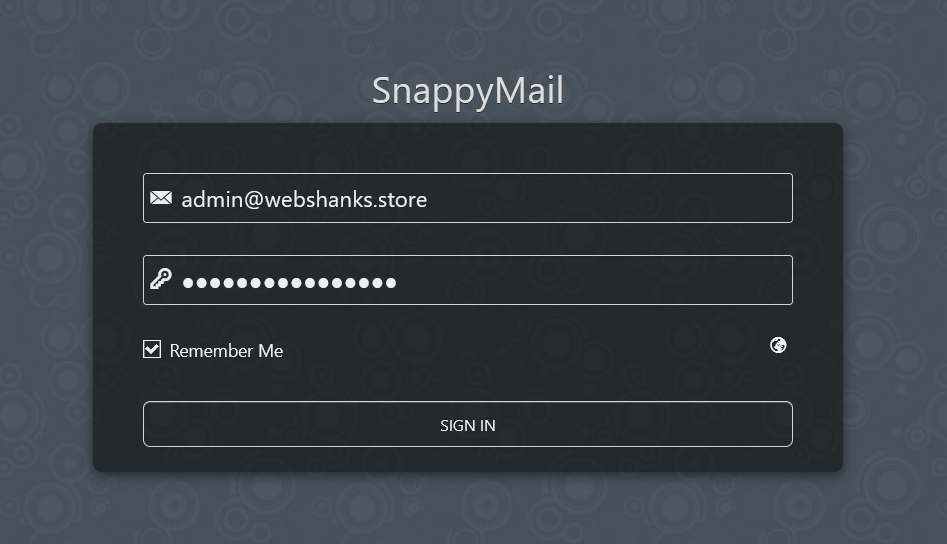
First, let’s access our webmail. Go to Email > Access Webmail.
Enter the email login details you create a while ago.
Time to send test emails!
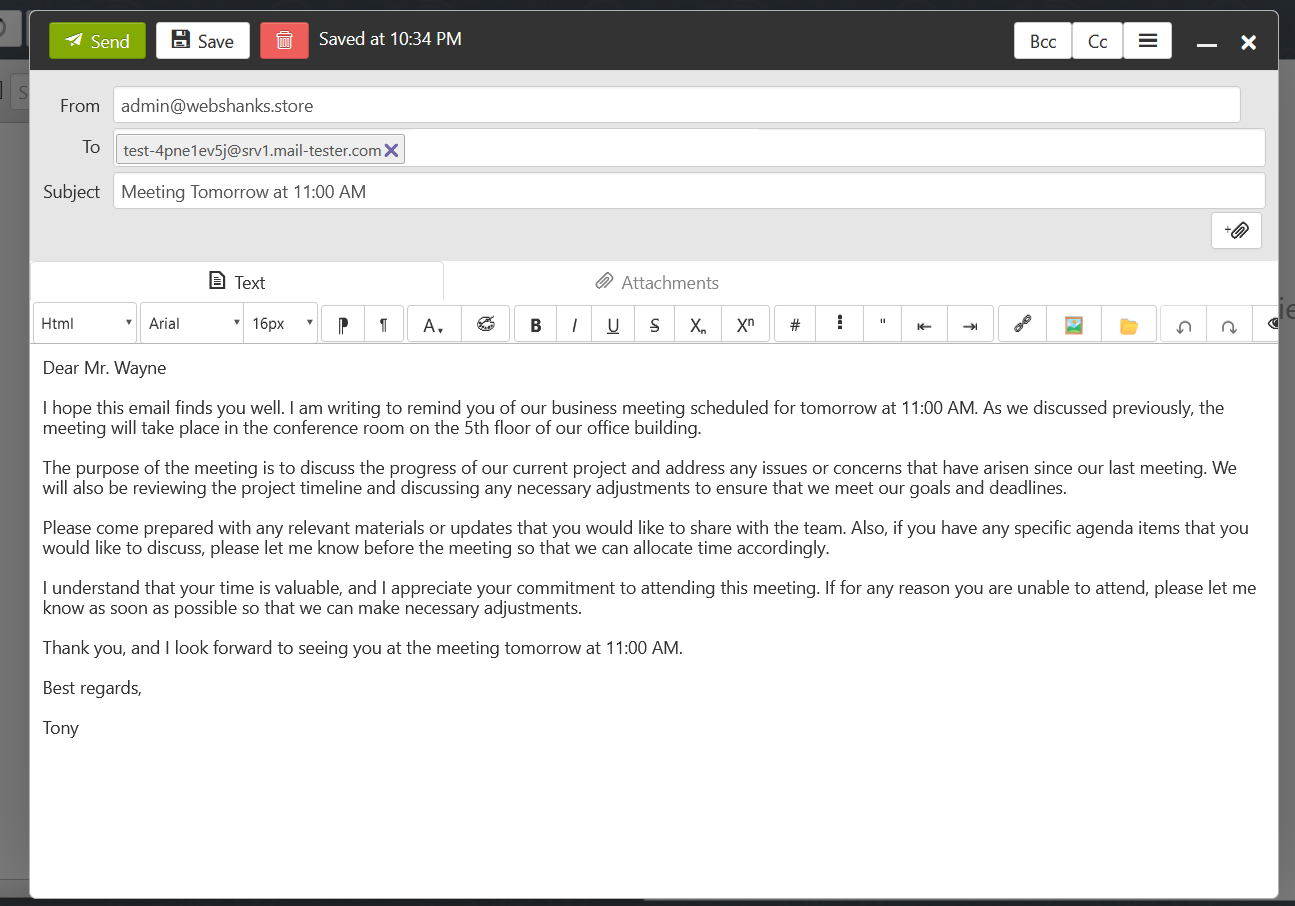
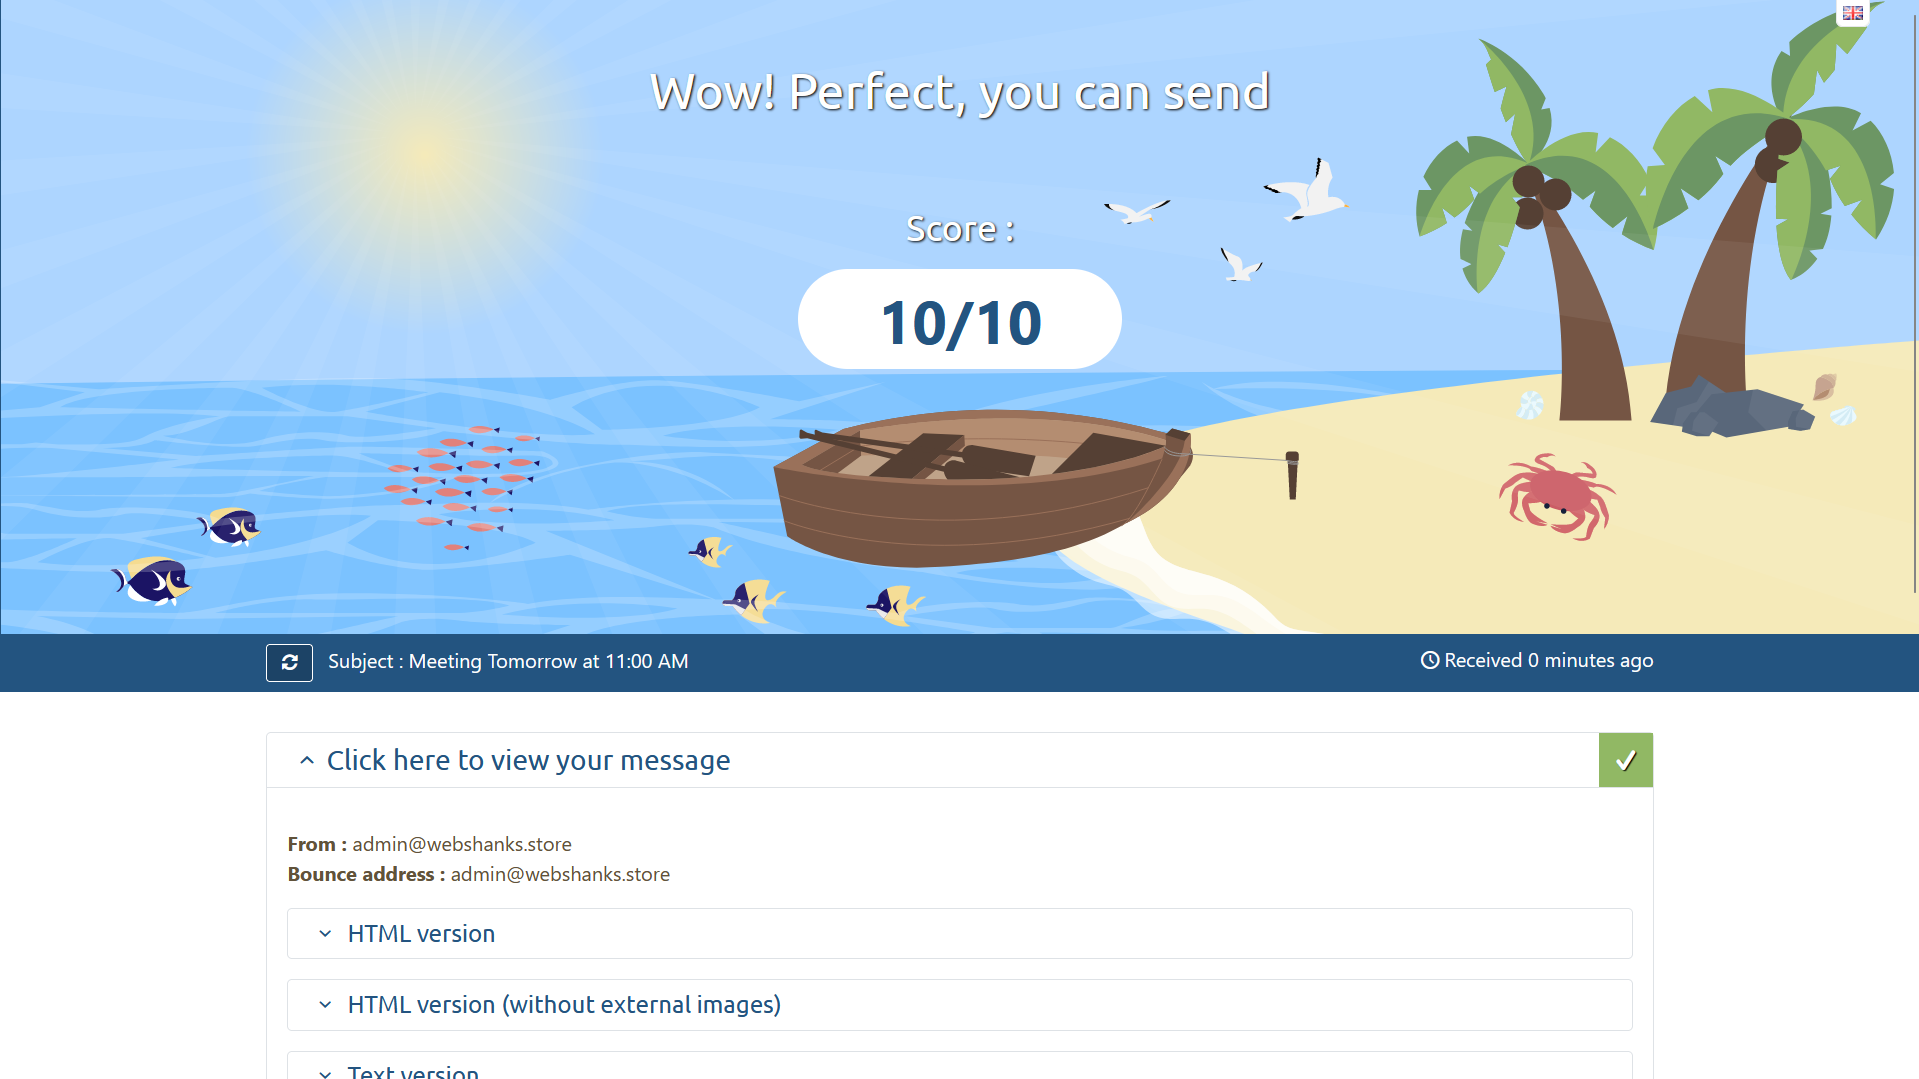
And now we got a 10/10 Mail-Tester Score!
Now let’s test it on Gmail, AOL Mail, and Proton Mail.
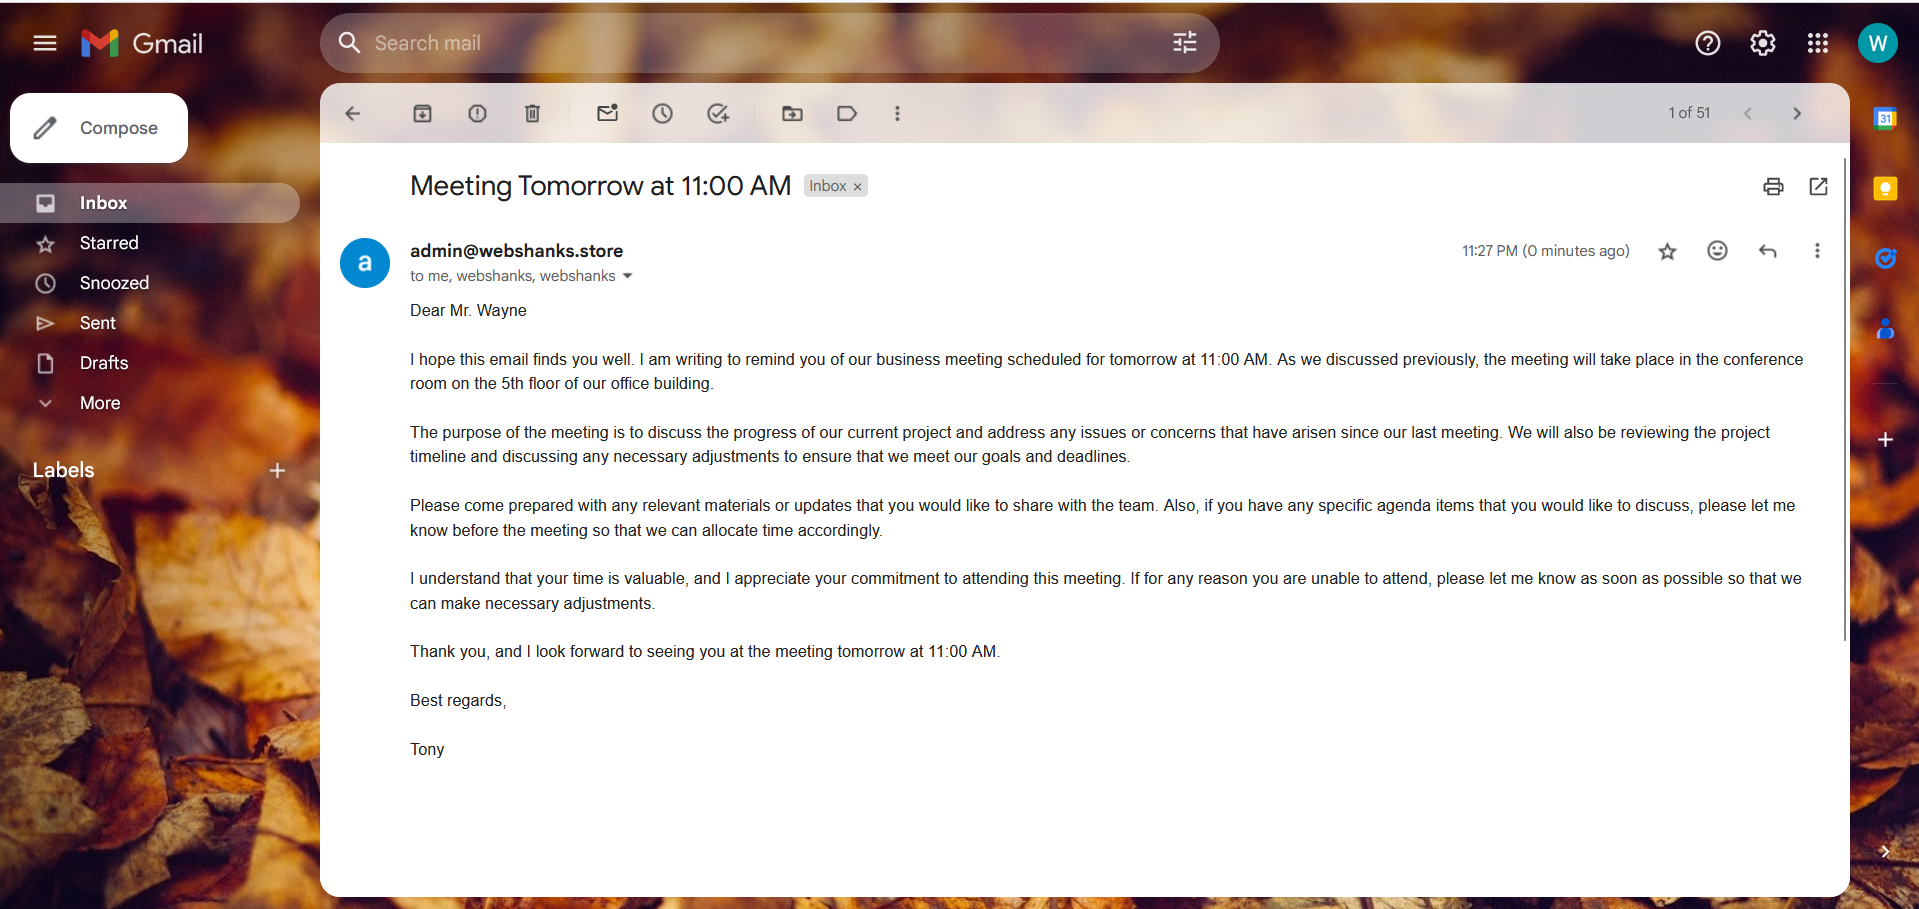

As you can see I’ve managed to send emails directly to inbox for Gmail and Proton Mail. But with AOL Mail, it went directly to spam.
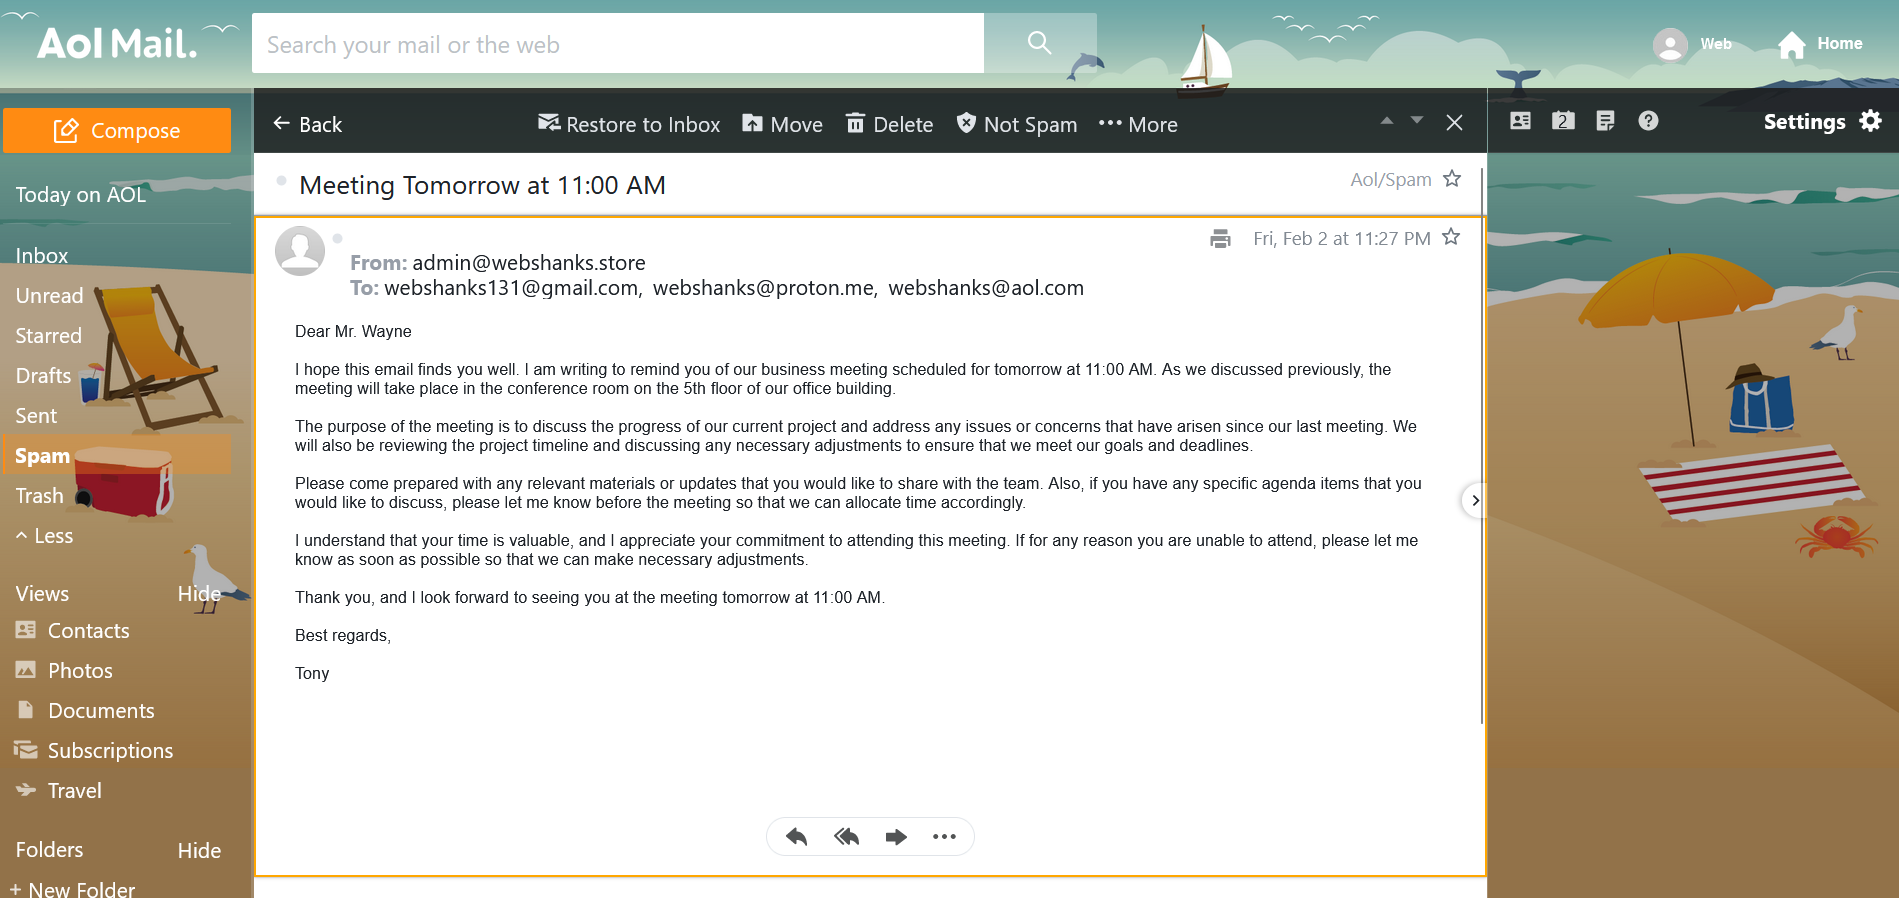
But fret not! There’s a solution to this problem. It is called IP and domain warmup.
You just need to signup for warmup services like Warmup Inbox or Success.ai.
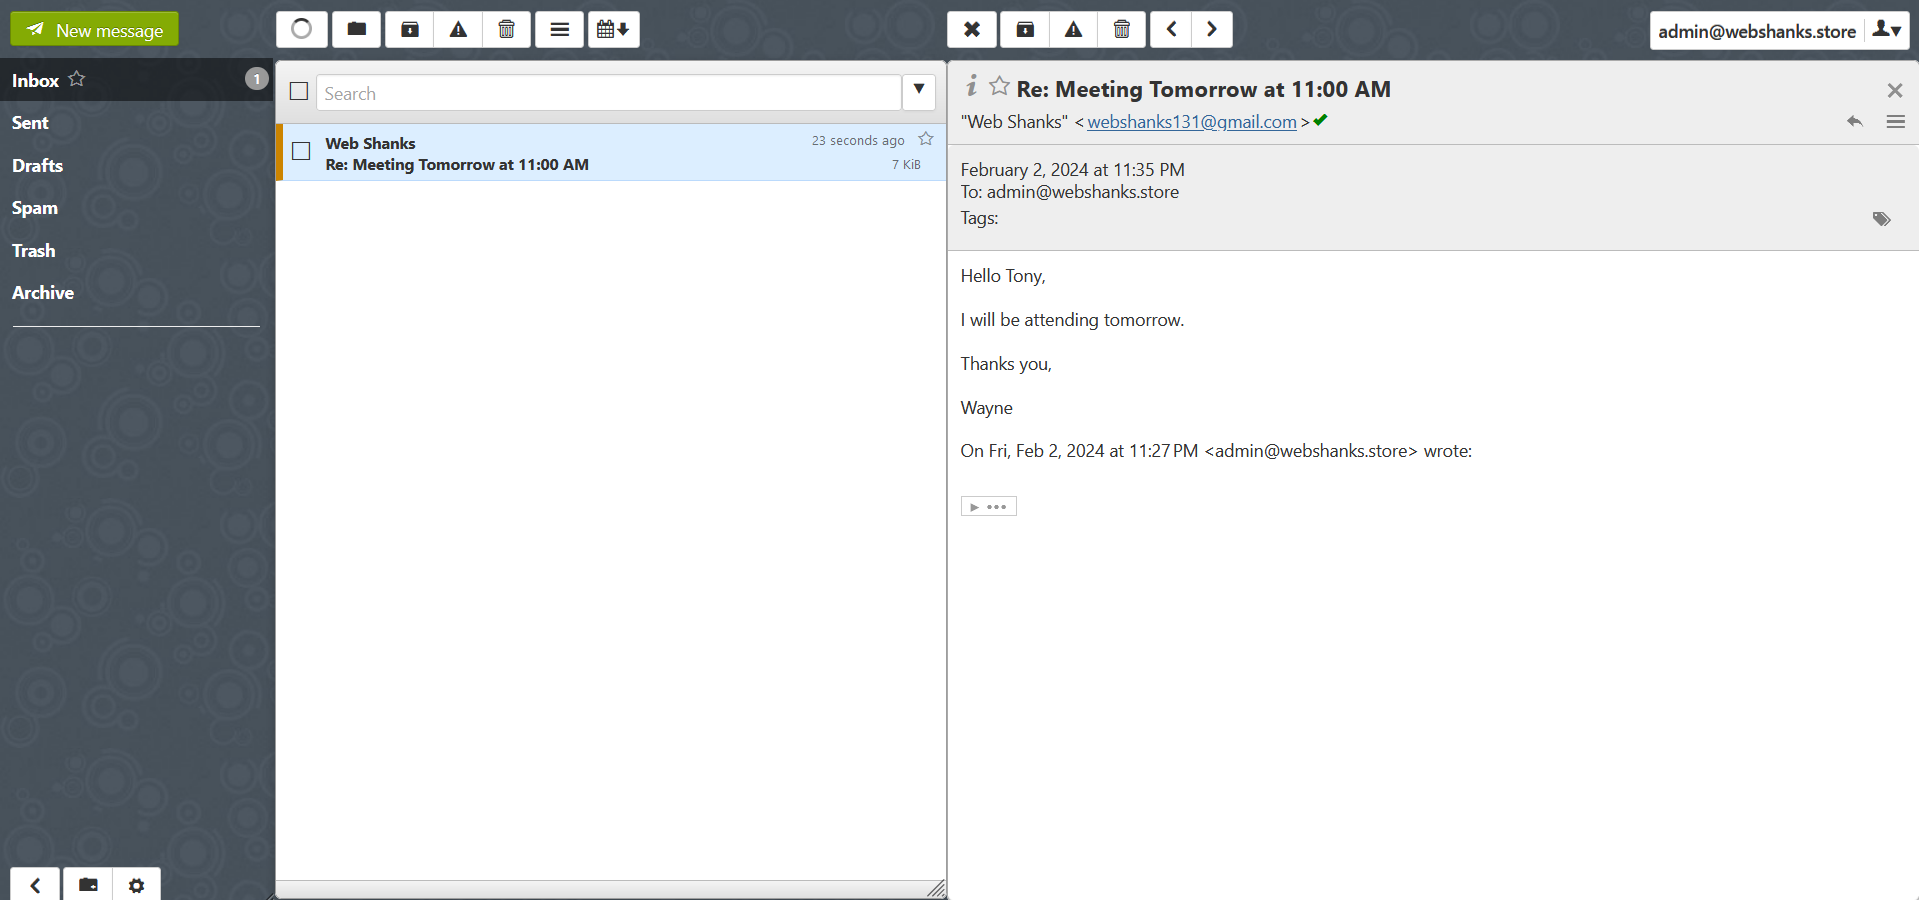
Before I forget. Let’s try to reply from Gmail.
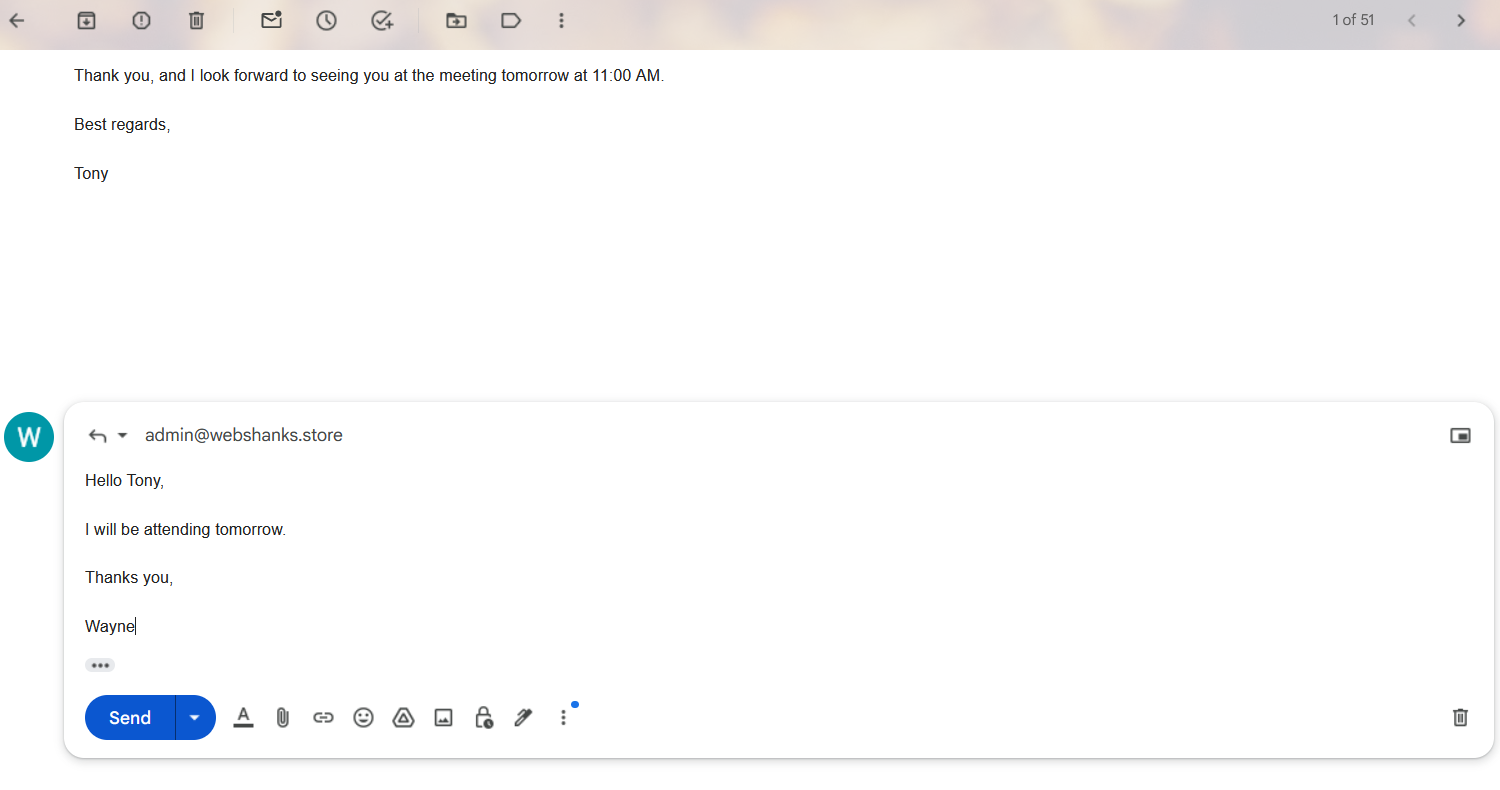
And we successfully received the reply!
Step 11: Configure Email Client
Configure your preferred email client (e.g., Thunderbird, Outlook) using the details provided in CyberPanel.
Incoming Mail Server (IMAP): mail.yourdomain.com
Outgoing Mail Server (SMTP): mail.yourdomain.com
Username: Your full email address
Password: The password you set in CyberPanel
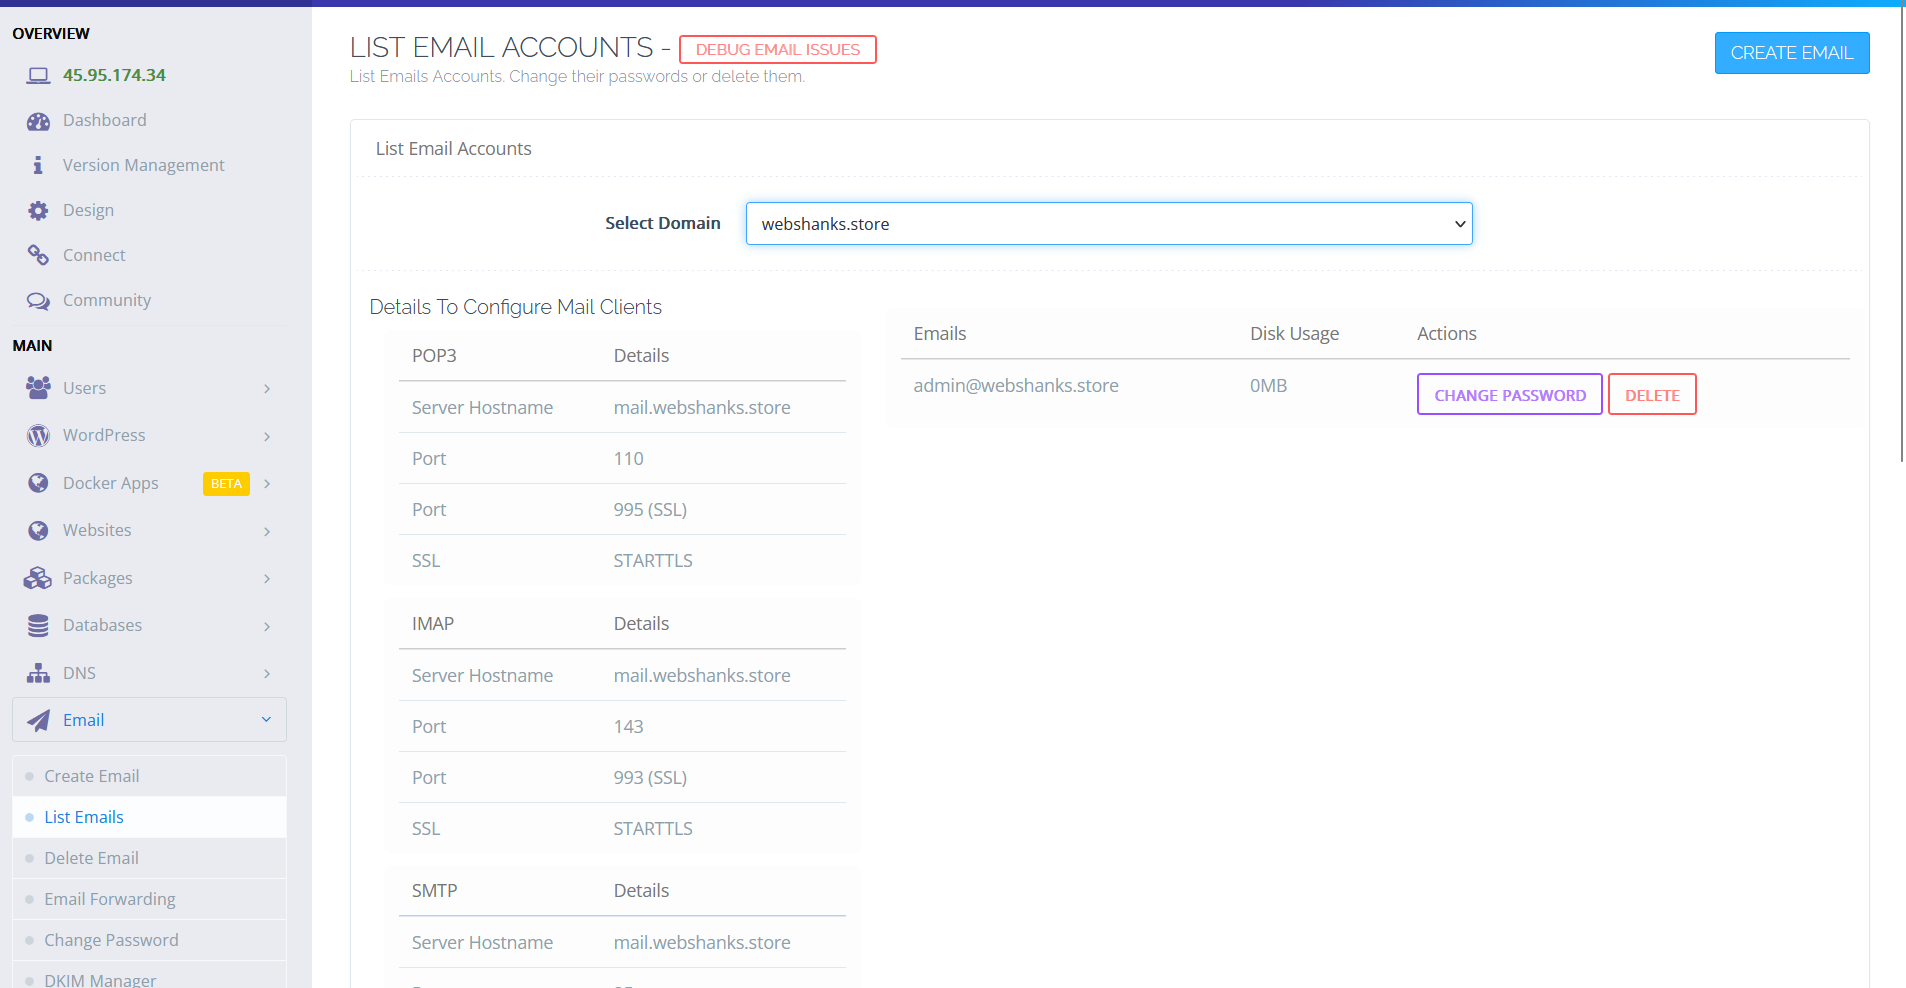
You can also go to Email > List Emails and check email client configurations.
Watch on YouTube
Frequently Asked Questions
Can I use a different VPS provider?
Yes, you can adapt this guide to other VPS providers. Ensure they offer a clean Linux installation and follow similar steps. Also, their port 25 must be open.
Is CyberPanel the only option?
While CyberPanel is user-friendly, other options like iRedMail or Mail-in-a-Box also work well. Choose the one that suits your preferences.
Do I need a dedicated IP address?
While not mandatory, having a dedicated IP enhances reliability. Check with your VPS provider about IP options.
Do I need a paid domain?
Yes, you need a paid domain however don’t settle for cheaper ones. They tend to be used for spamming.
Can I add more than one domain?
Yes, CyberPanel supports multiple domains on a single VPS.
Conclusion
Now you’ve successfully set up your free email server using RackNerd VPS and CyberPanel.
Enjoy the benefits of managing your email infrastructure and the added privacy and security that come with it.
Experiment with additional features offered by CyberPanel to tailor your email server to your needs.
If you encounter any issues, refer to the documentation or seek support from the active CyberPanel community. You can also ask me in the comments below or on my Telegram.
Embrace the freedom and control of hosting your email server!
Hello support after i finished all the set up i tried testing via smtp but it’s not working any solution please
What’s your mail-tester results?
Hello, thanks for the tutorial!!
I have a problem, installed cyberpanel and can send email trough SMTP, but all e-mails are going to spam folder, I think that is a SSL problem because I already have A record for other hosting server, and need to use racknerd only to smtp… when I use brevo to send e-mail, got on inbox normally, can you help with this? Thank you again
You need to warmup your emails first before sending. Use success.ai or warmupinbox. Their purpose is to build reputation for your domain and IP so that it will go directly to inboxes and not spam folder.
Hey it not allowing me to message you on telegram .
Where did you message me? I can receive messages just fine.
it not allowing you to message you bro when i tried it just got some error but i can send message to others , can you tele me @Mickisback
Are you Mr. Mick on Telgram?
can you send me message on tele @Mickisback
yes i am
yes i am MR.Mick
Hey can you dm me on tele i would like to do a donation in crypto