 Setting up a powerful and efficient web server has never been easier, thanks to Webinoly. If you’re a system administrator or a website owner seeking a hassle-free solution for managing your web server, you’ve come to the right place.
In this blog post, we’ll guide you through the process of installing Webinoly on a Contabo Virtual Private Server (VPS) running Ubuntu 22.04 LTS operating system.
Webinoly is a free, open-source tool designed specifically for Ubuntu-based servers. It automates the process of configuring and optimizing your server stack, allowing you to focus on what matters most: your website and its content.
Though free, Webinoly cannot be a good alternative to cPanel unlike CloudPanel, FastPanel, HestiaCP, CyberPanel, aaPanel and EasyPanel which have graphical user interface.
Now, let’s dive into the step-by-step process of installing Webinoly on your Contabo VPS running Ubuntu 22.04 LTS, so you can unleash the full potential of your web server effortlessly.
Watch on YouTube
Prerequisites
- A VPS with a fresh install of operating system preferably Ubuntu. No other environments running on the server. We’ll use Contabo Cloud VPS in this tutorial and install Ubuntu 22.04 LTS.
- A Root access or a Sudo user.
How to Install Webinoly in Contabo VPS With Ubuntu 22.04 LTS
Webinoly requirements: Ubuntu 22.04 and 20.04 (ARM and x86).
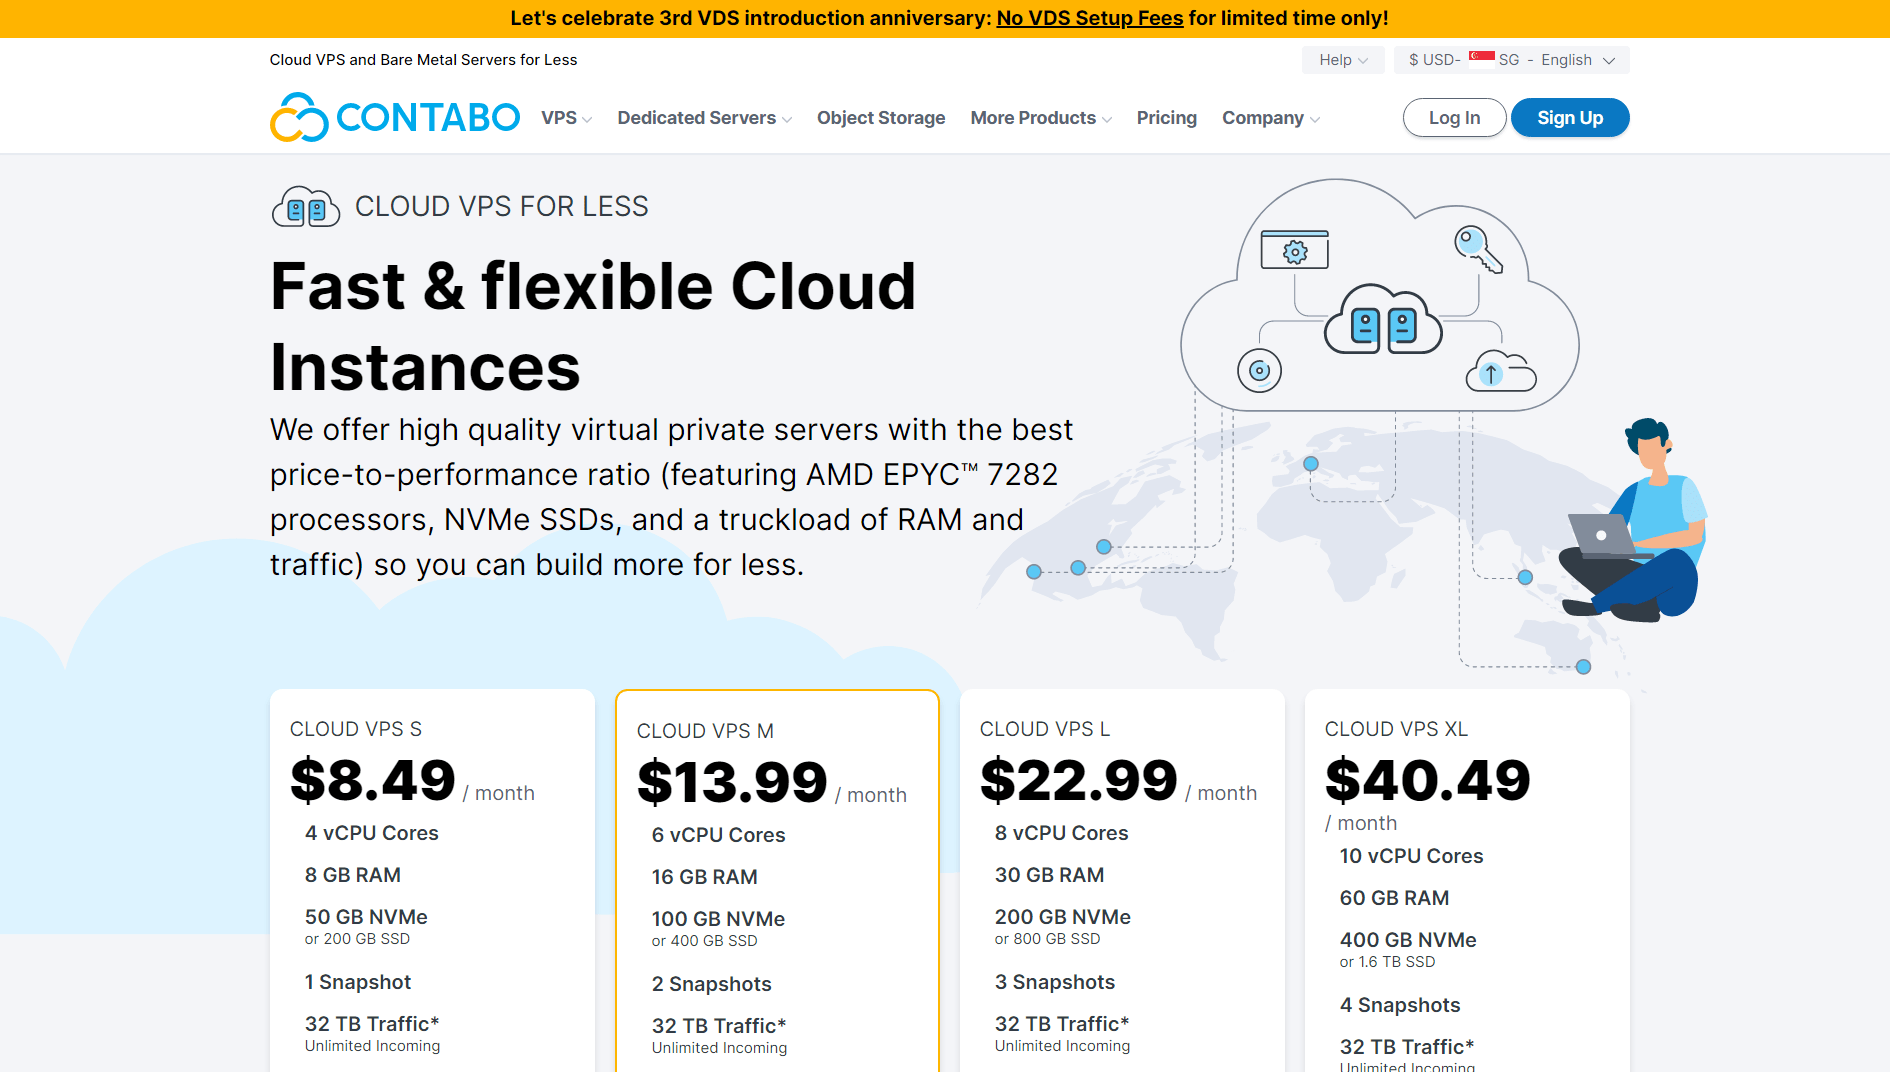
Step 1. Signup with Contabo VPS
In this tutorial we will be using an affordable Contabo VPS. It has plethora of operating to choose from including Ubuntu. Be sure you have a ROOT access.
If you’re new to Contabo, you can choose VPS S or VPS M.
Then choose your term length and region. Choose the closest region base on your audiences geographical location.
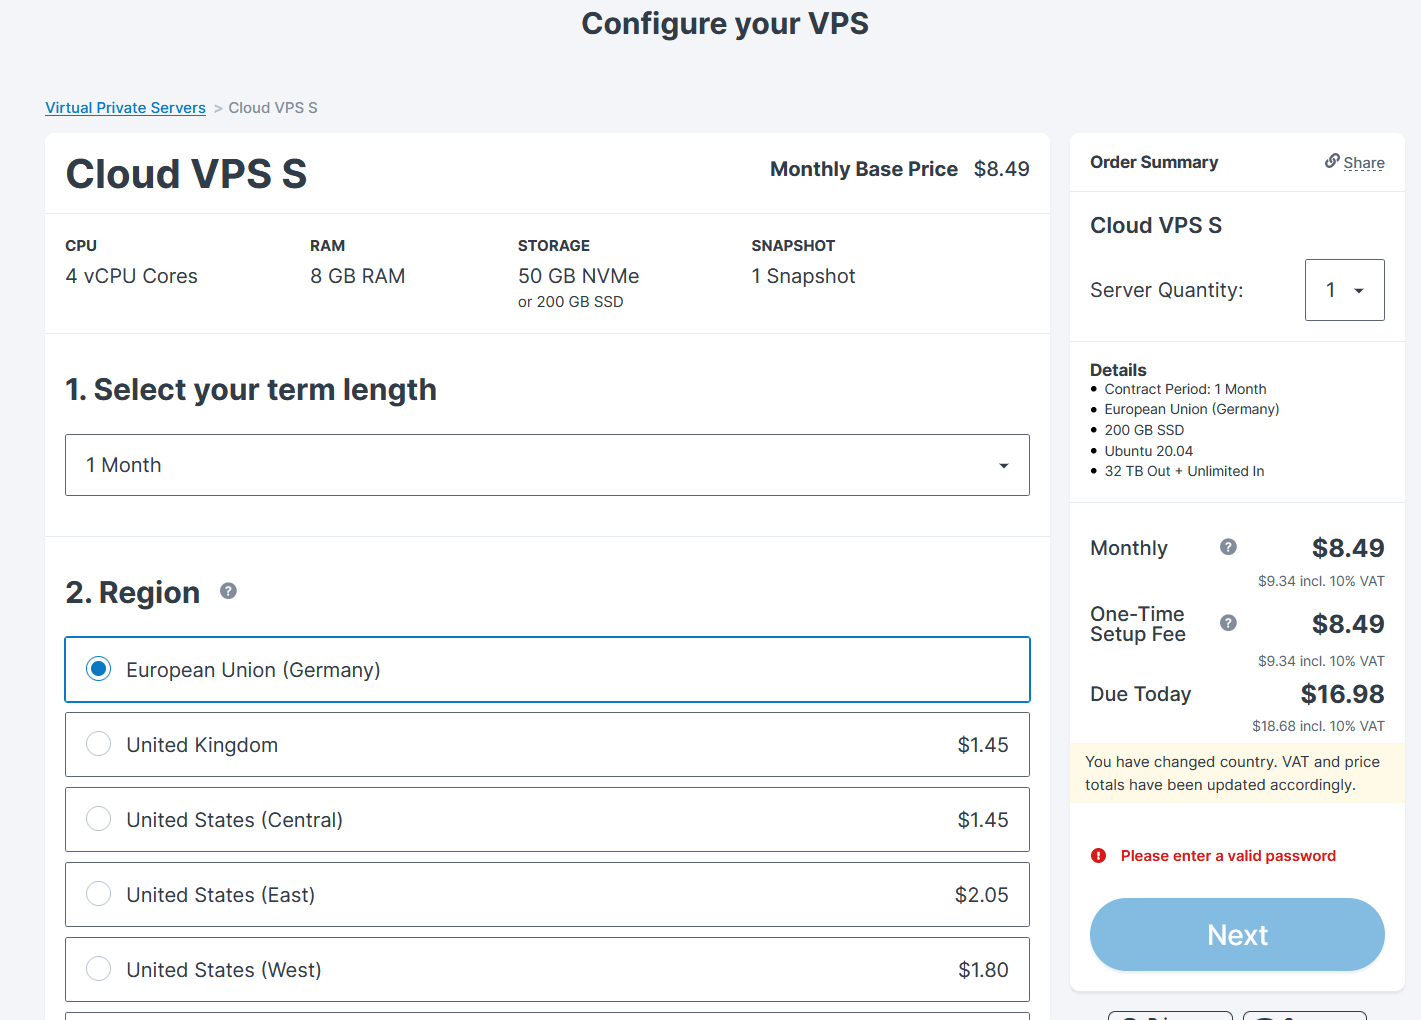
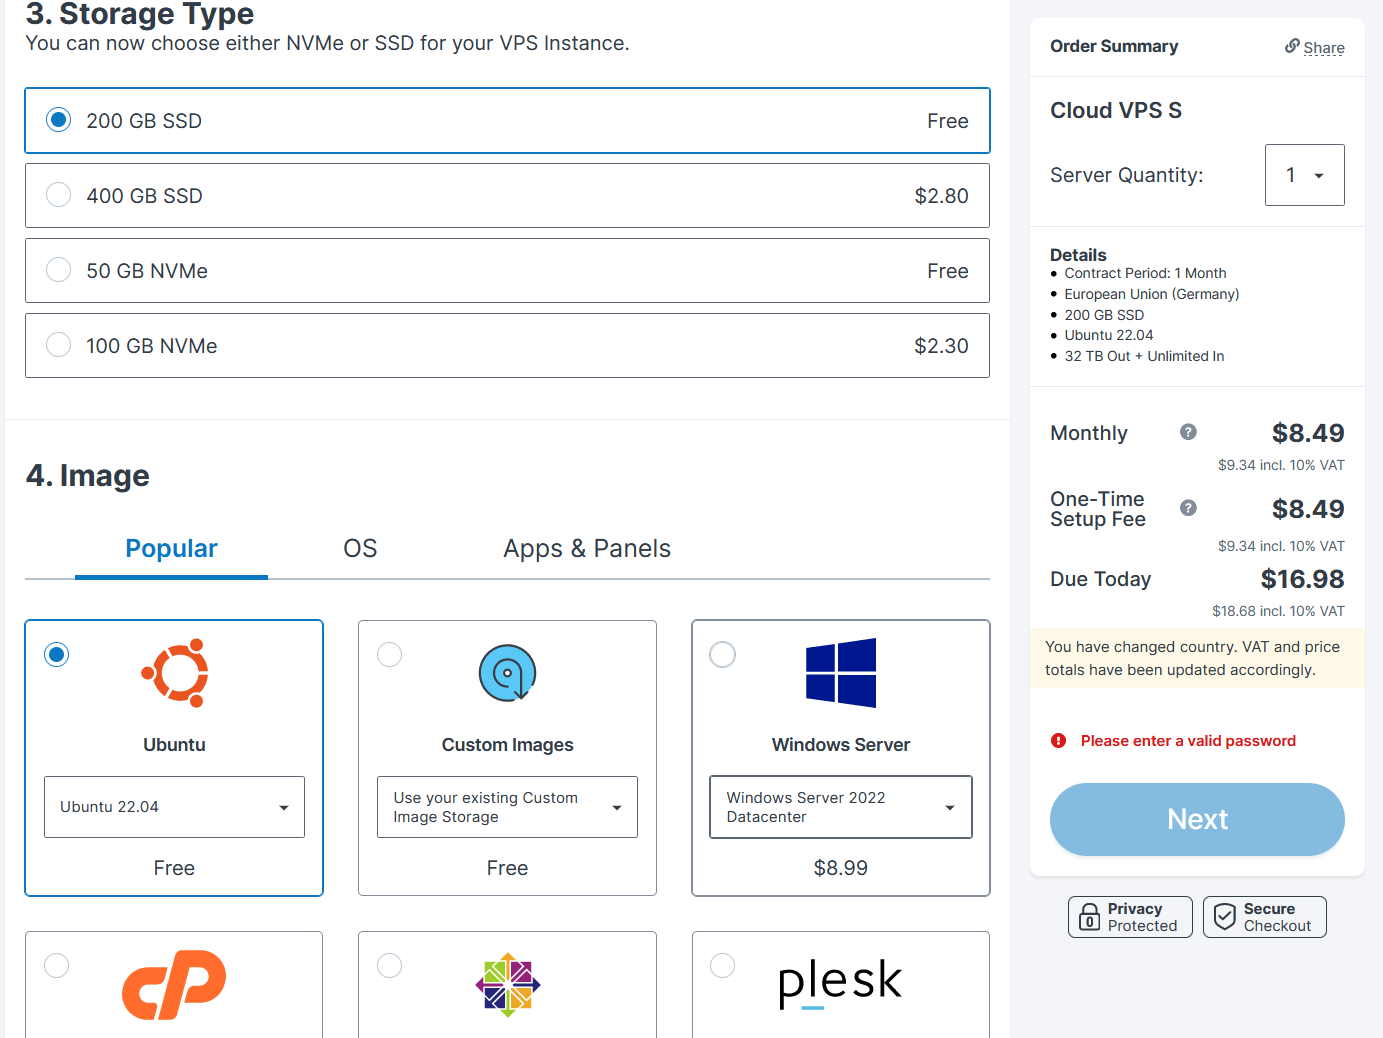
Choose your preferred storage type then choose Ubuntu 22.04 LTS as your image. As of now Webinoly only supports Ubuntu operating system.
Generate a password of root and be sure to store it in a safe place. We will need that to connect to our server later on. By default, root is your username.

Step 2. Connect to Your Server
Download Bitvise – a free SSH client. We will use this to connect to our server using the credentials we created previously. Then click Accept and Save.
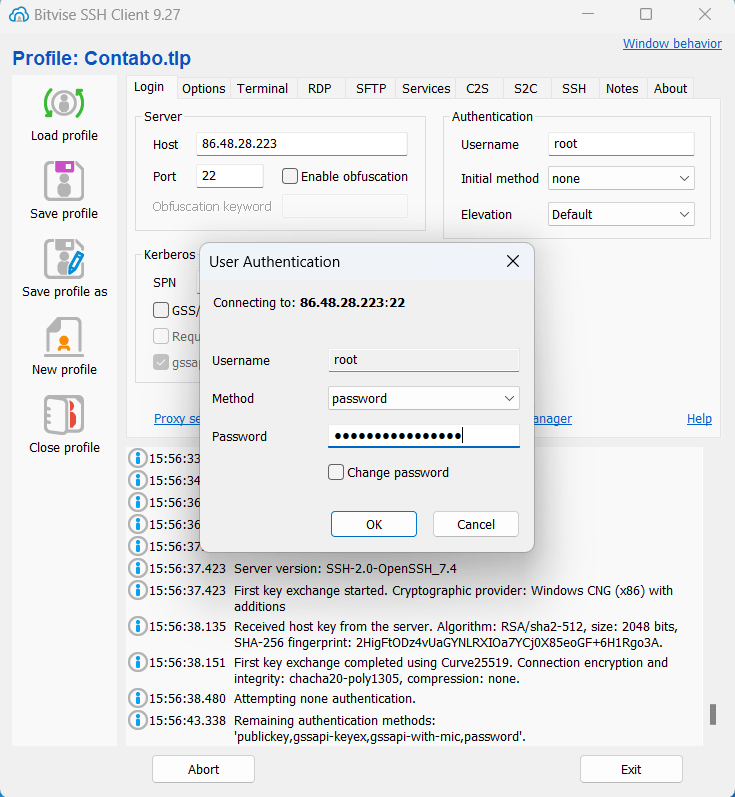
On the left menu click New terminal console.
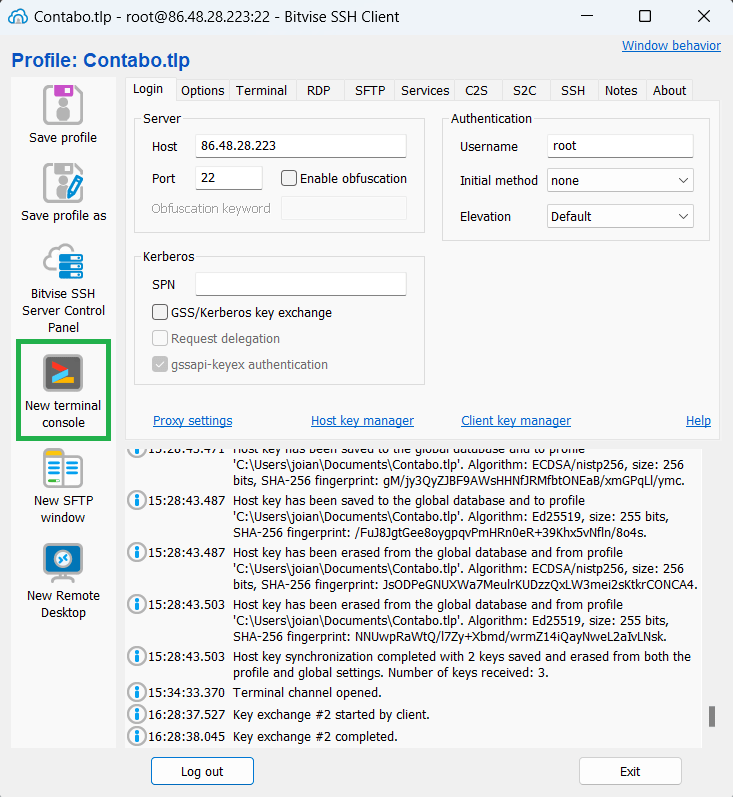
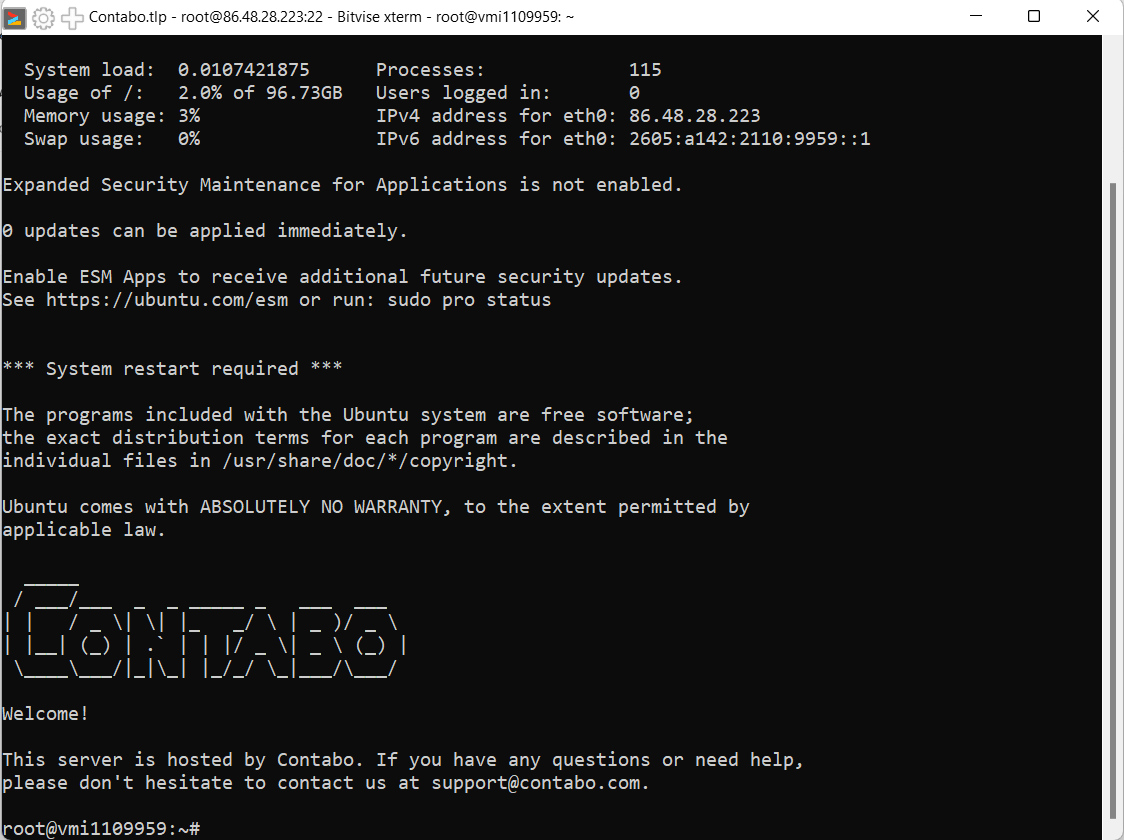
Then you will see this command line interface.
Step 3. Install Webinoly
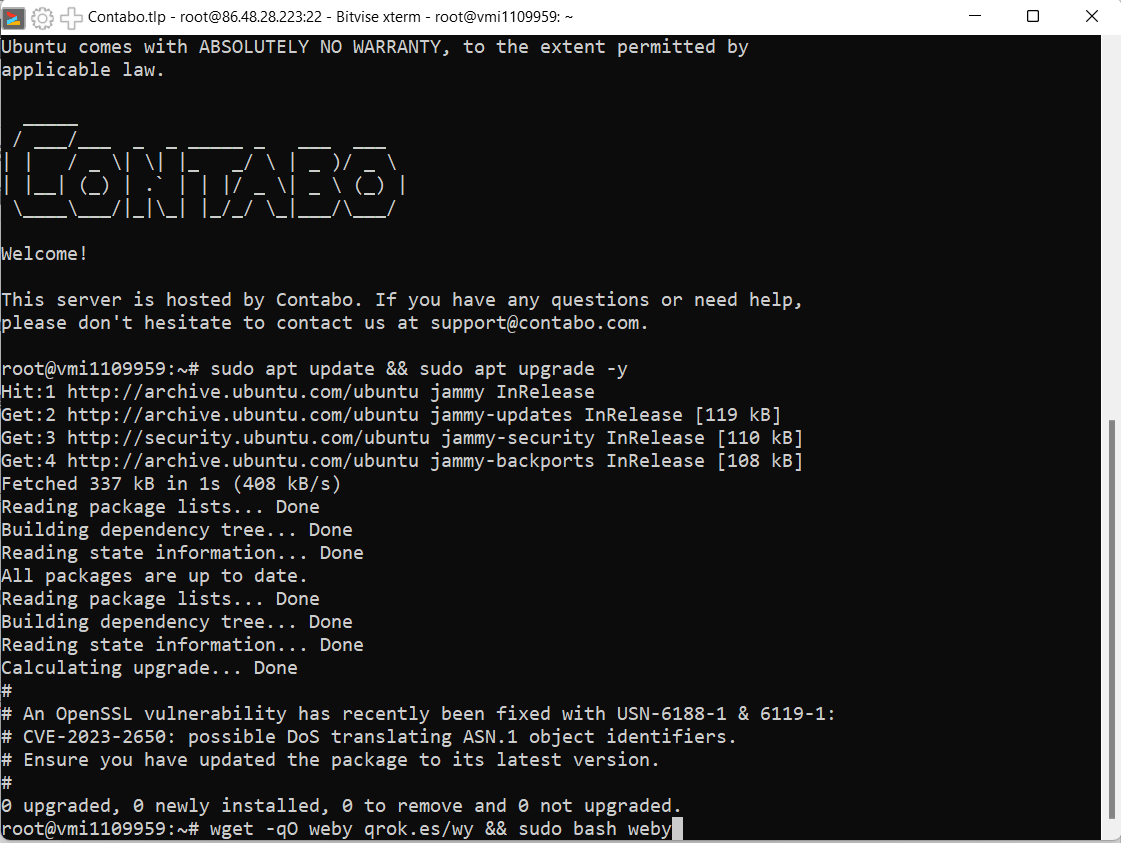
We need to update packages first to insure that our OS runs with the latest version.
Run the following command.
sudo apt update && sudo apt upgrade -y
Then we’ll install Webinoly by running the following command.
wget -qO weby qrok.es/wy && sudo bash weby
If a prompt appears saying Pending kernel upgrade, just hit Enter.
Step 4. Access Webinoly Tools
Once Webinoly is installed you need to restart your server. Webinoly has no graphical user interface unlike CloudPanel, CyberPanel or HestiaCP.

To access phpMyAdmin, go to your serverip with port 22222 – serverIP:22222
Then add a user for HTTP Authentication
sudo httpauth -add
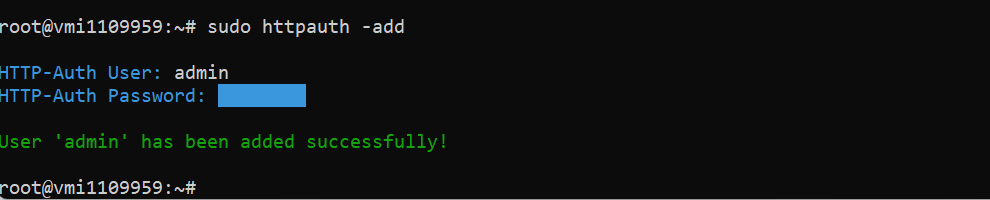
You’ll then see few directories including phpMyAdmin.

You can also disable HttpAuth by running the following command.
sudo httpauth example.com -wp-admin=off
What’s Next?
Once you are done installing and configuring Webinoly, you can create websites running with PHP or plain HTML.
When updating Webinoly, run the following command:
sudo webinoly -update
Frequently Asked Questions
What is Webinoly?
Webinoly is an open-source tool designed for Ubuntu-based servers, offering automated setup and management of web server stacks. It simplifies the process of configuring and optimizing your server, allowing you to focus on your website.
Who Is Webinoly For?
Web Developers: Webinoly is an excellent choice for web developers who need a streamlined process for setting up and managing web servers. It automates the server stack configuration, allowing developers to focus more on coding and deploying their applications.
System Administrators: System administrators responsible for managing web servers can leverage Webinoly to simplify their tasks. It provides automated server setup, optimization, and security features, reducing the manual effort required to maintain a web server environment.
What preparatory steps are needed before installing Webinoly?
Before installing Webinoly, it’s important to update your server’s packages to ensure you have the latest software versions.
Can I manage multiple websites with Webinoly?
Yes, Webinoly allows you to create and manage multiple websites like WordPress on your server effortlessly. It provides a simple command-line interface to create new websites, manage SSL certificates, set up redirects, and more.
Conclusion
While Webinoly may not be explicitly designed for users with limited technical expertise in system administration, it serves as a valuable tool for those who are willing to learn and expand their knowledge.
The comprehensive documentation and active community support associated with Webinoly offer resources and assistance for users to navigate and troubleshoot their server management tasks effectively.
Moreover, if you want to learn more about system administration without relying on cPanel, then you can start with Webinoly.