 Self-hosting WordPress websites has become more accessible thanks to tools like Coolify — an open-source platform that lets me deploy and manage applications with ease.
In this guide, I’ll walk you through how I host multiple WordPress websites using Coolify on an isHosting VPS. This tutorial is designed for beginners but offers enough depth to be useful to seasoned developers as well.
Prerequisites
- An isHosting VPS (I recommend at least 2 CPU cores, 4GB RAM, and 40GB SSD)
- Root or sudo access to the VPS
- Basic understanding of SSH and the command line
- One or more domain names
Steps on How to Host Multiple WordPress Websites with Coolify on a Single VPS
Step 1: Register Your Domain Names
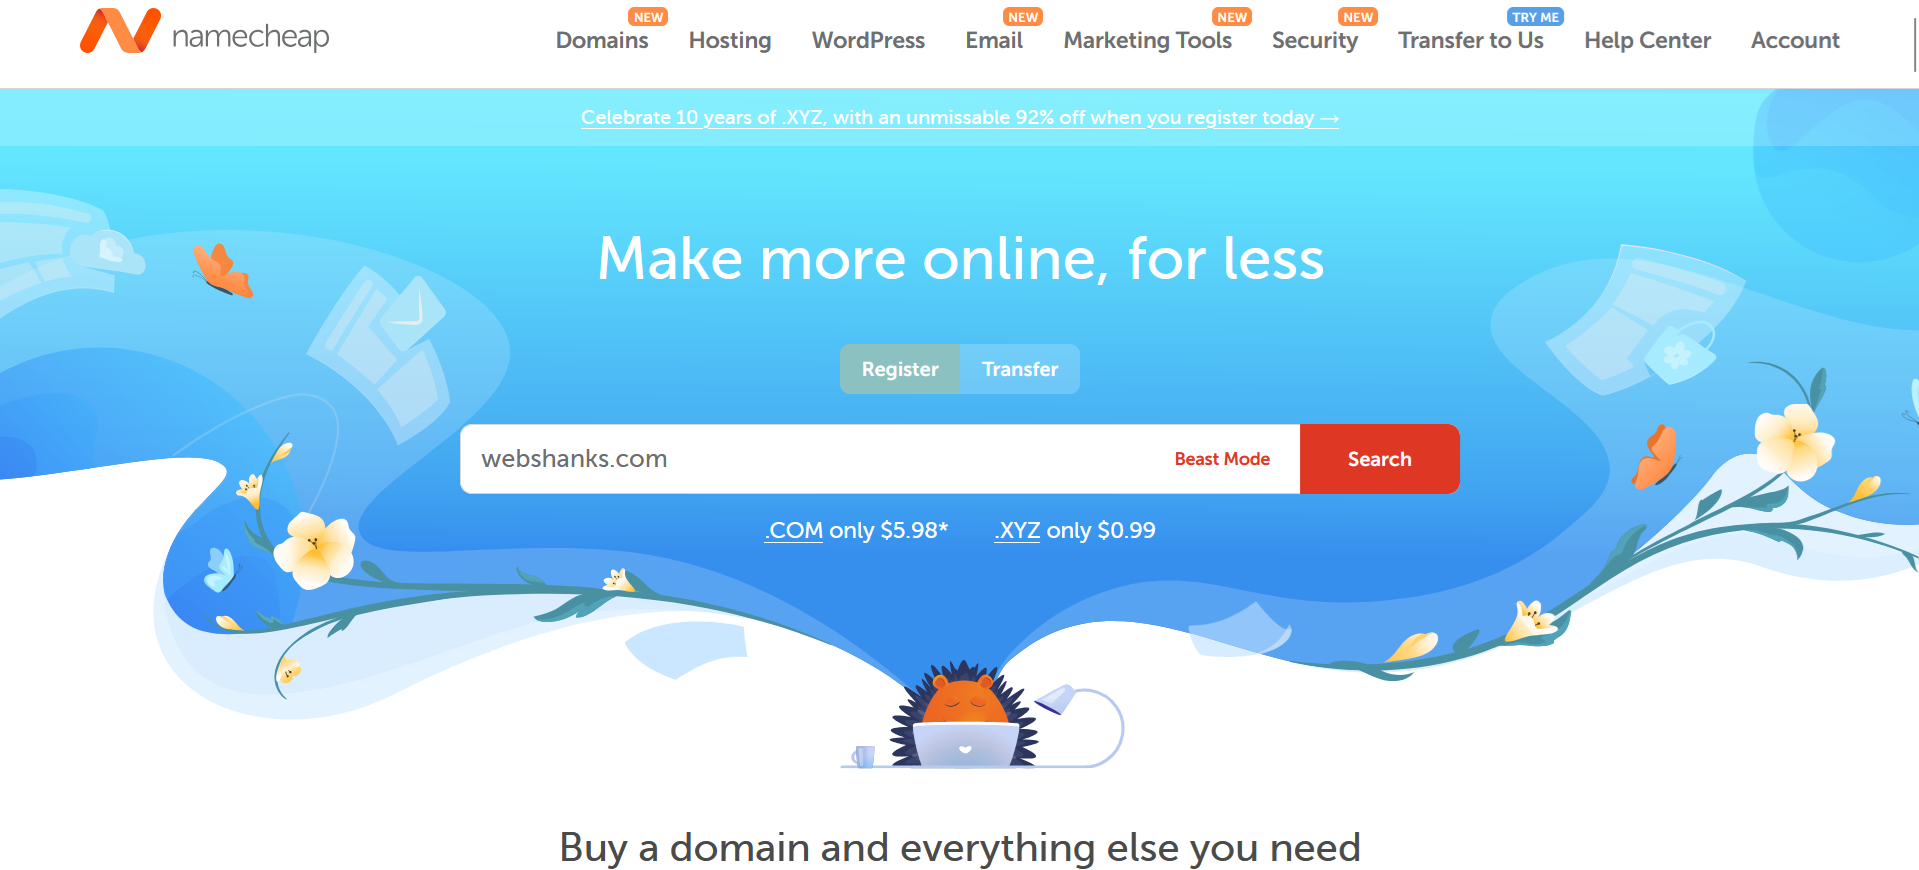
If you don’t already have domains, you can register them using providers like Namecheap. I recommend Namecheap for its affordable pricing and easy DNS management.
Once registered, go to your domain registrar’s control panel and point the domain’s A record to your isHosting VPS IP address. If you’re using Cloudflare, you can manage your DNS settings easily and enable proxying for added protection.
Step 2: Prepare Your isHosting VPS

If you need help getting started with isHosting, follow my full guide on how to set up isHosting VPS before continuing.
I’ll be using Debian 12.
To connect to your VPS via SSH on Windows, read my guide on how to connect to SSH on Windows.
Update your system:
apt update && apt -y upgrade && apt -y install curl wget sudo
Step 3: Install Coolify
Run the official script:
curl -fsSL https://cdn.coollabs.io/coolify/install.sh | sudo bash
After a few minutes, Coolify will be available at http://your-server-ip:8000. I log in and change my admin credentials.

Step 4: Set an Instance’s Domain
To access our Coolify securely, let’s set an instance’s domain.
Create an A Record that points to your server IP with a subdomain, like panel.webshanks.org, on your domain registrar.
Click Save once done.
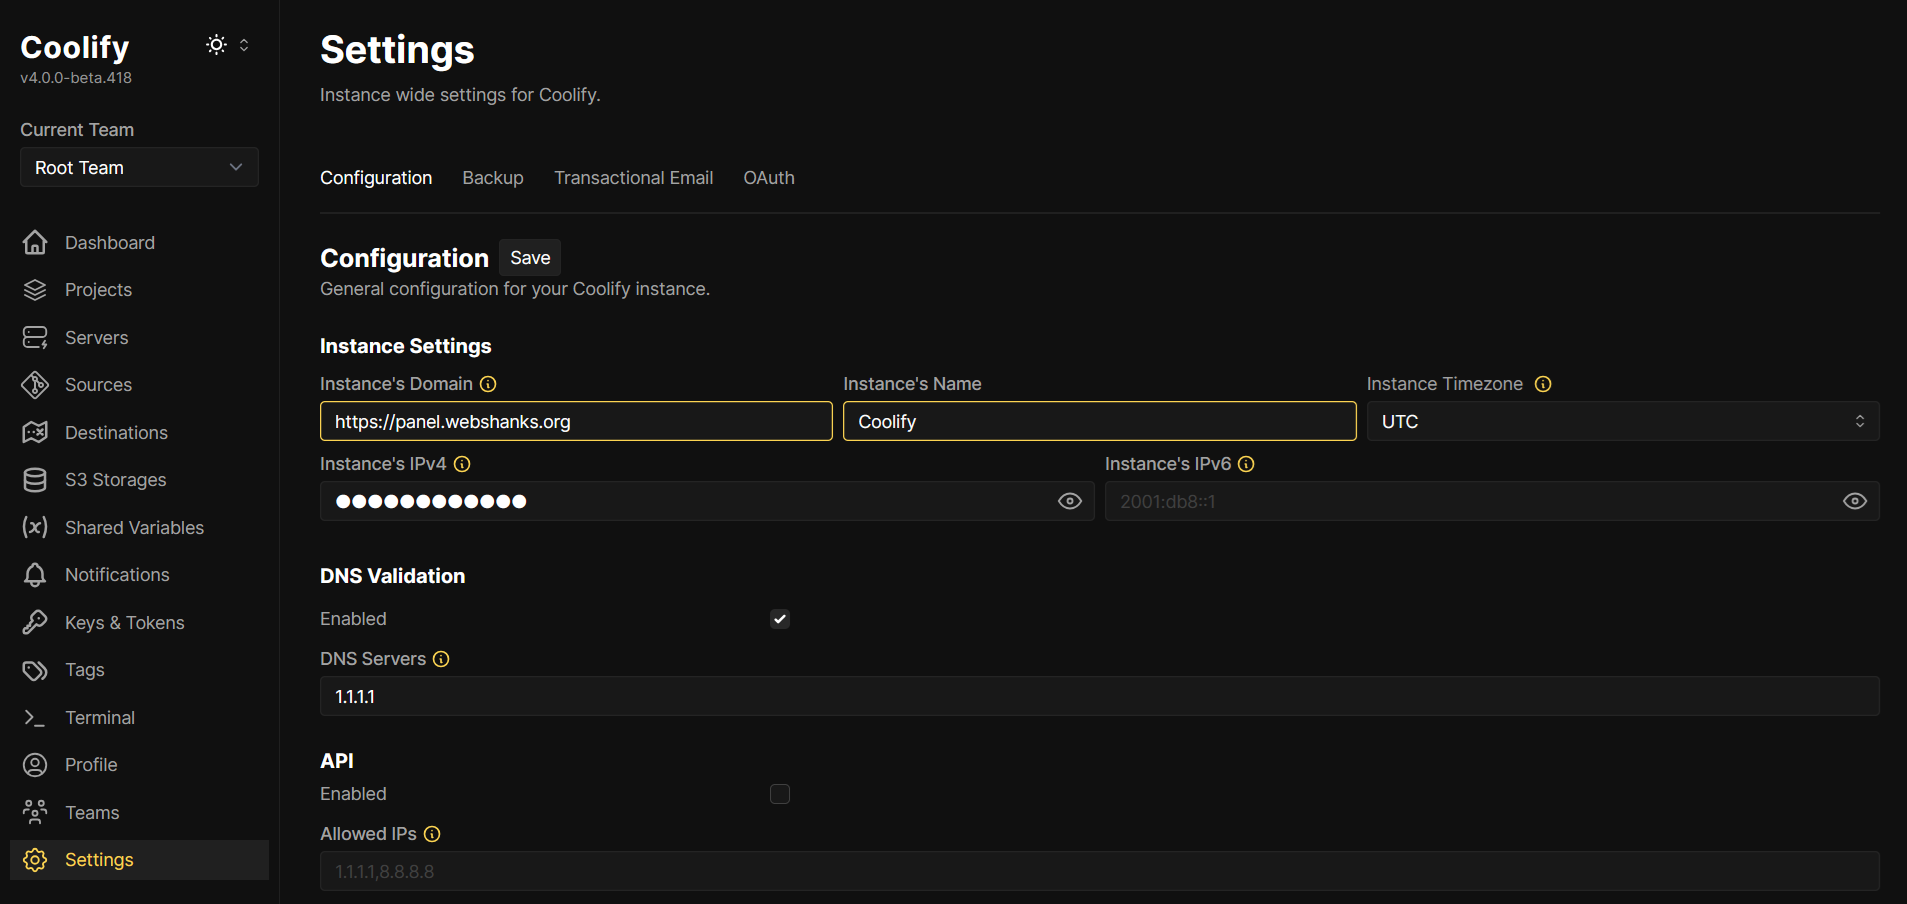
Now you can access your self-hosted Coolify securely.
Step 5: Access Coolify
Then create an admin account.

Step 6: Onboarding
Complete the initial setup. Click Next.

Do you want to deploy your resources to your Localhost or to a Remote Server?
Choose Remote Server.

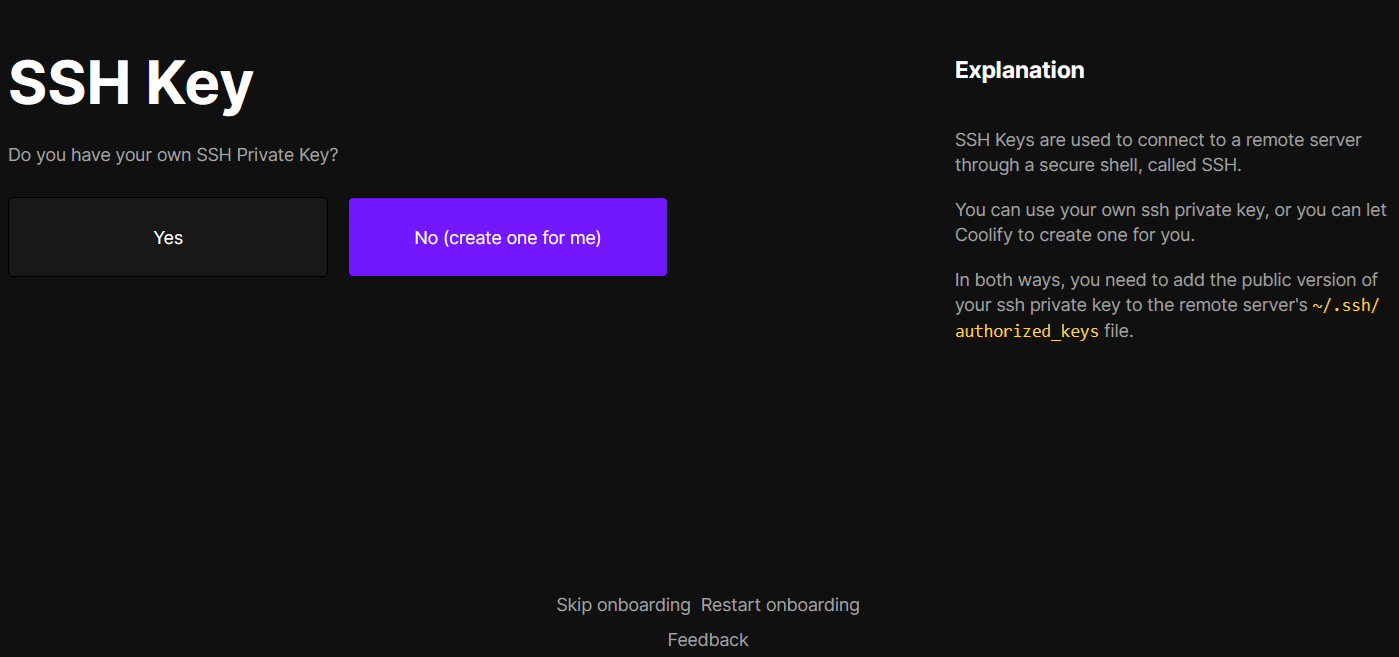
Do you have your own SSH Private Key?
If you have your SSH key, choose Yes. If you don’t have one, choose No (create one for me).
Create authorized_keys in ~/.ssh/authorized_keys to add the public key. Once added, click Save.
Be sure to save your private key and store it in a safe place.
nano ~/.ssh/authorized_keys
You can read this guide on setting up private and public keys in Linux.

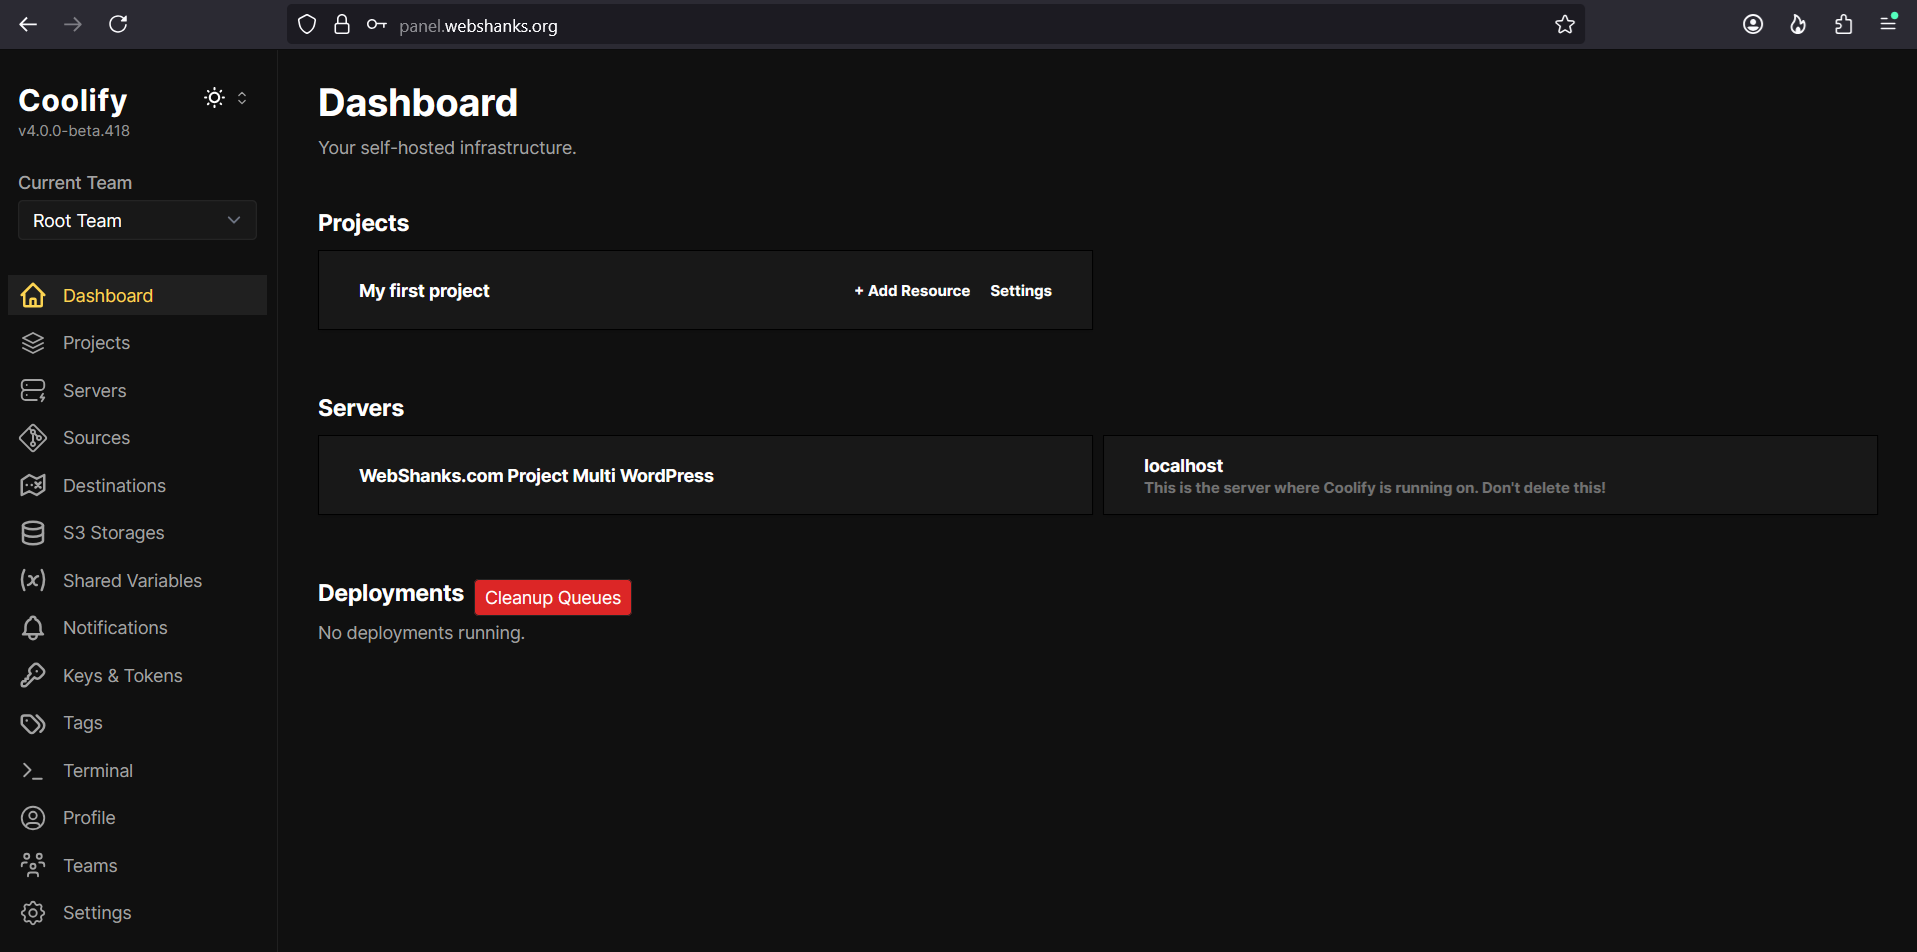
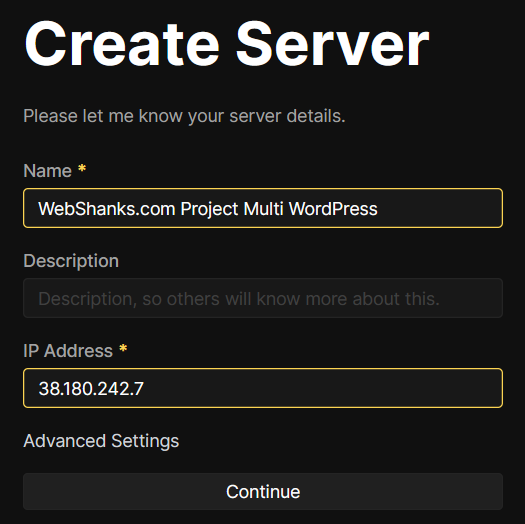
Let’s create our server!
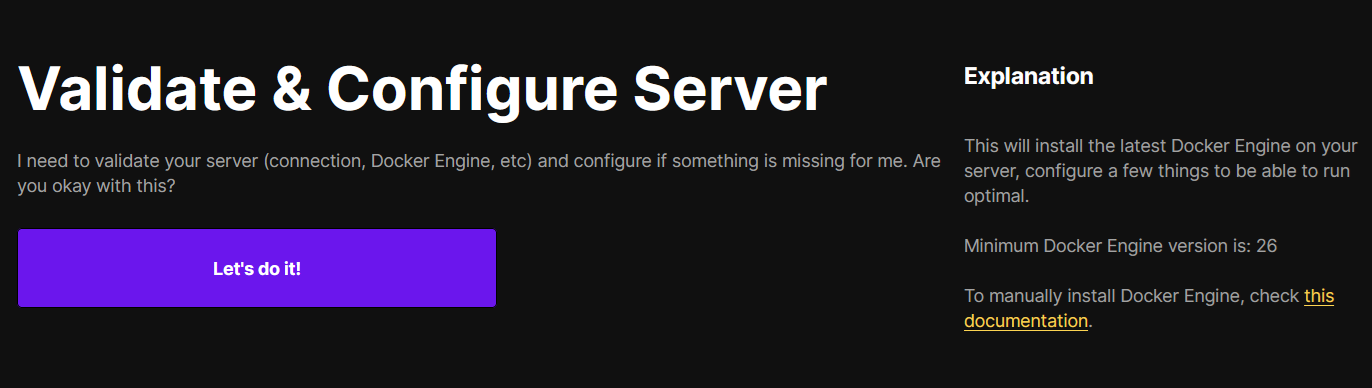
Validate and configure your server.
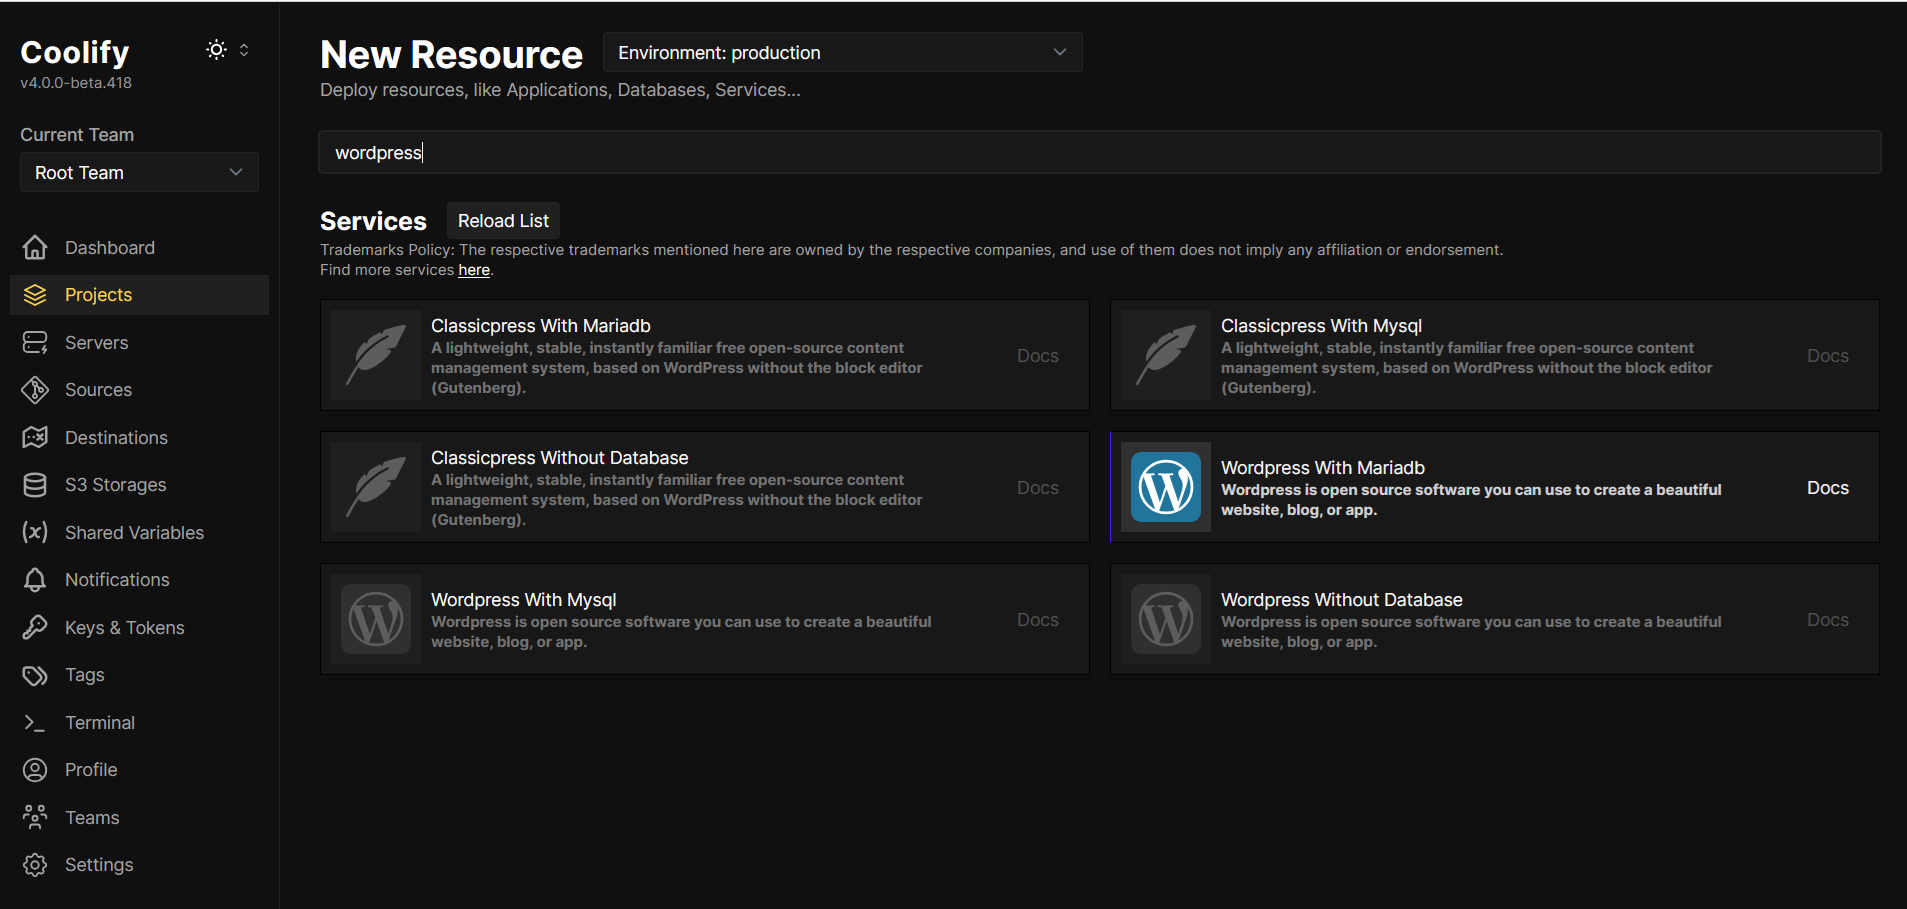
Create a new project and resource.

Search WordPress and choose WordPress with Mariadb.
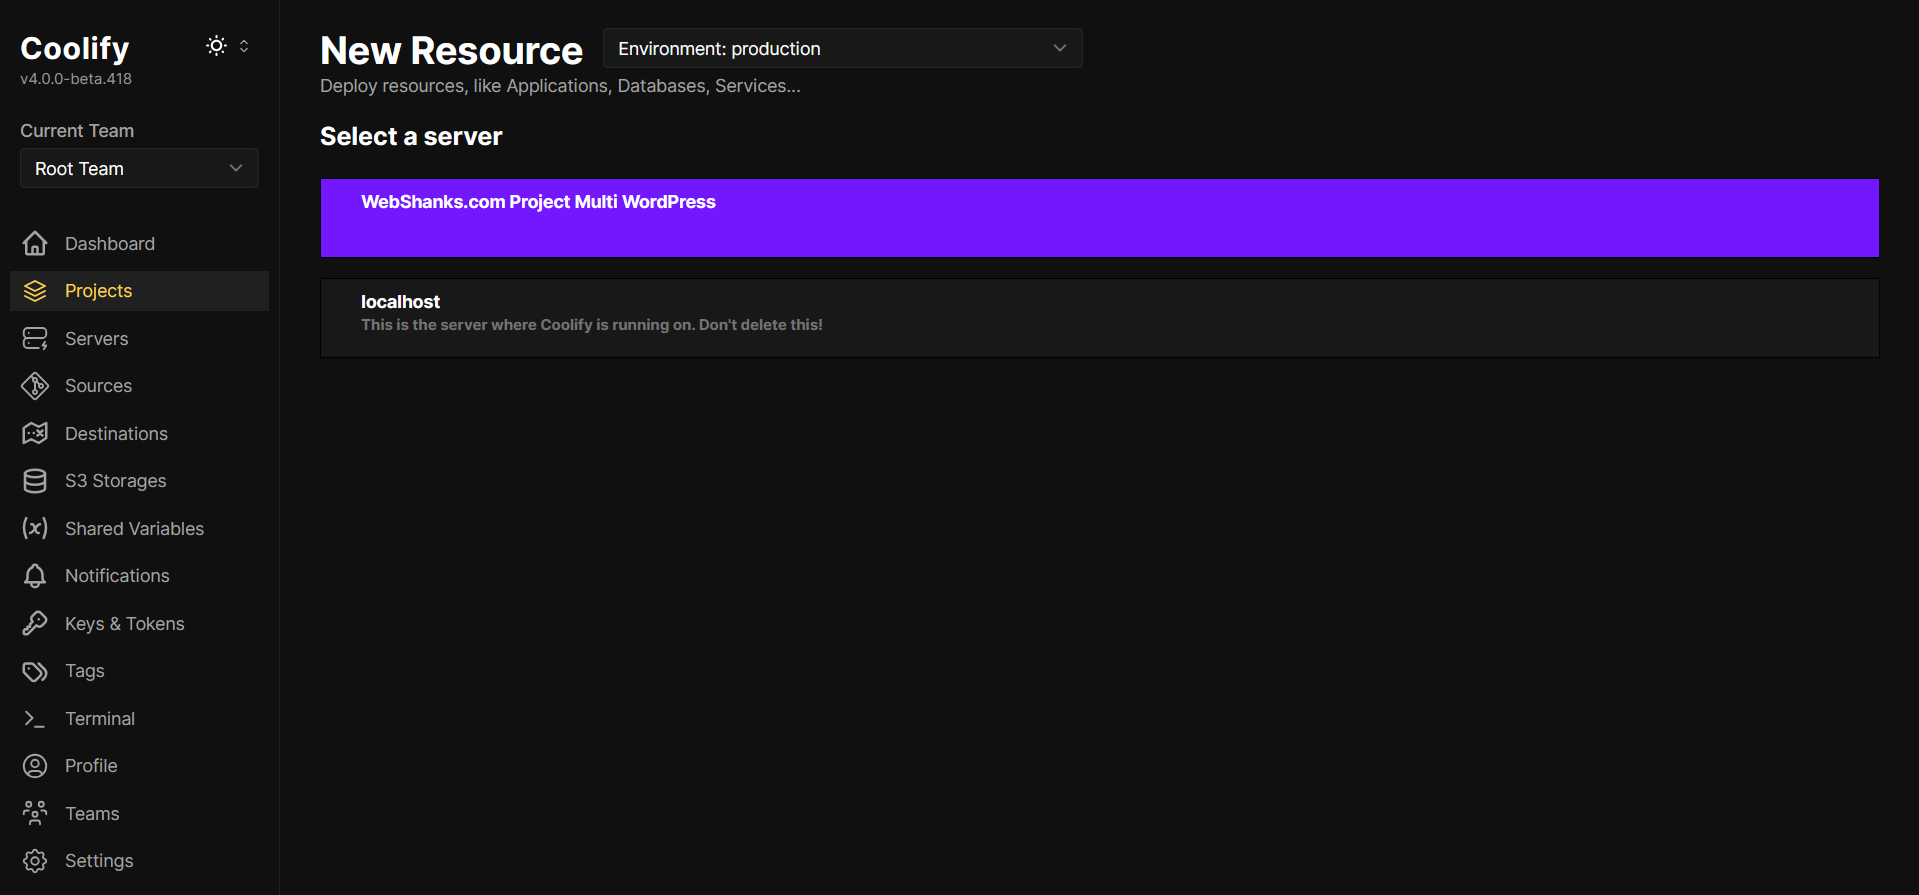
Select the server you created a while ago.
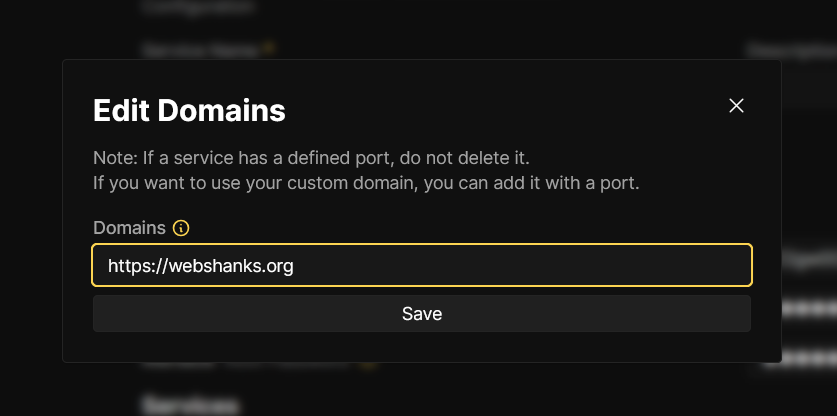
Let’s change the domain to our own domain.
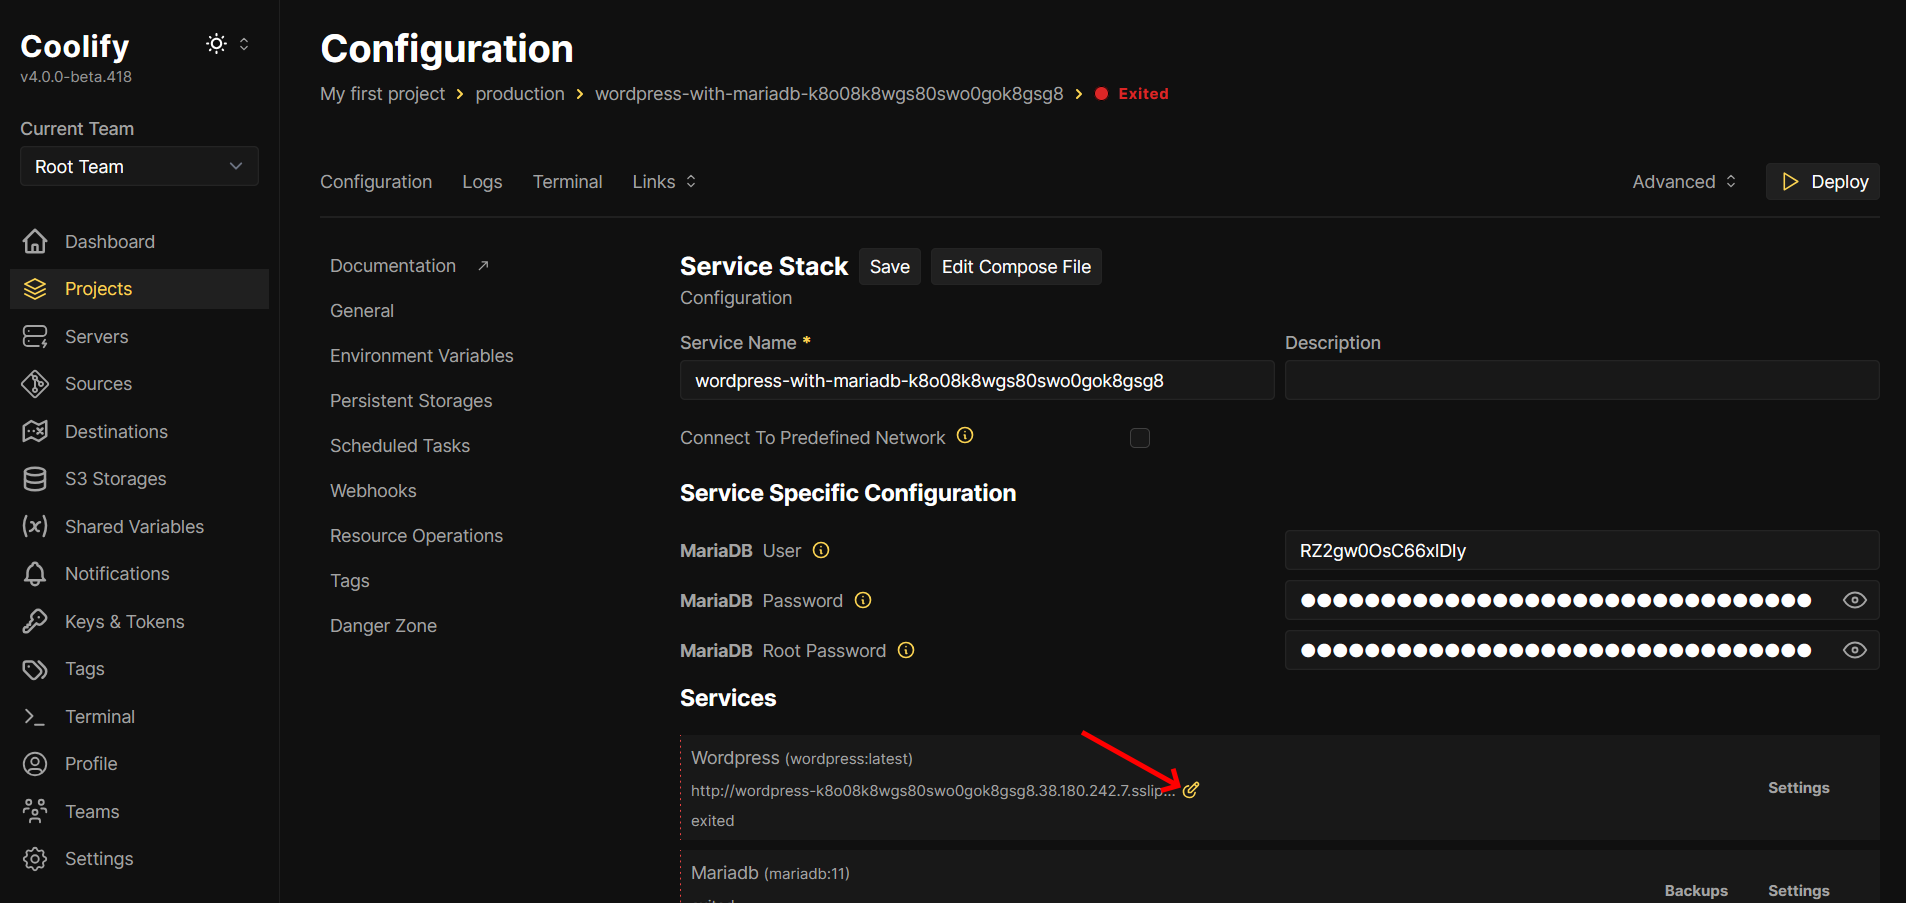
Edit the domain and be sure you set it to https:// and click Save.
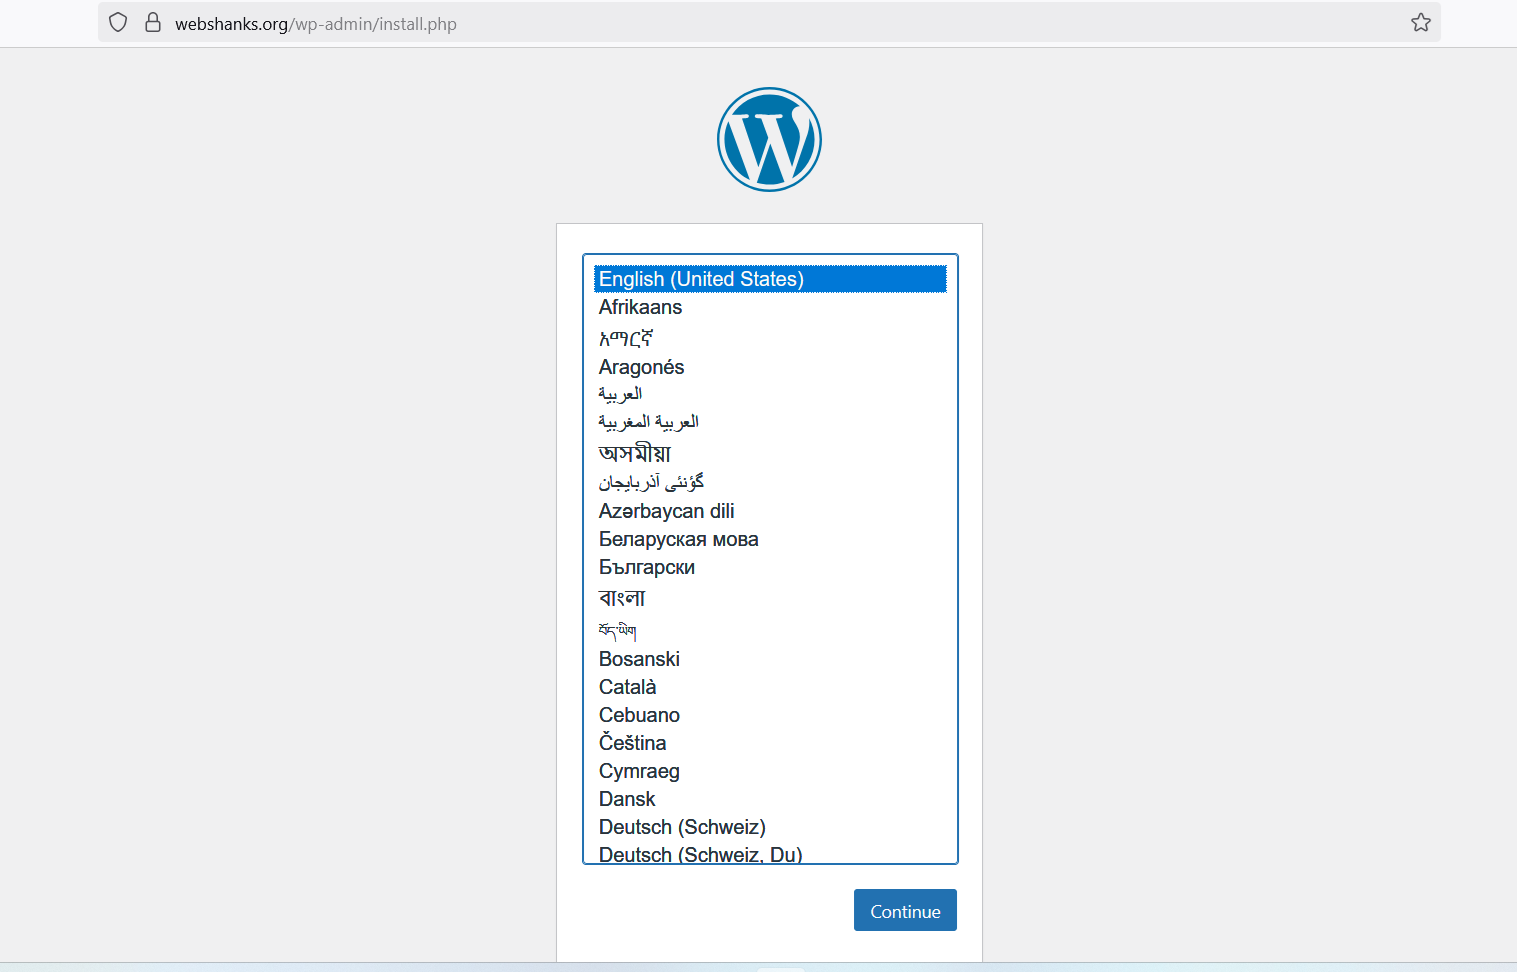
Then let’s access our newly created WordPress site.
We will start the configuration.
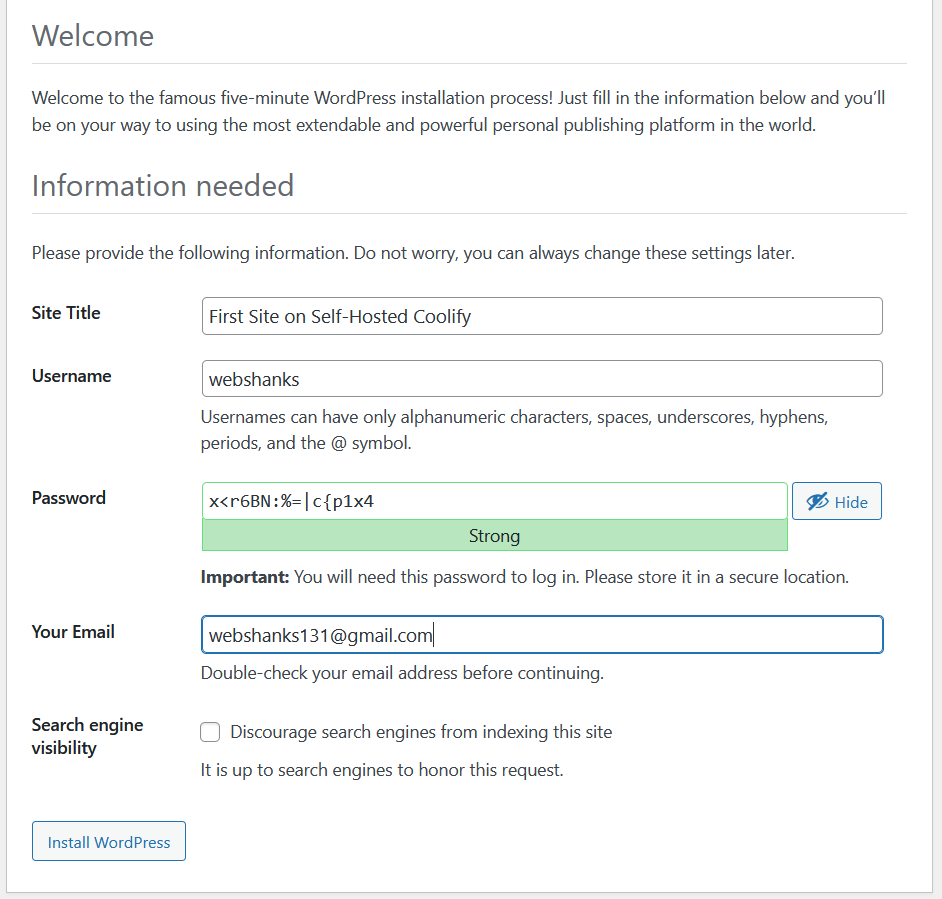
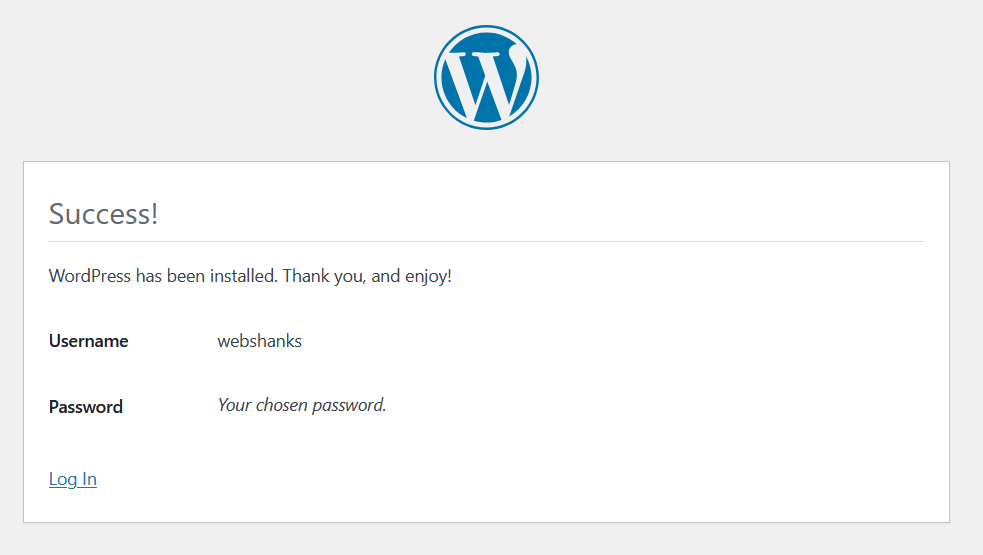
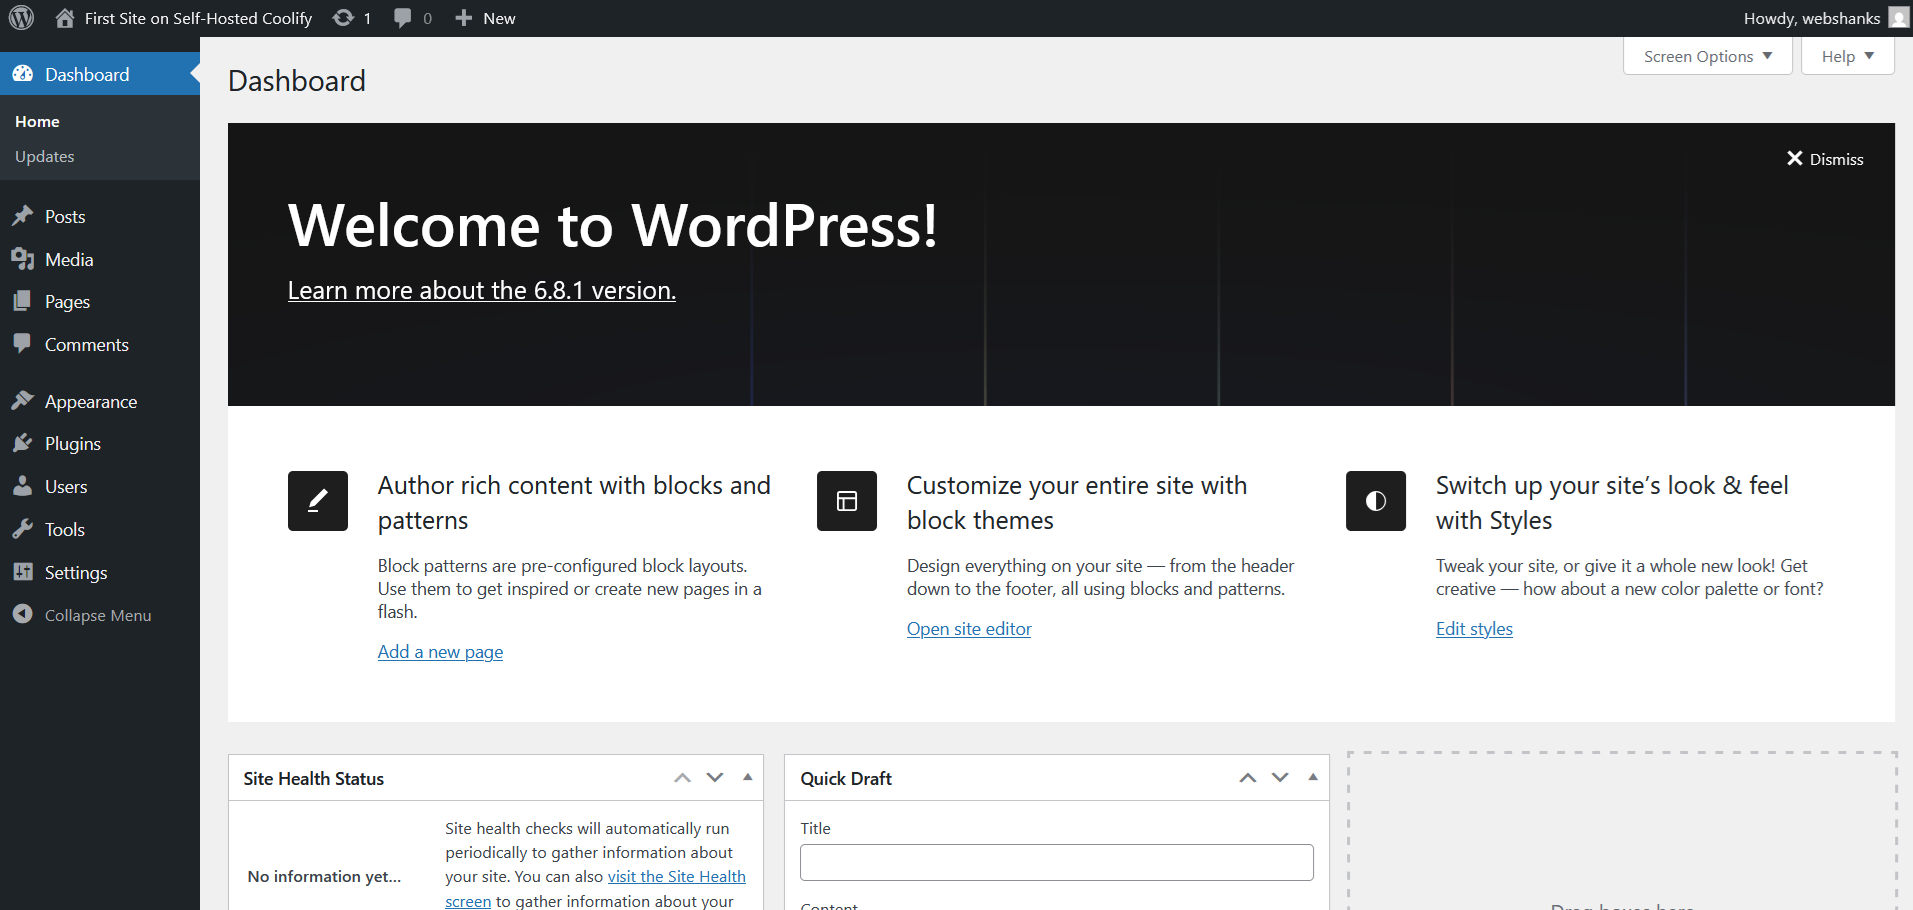
Now I have my first WordPress website self-hosted on Coolify and isHosting VPS!

You can configure your WordPress site by adding content, themes, and plugins to your desired outcome.
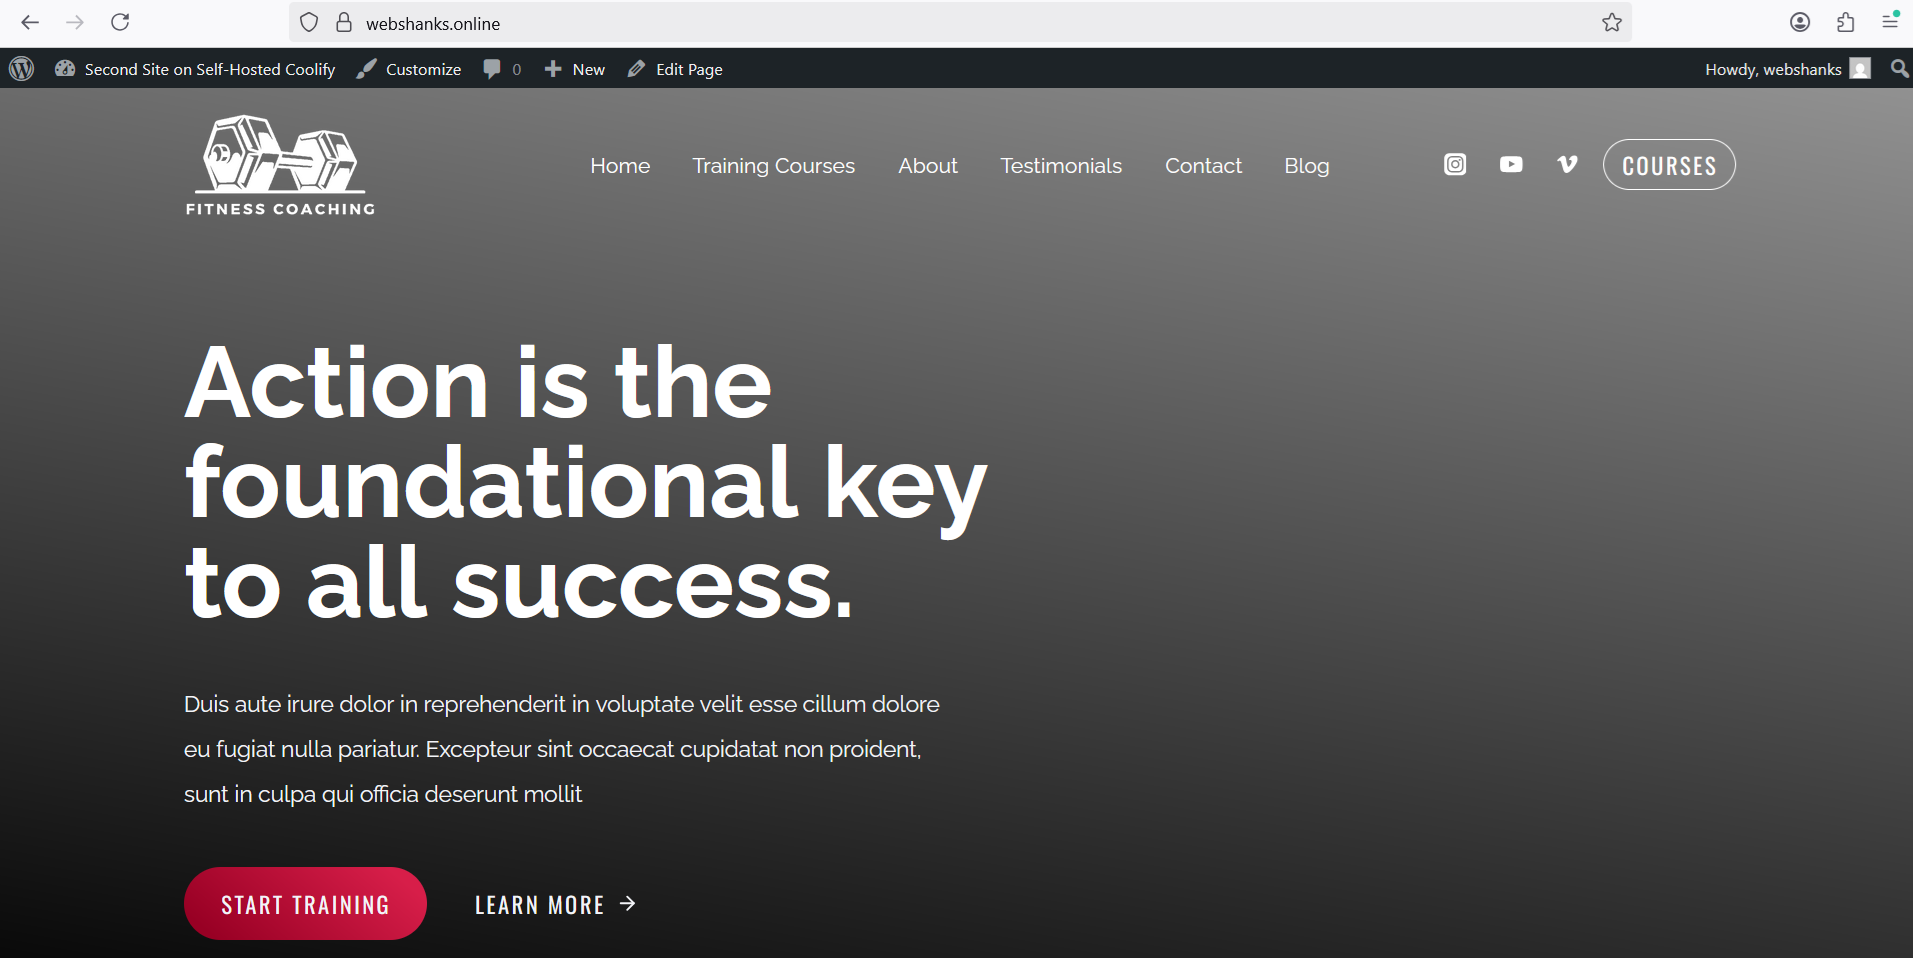
To create more WordPress sites, simply rinse and repeat. I won’t be showing you the process because it is the same. You just need to create a new Resource.
This is my second WordPress site.
Step 7: Manage and Monitor
Coolify provides a clean UI for managing deployments, setting environment variables, viewing logs, and restarting services. Each app runs in its own container, which makes isolation and updates a breeze.
I monitor resources via the dashboard or install tools like Netdata or Uptime Kuma for external monitoring.
Final Thoughts
Coolify is an excellent, beginner-friendly DevOps tool that lets me deploy WordPress and many other applications with minimal effort. Combined with a reliable VPS from isHosting and affordable domain management via Cloudflare or Namecheap, this stack is ideal for small agencies, freelancers, and tech-savvy bloggers.
Check out my other guides on deploying WordPress without cPanel: